Getting Started
This walkthrough is designed to help agencies who are new to our scheduling system.
Your First User Account
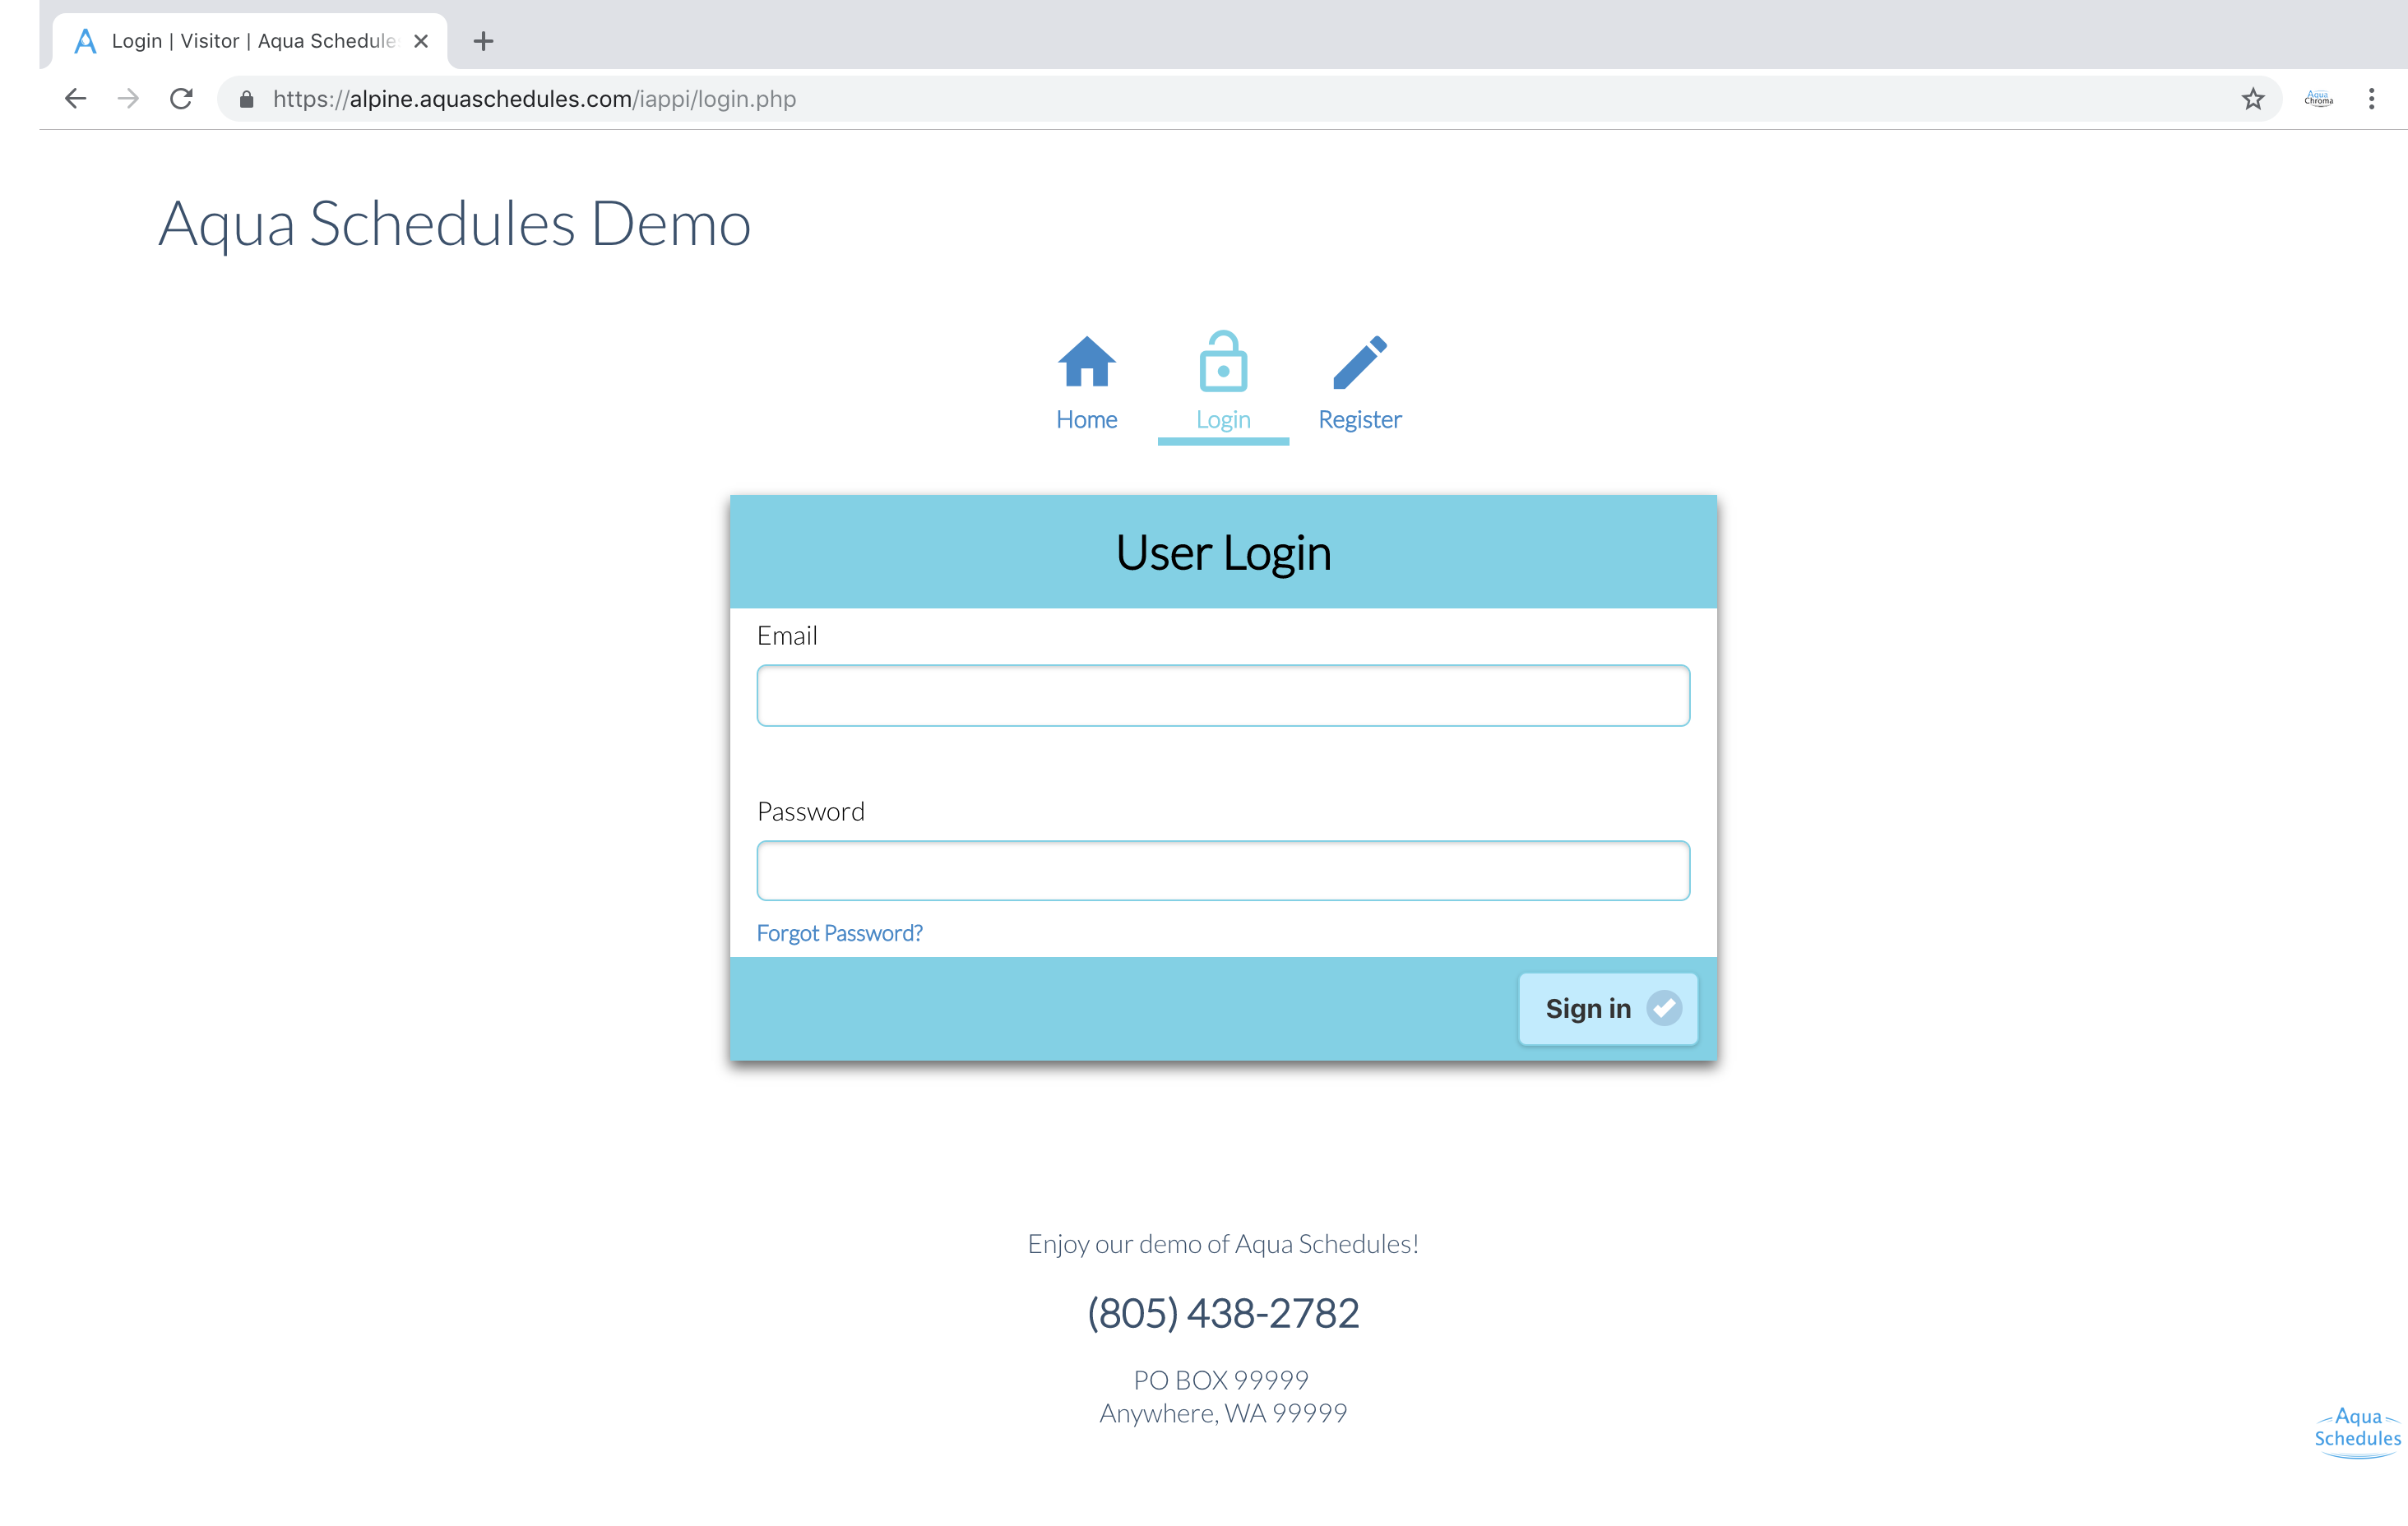
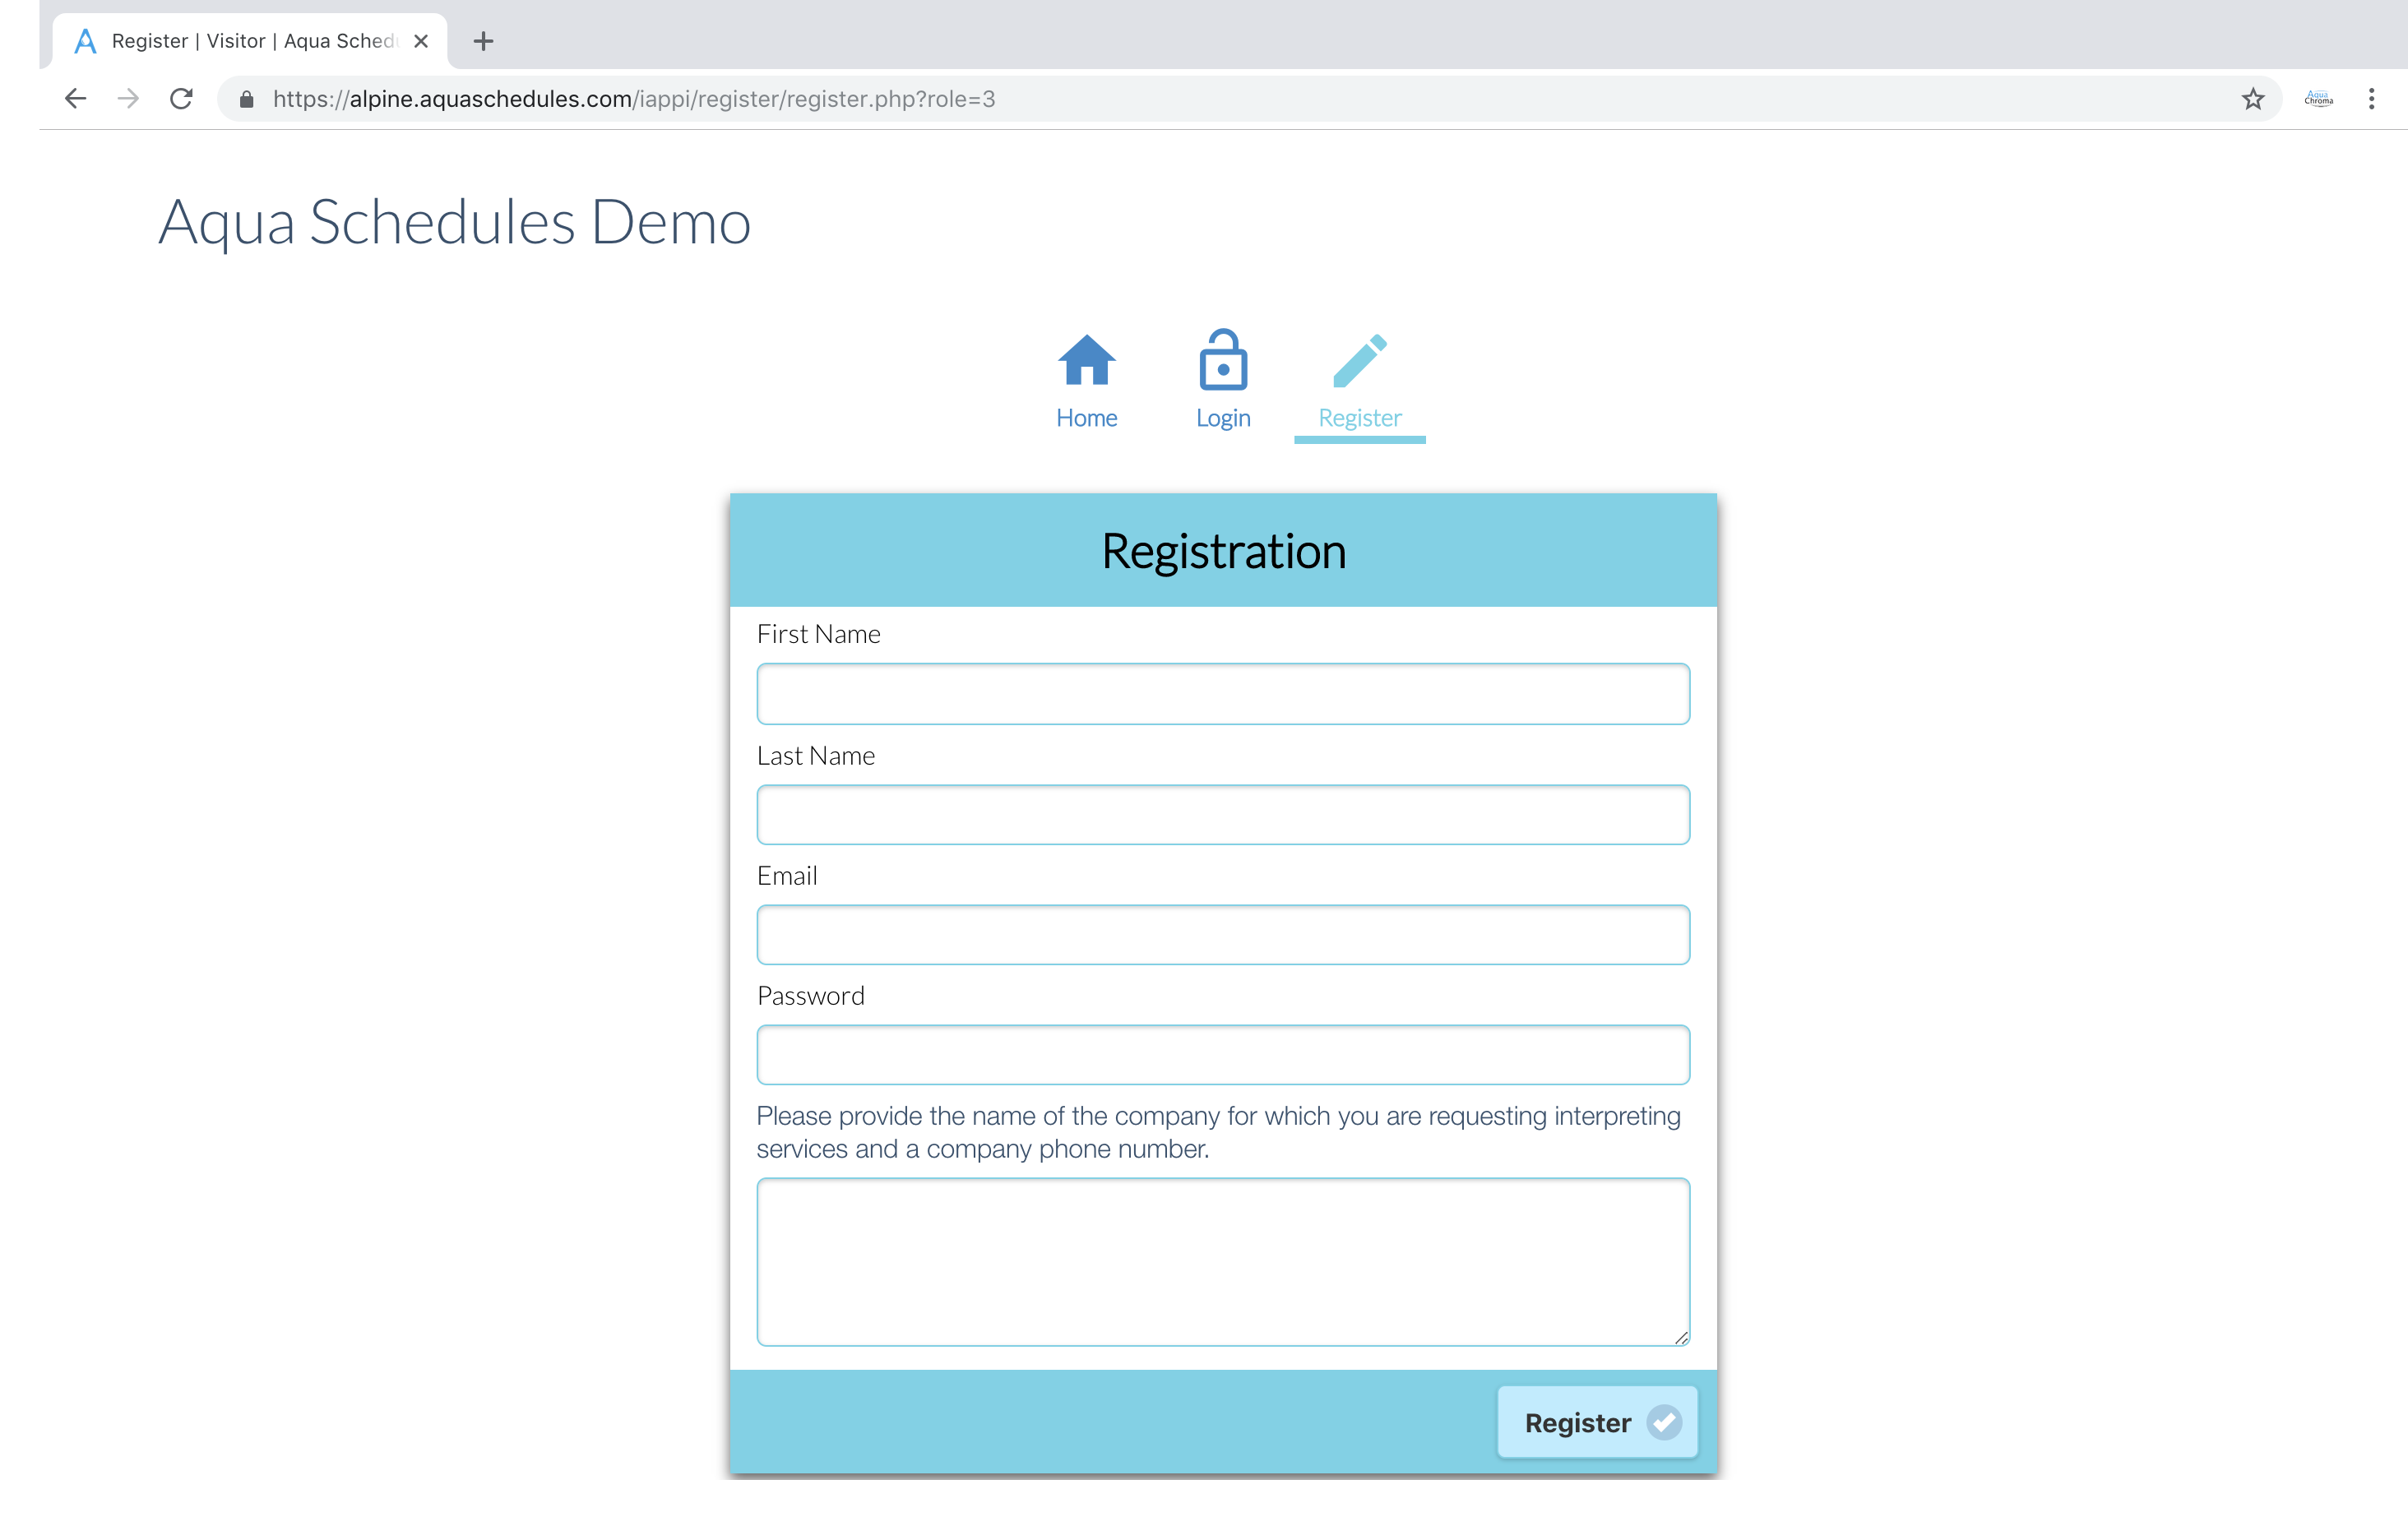
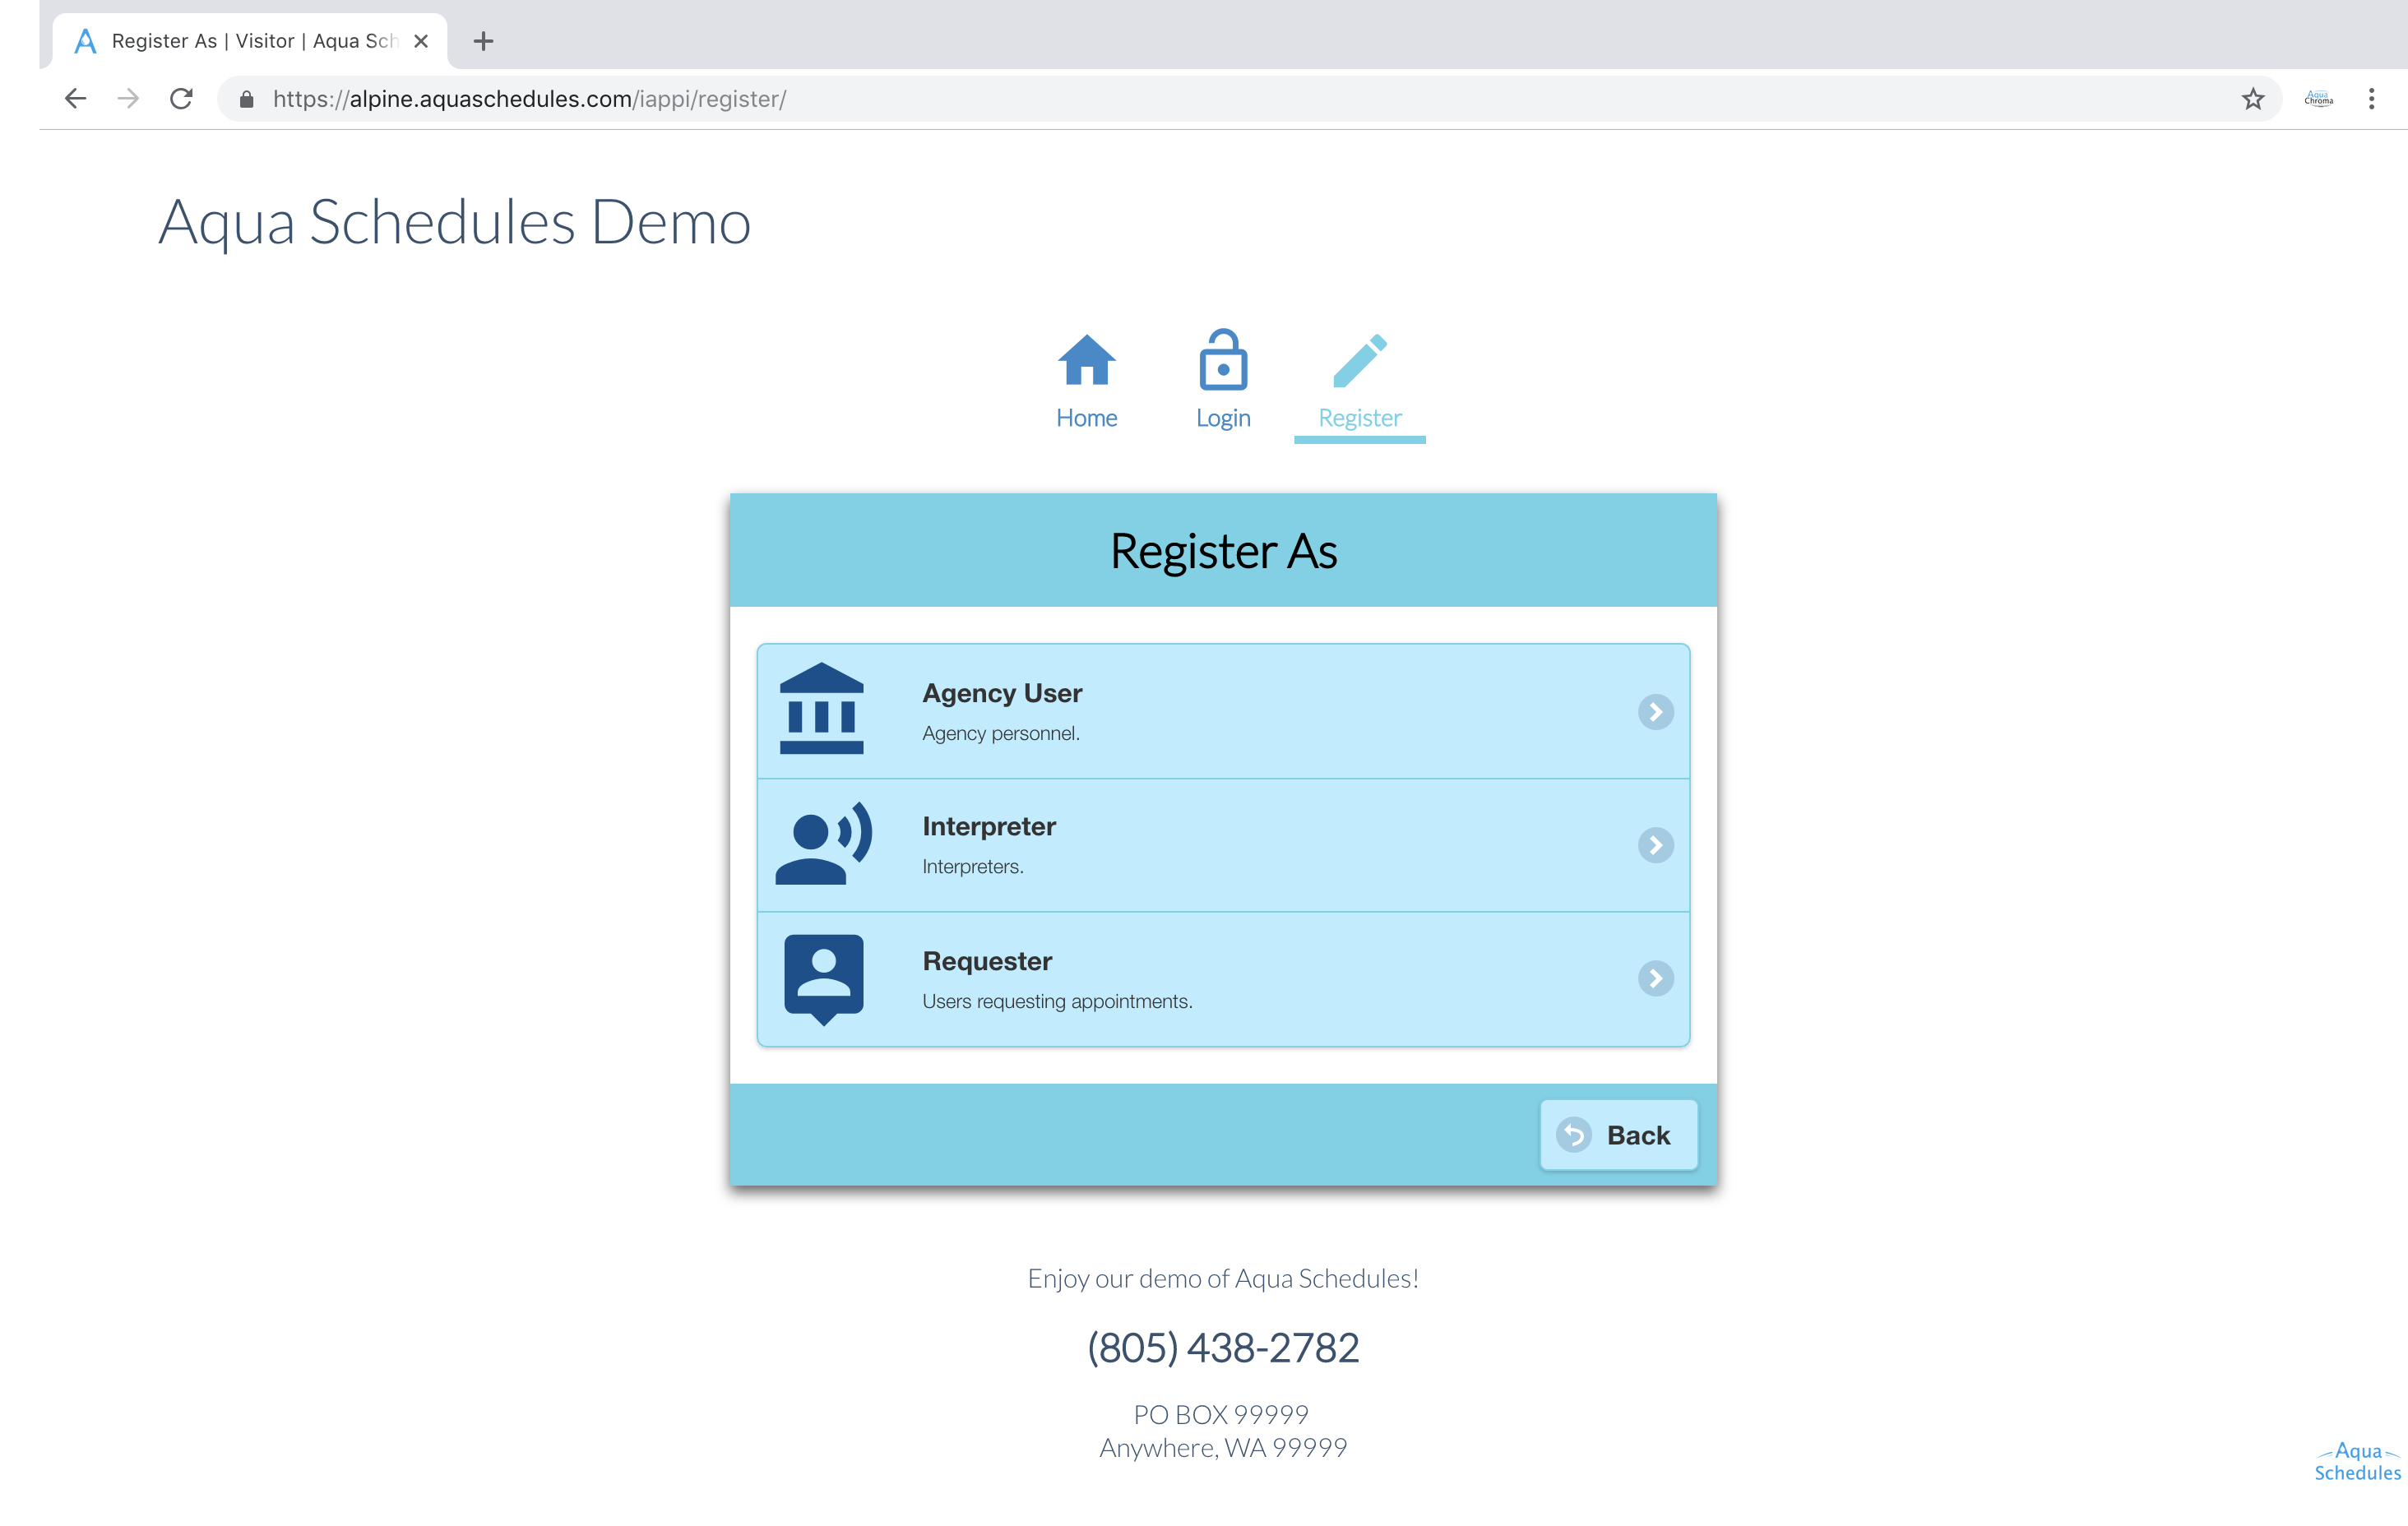
When freshly deployed your scheduling system will look similar to this. The first thing you’ll do is create an account. Please click the register button, next click Agency User. Please enter your first name, last name, email, and password then click register. You’ll see a prompt about your registration being complete. The user account has to be approved by an agency user. Please contact us after creating your first account and we’ll approve you.
Setup Your Agency
Now that you've created your first user account and we've approved you let's personalize Aqua Schedules. Go to Settings => Agency Settings. This area is designed for you to update the header, footer and email account. The Agency Short Name is what displays in the title area of the webpage which sometimes doesn’t have a lot of room for large names. If you don’t want to have your agencies physical address shown in the footer leave the address empty and your agency email will display automatically instead.
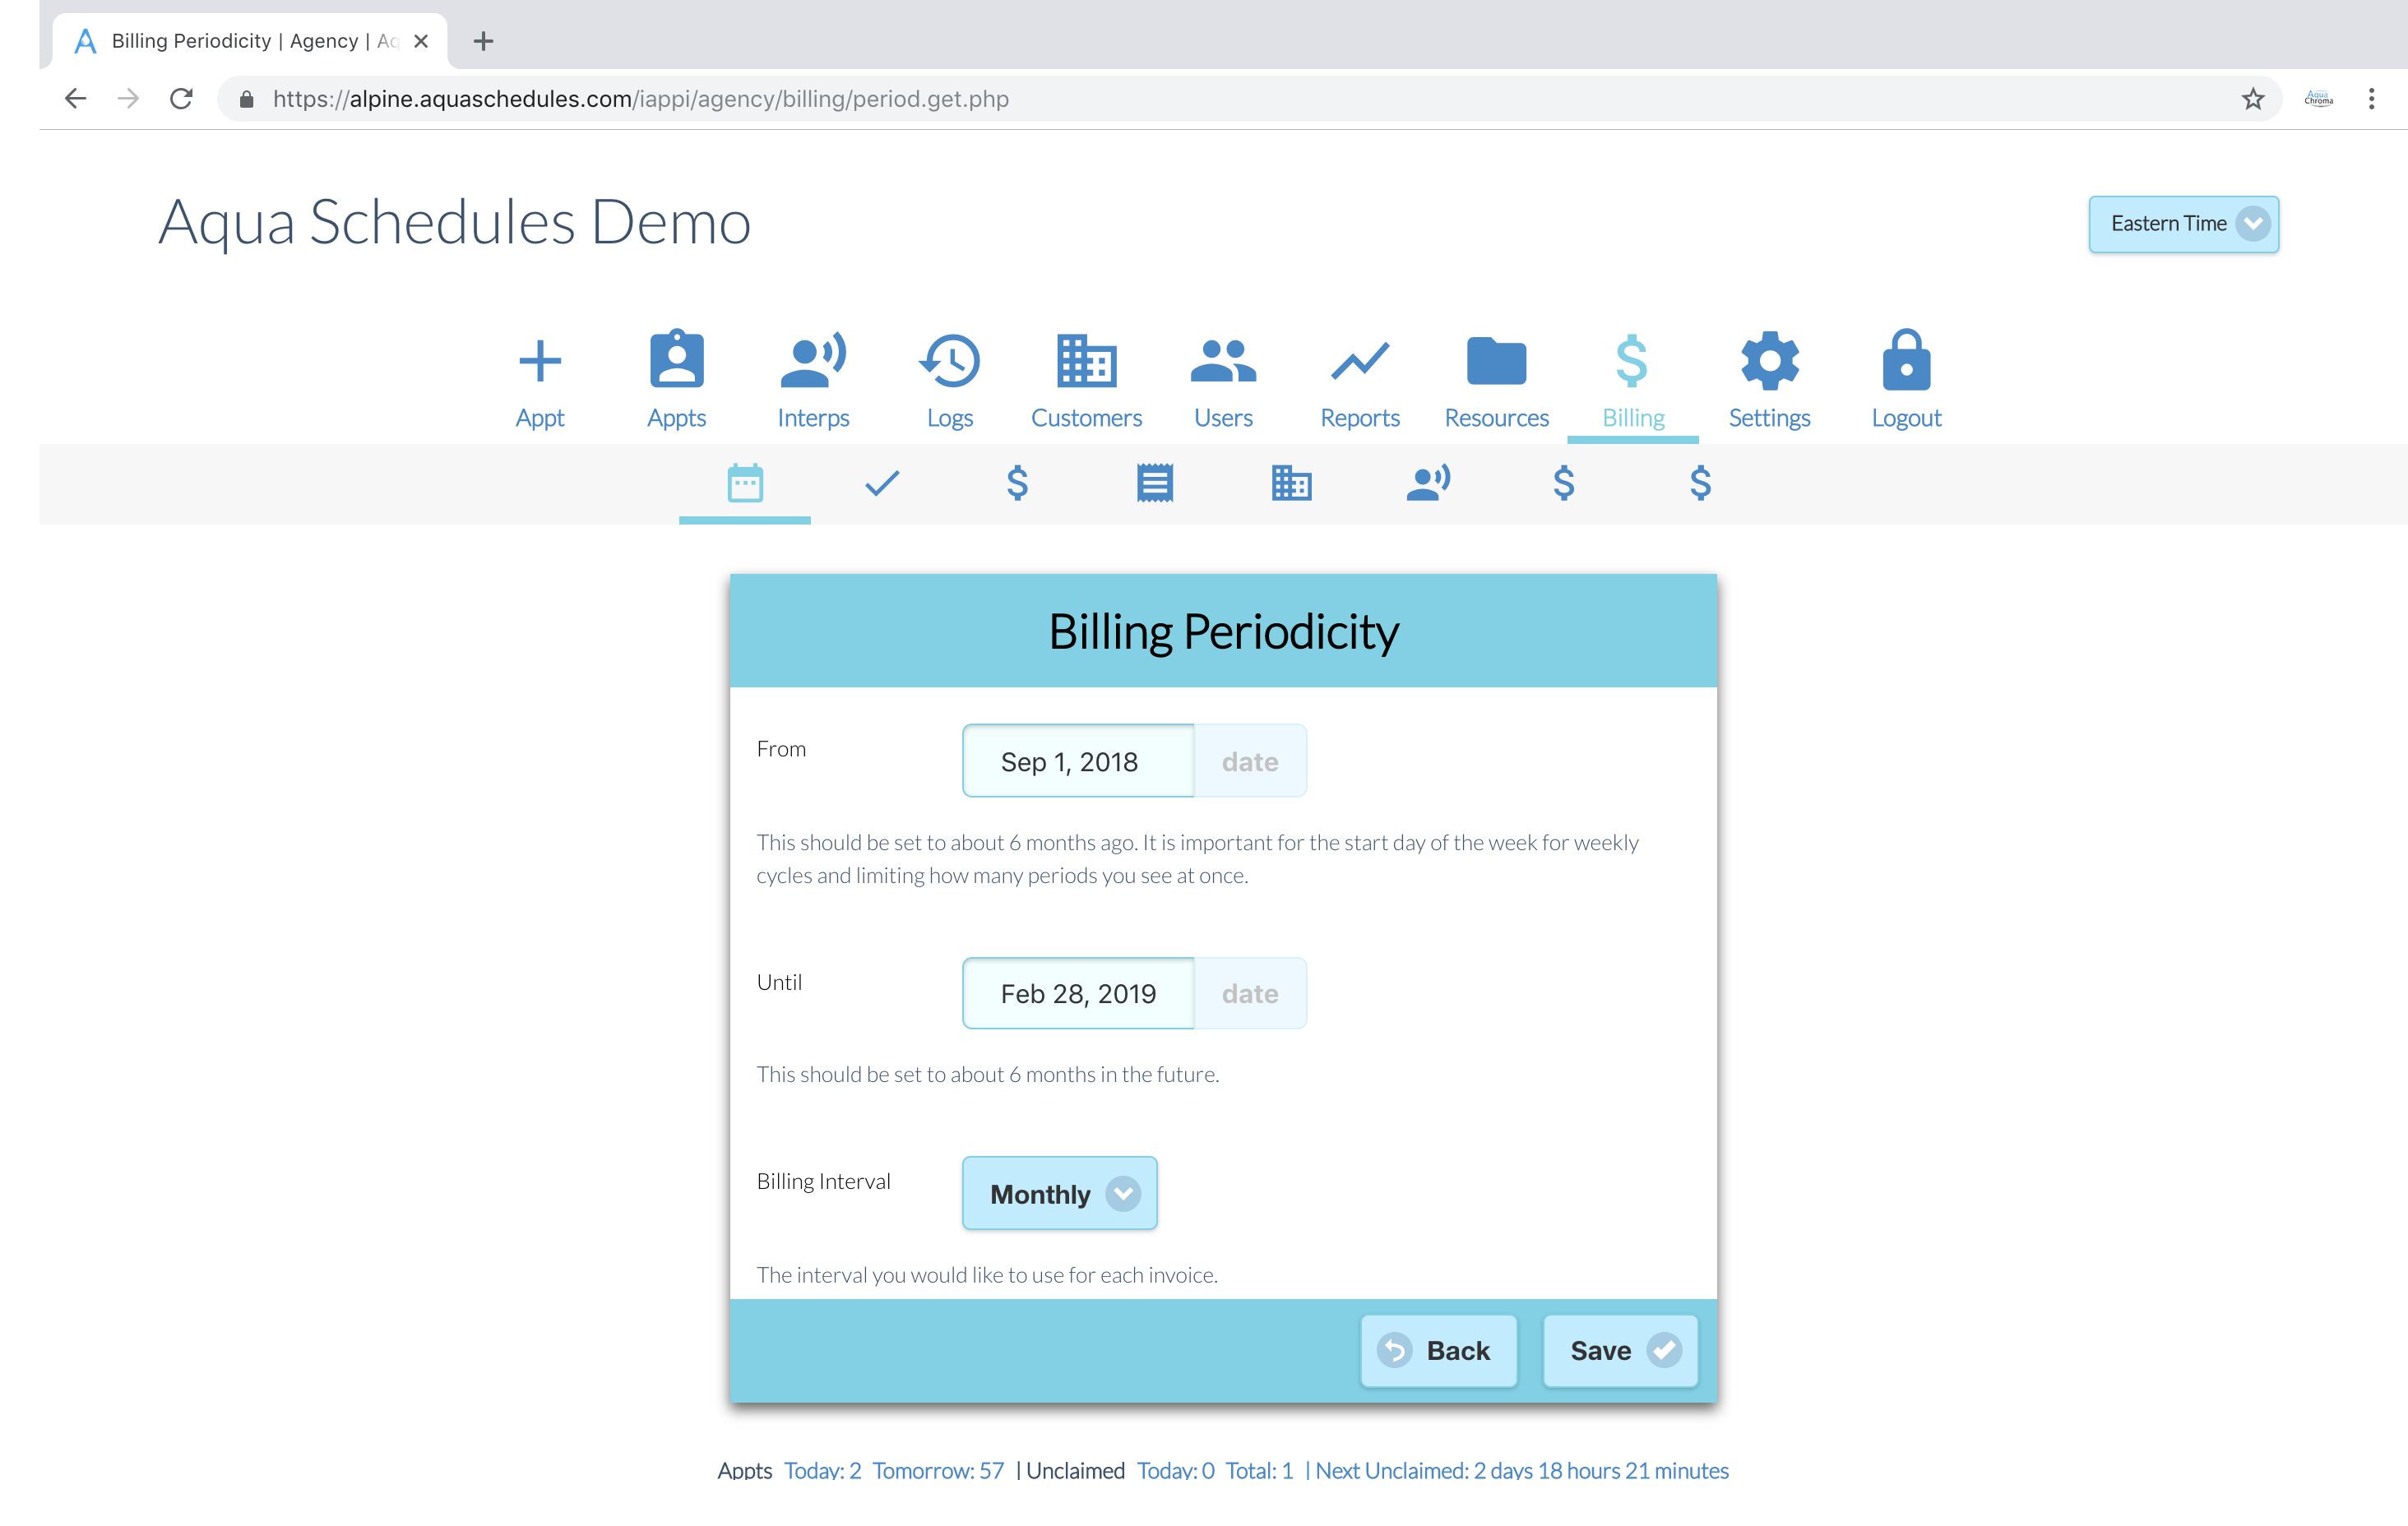
Set Timezone
Go to Settings => Time Settings to configure your timezone and regional formats.
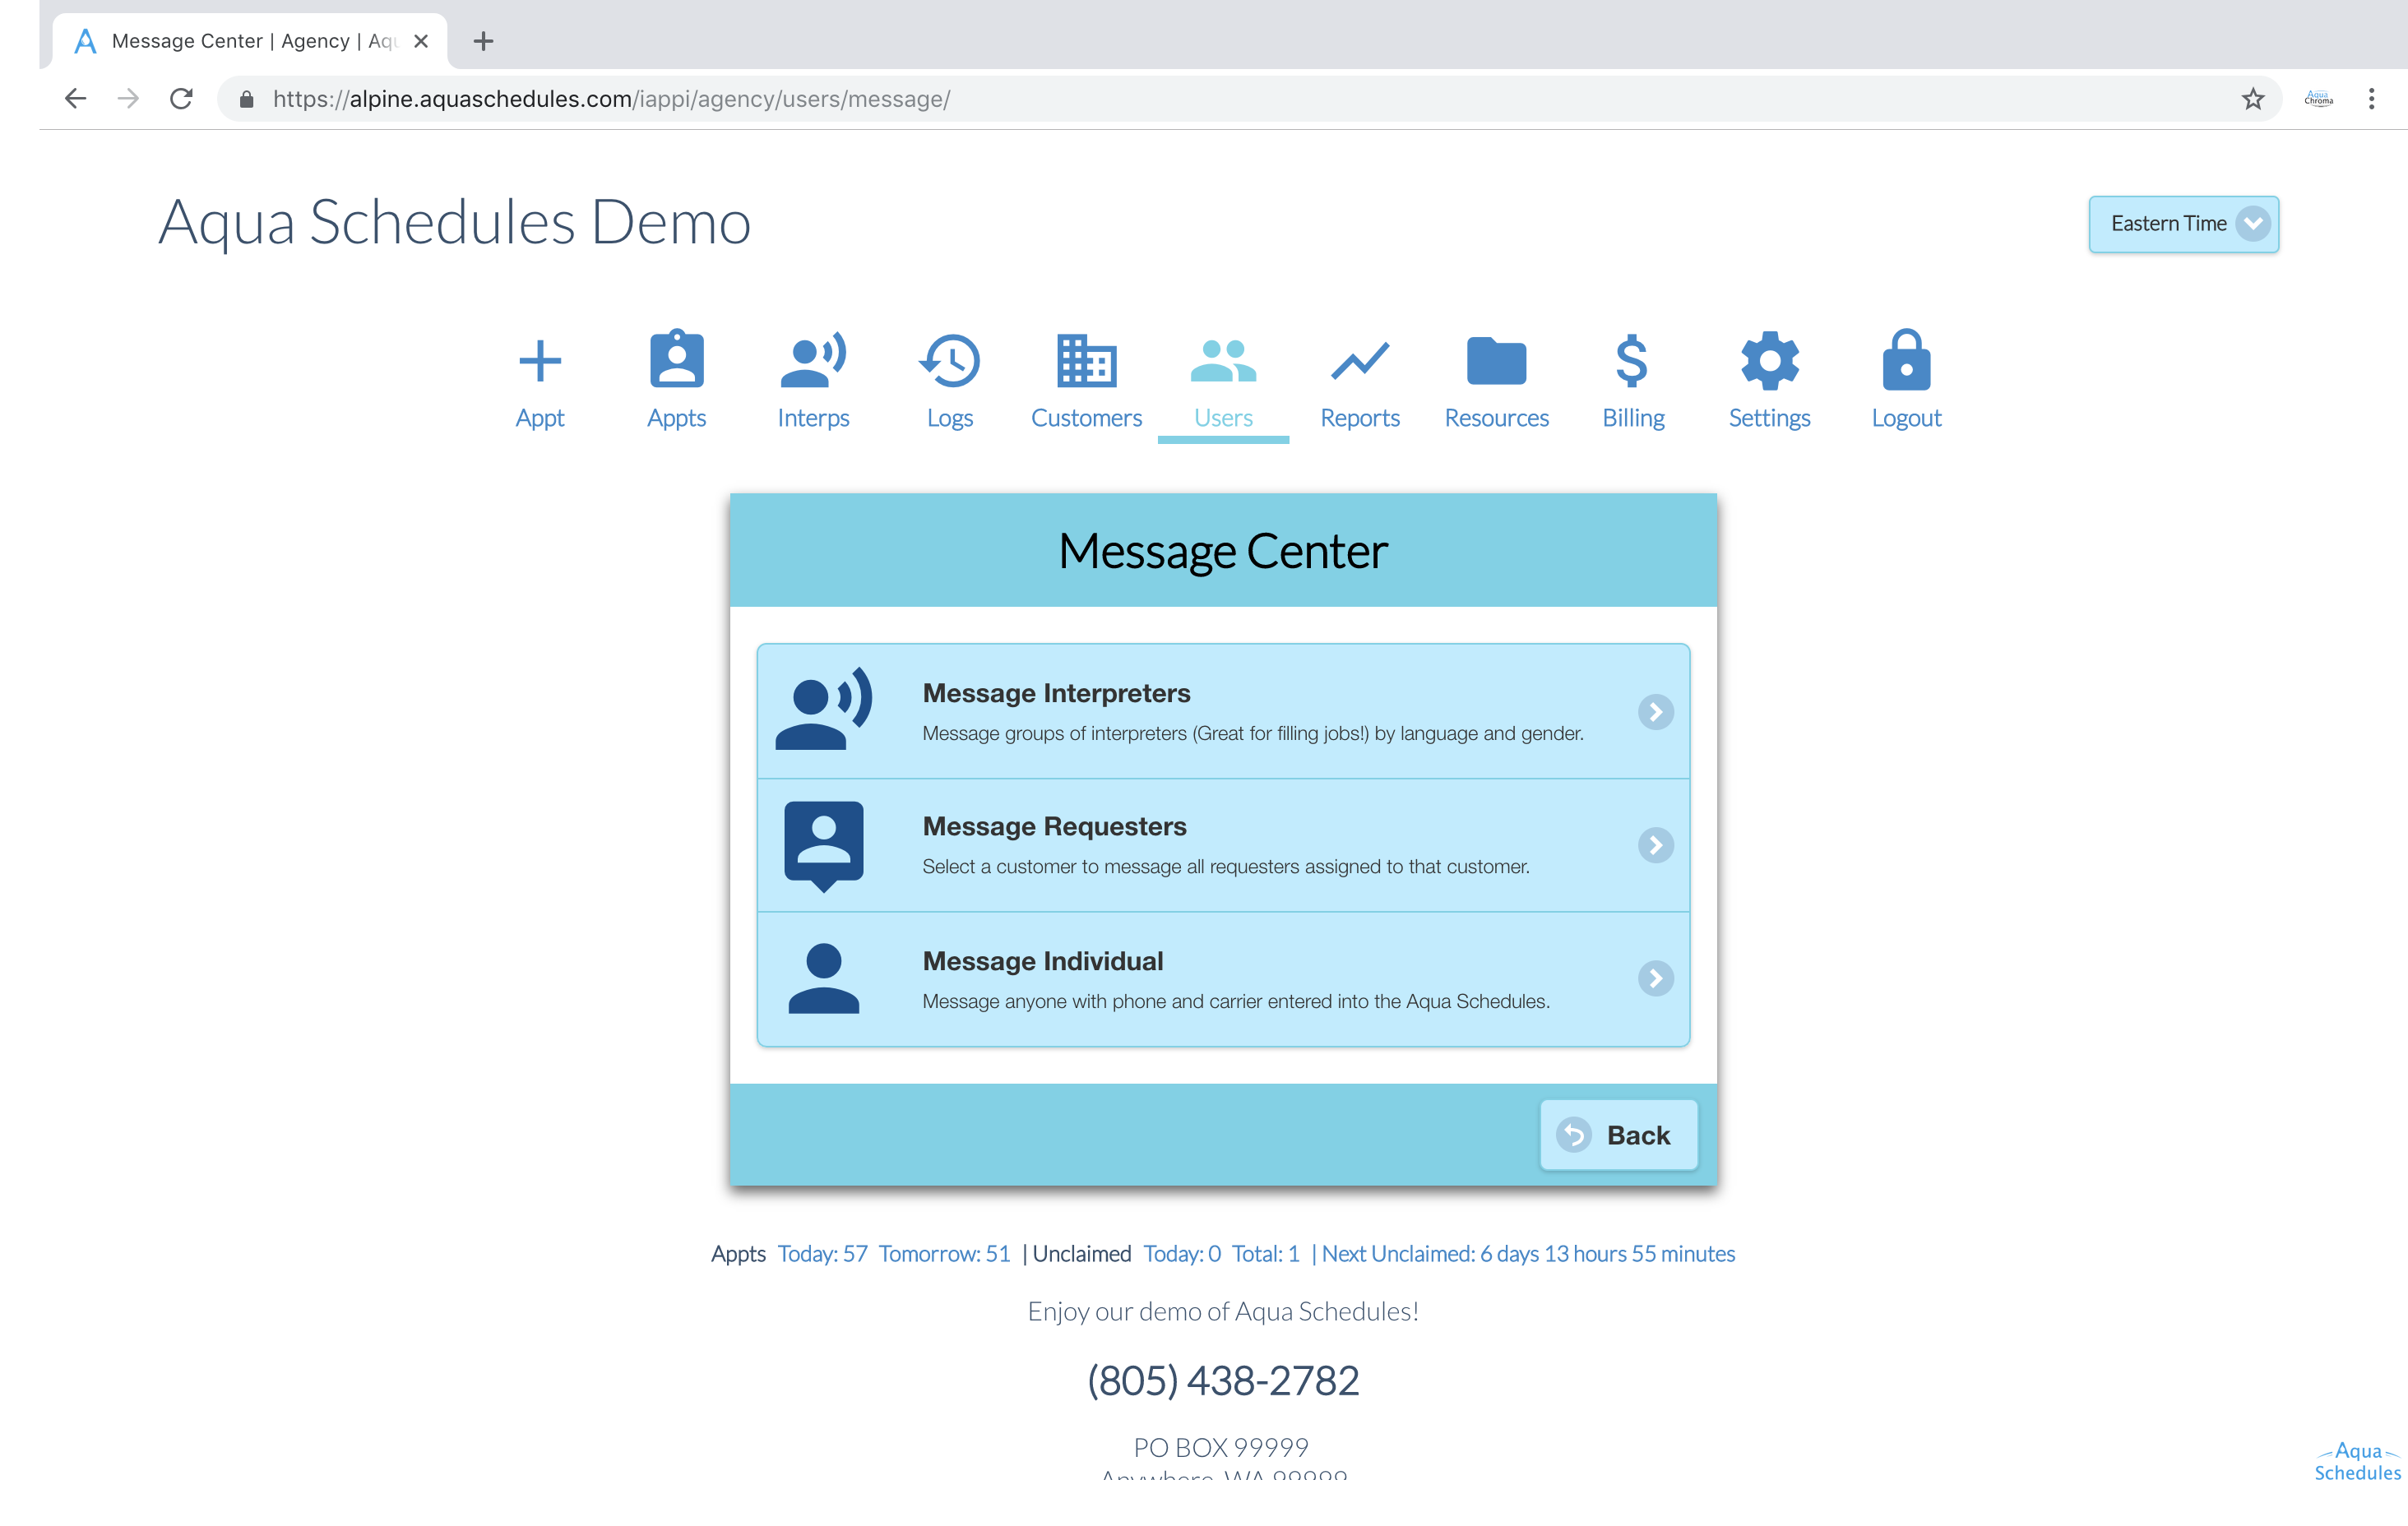
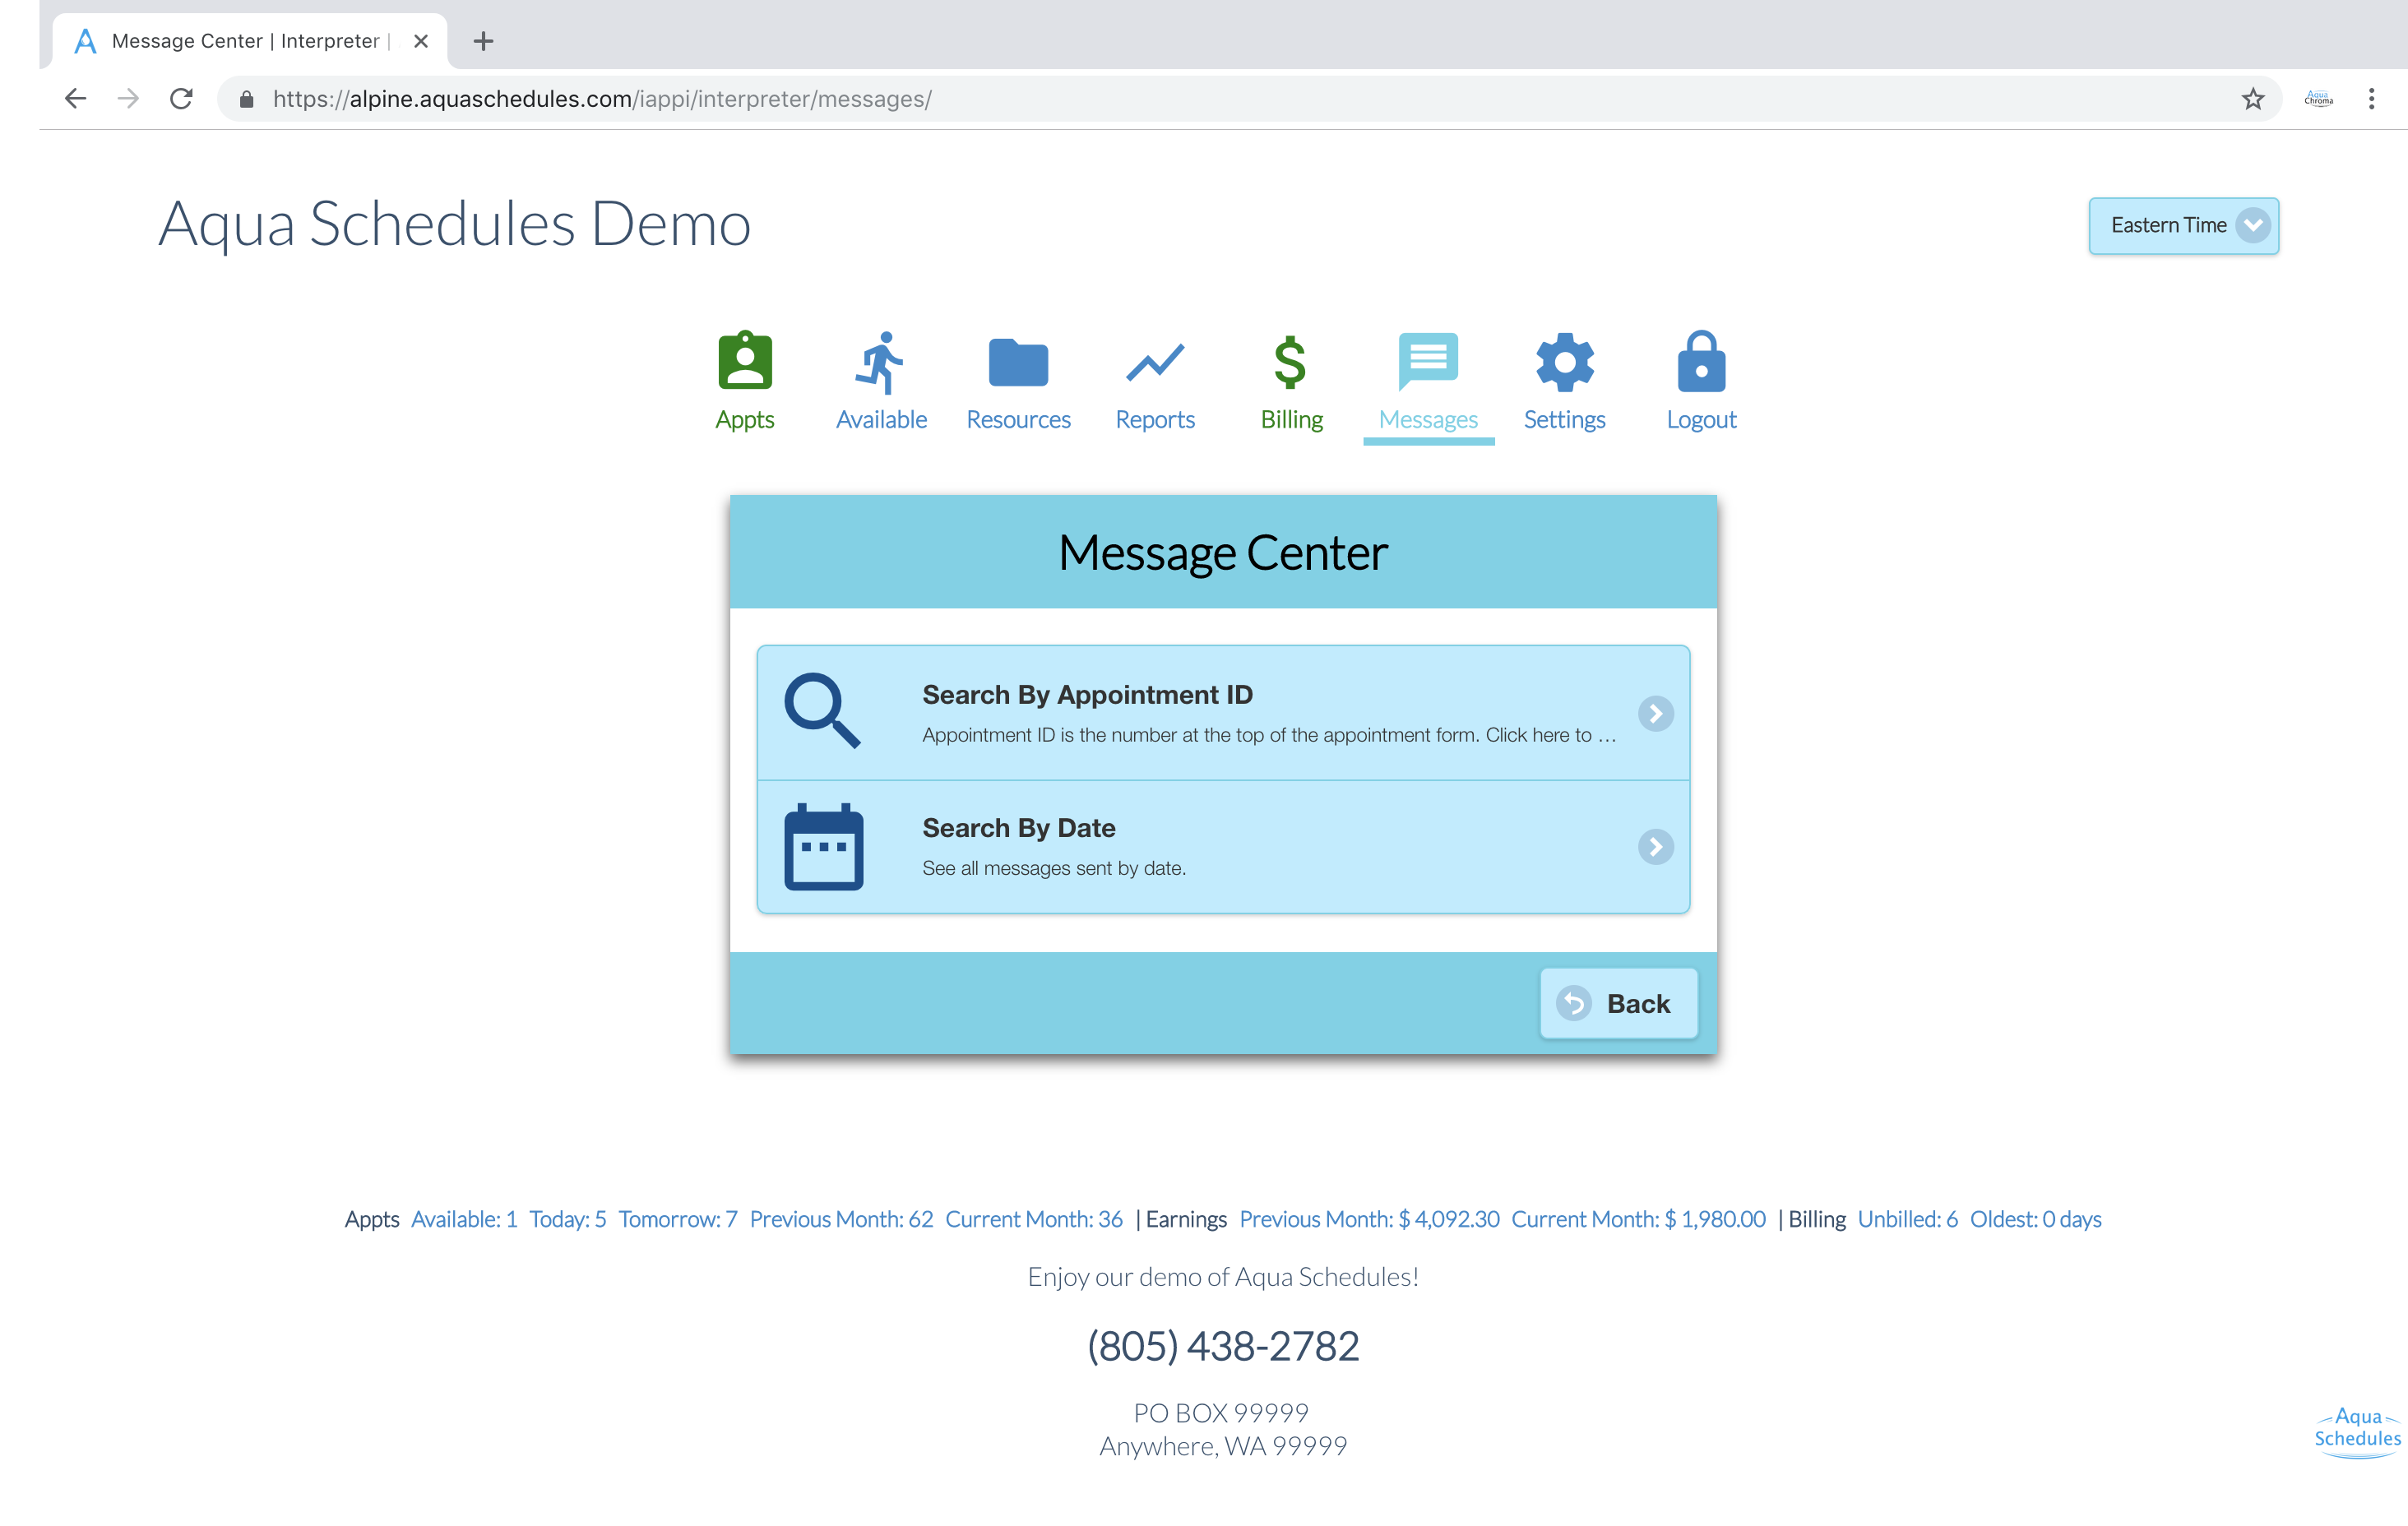
Notifications
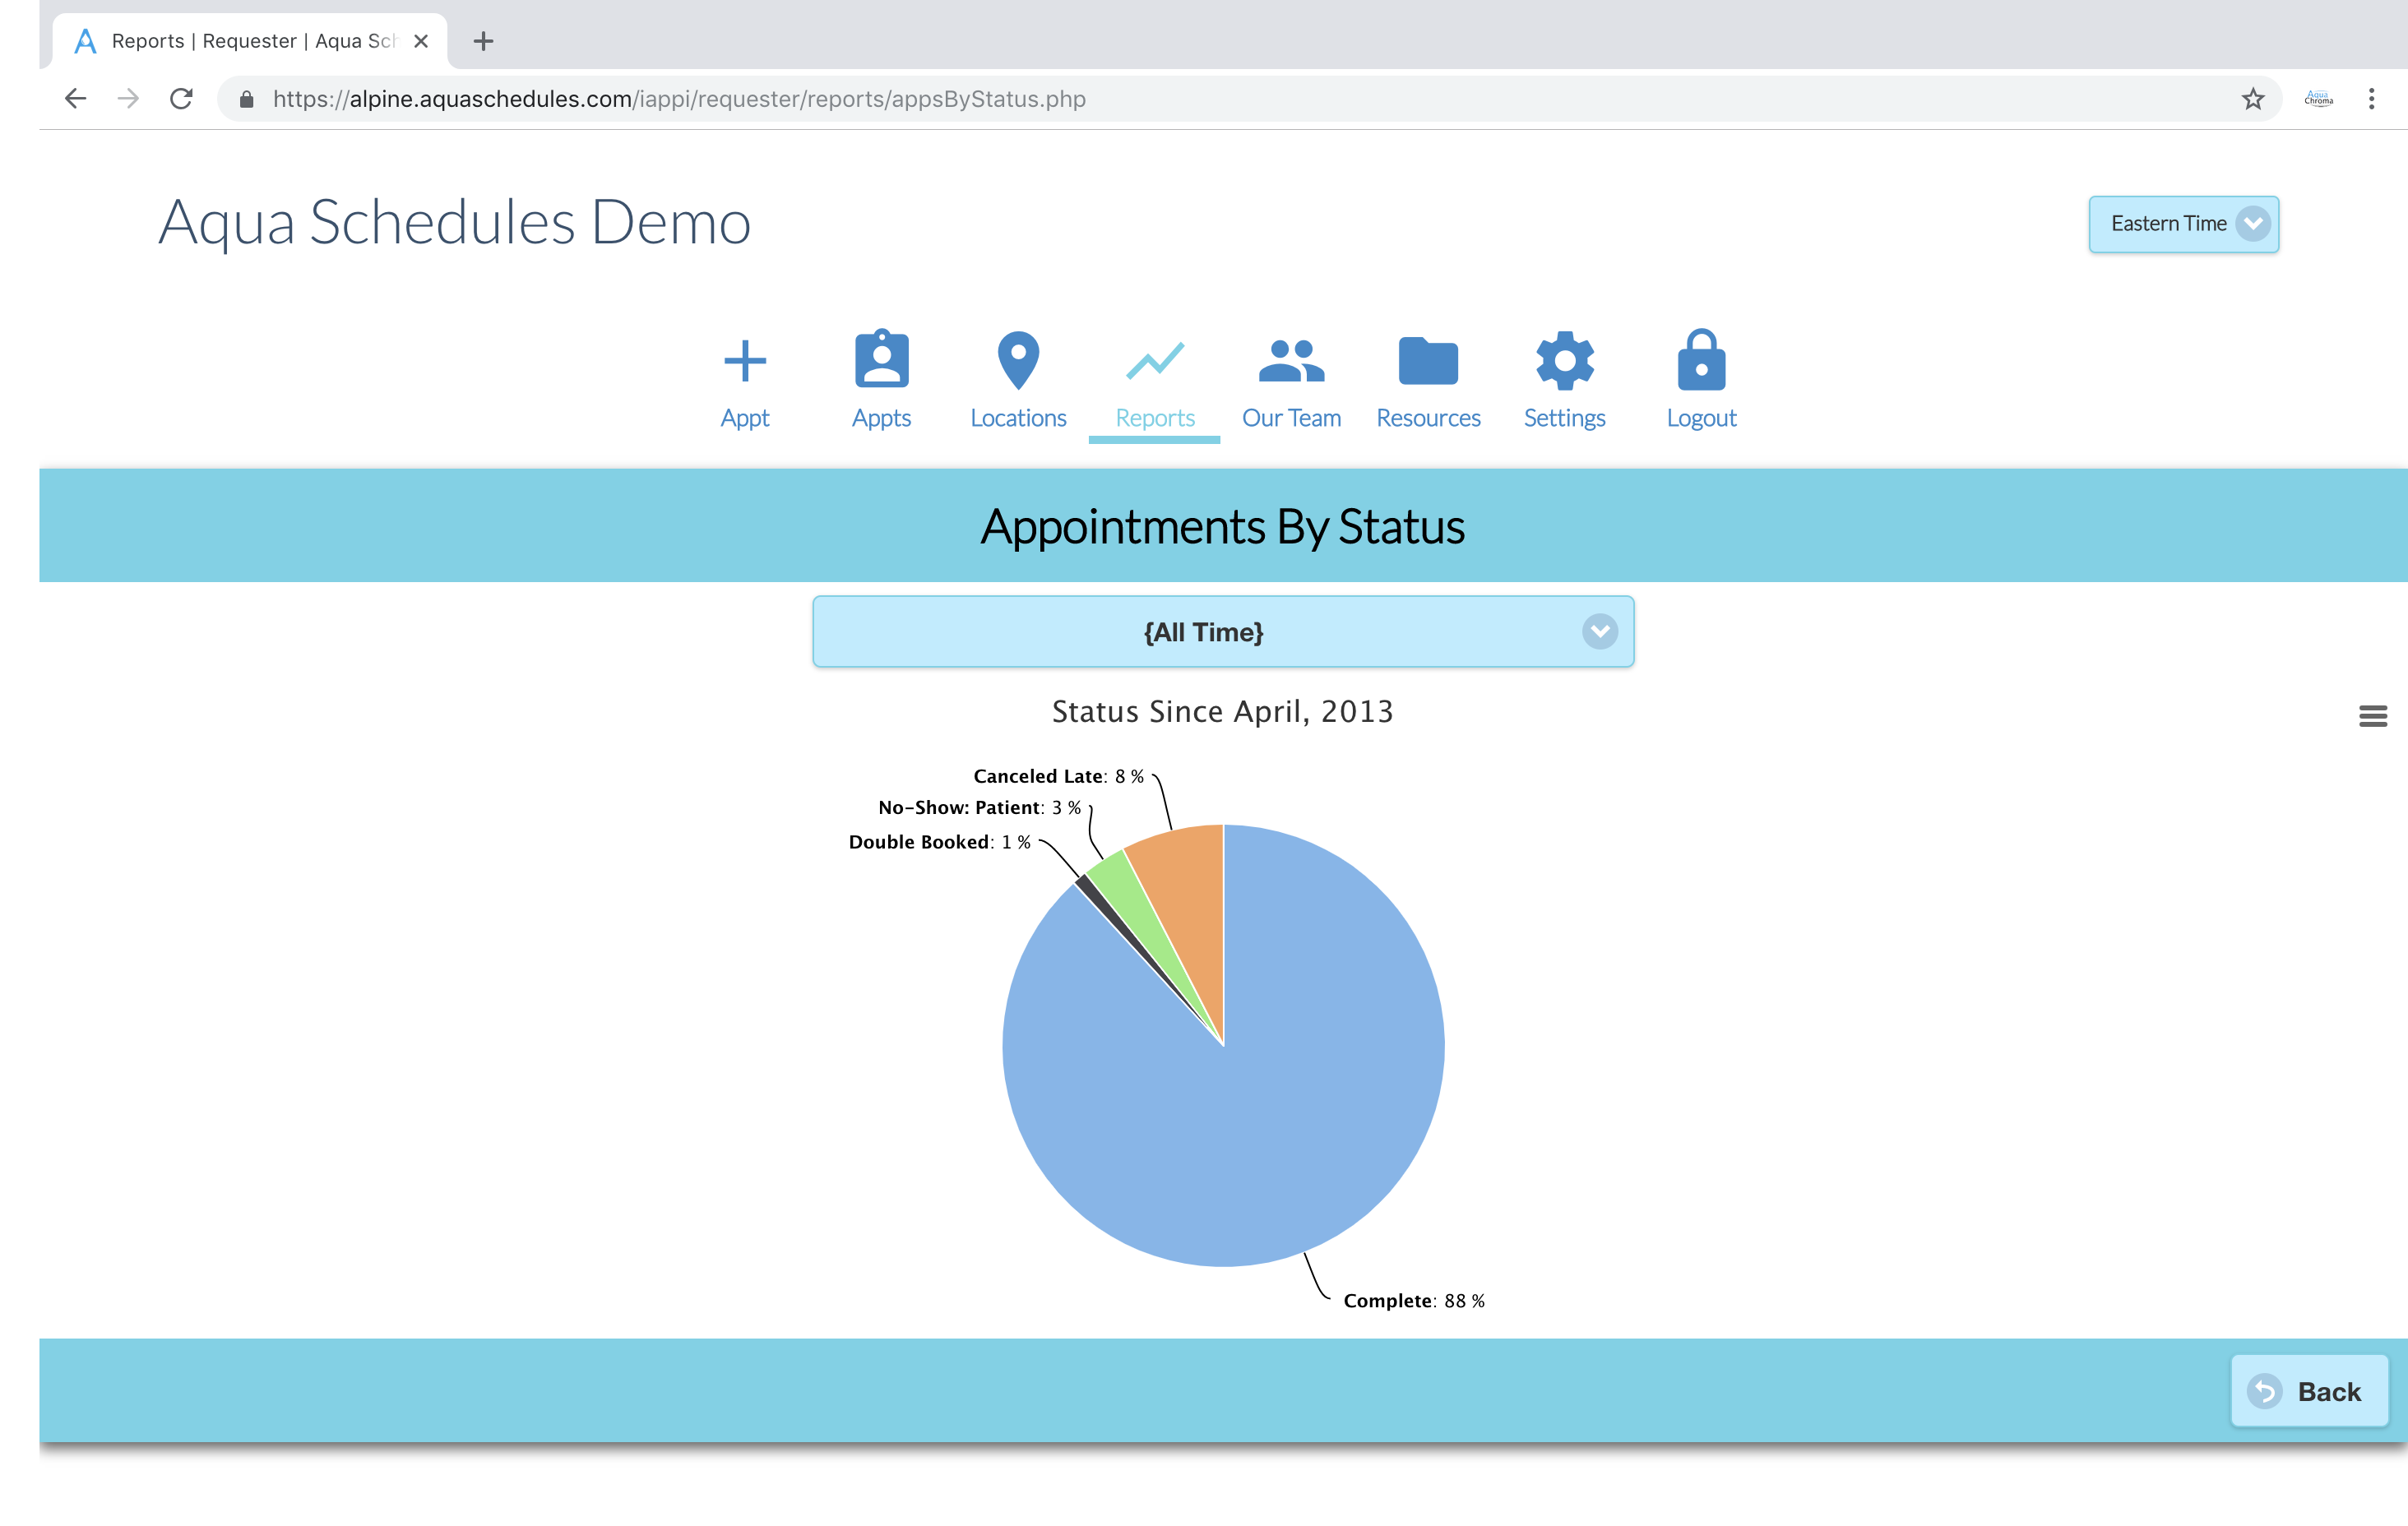
The notifications area in settings controls which automatic notifications are sent and what is said within each notification.
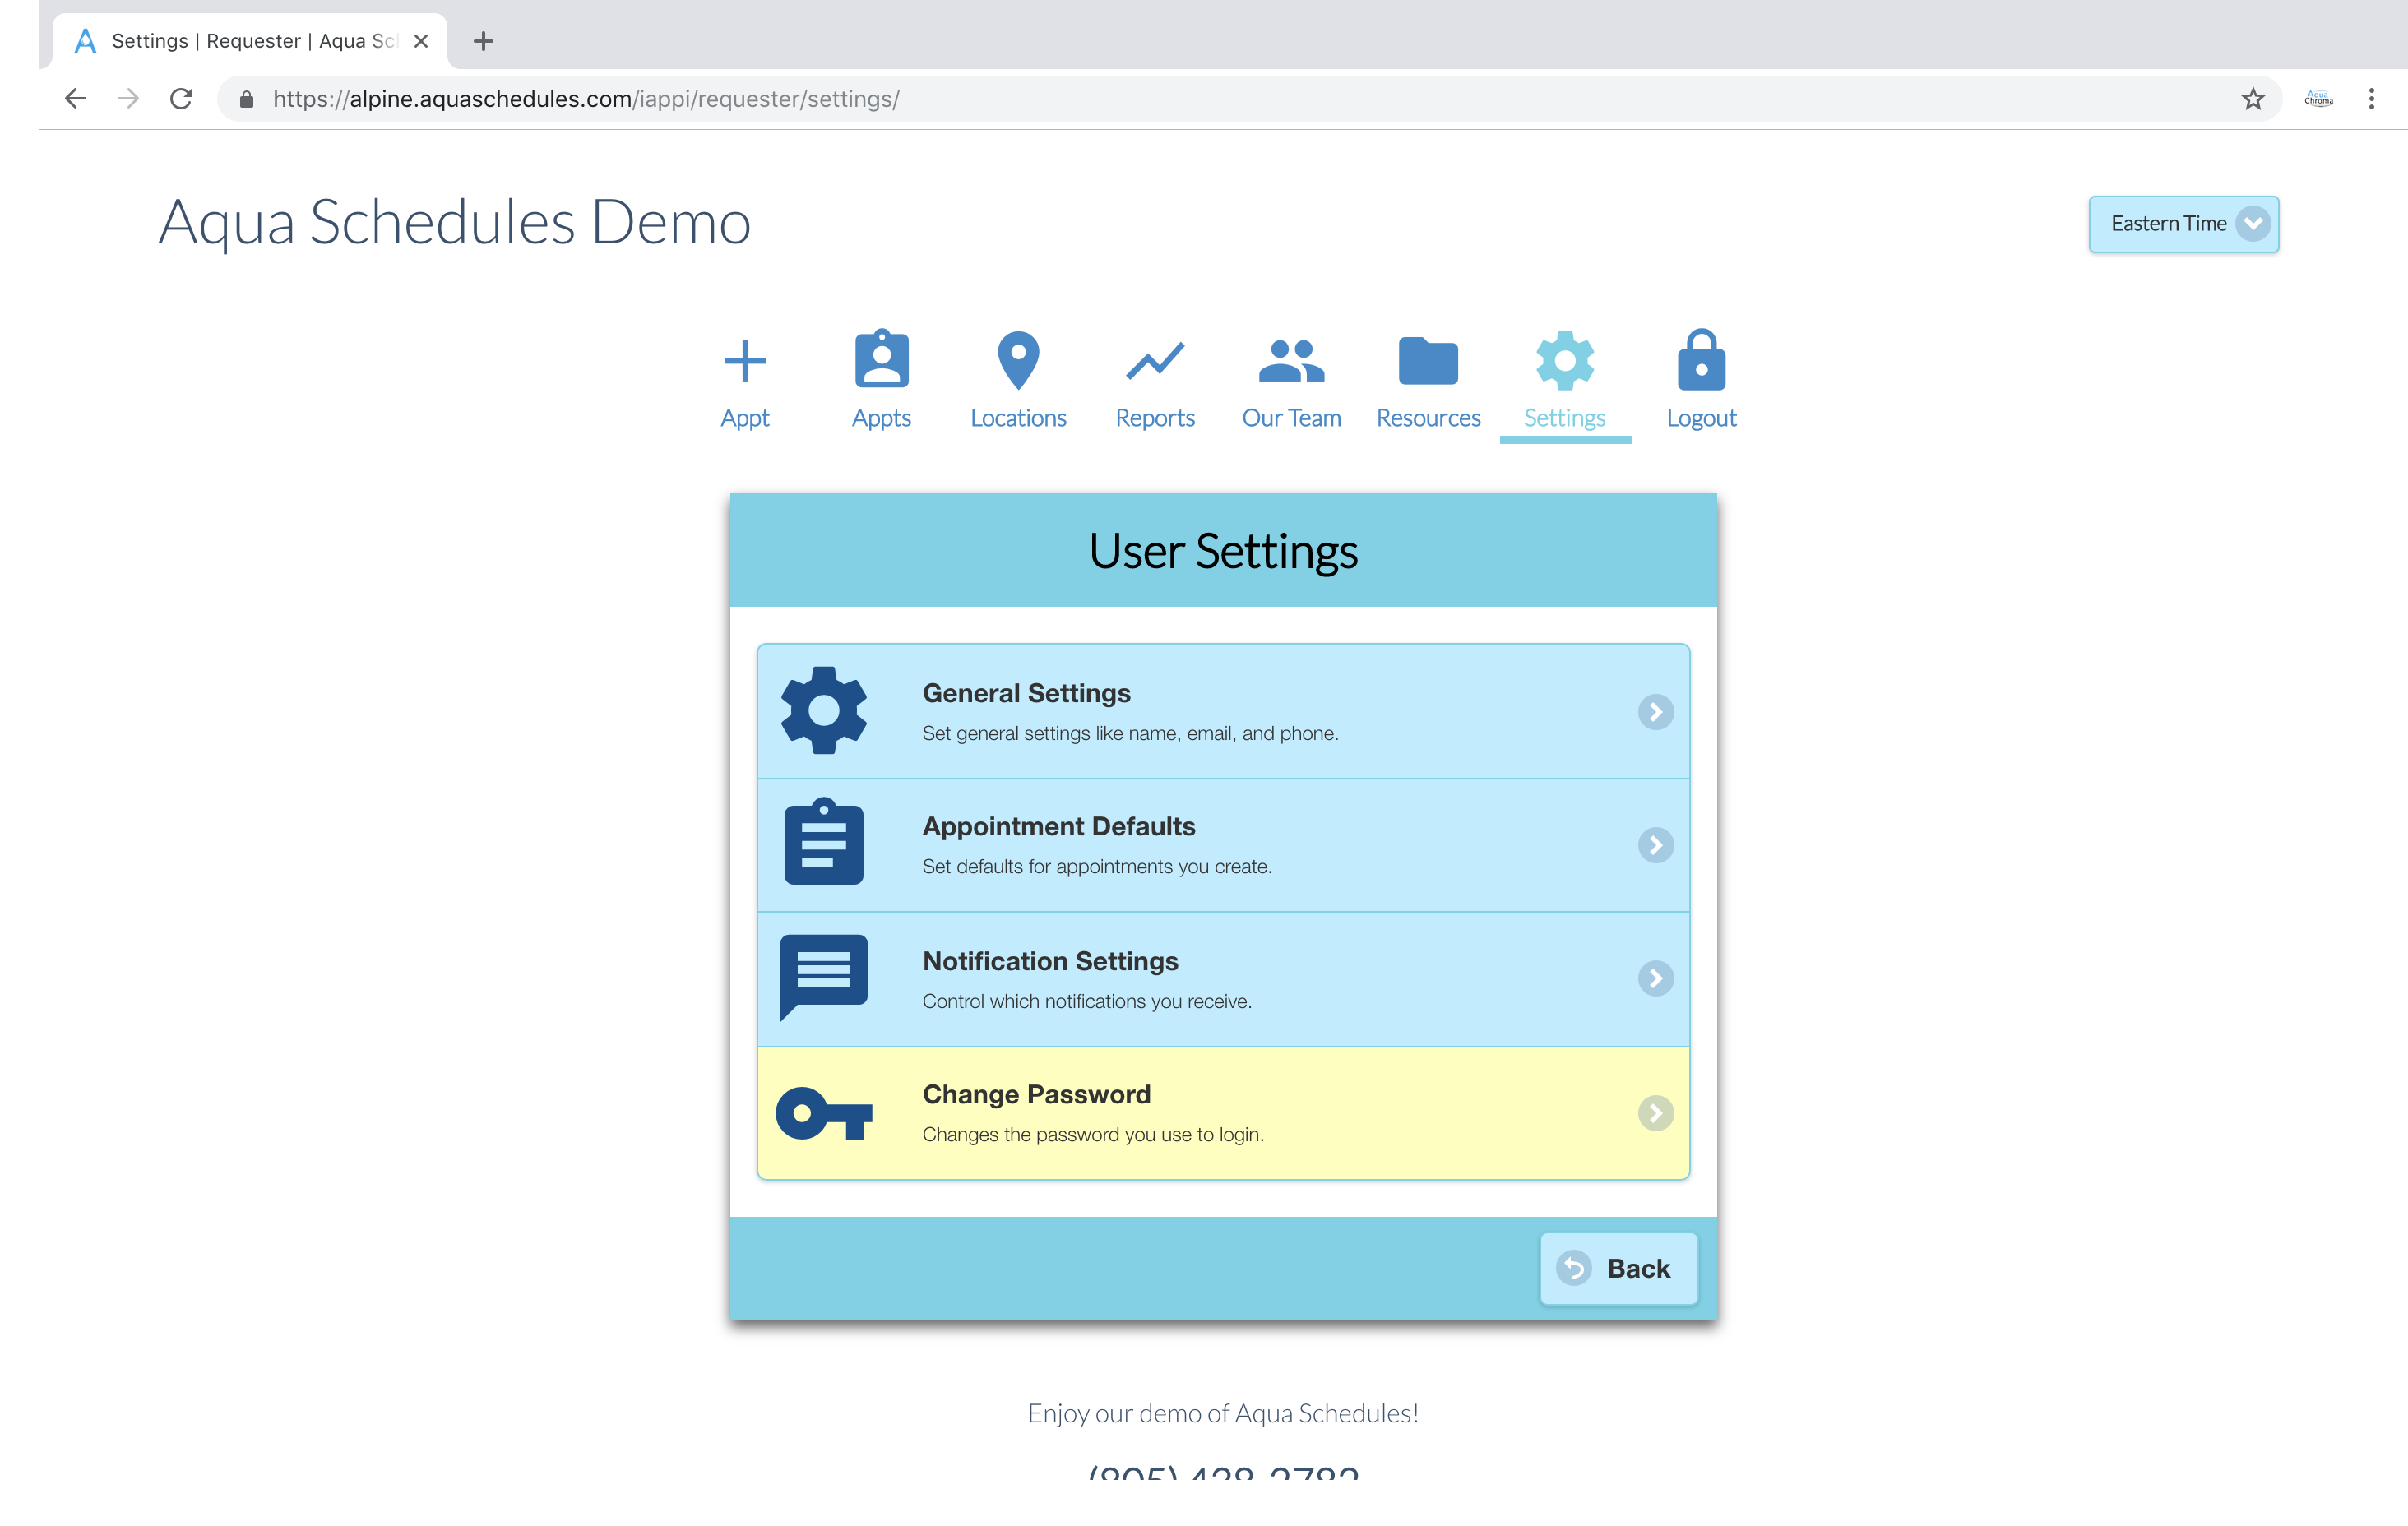
Configuring Major Settings
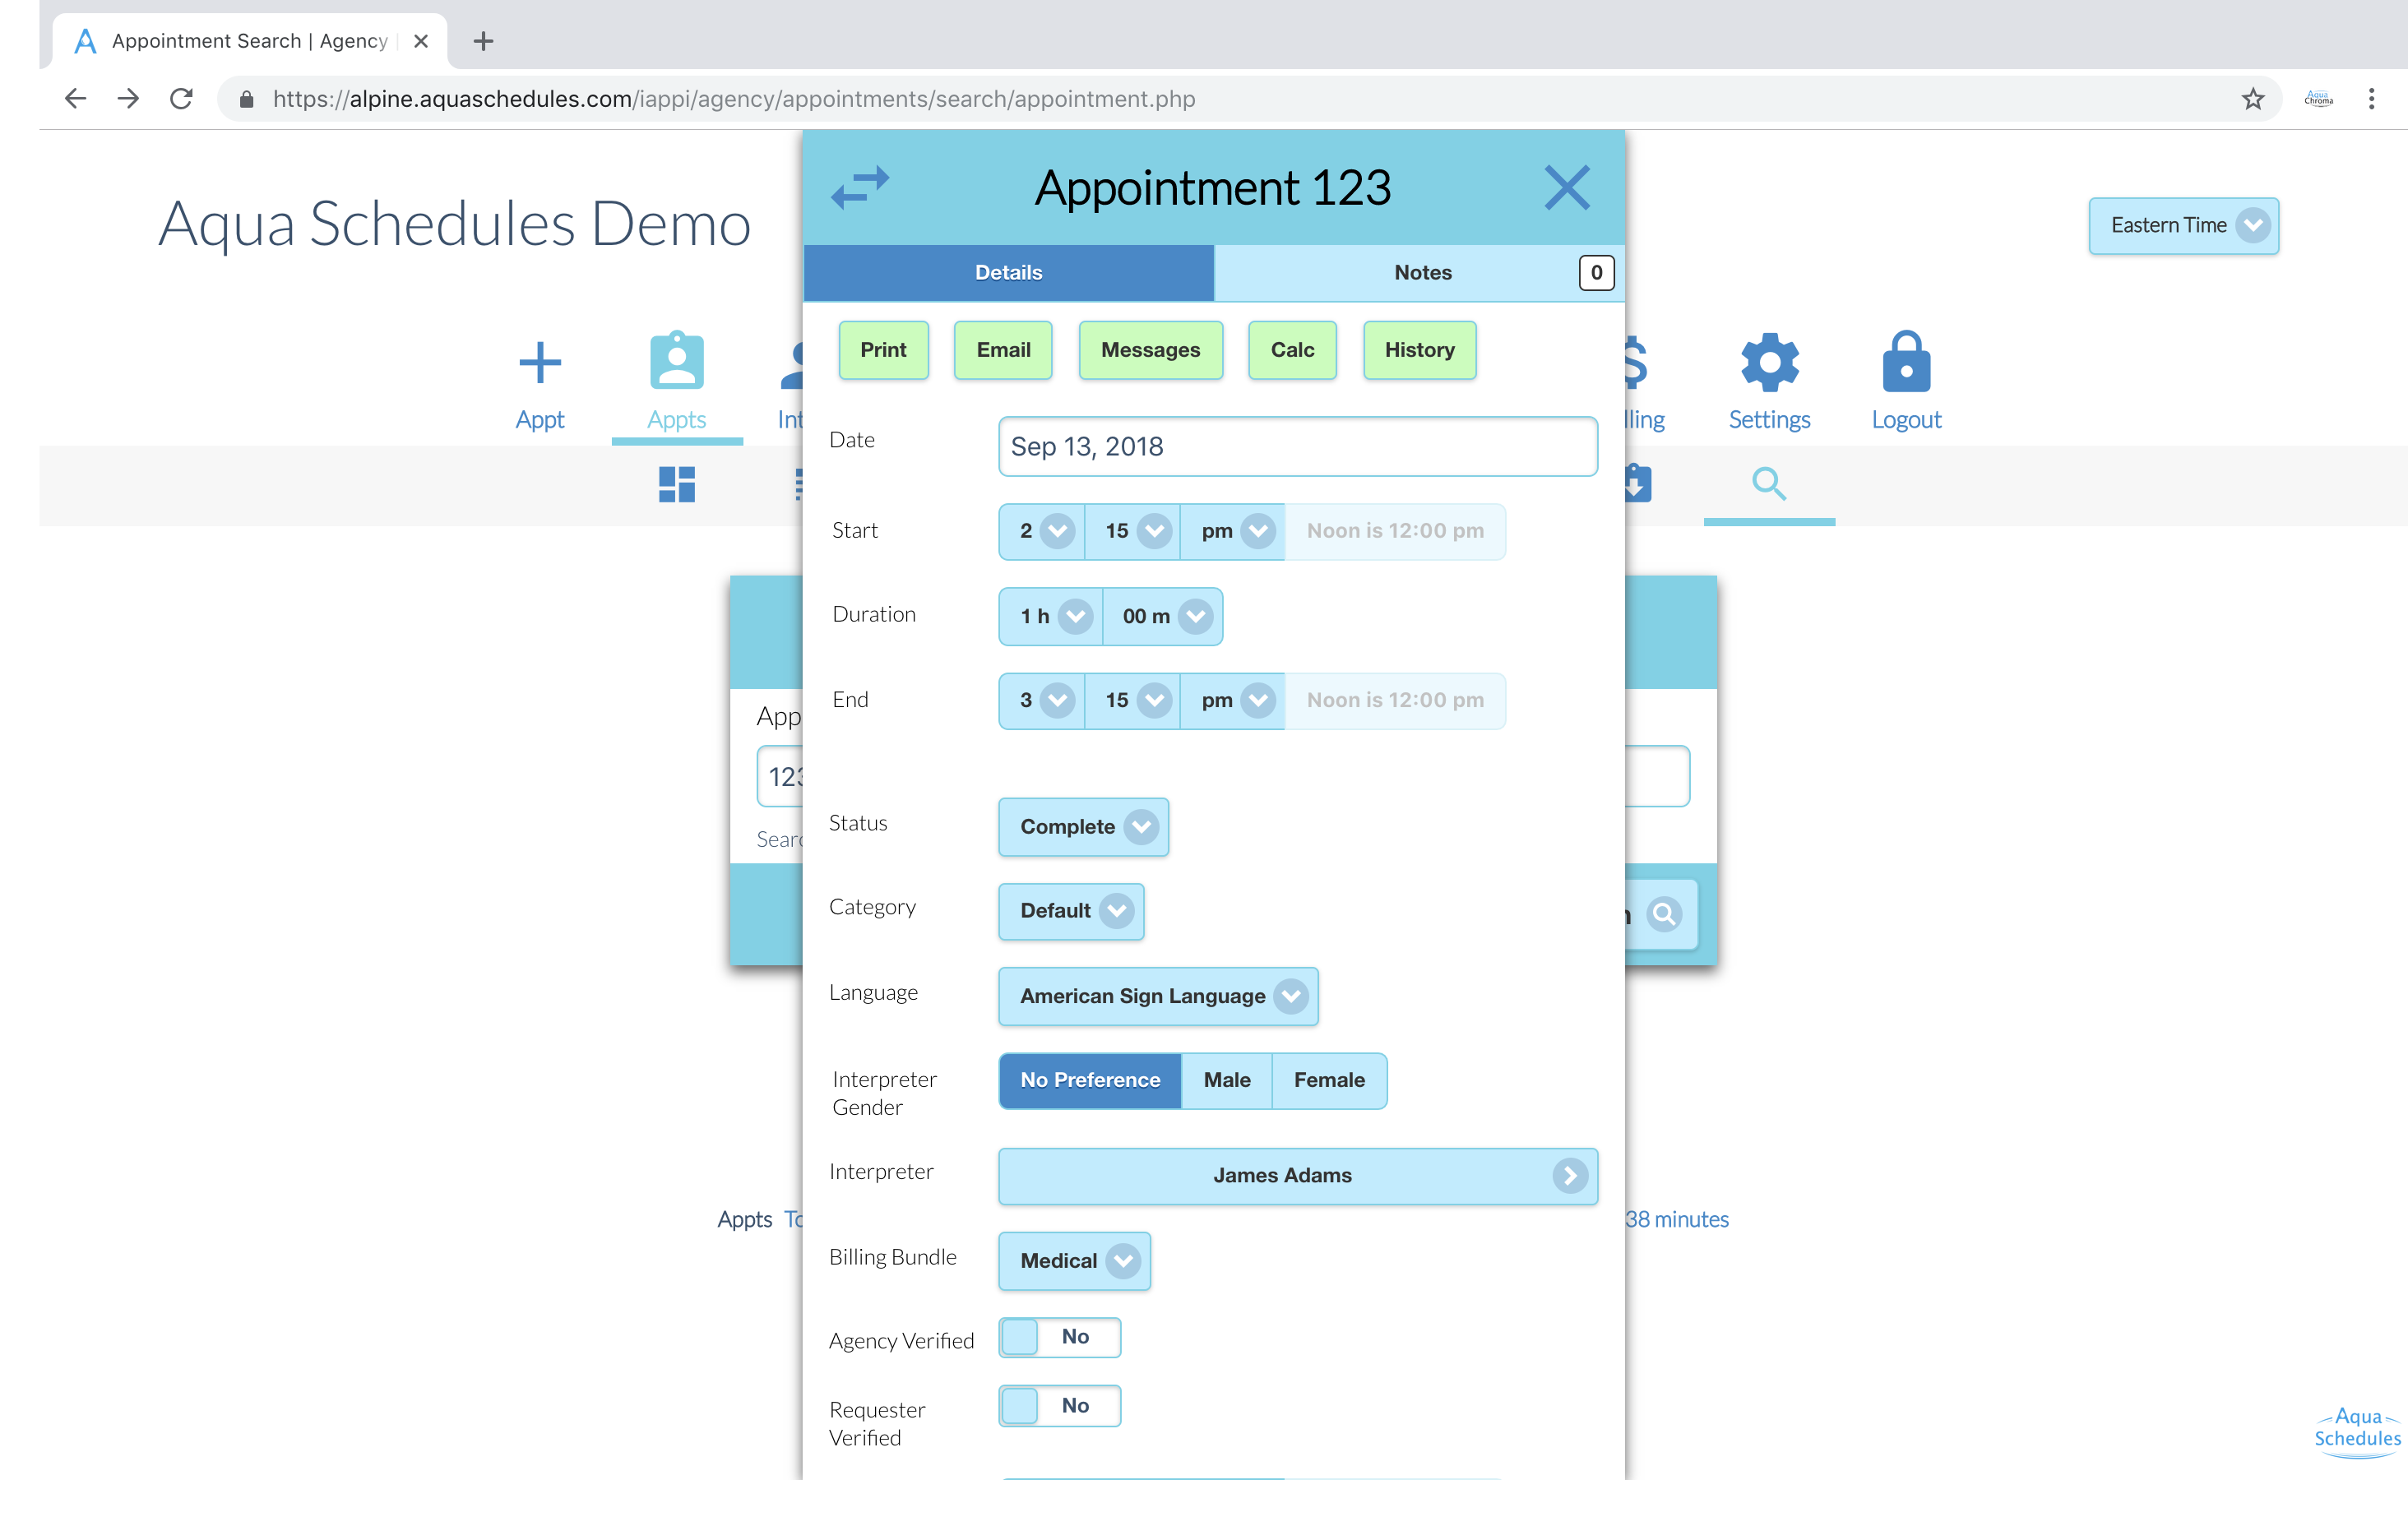
Go to Settings => General Settings. This area controls our more significant configuration options. Scan through this page to see if anything should be enabled/disabled based on your agency. Spend some time looking at appointment settings as it helps calibrate the appointment form.