Edit Layout (Appointments)
Edit Layout, display format of information shown on that page just for your account.
[Edit Layout] (Appointments)
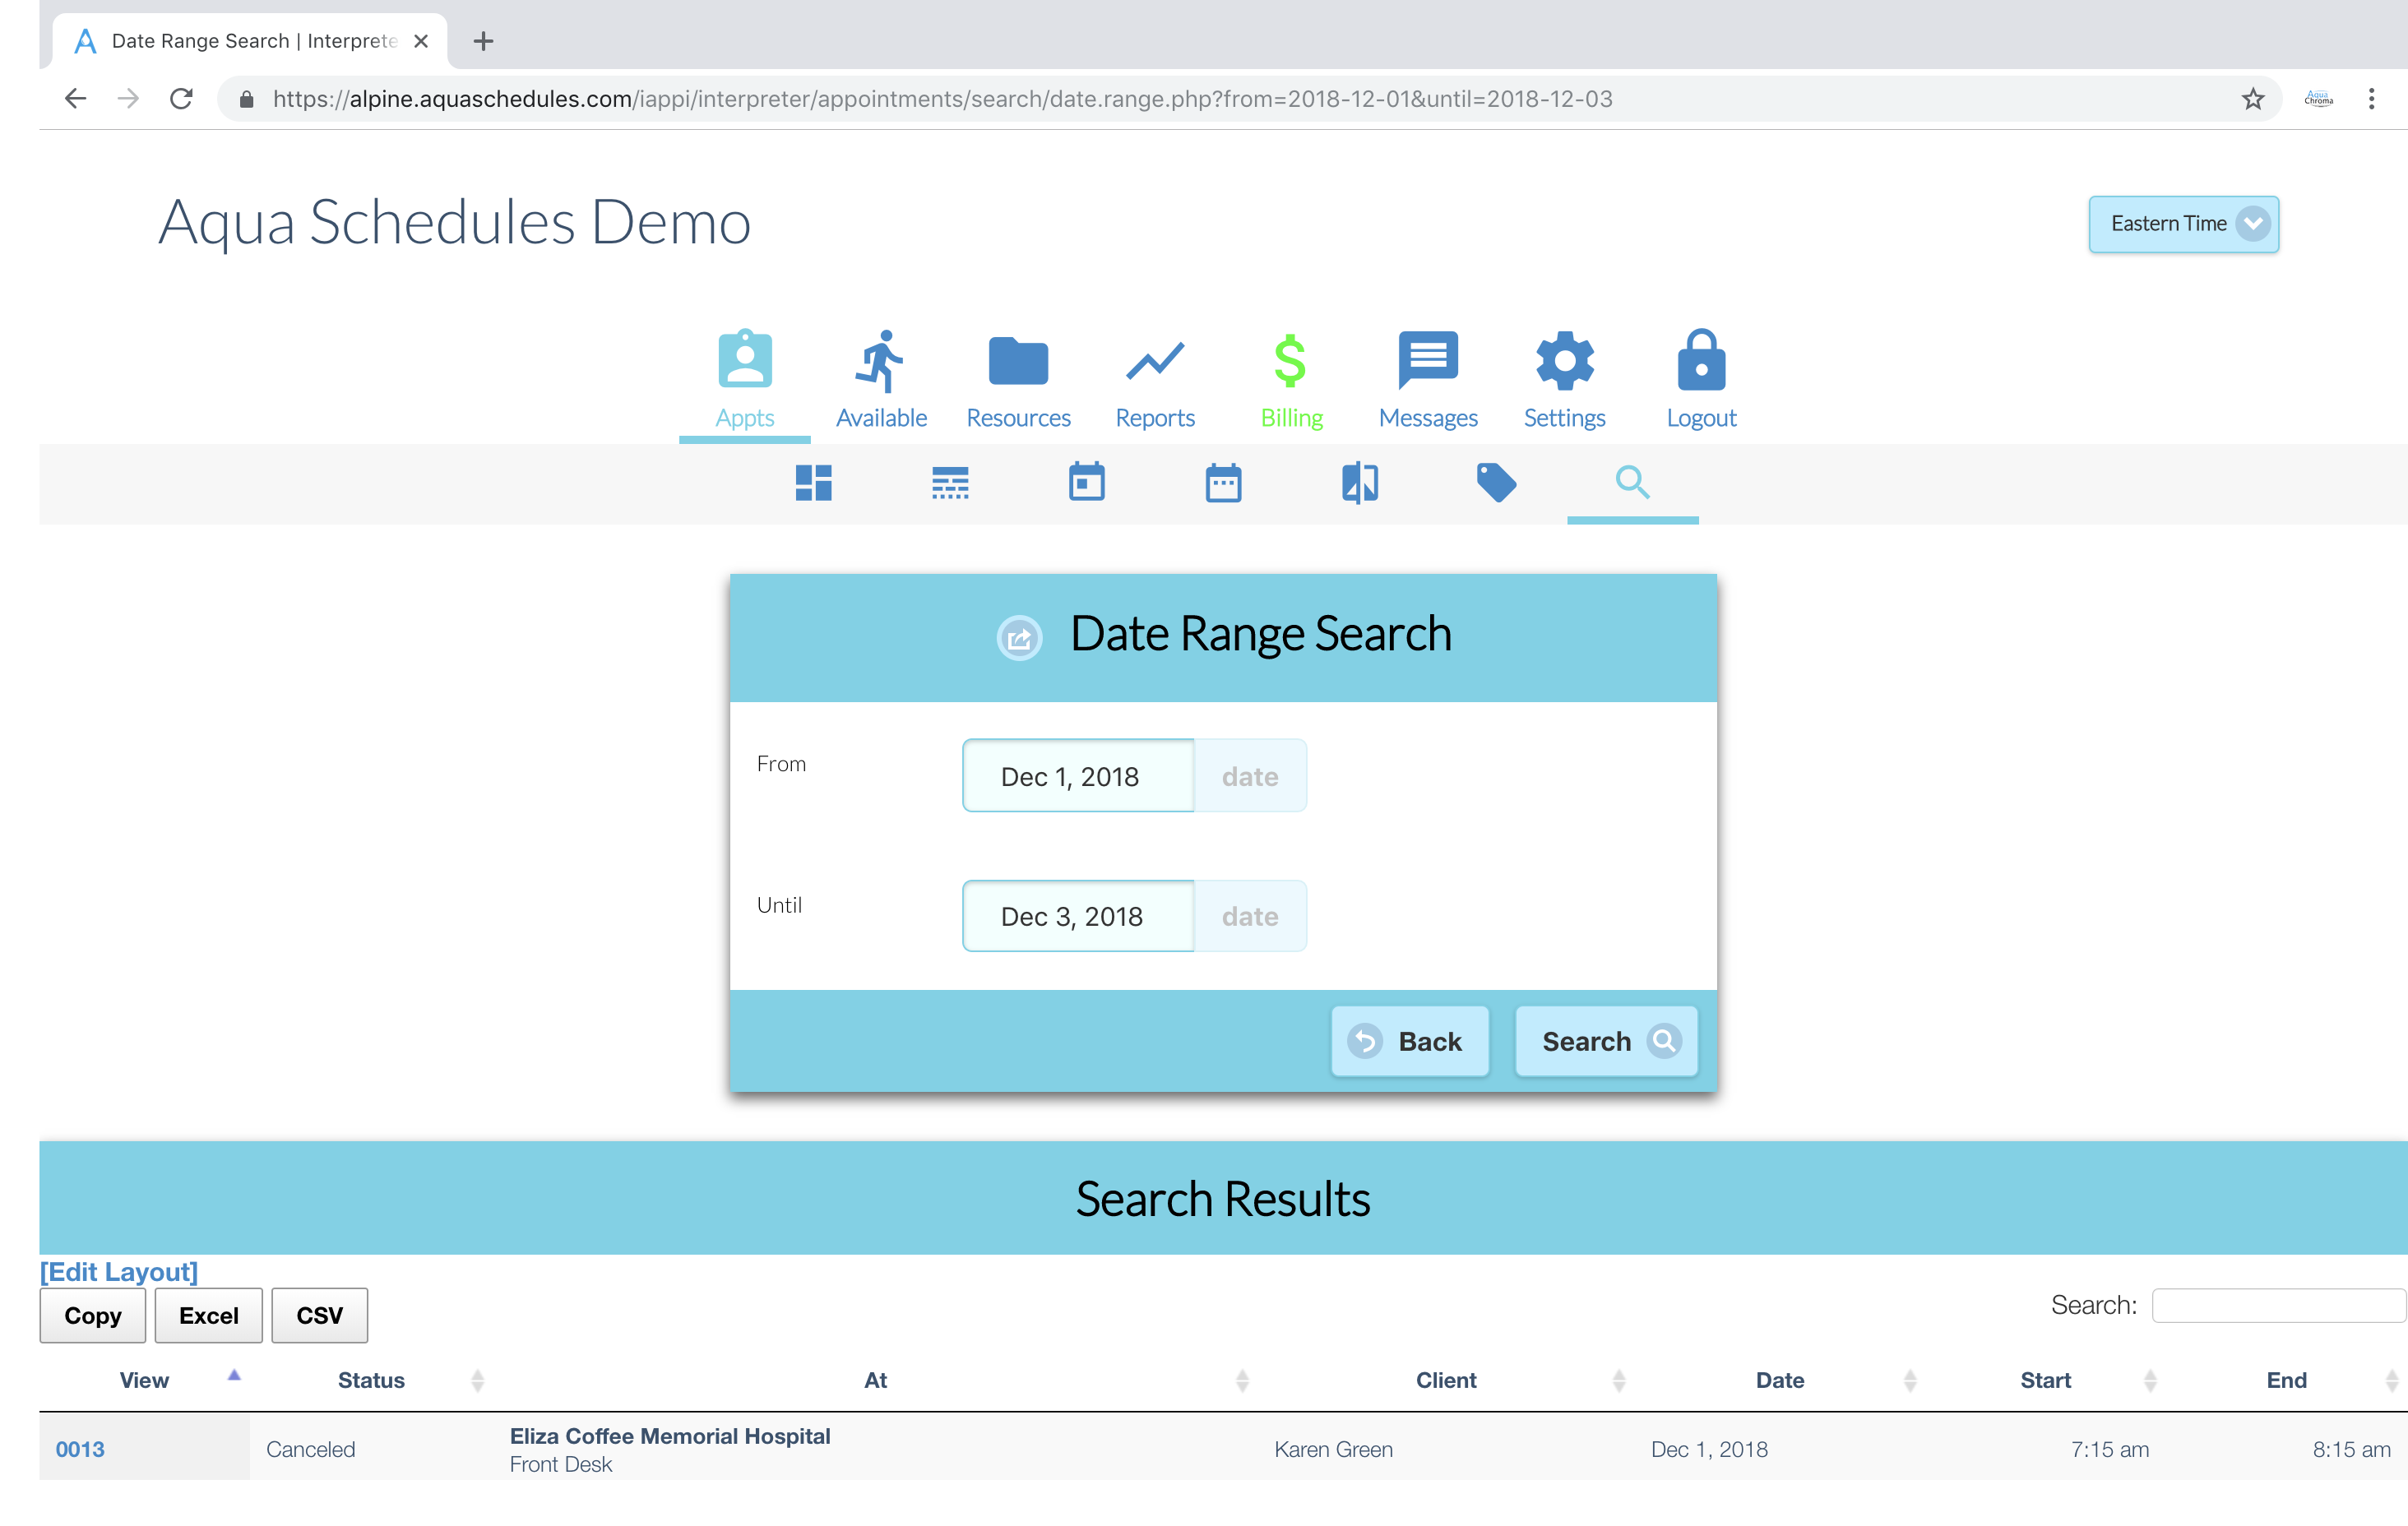
The purpose of the "Edit Layout" feature is to allow the user to completely customize how appointment information is displayed. To access this feature, simply click the appointments tab at the top of the page, and scroll past the mini calendar. On the left hand side of the screen on top pf the table on the left side, you will find the edit layout button. With this feature, you can use html elements to change the configuration of the table.
To use html elements, know that:
Everything to the left of the "|" symbol is the title of the column you are entering. Everything to the right of the "|" symbol is where fun stuff happens. Enter the text the viewer will see in {a set of these brackets.} To the right of that is what you enter that changes the layout of the text.
For example, you want the viewer to see a column titled "Time"; You would enter into the editor:
Time|{Time}
Another example; you want to display a row of columns with the following titles: View, Status, Category, At, Client, Start, End, Language, and Interpreter respectively, you would enter this into the text box editor:
view|{View}
Status|{Status}
Category|{Category}
At|{Customer Linked}
{Location Name}
Client|{Client Name}
Start|{Requested Start Time}
End|{Requested End Time}
Language|{Language}
Interpreter|{Interpreter Linked}
To change the order in which the elements appear, simply type them in the order you like them in. These are not the only fields you are able to enter, though! You can make columns with billing information, among other things, please see the "Key Fields Help" tab to get an extensive list of other column titles you may want to consider using in your appointment table.
You may have wondered, <what is this used for?> THAT is an HTML element, used to alter the text. <strong> boldens the text in the brackets after it. <br> moves the text down one line. there is a huge diversity of html elements and they can do almost anything you need.
Once you've gotten your table how you like it, click the save button in the bottom right of the screen to check your work and see if you like what you've created, and that everything is functioning correctly. If you make a mistake you don't know how to fix in the editor, simply use the cancel button found by the save button in the bottom right of the screen. If you need to start completely over, click the restart button also found in the bottom right of the screen. it is easy to edit, save, and view, then go back and make any changes you deem necessary.


