Agency Tour
Agency video walkthrough.
Welcome to Aqua Schedules!
In this video, we will take you on a high level tour of the scheduling system using the agency interface. Please look at our other videos that focus on each specific feature of the scheduling system as well.
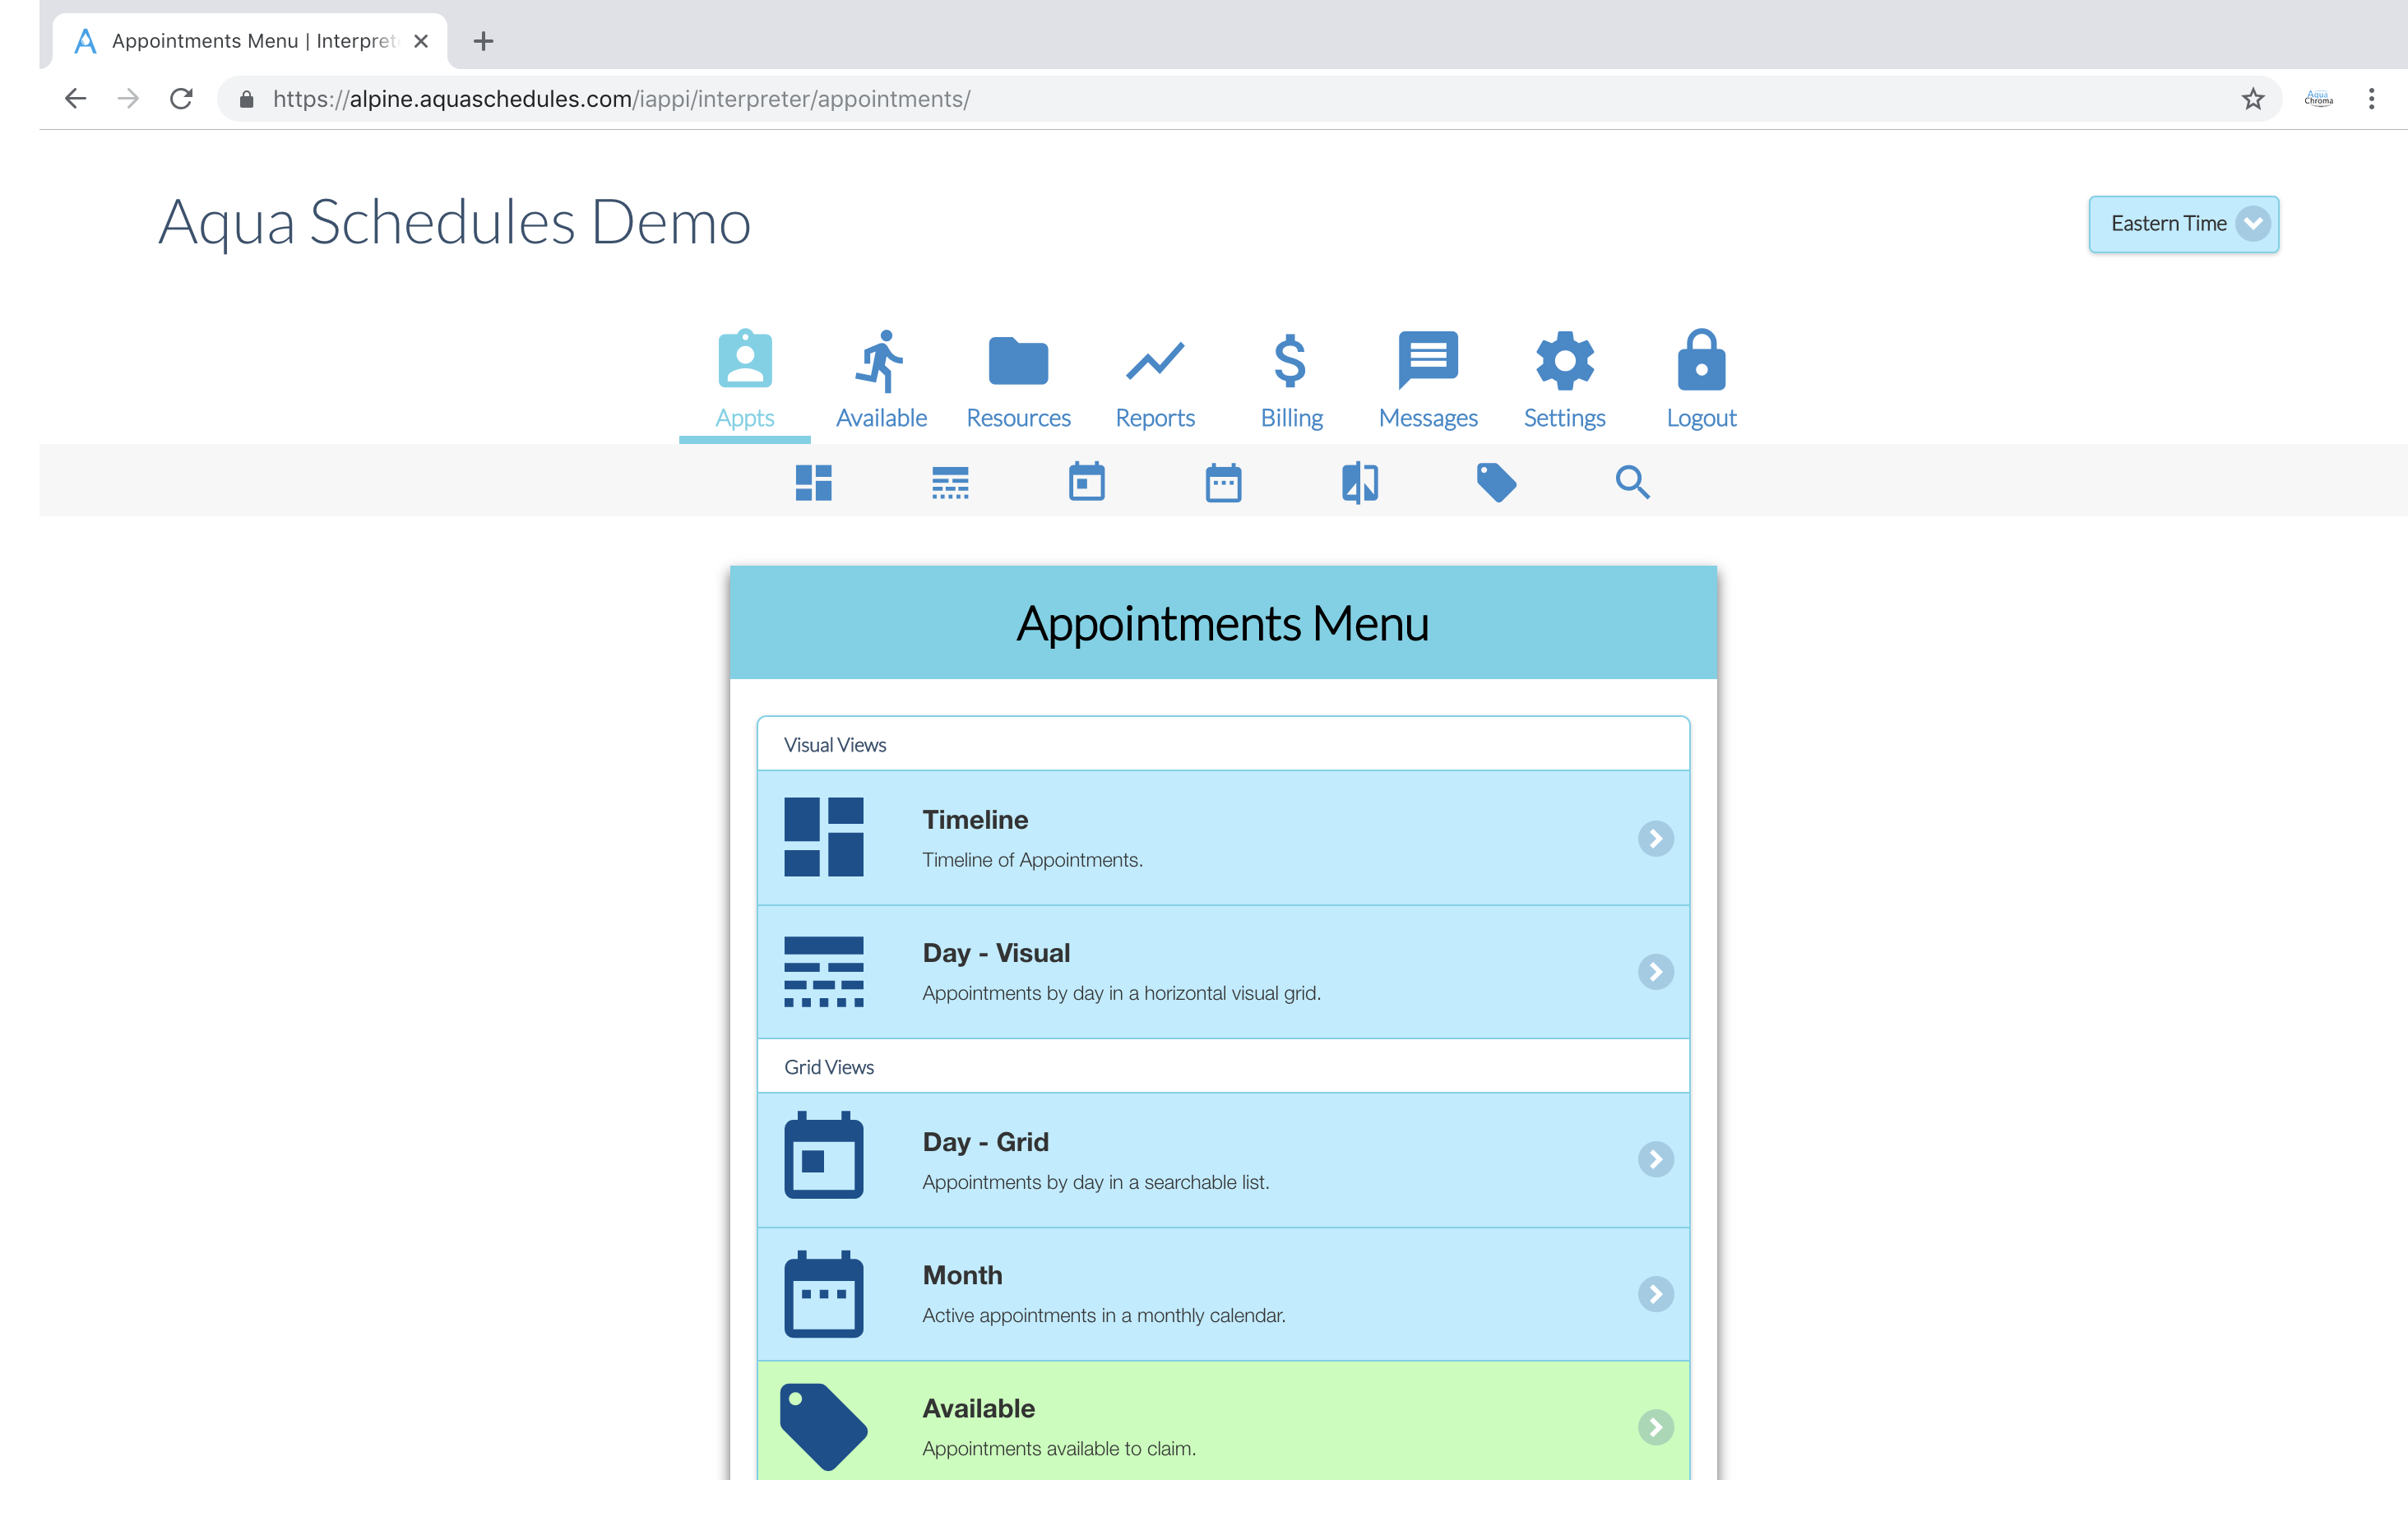
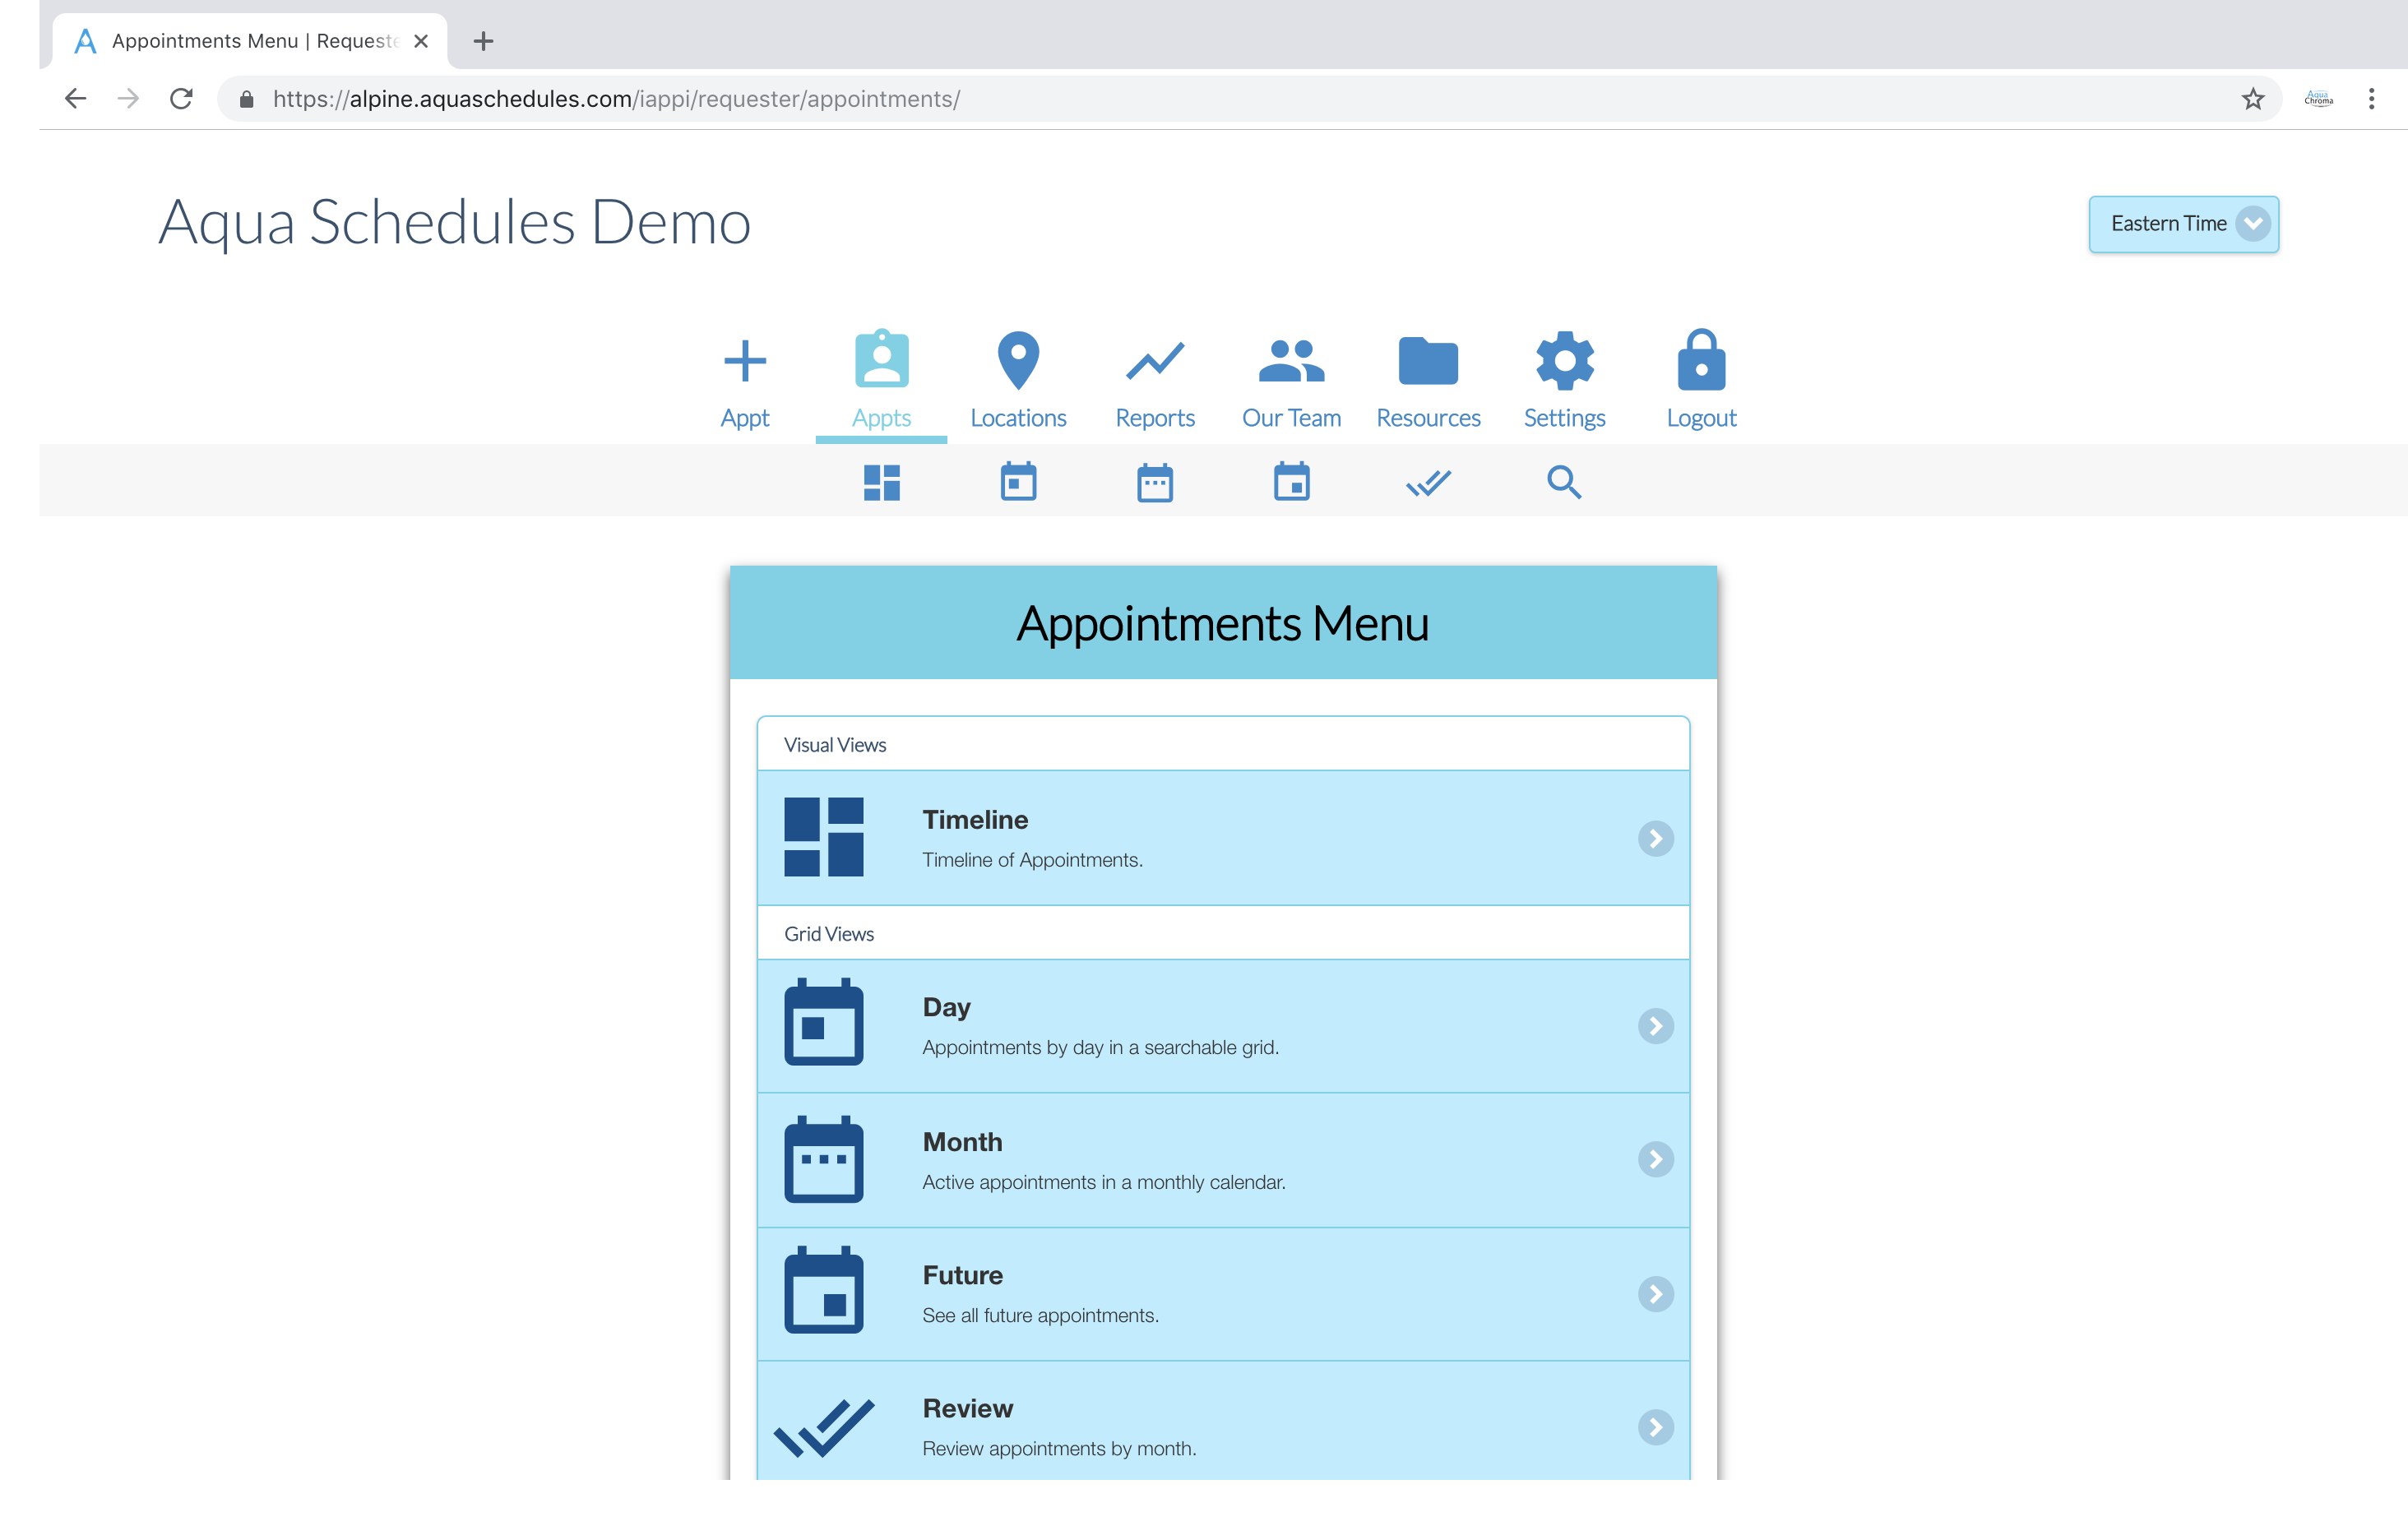
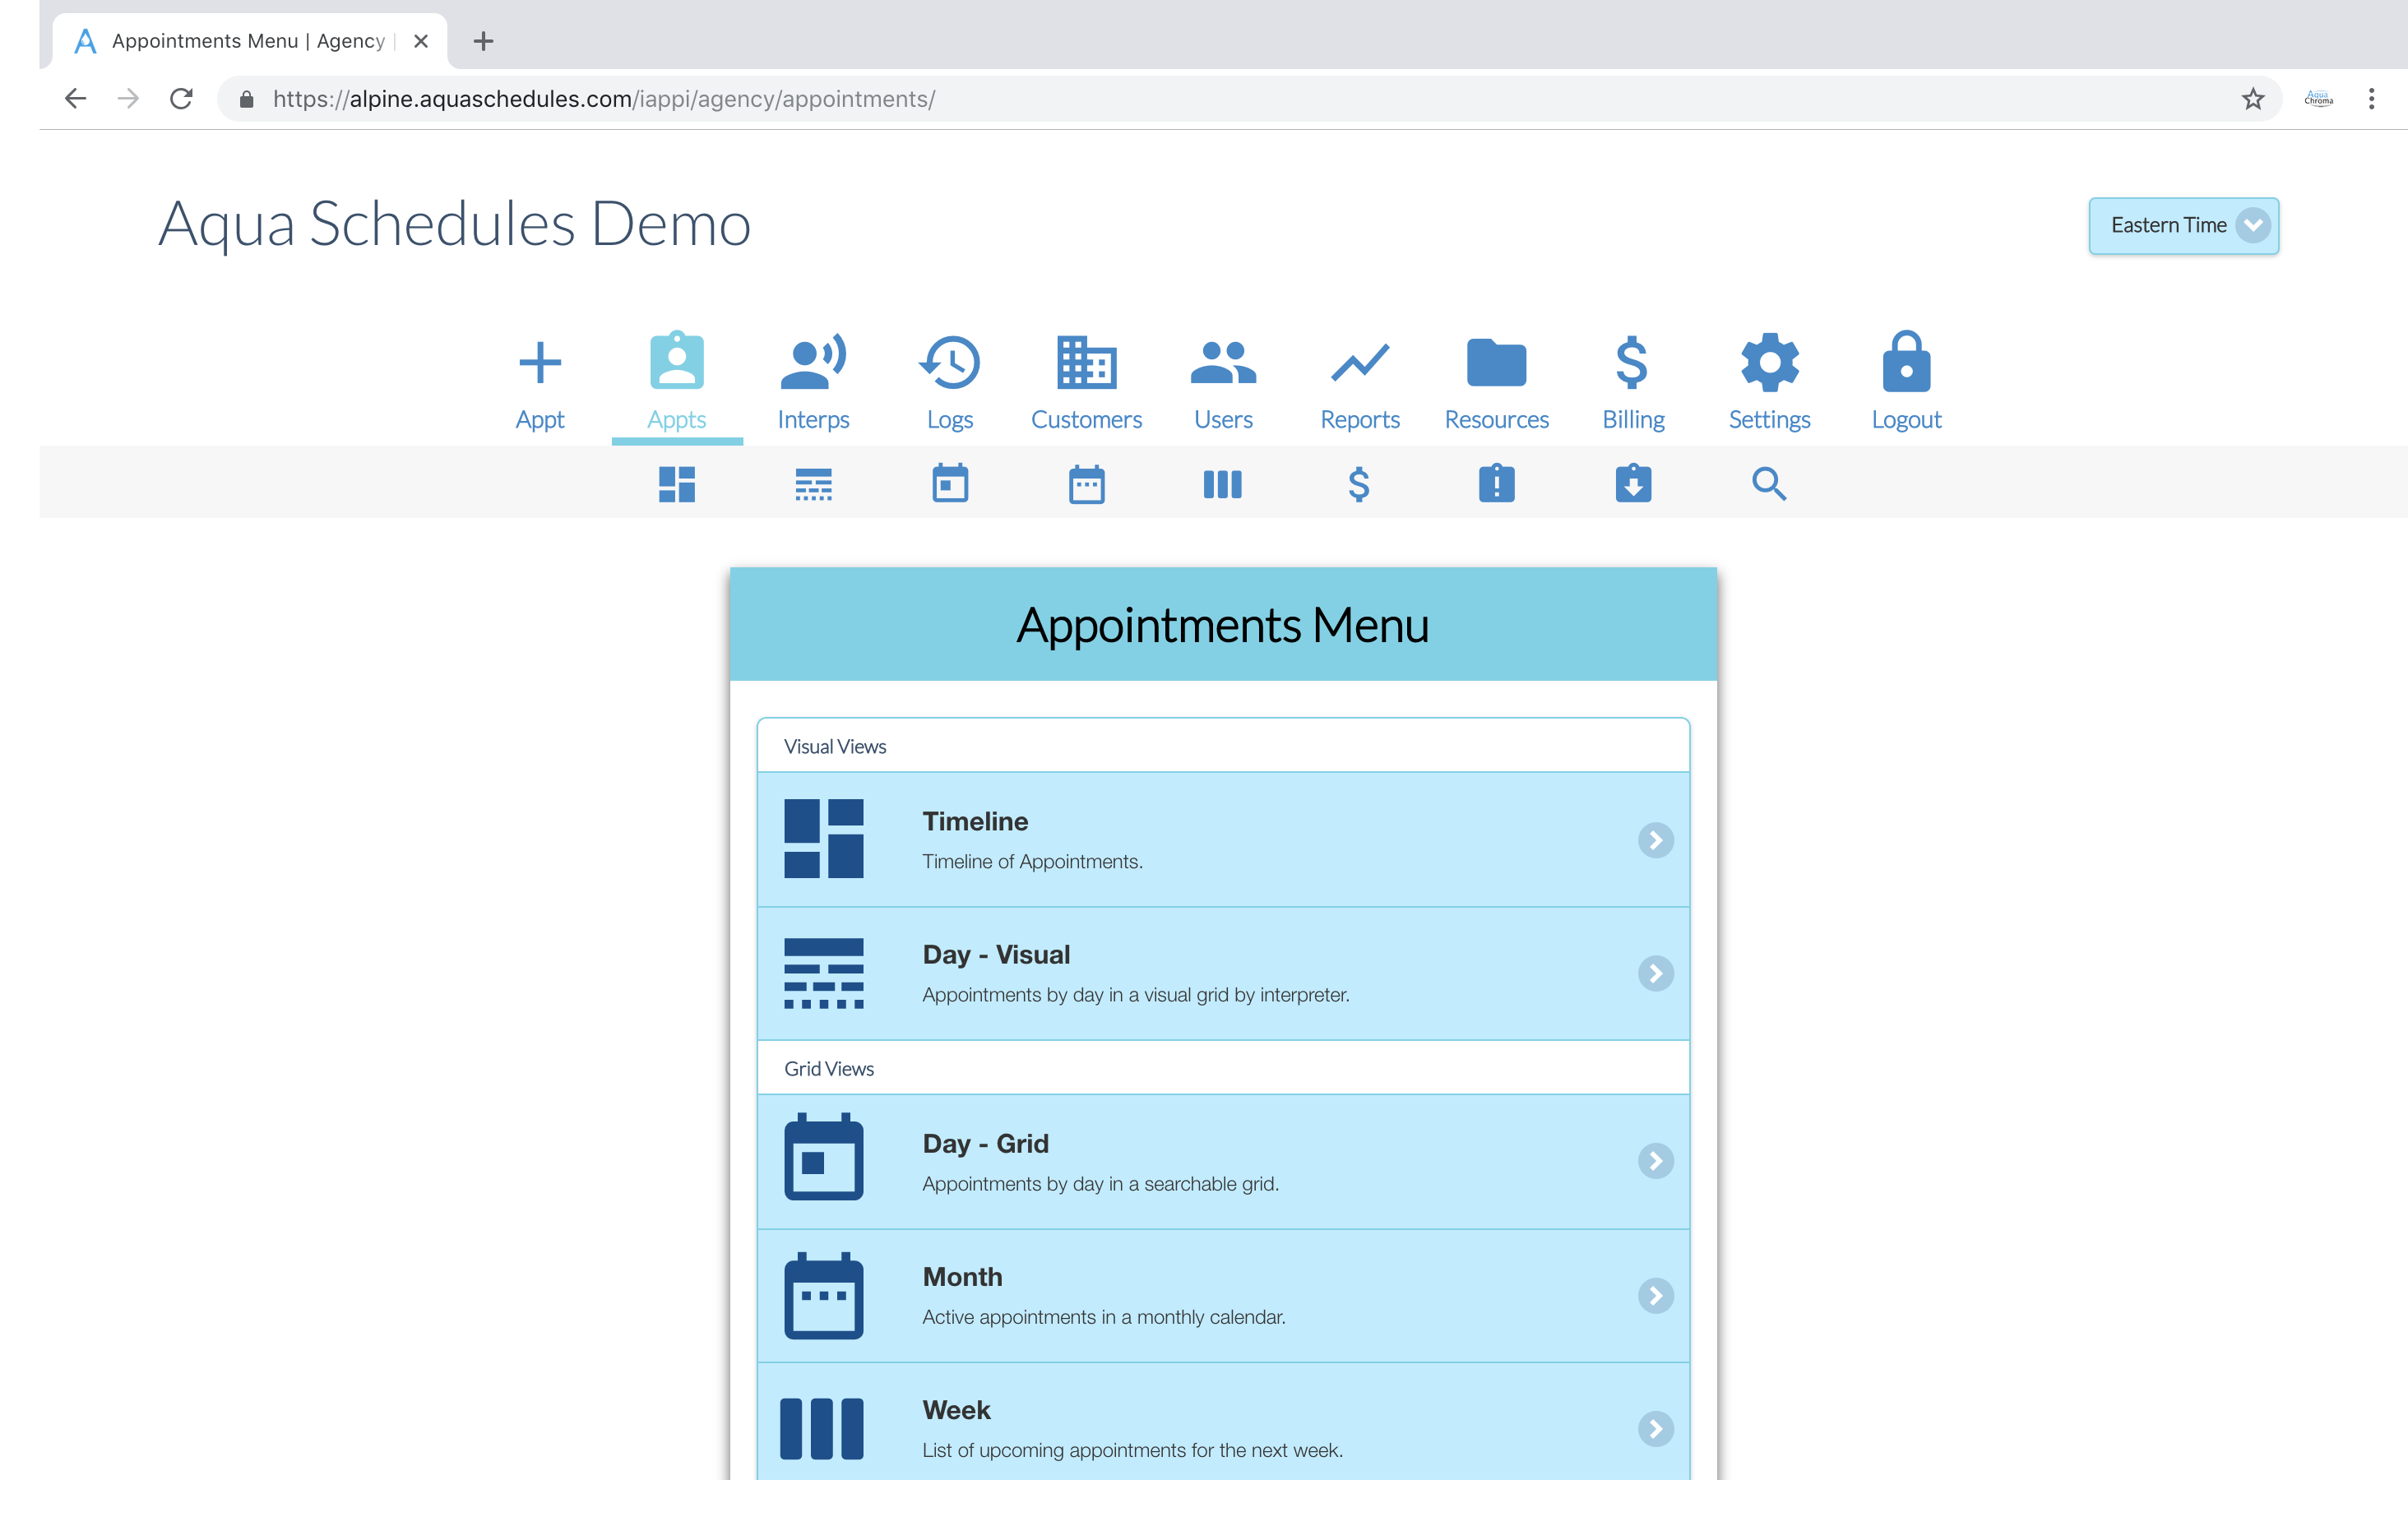
When we log in, the first menu we see is the appointments menu. This menu is where we create and manage all appointments from the initial creation up until billing and invoicing. Lets take a quick look into each section to show what each area is intended for.
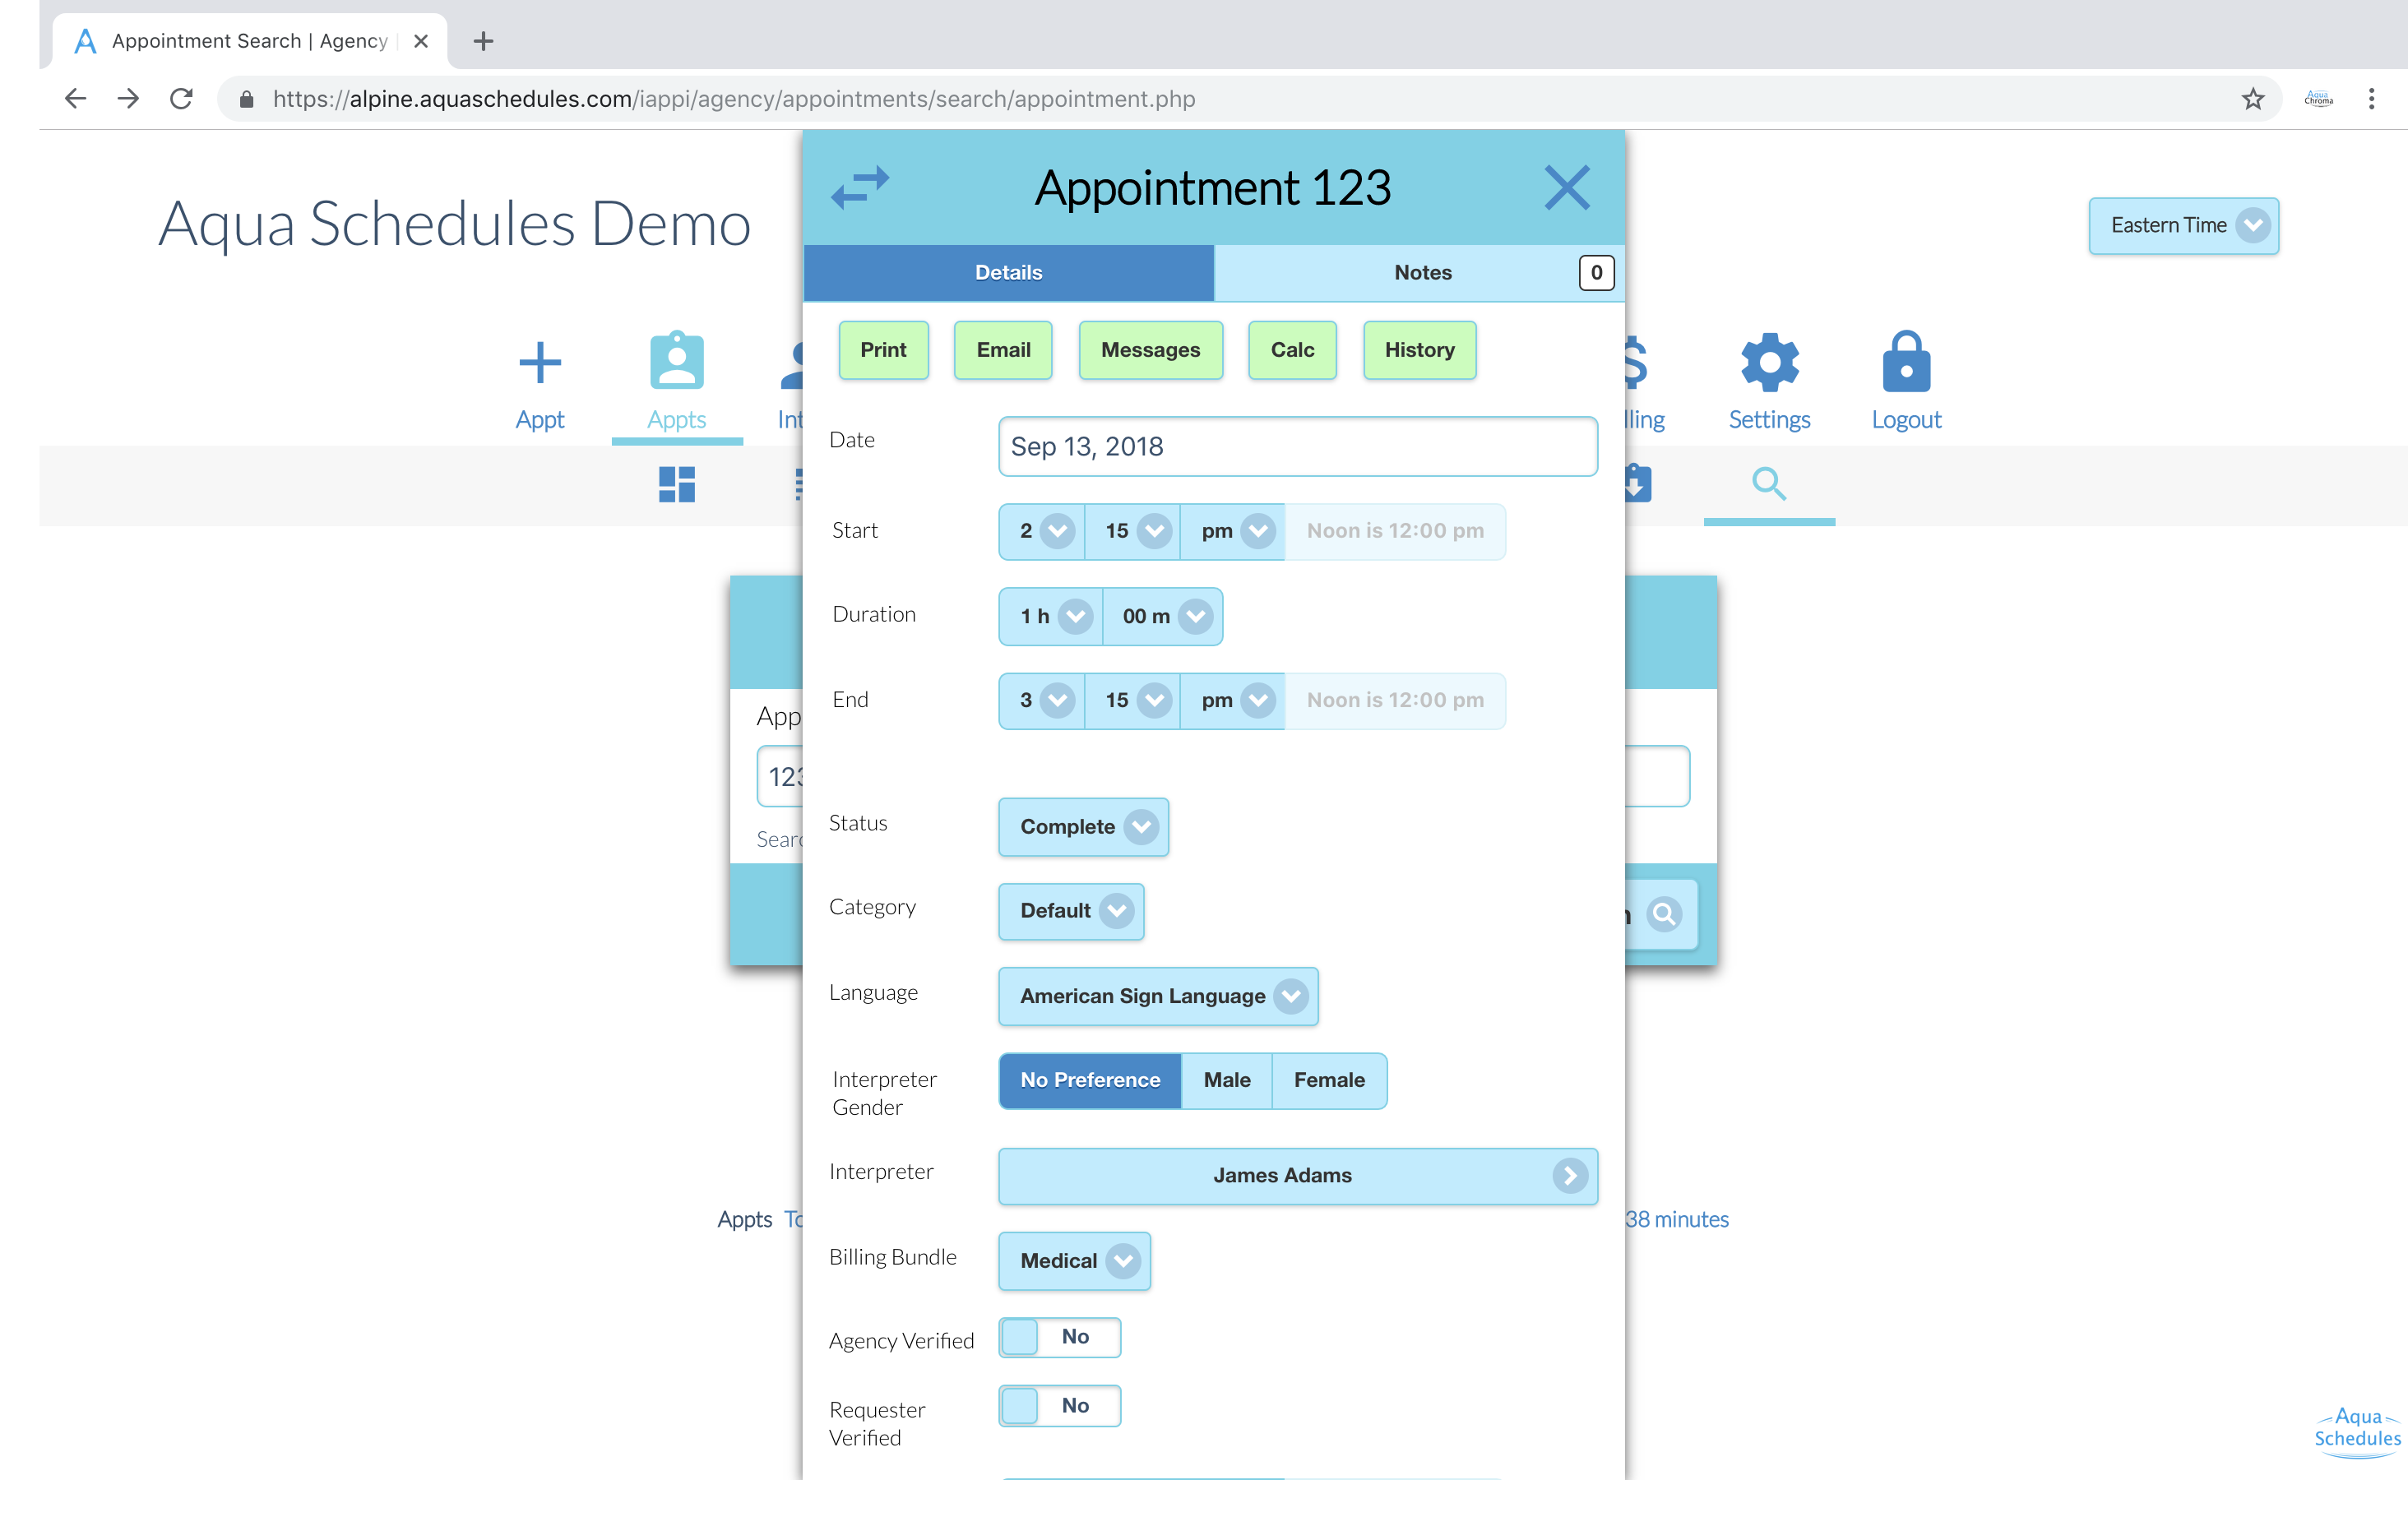
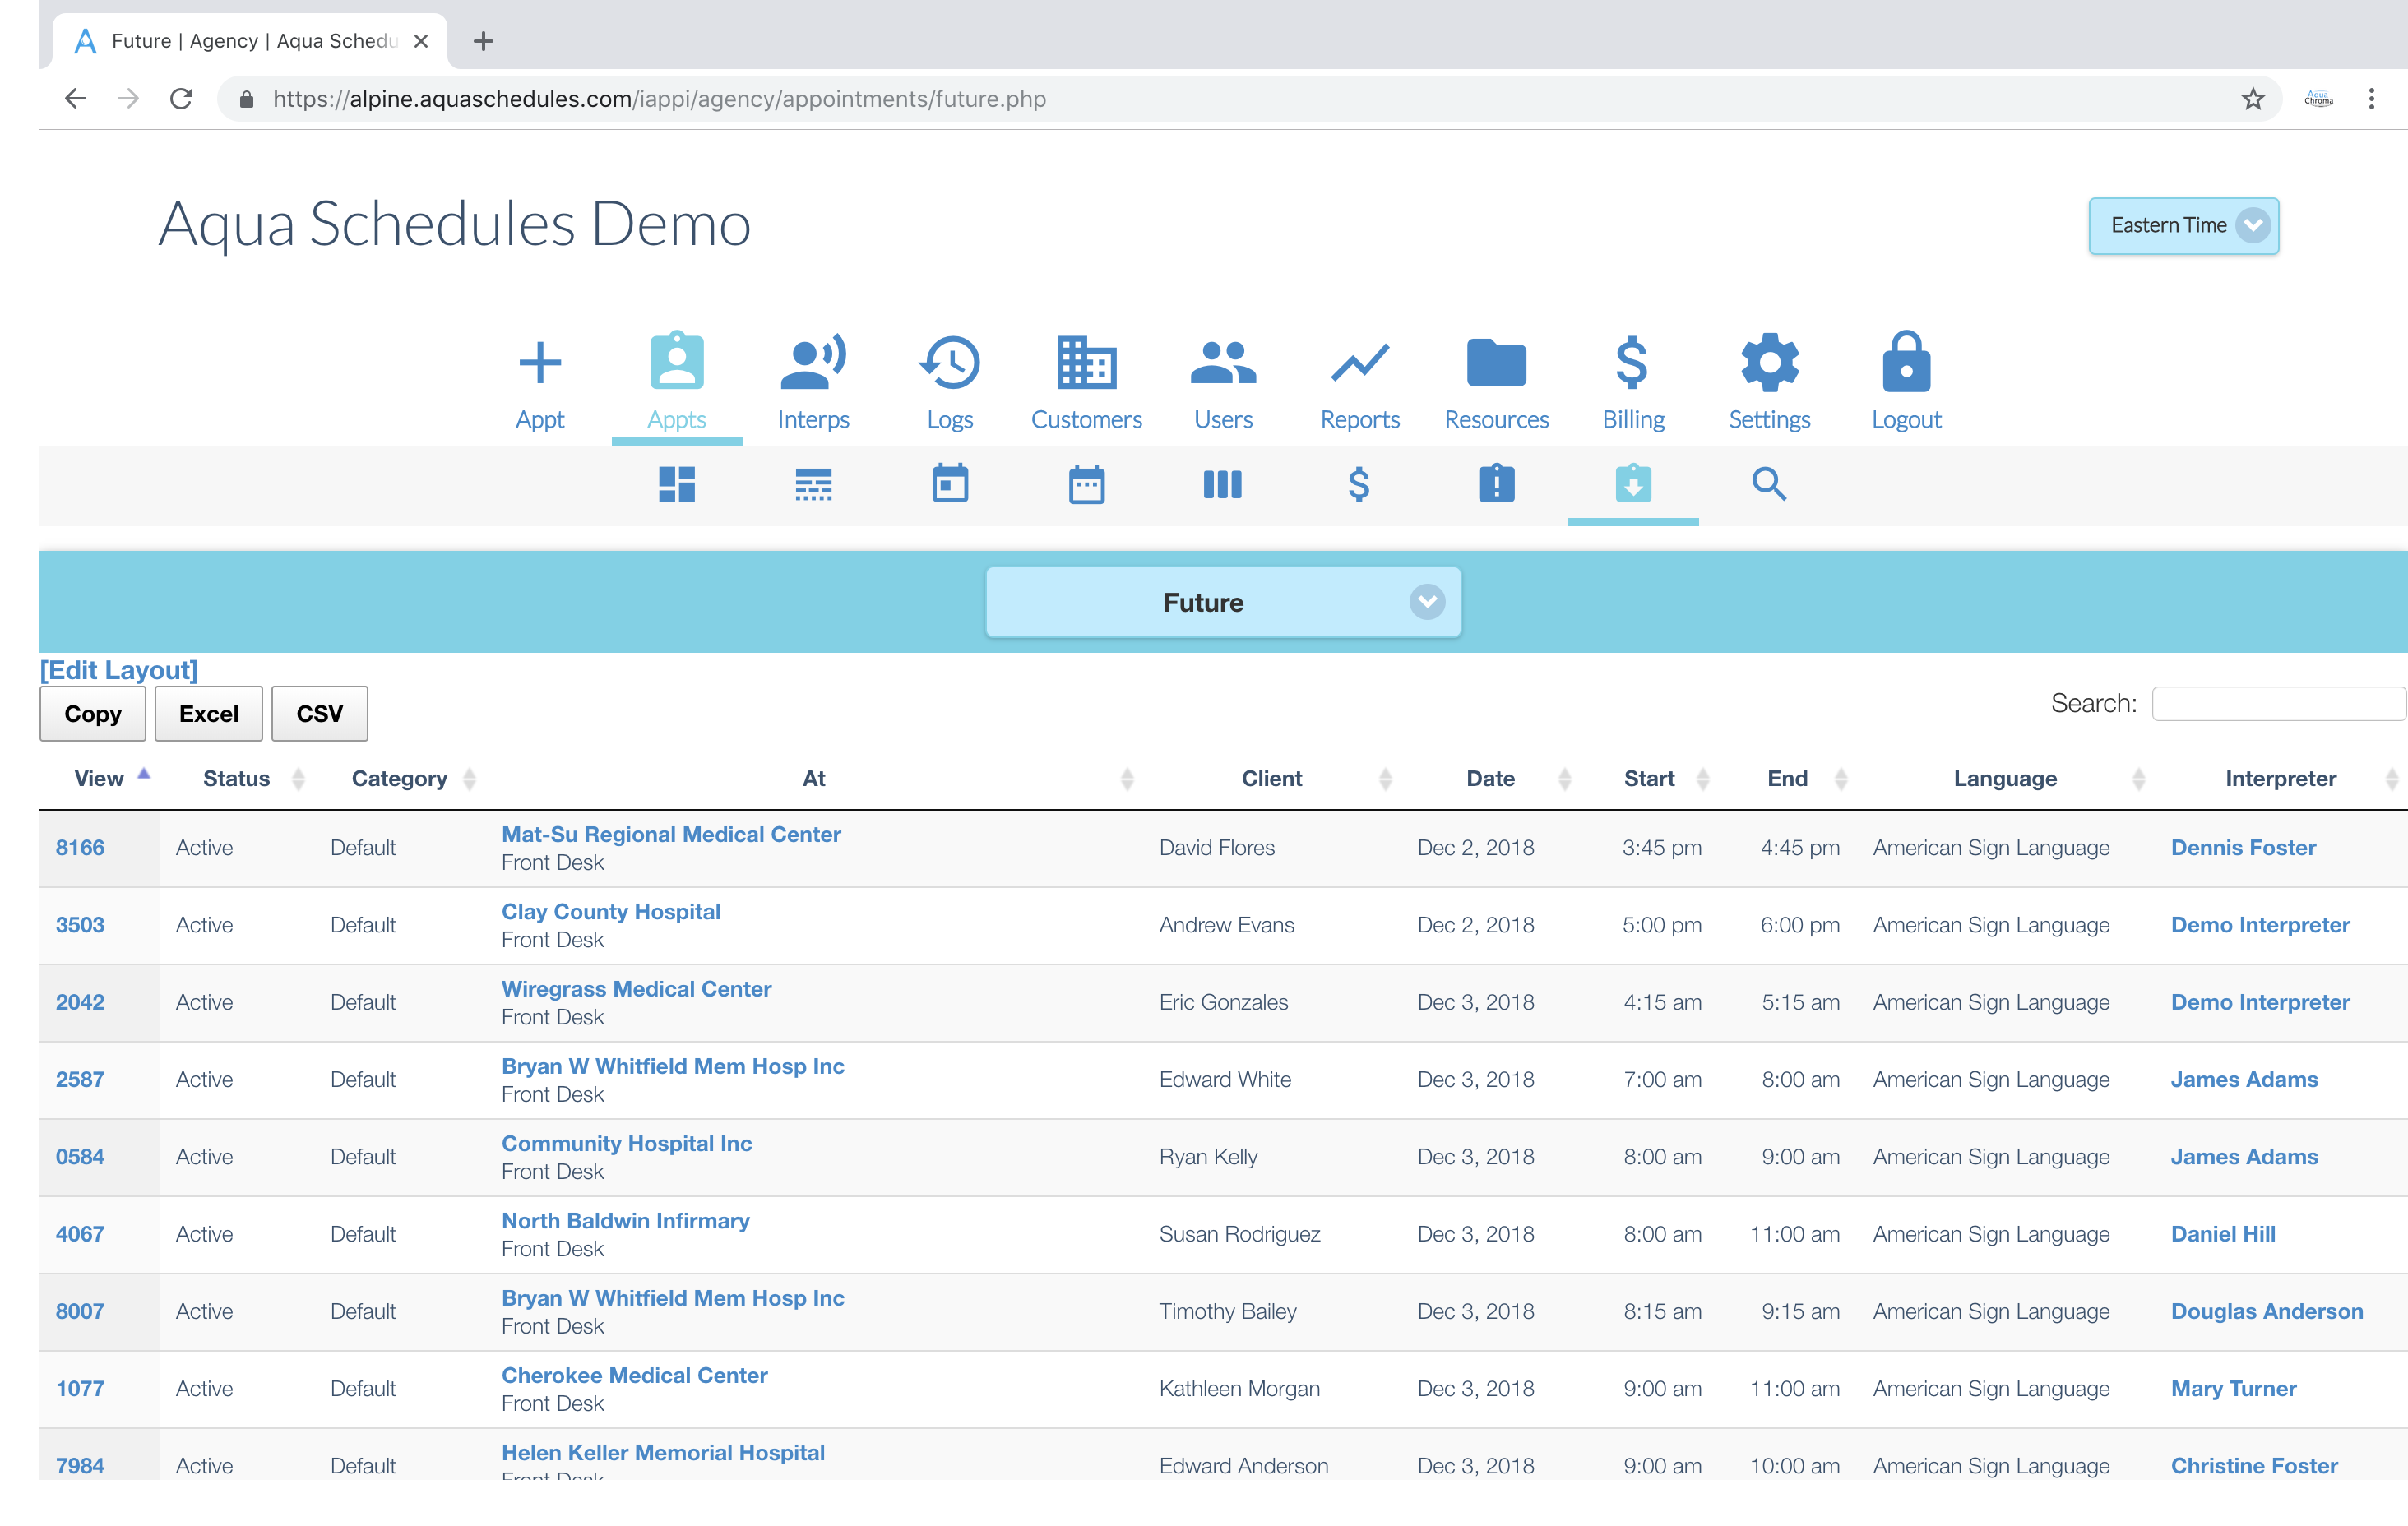
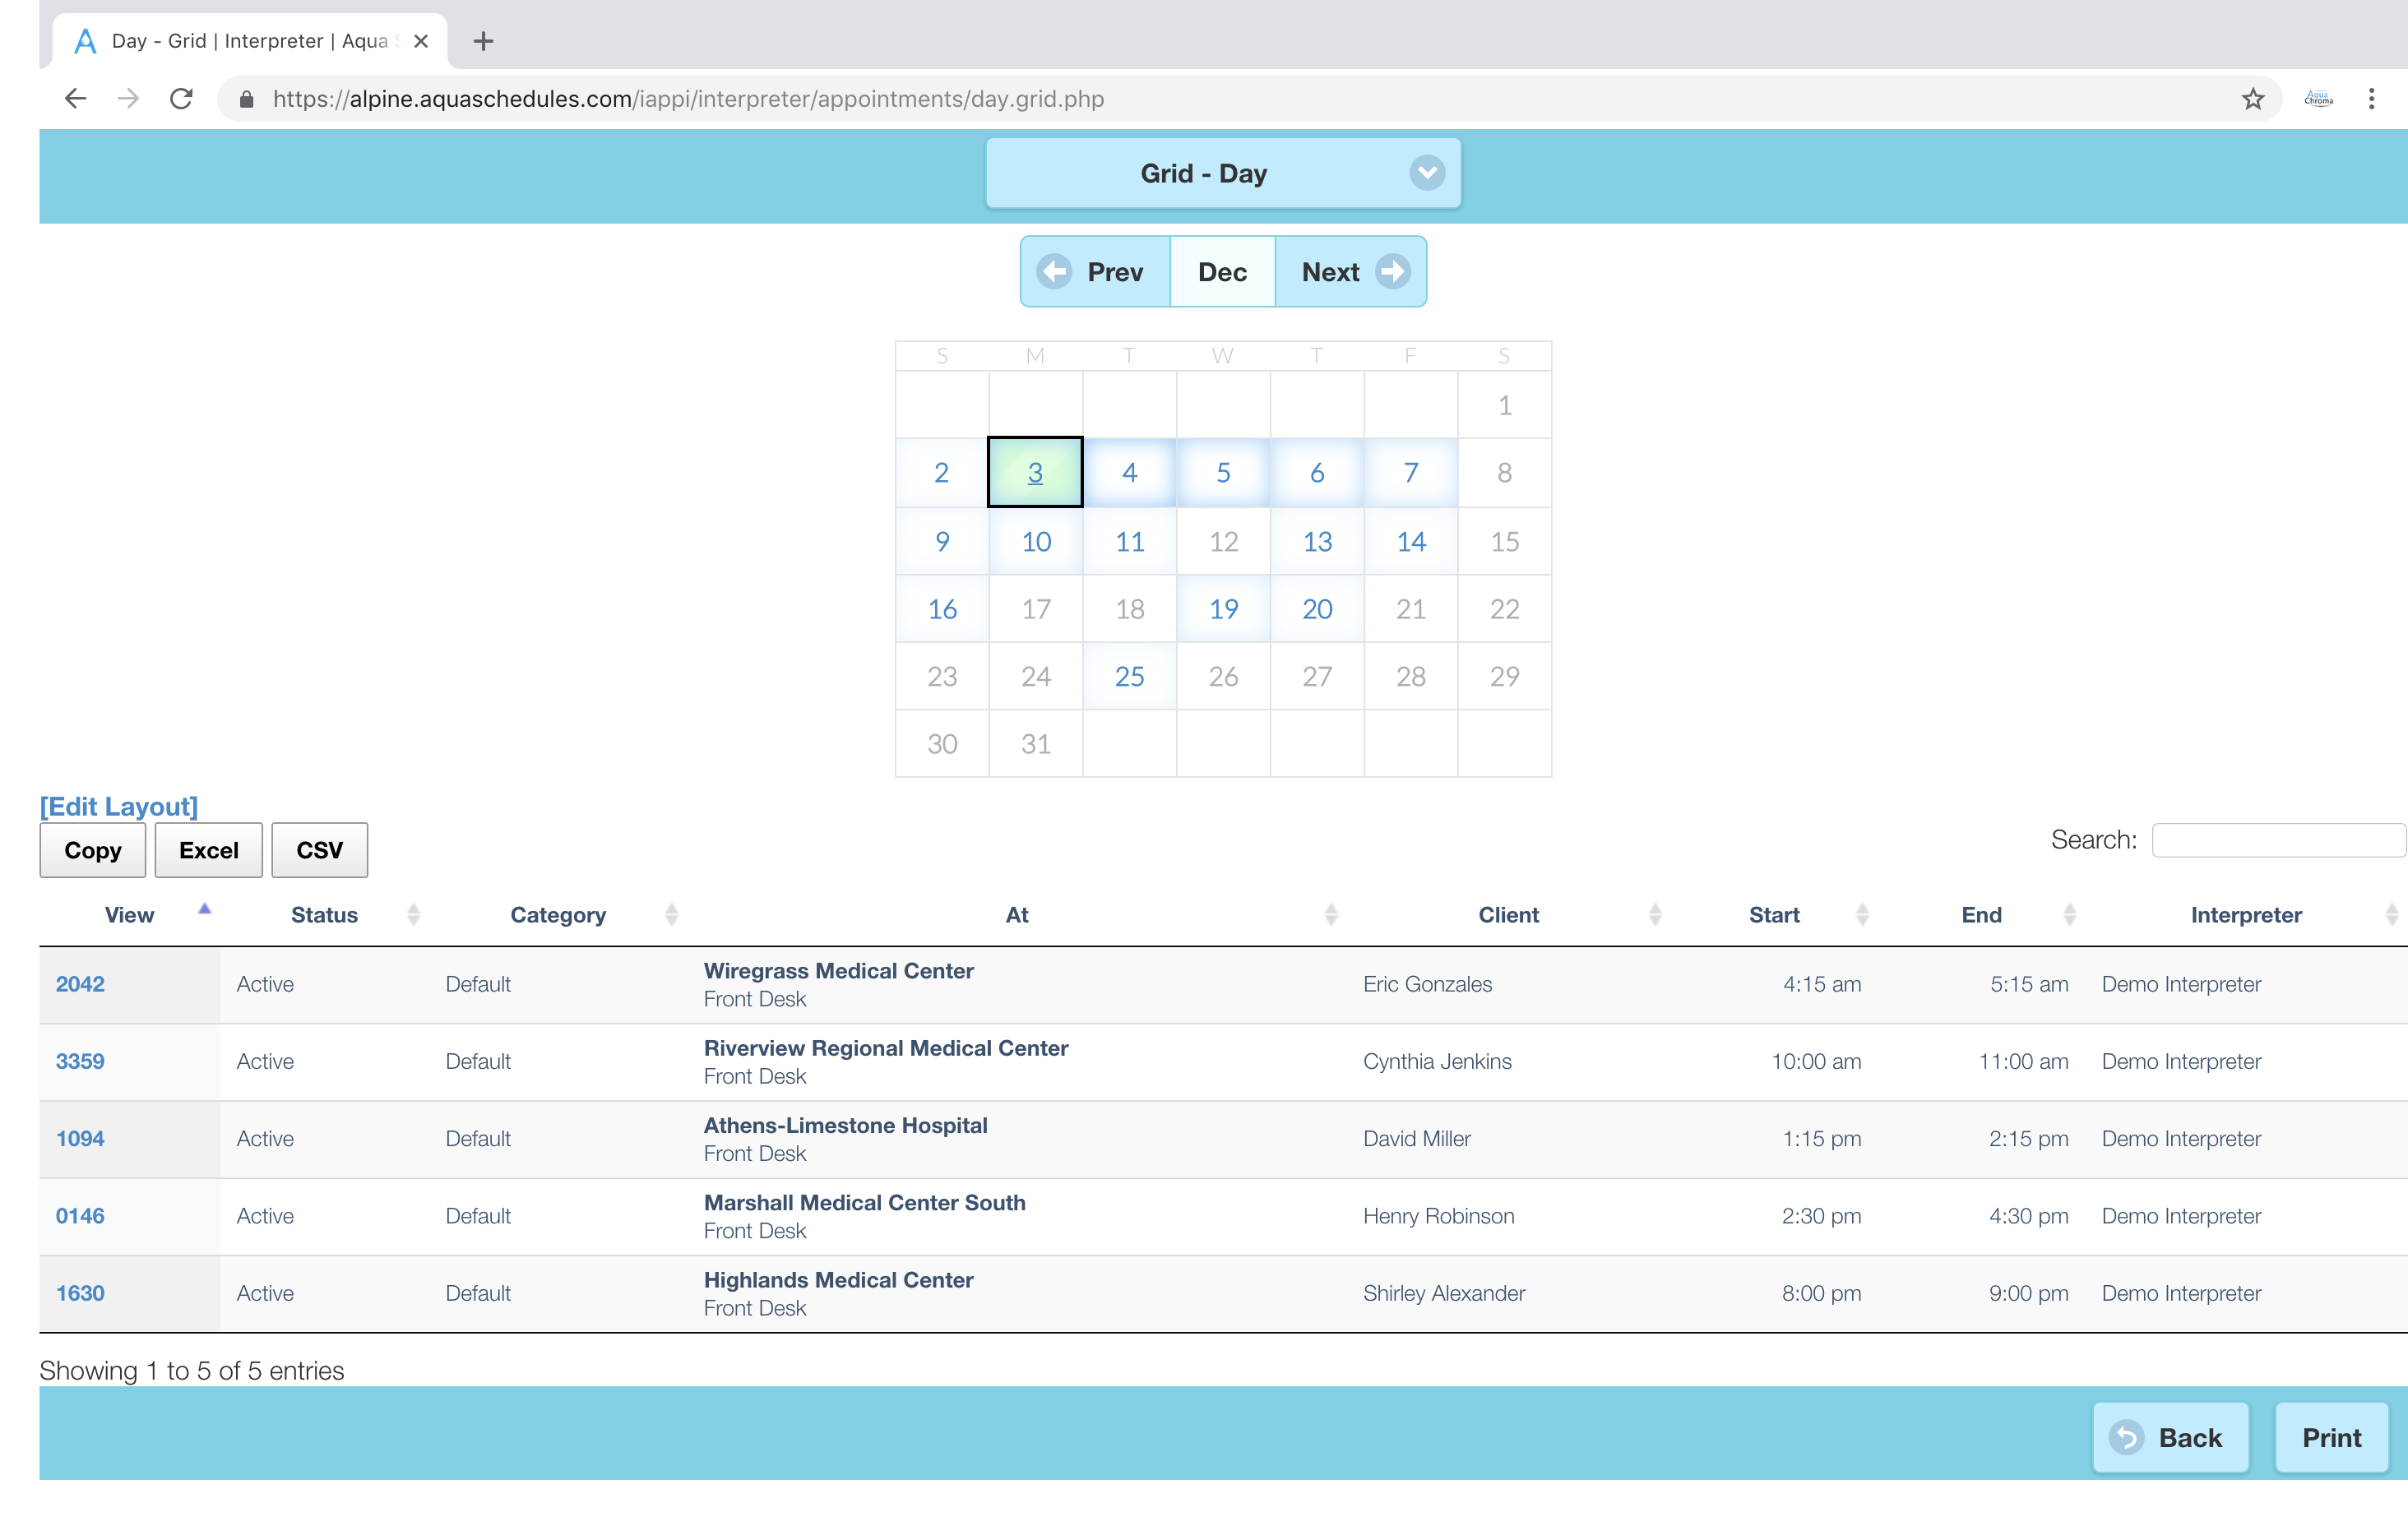
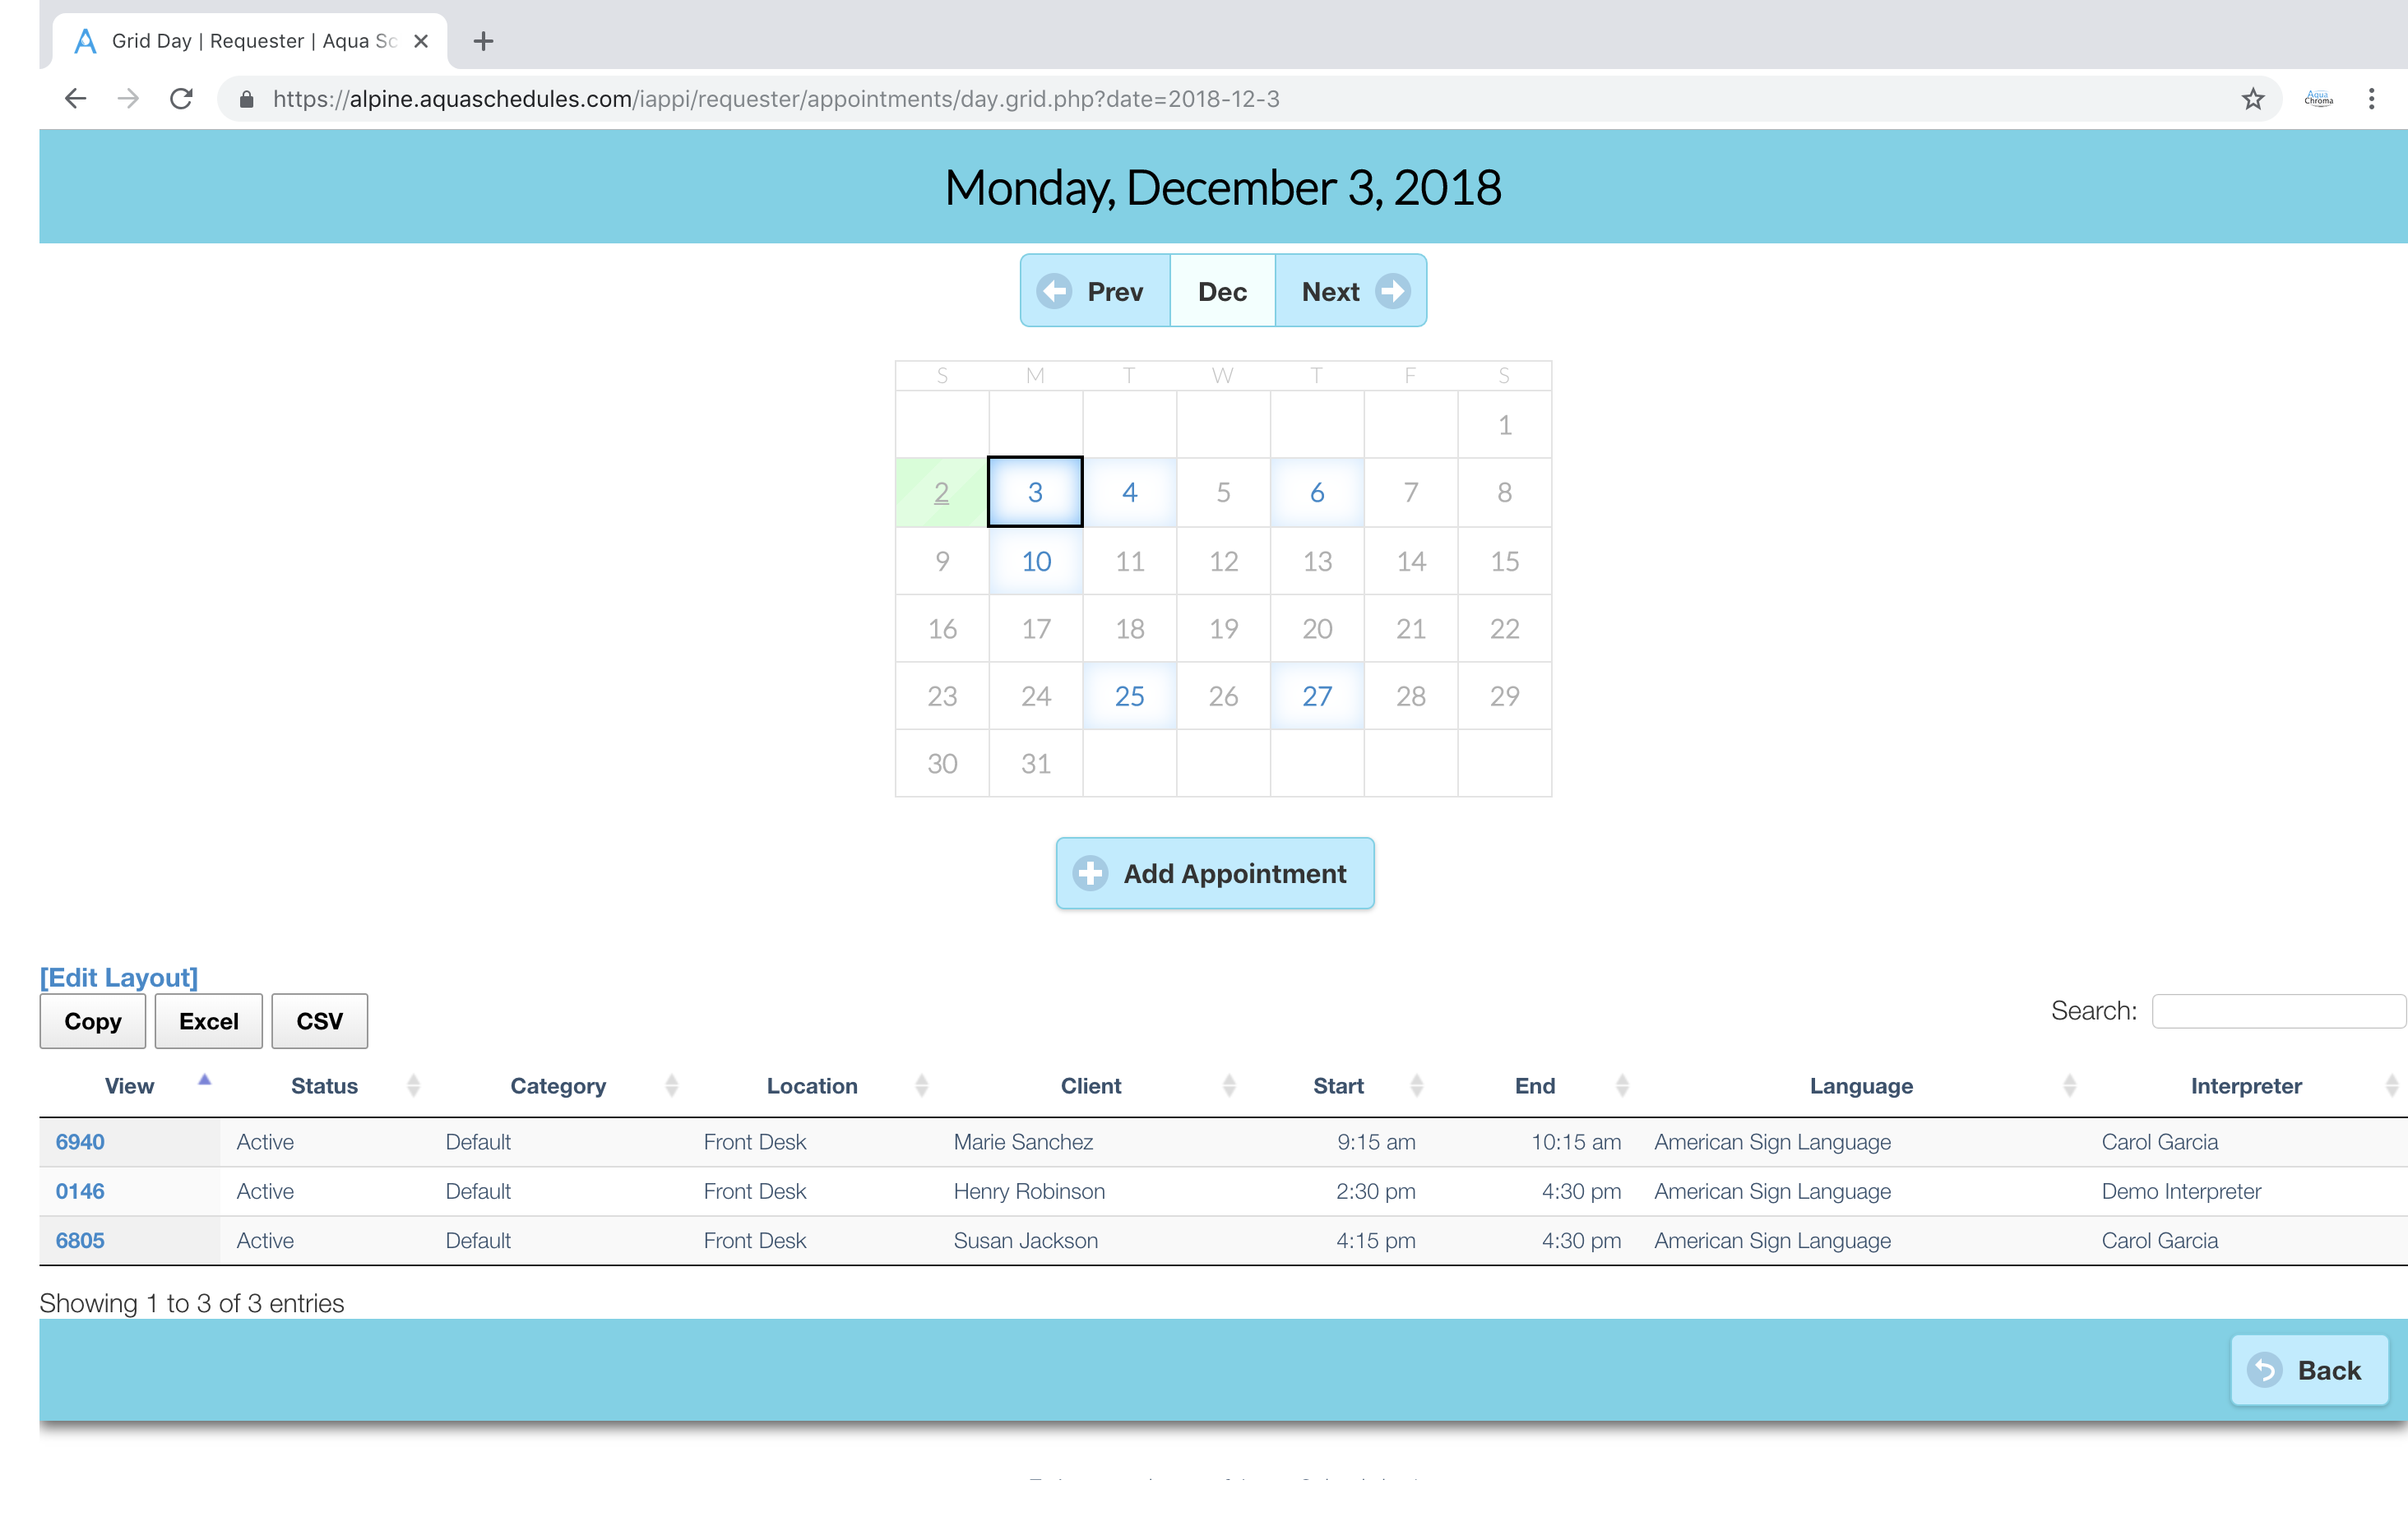
Day view shows all your scheduled appointments for a particular day and gives detailed information of each appointment. Click on the invoice number under the view category to view the appointment details.
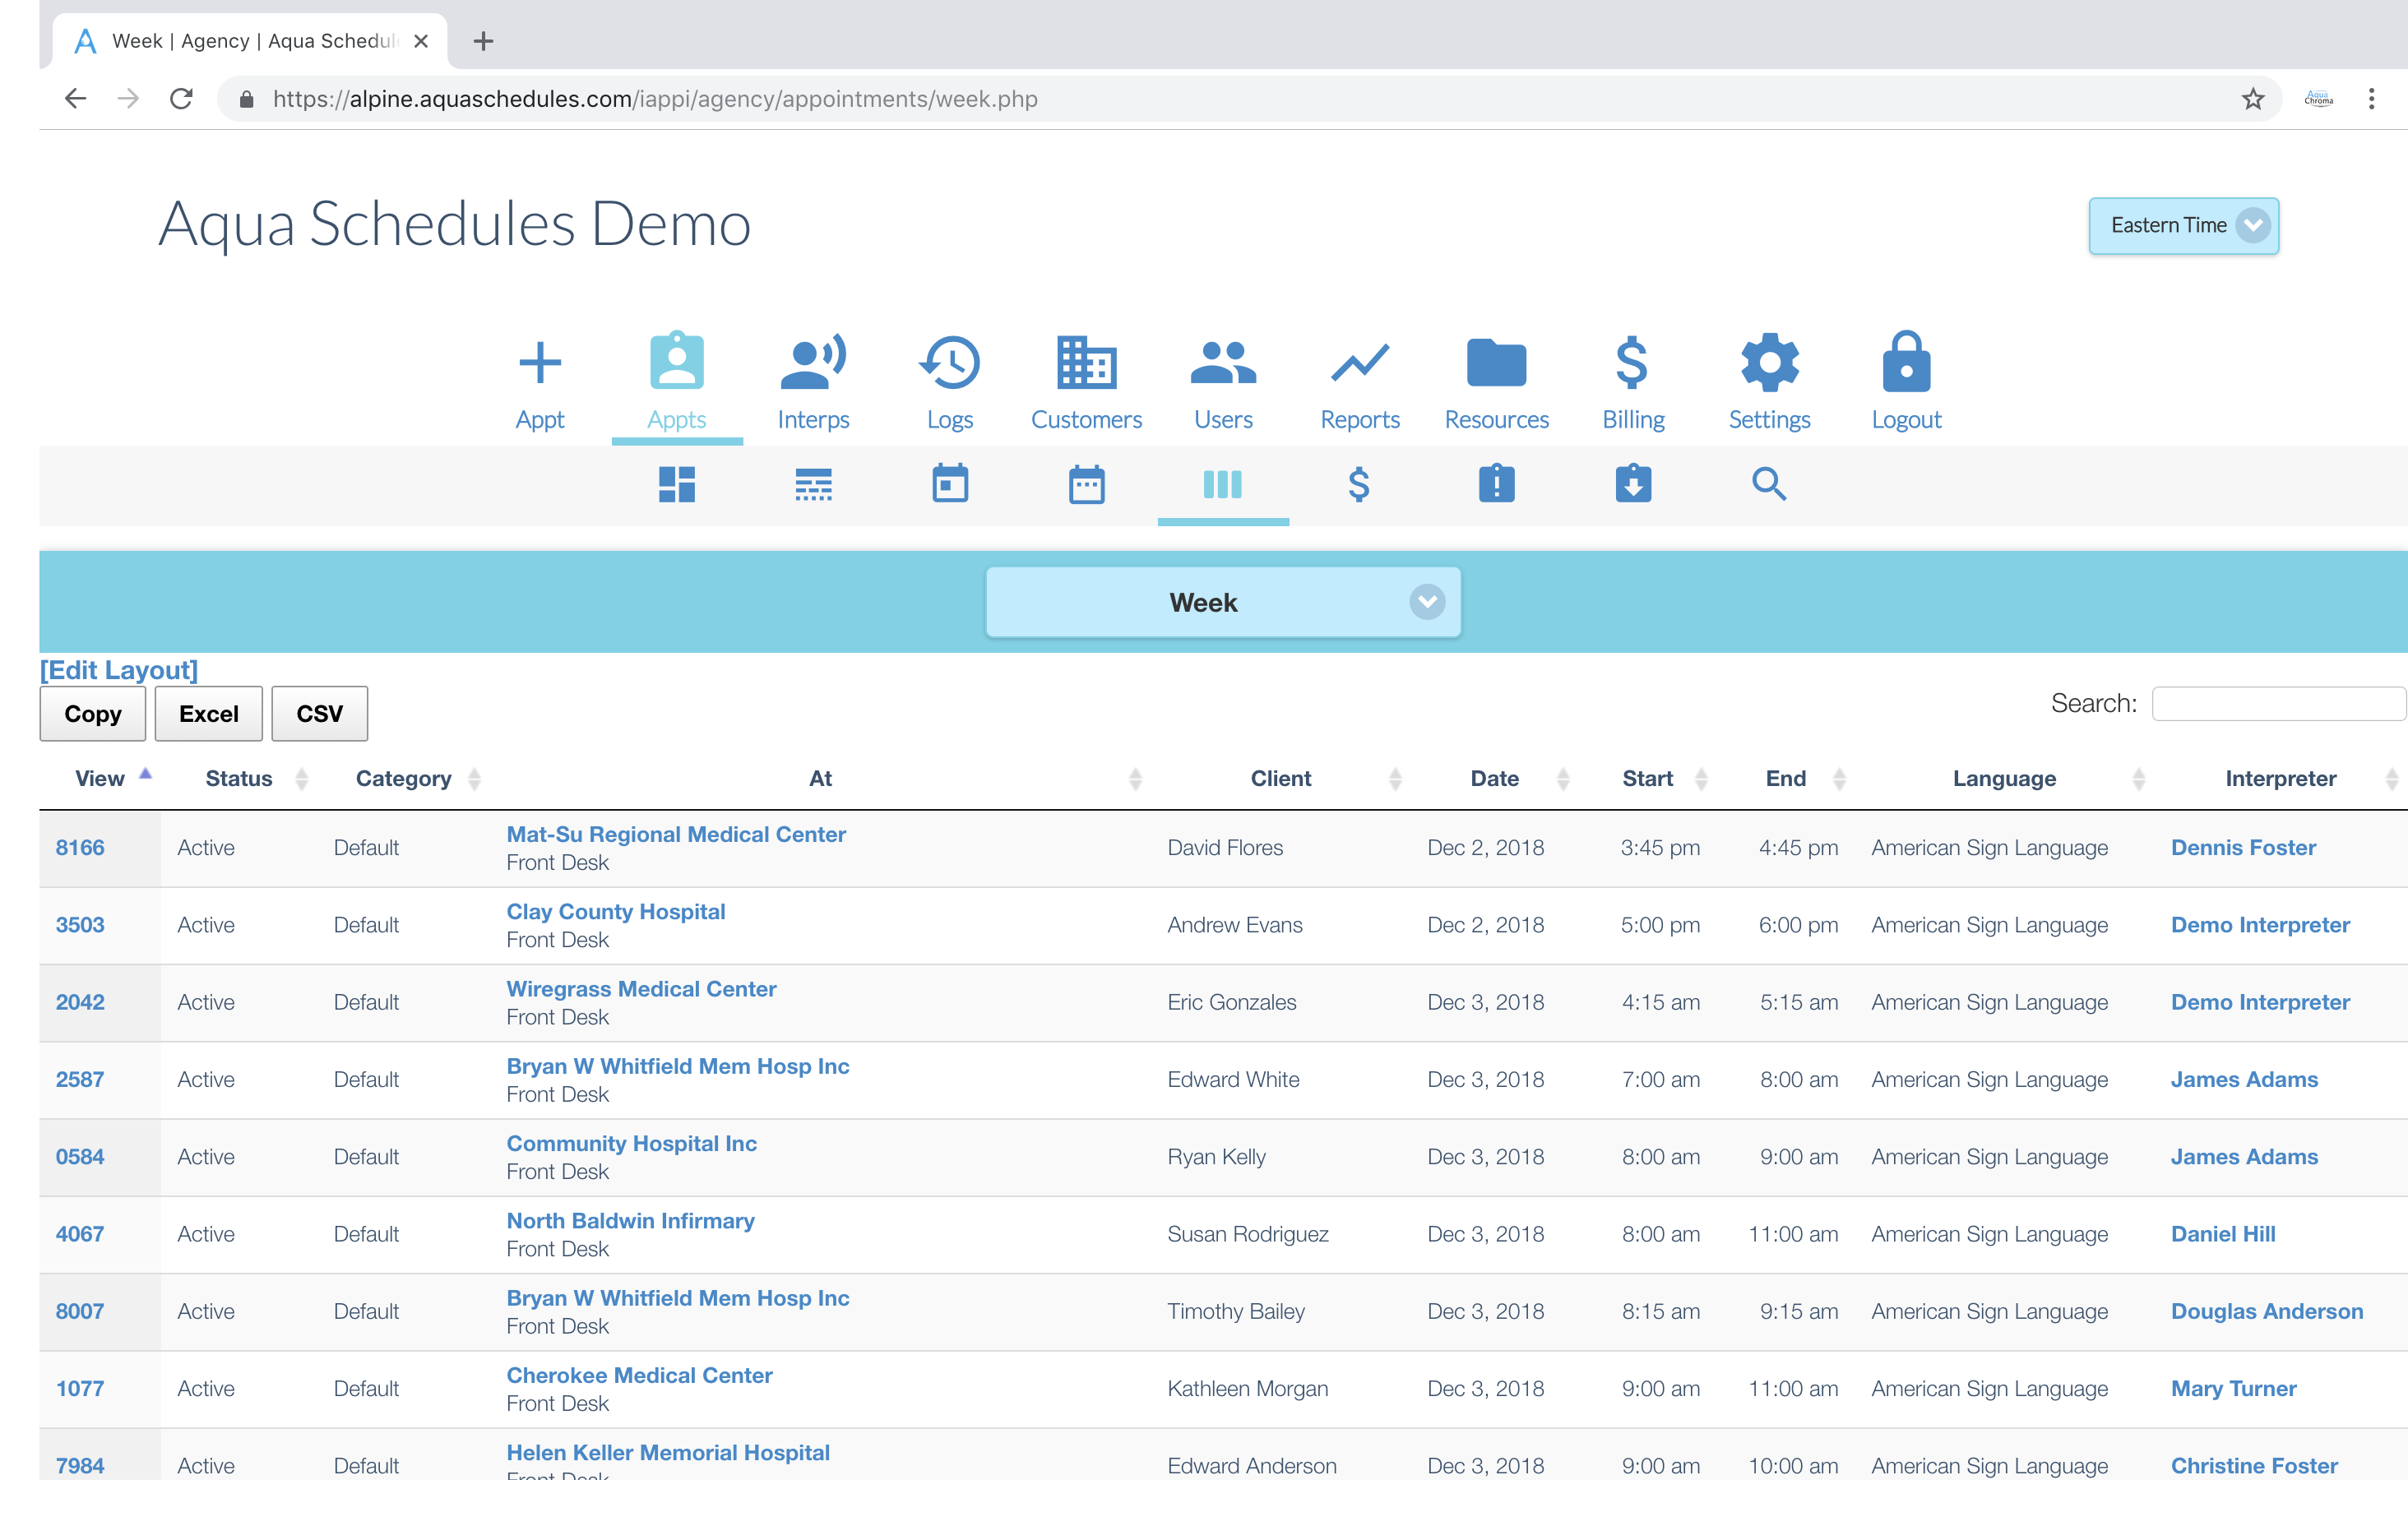
Week view shares the same design as day view except it lists all scheduled appointments from today's date up to seven days from now.
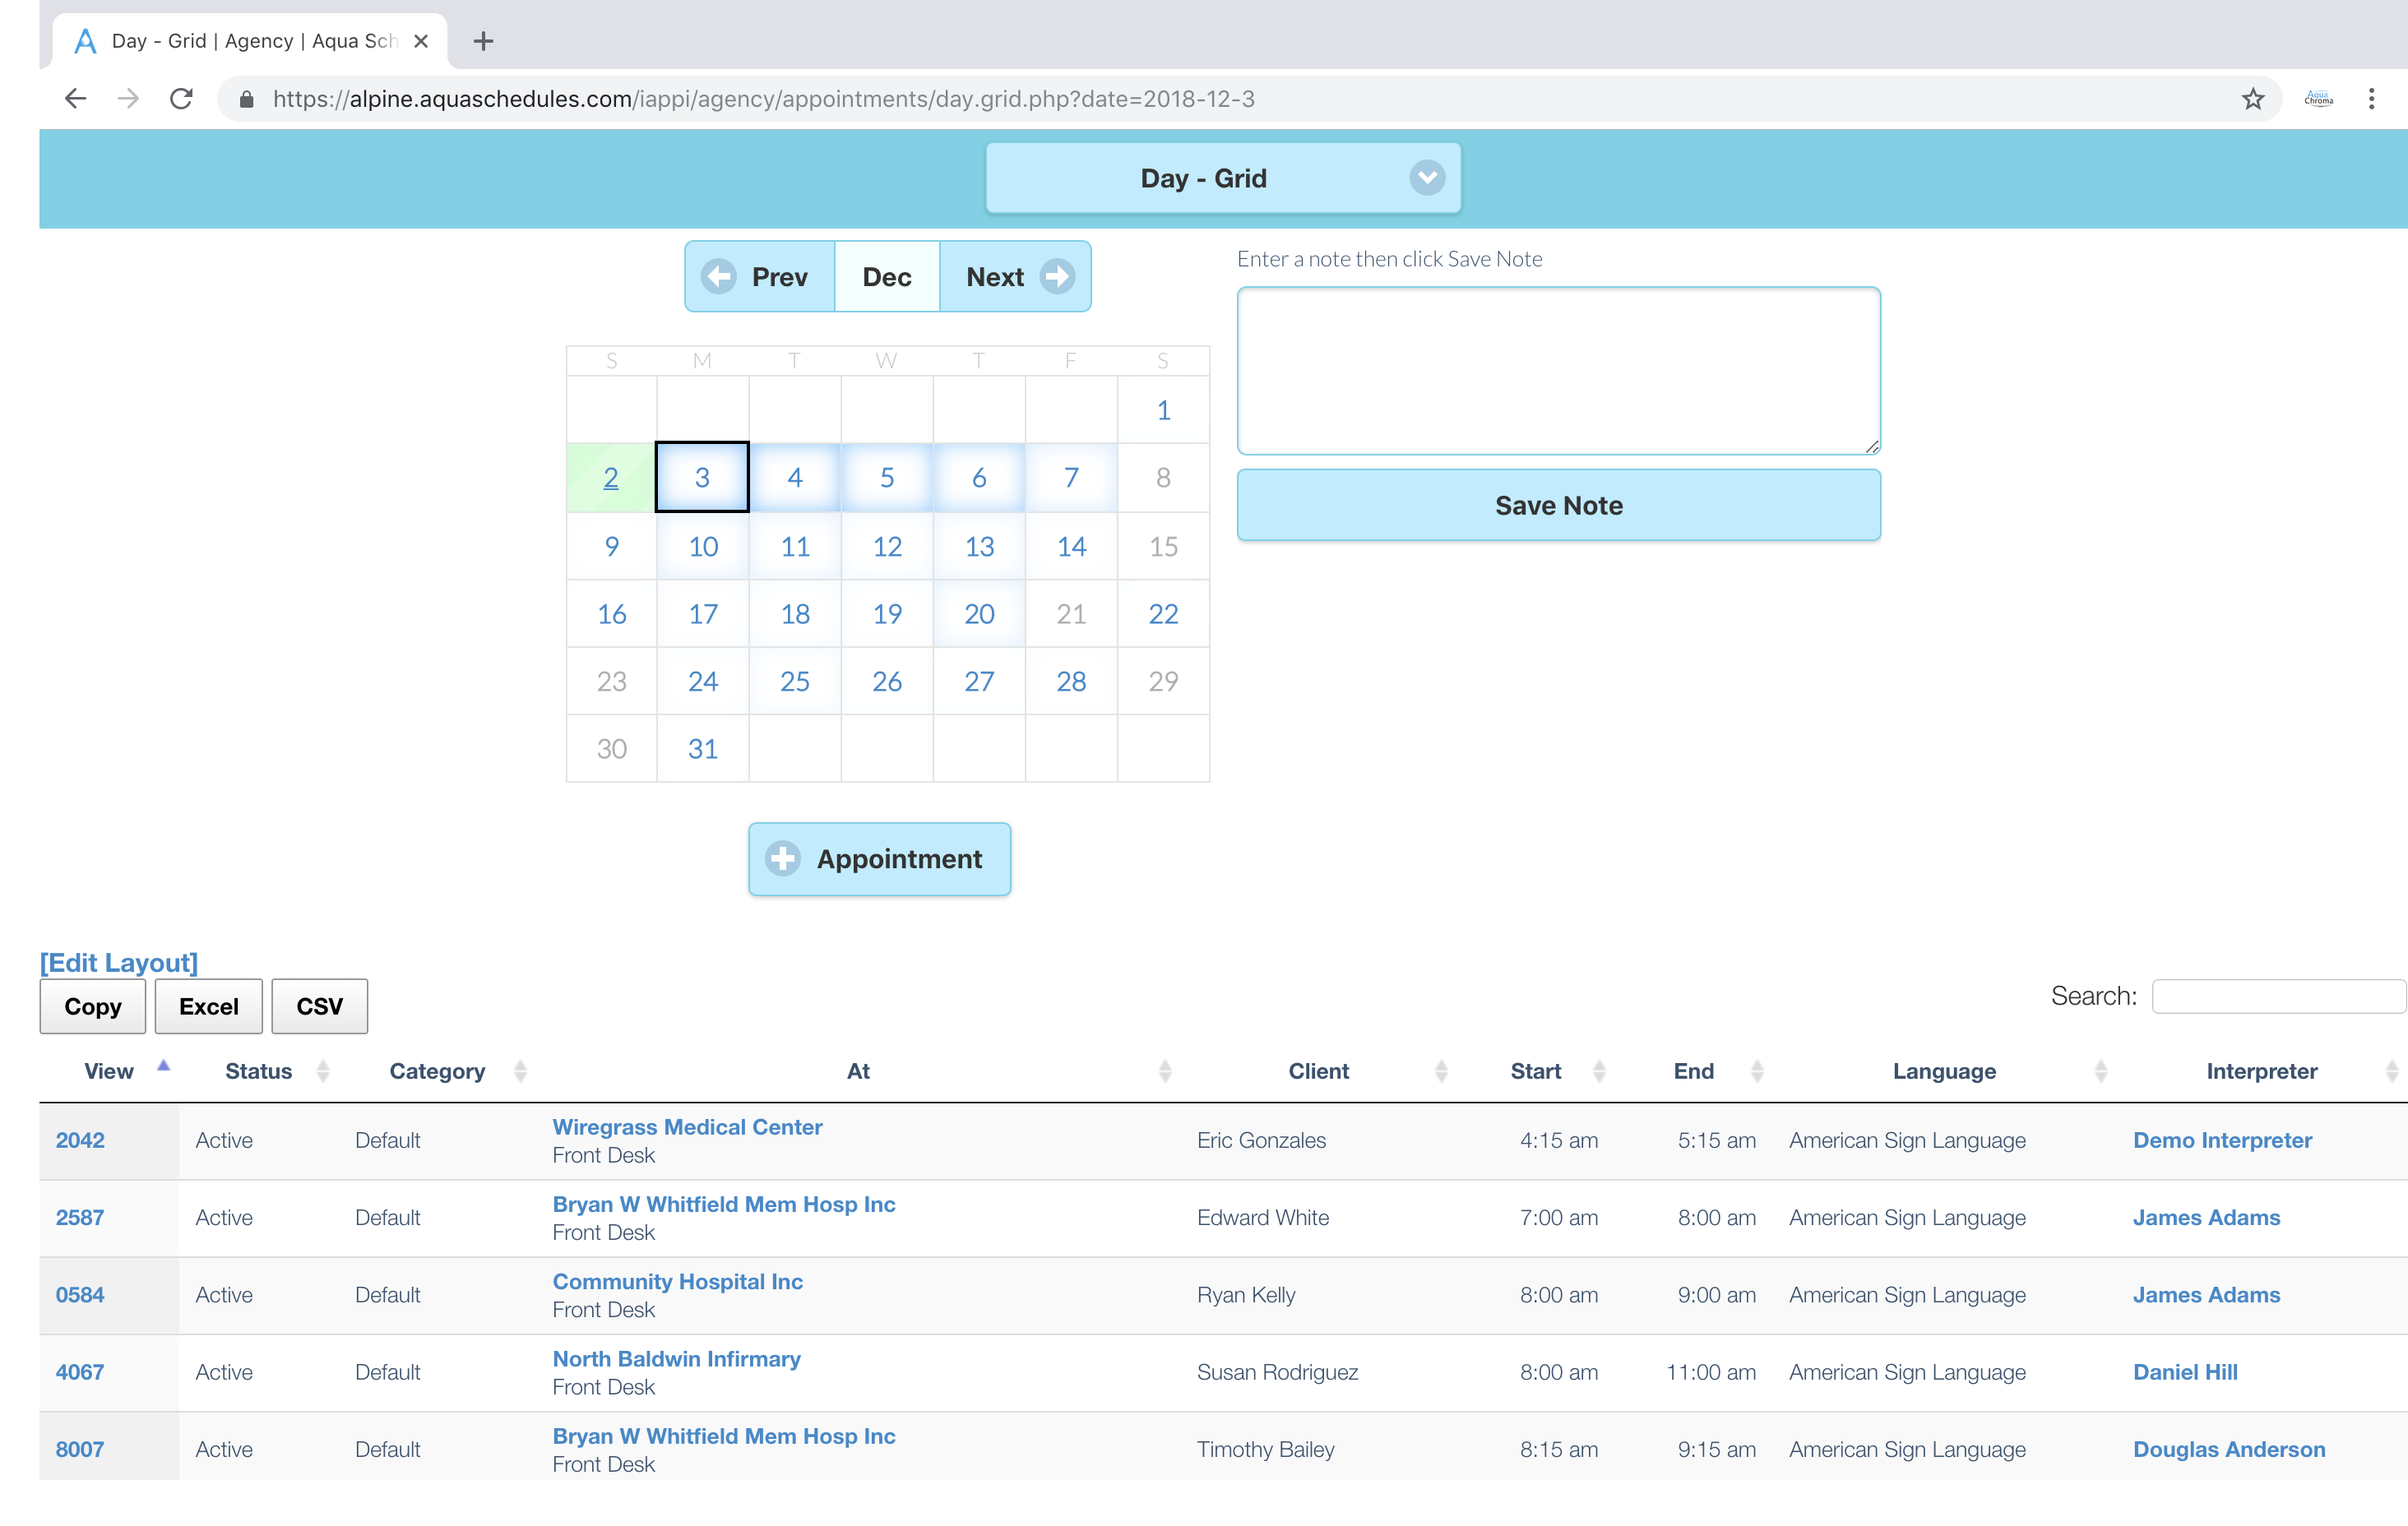
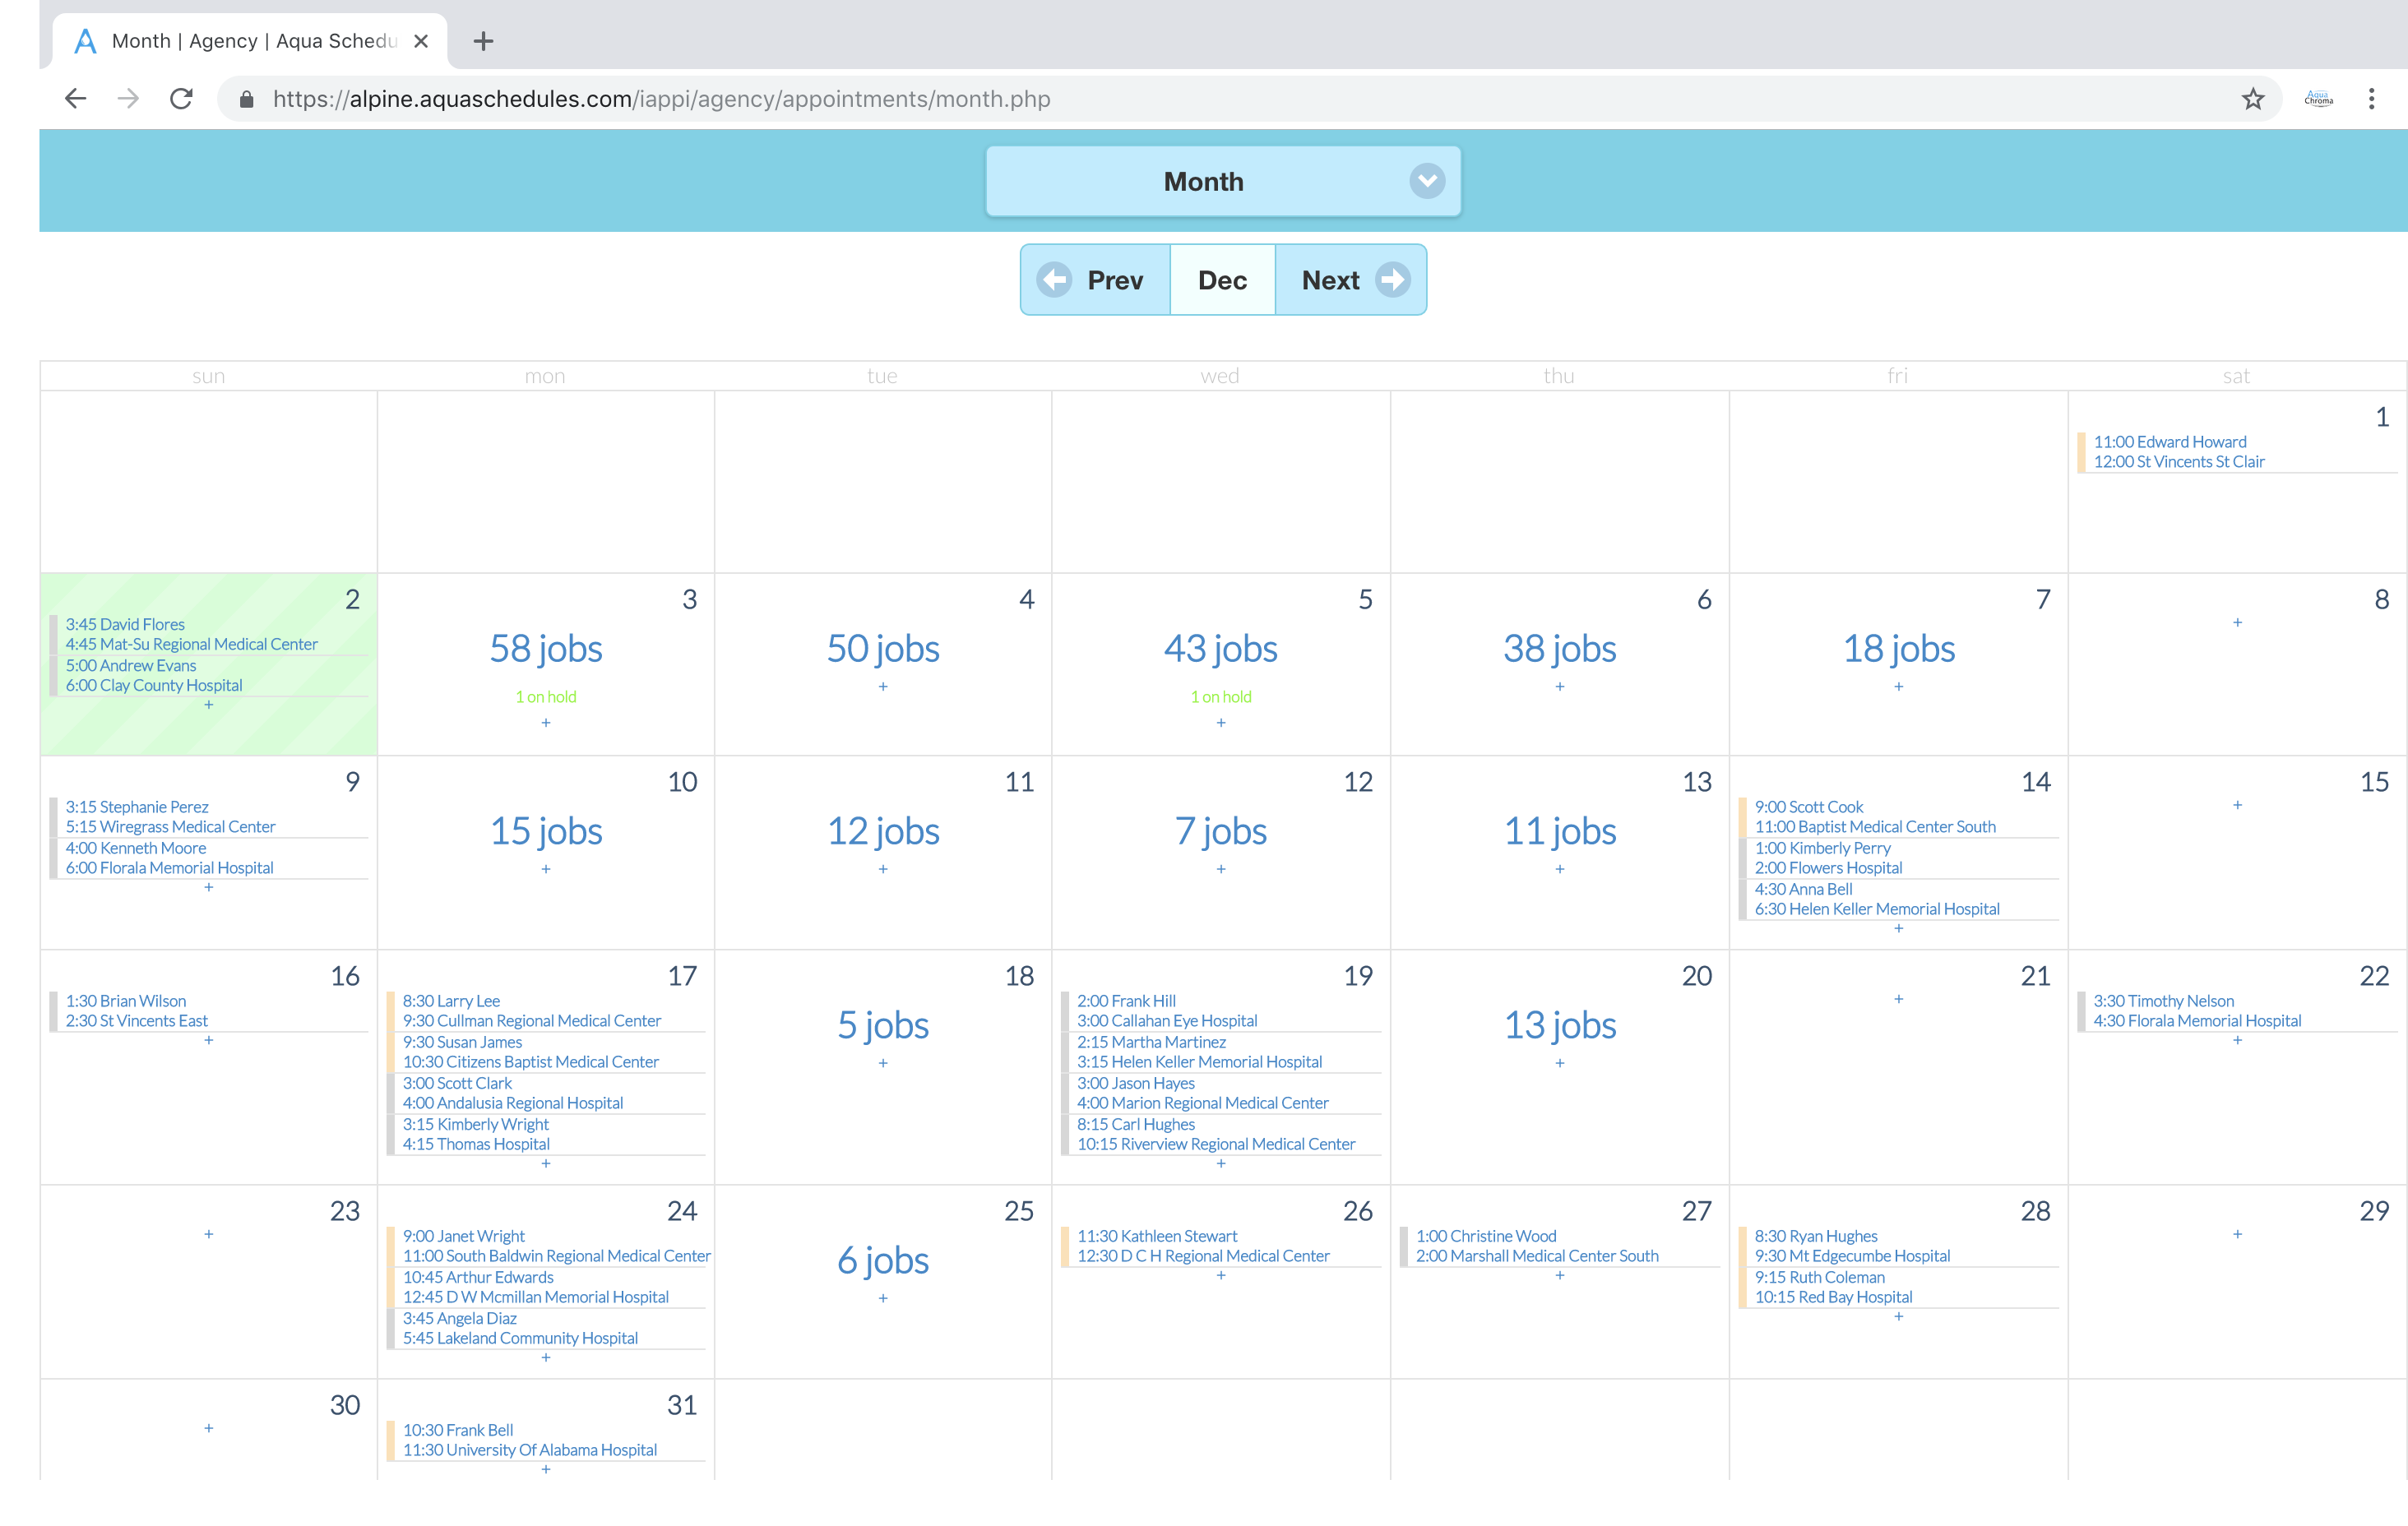
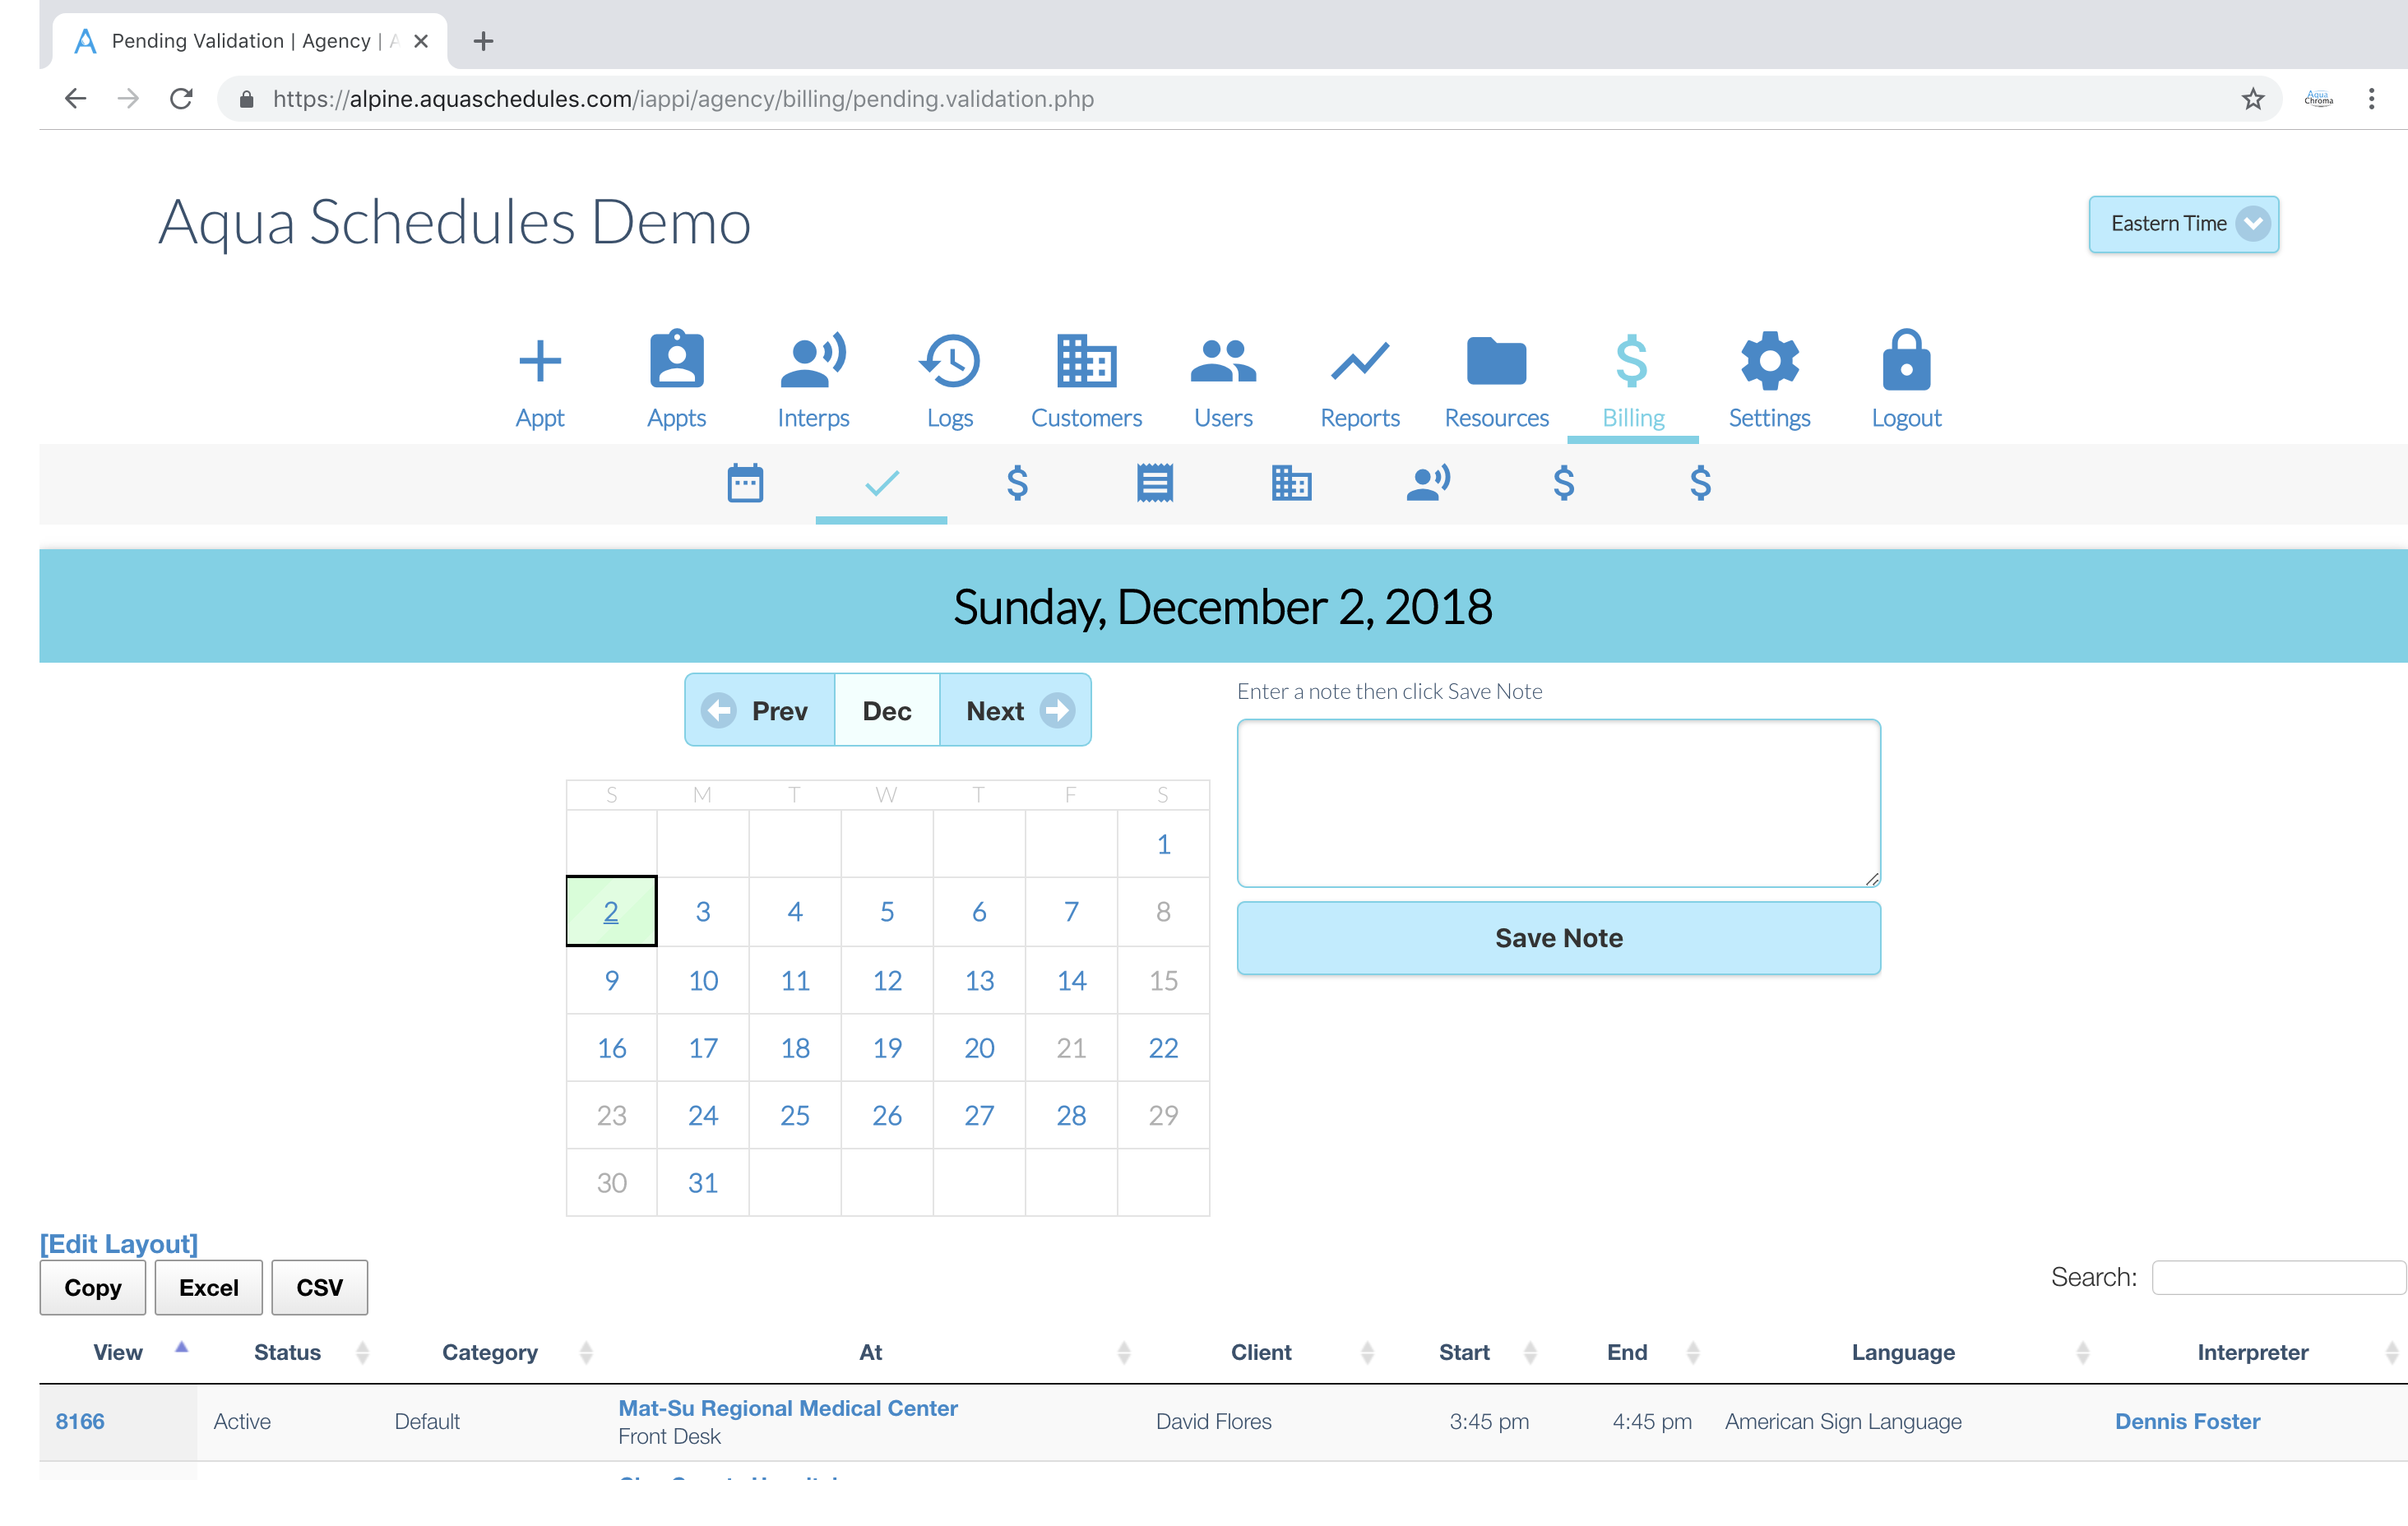
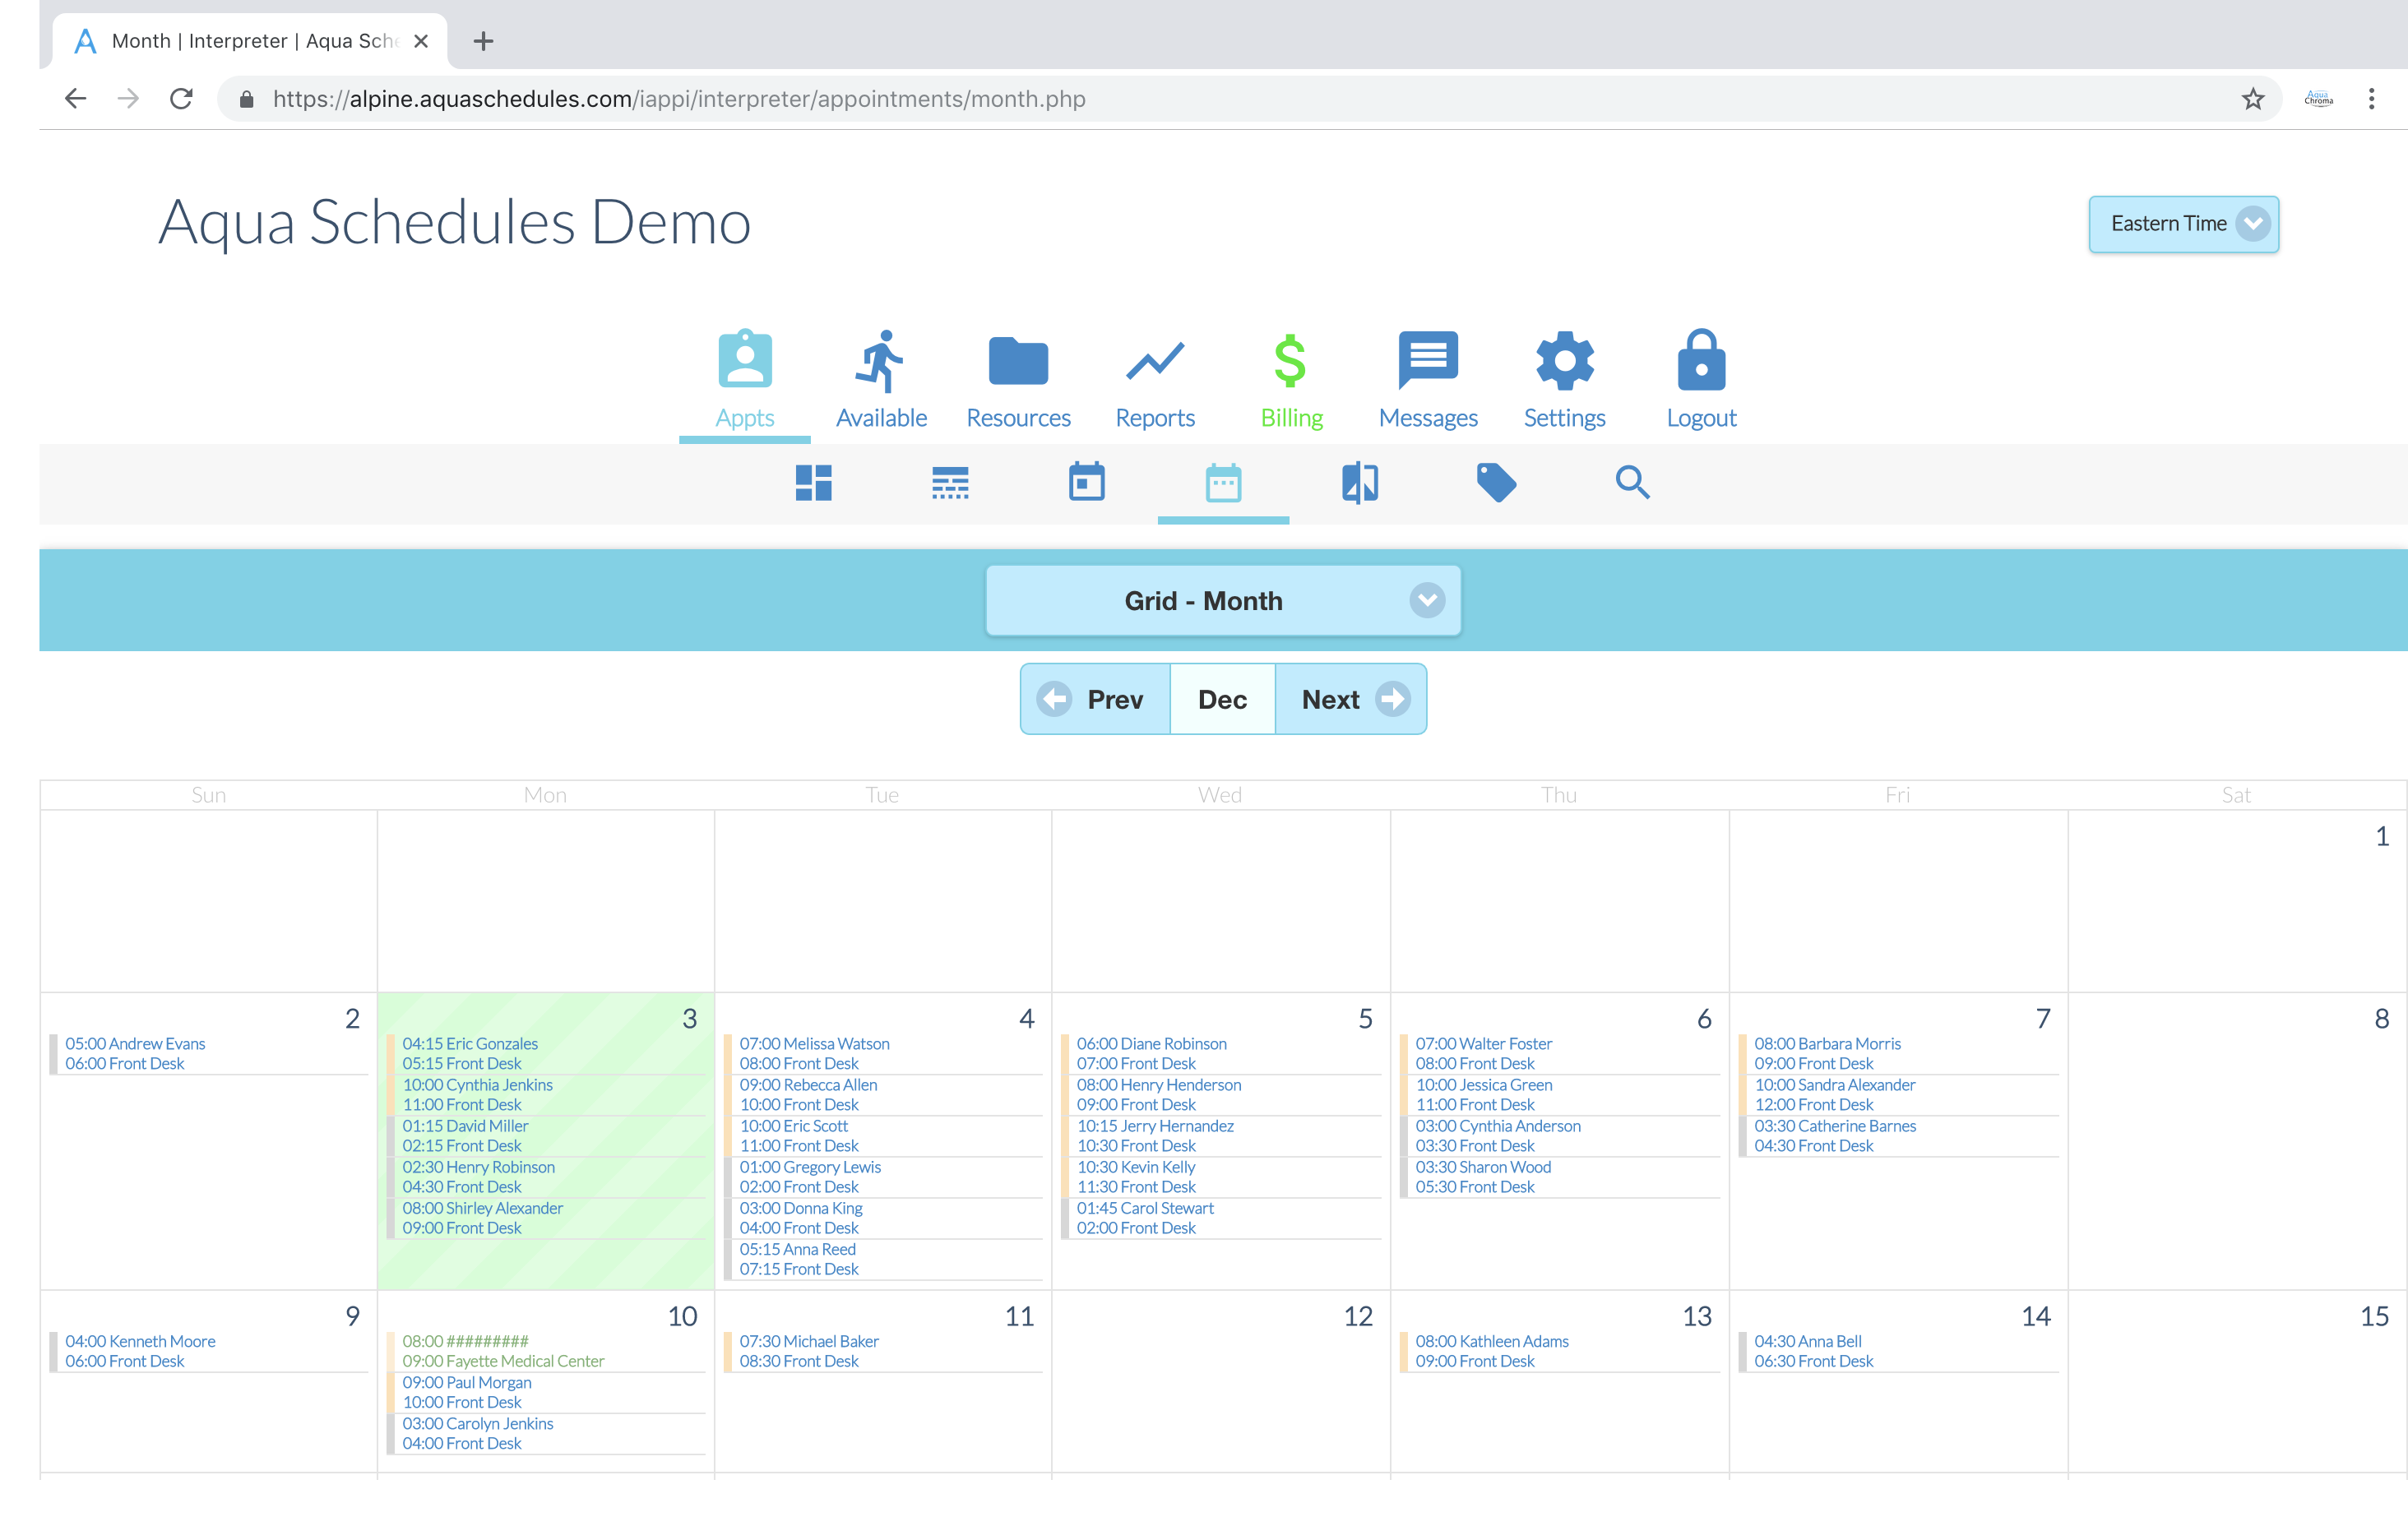
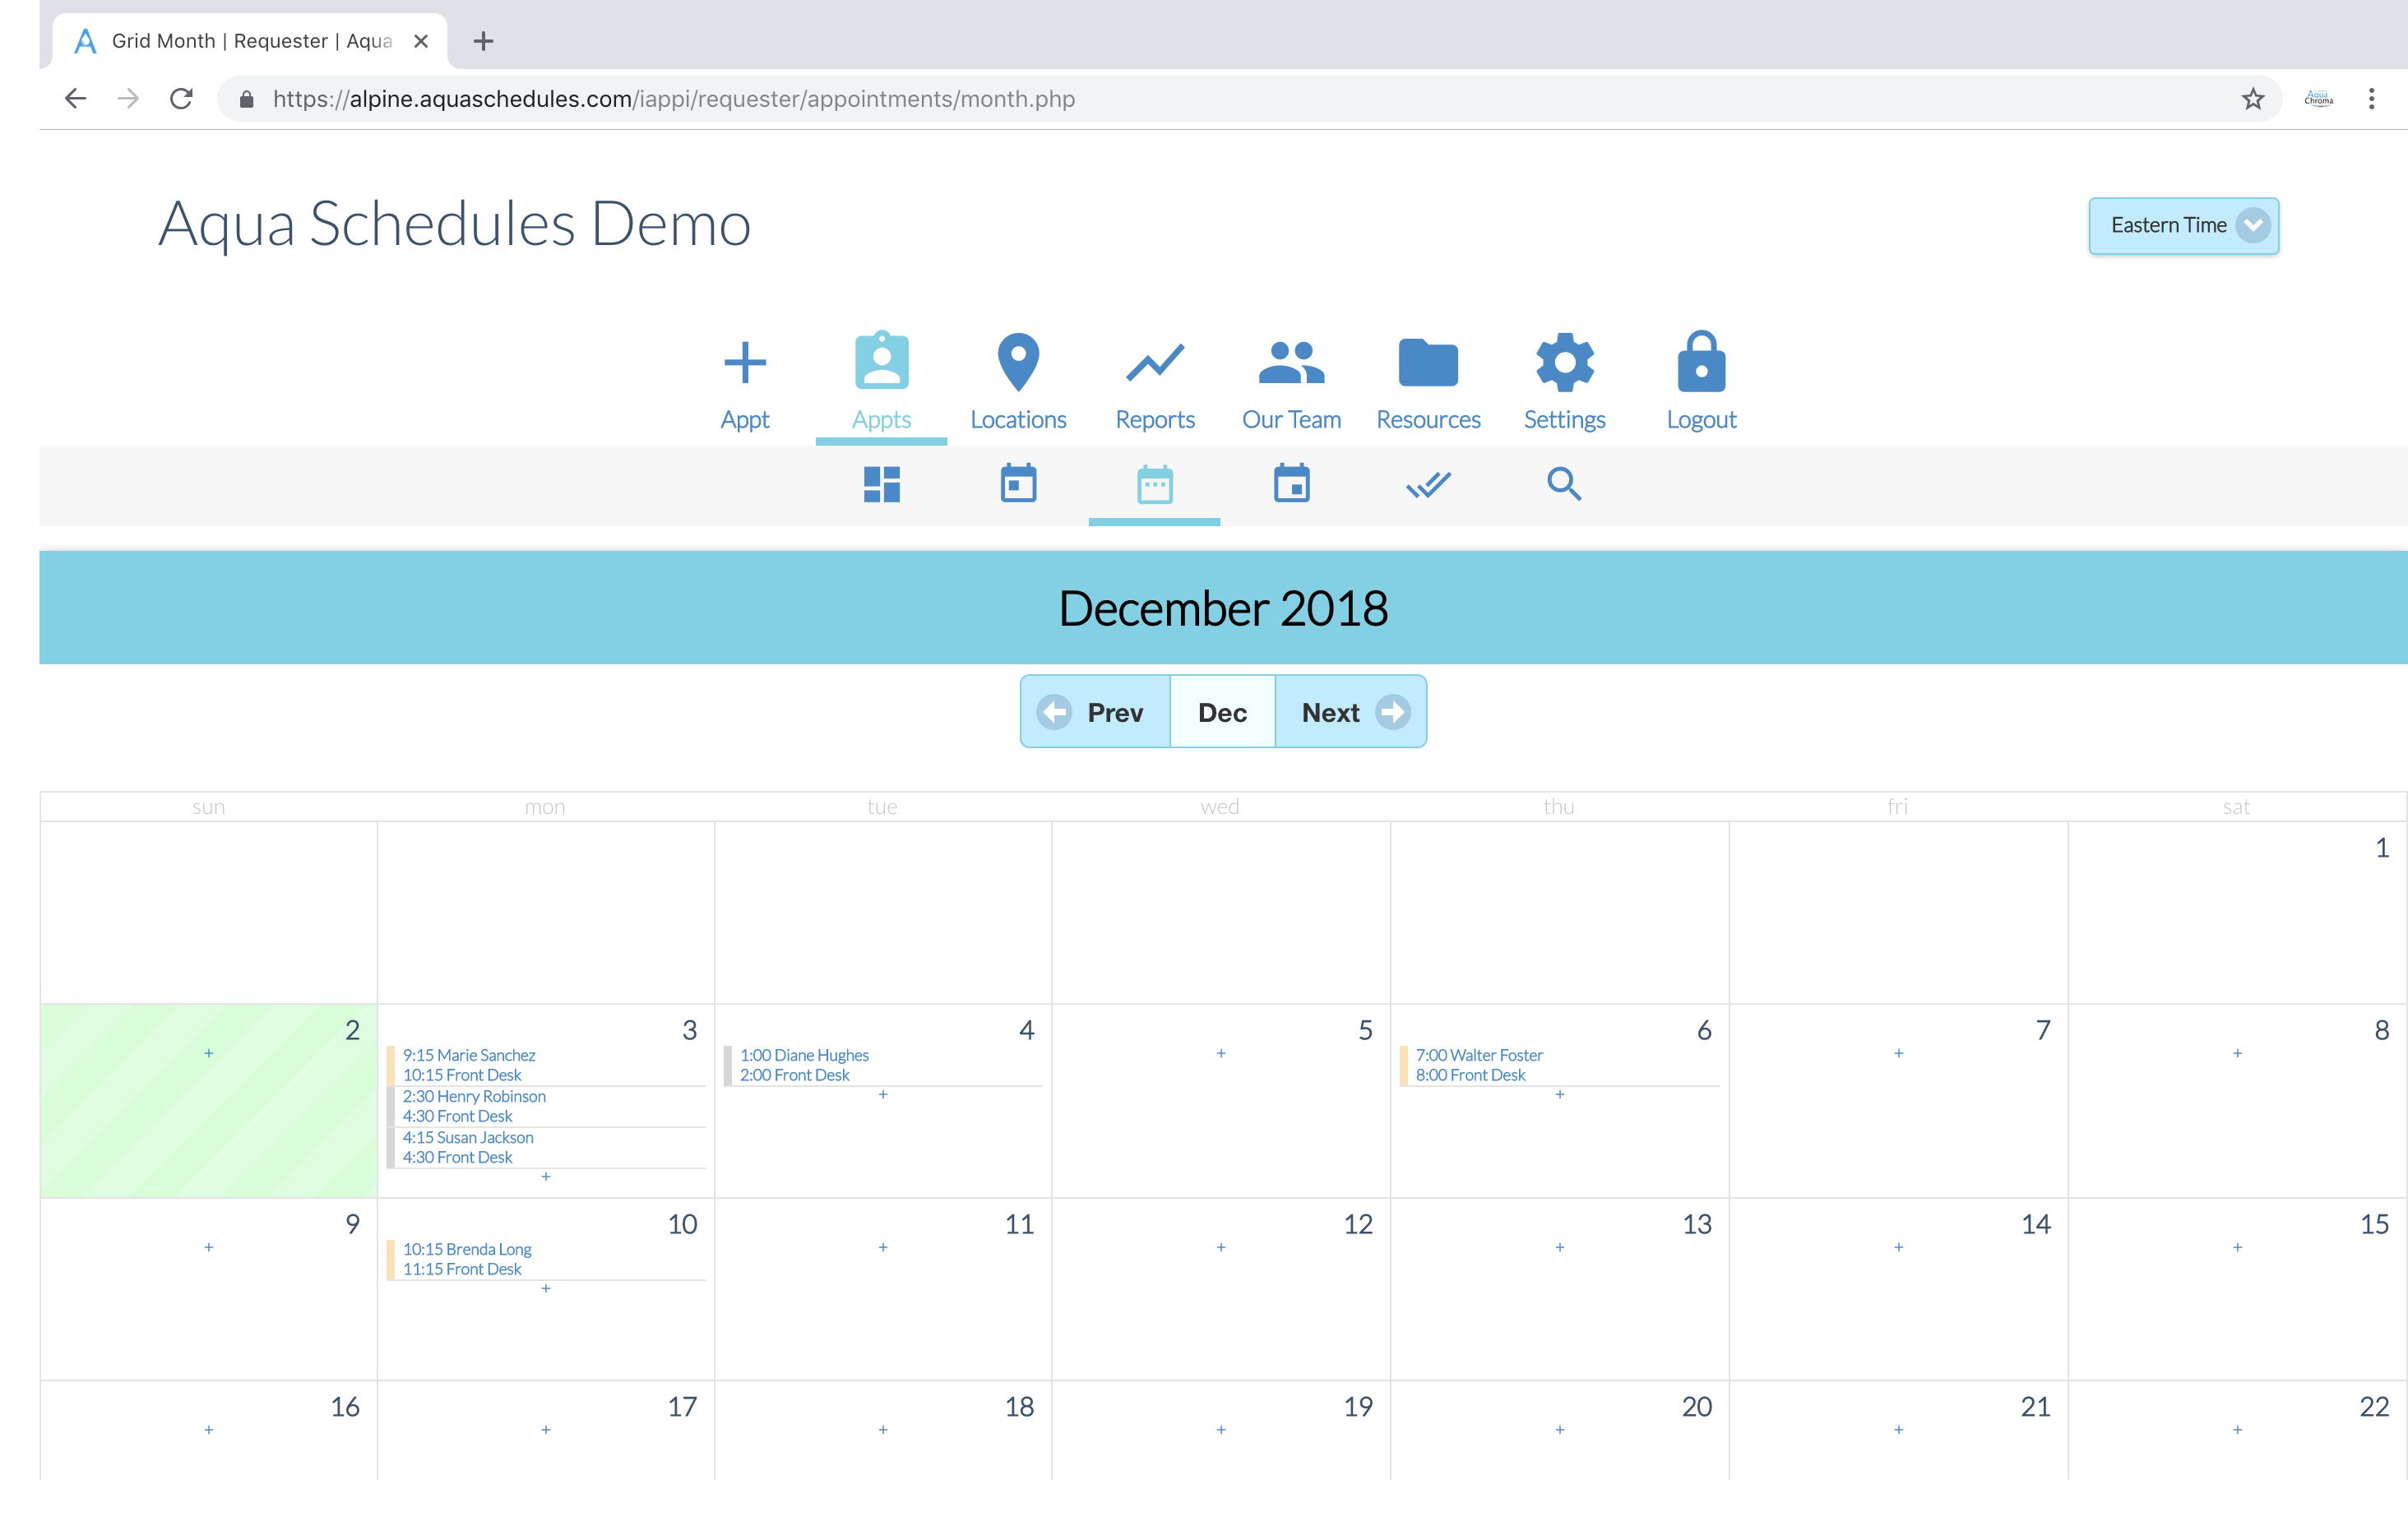
Month view shows the months calendar and displays the current amount of appointments scheduled for each day. Click on any day to be directed to that days day view.
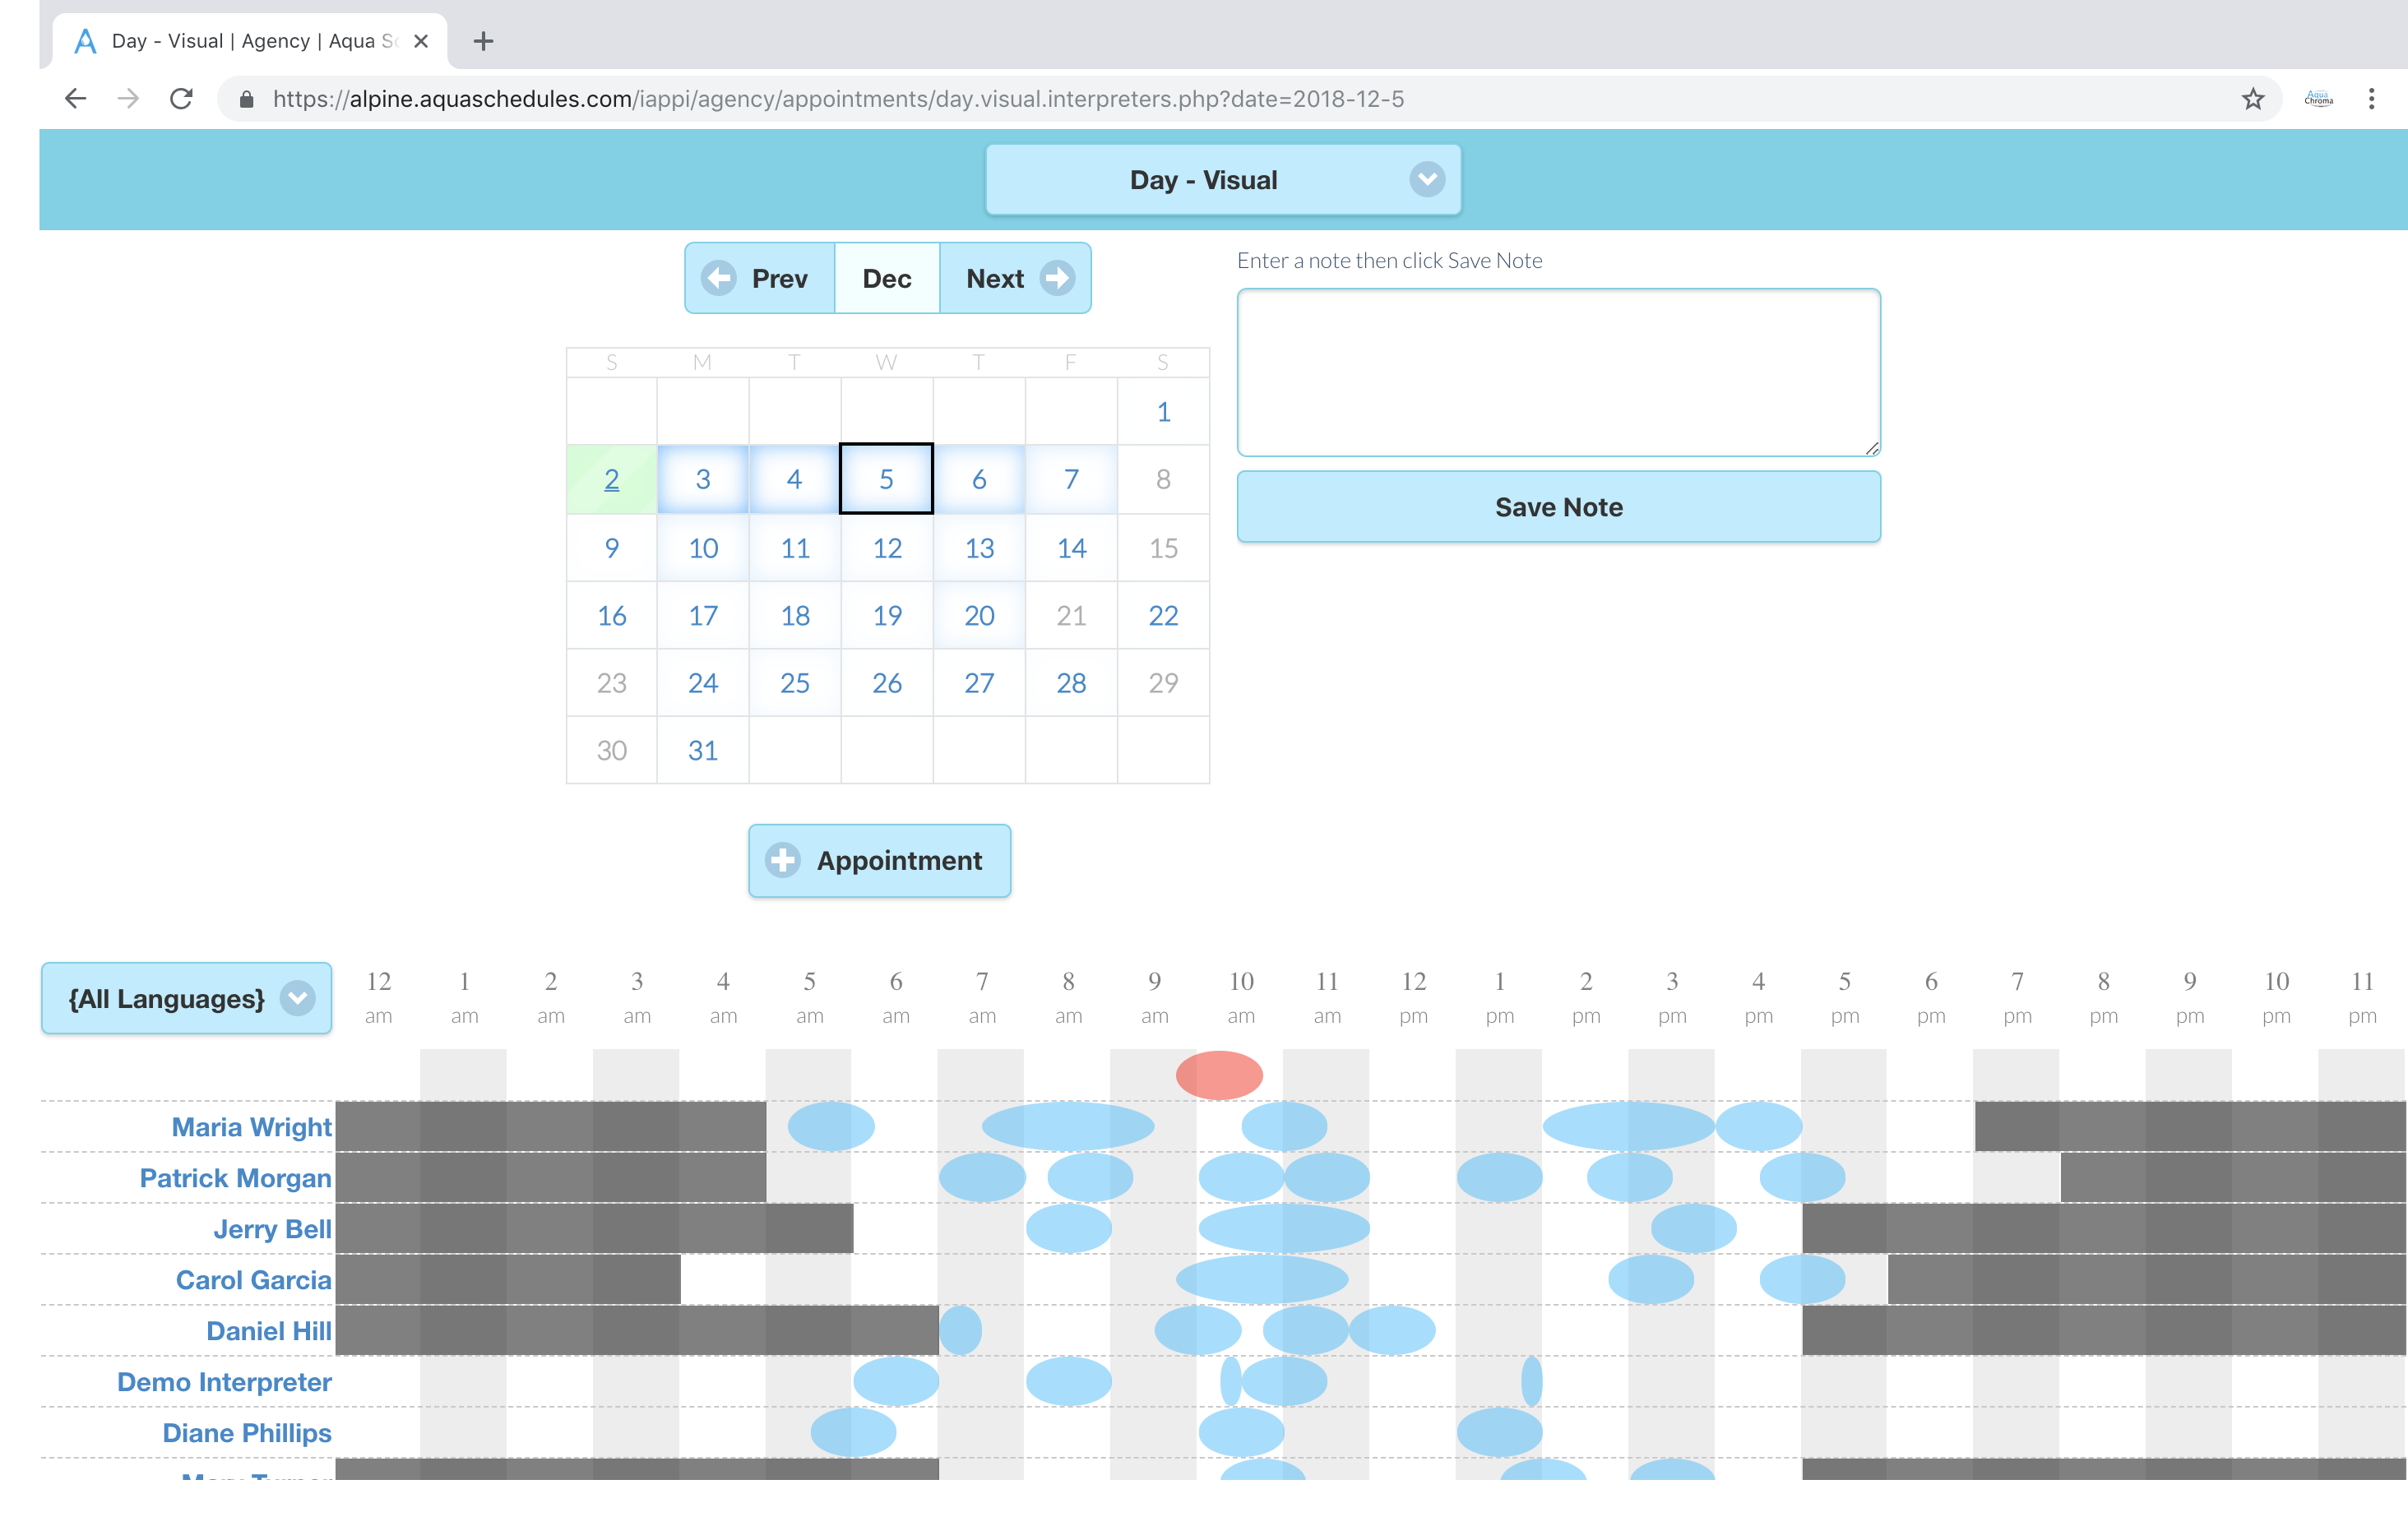
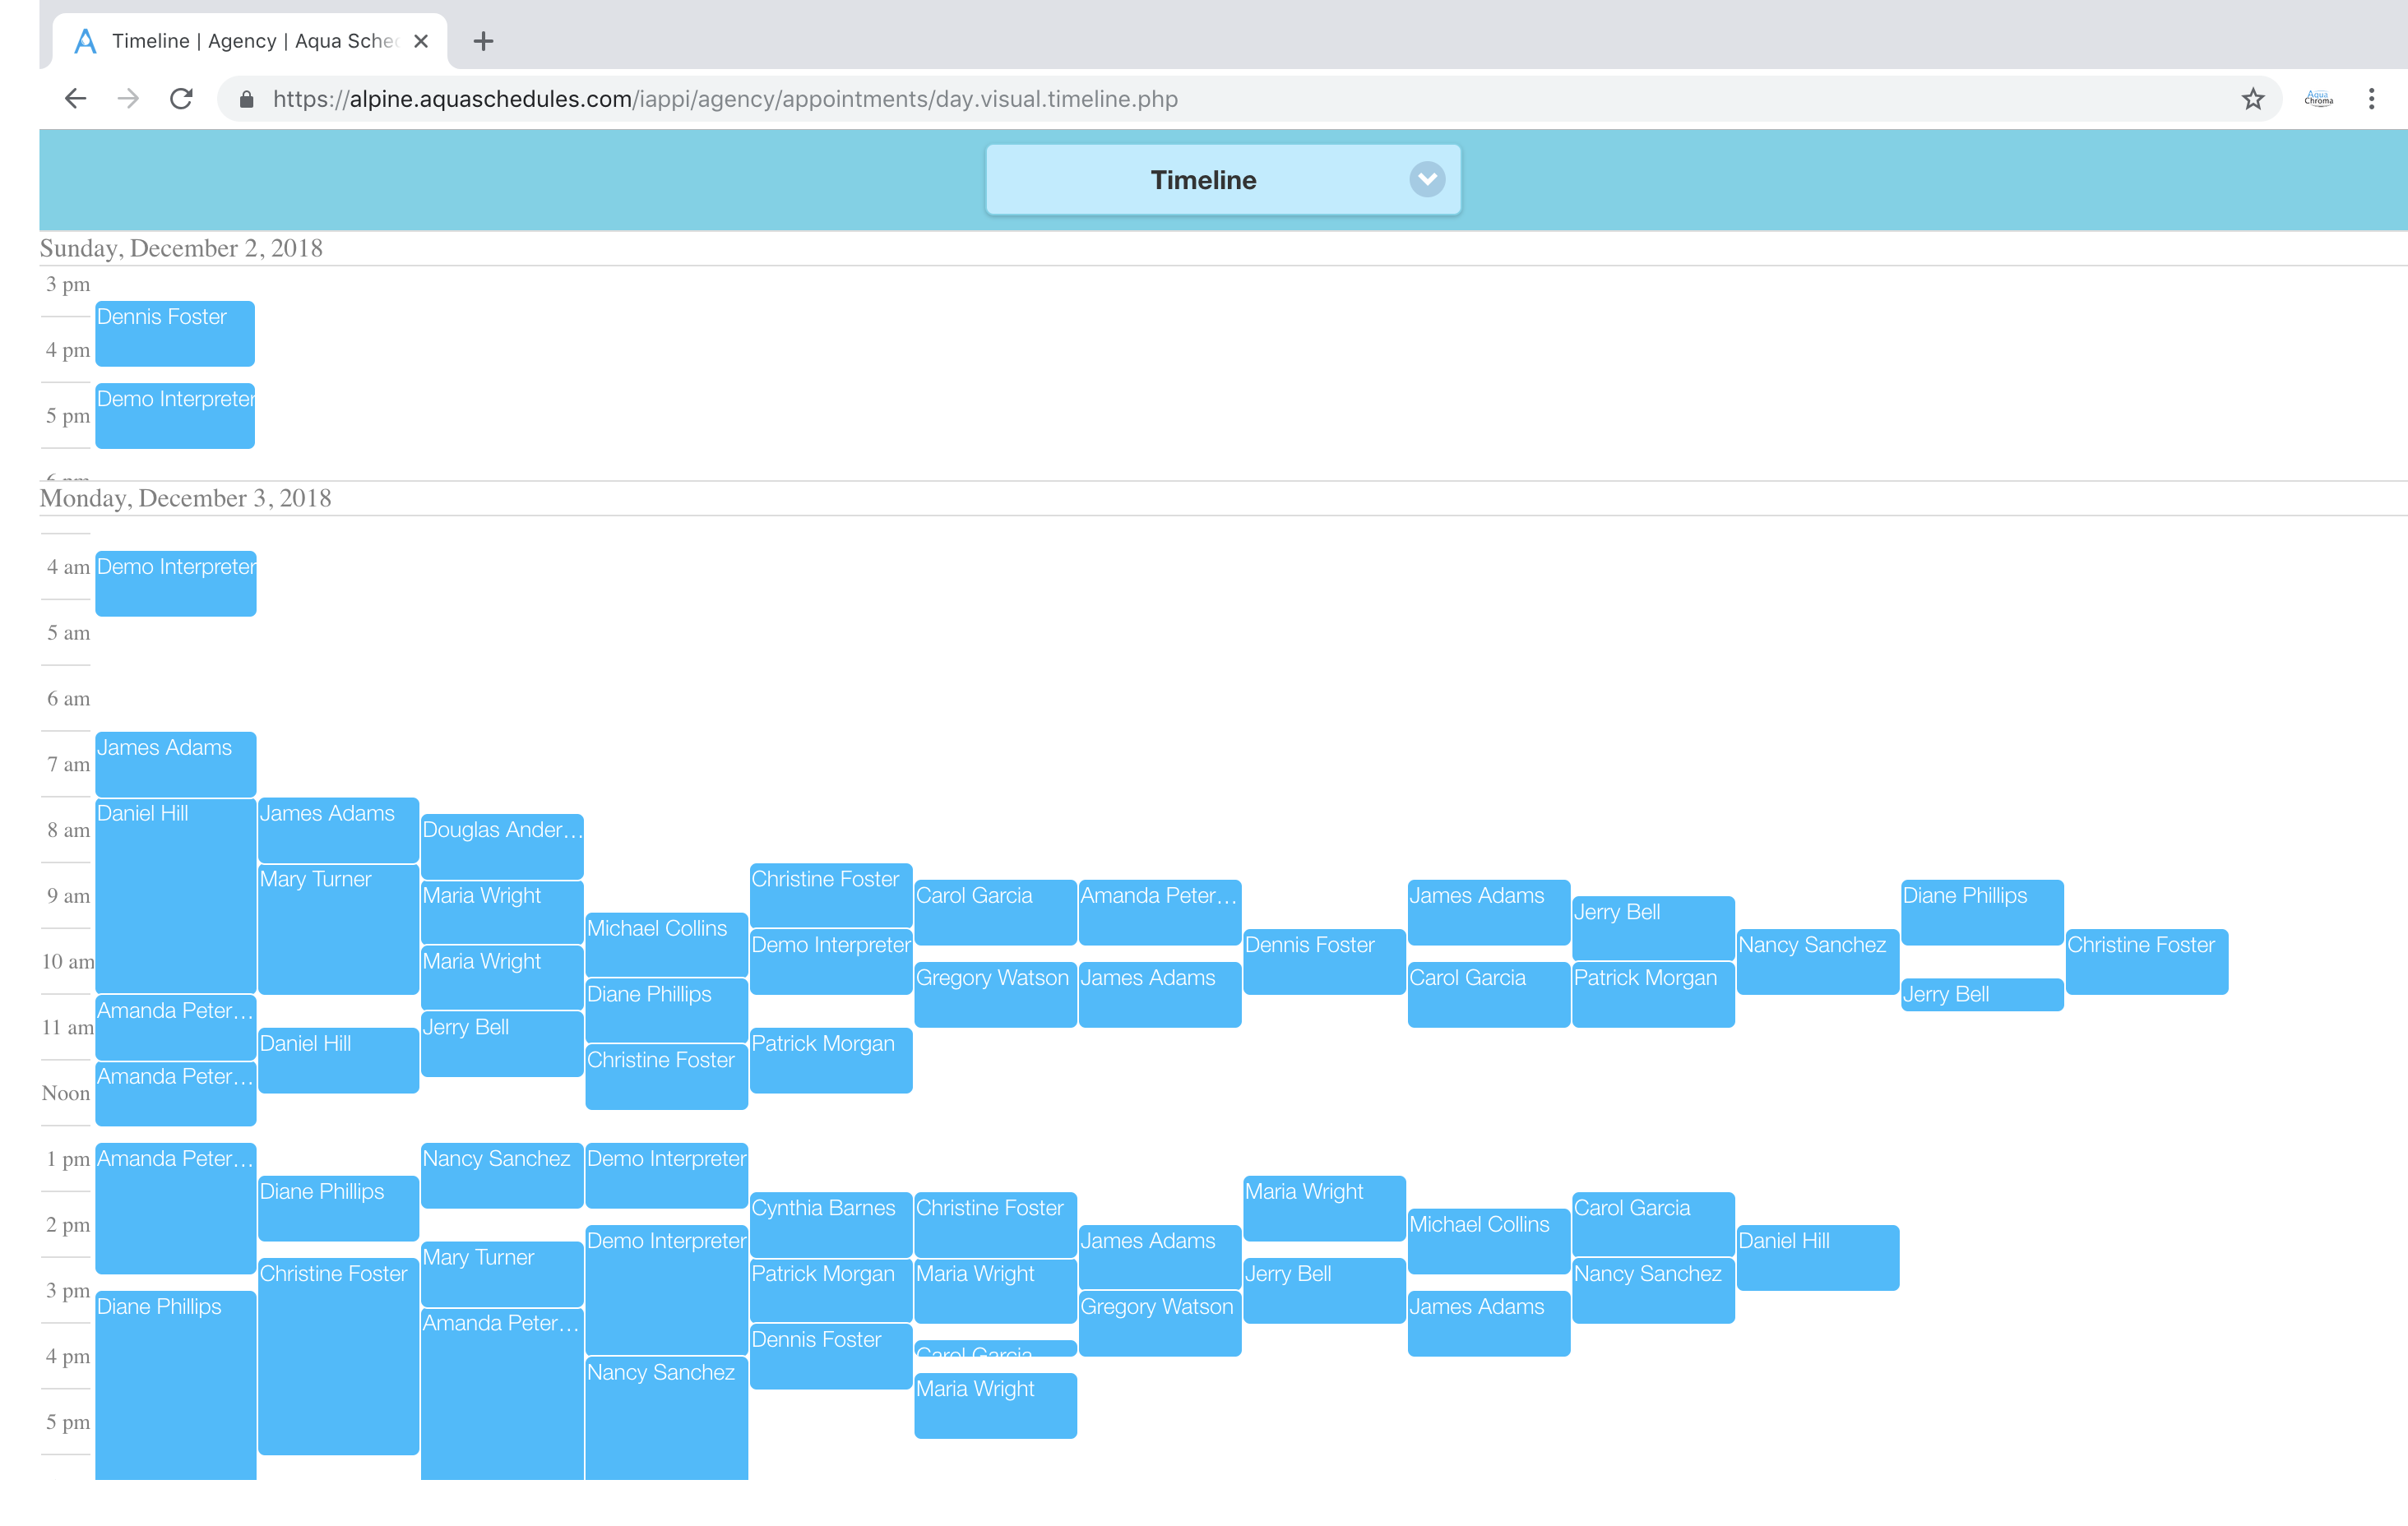
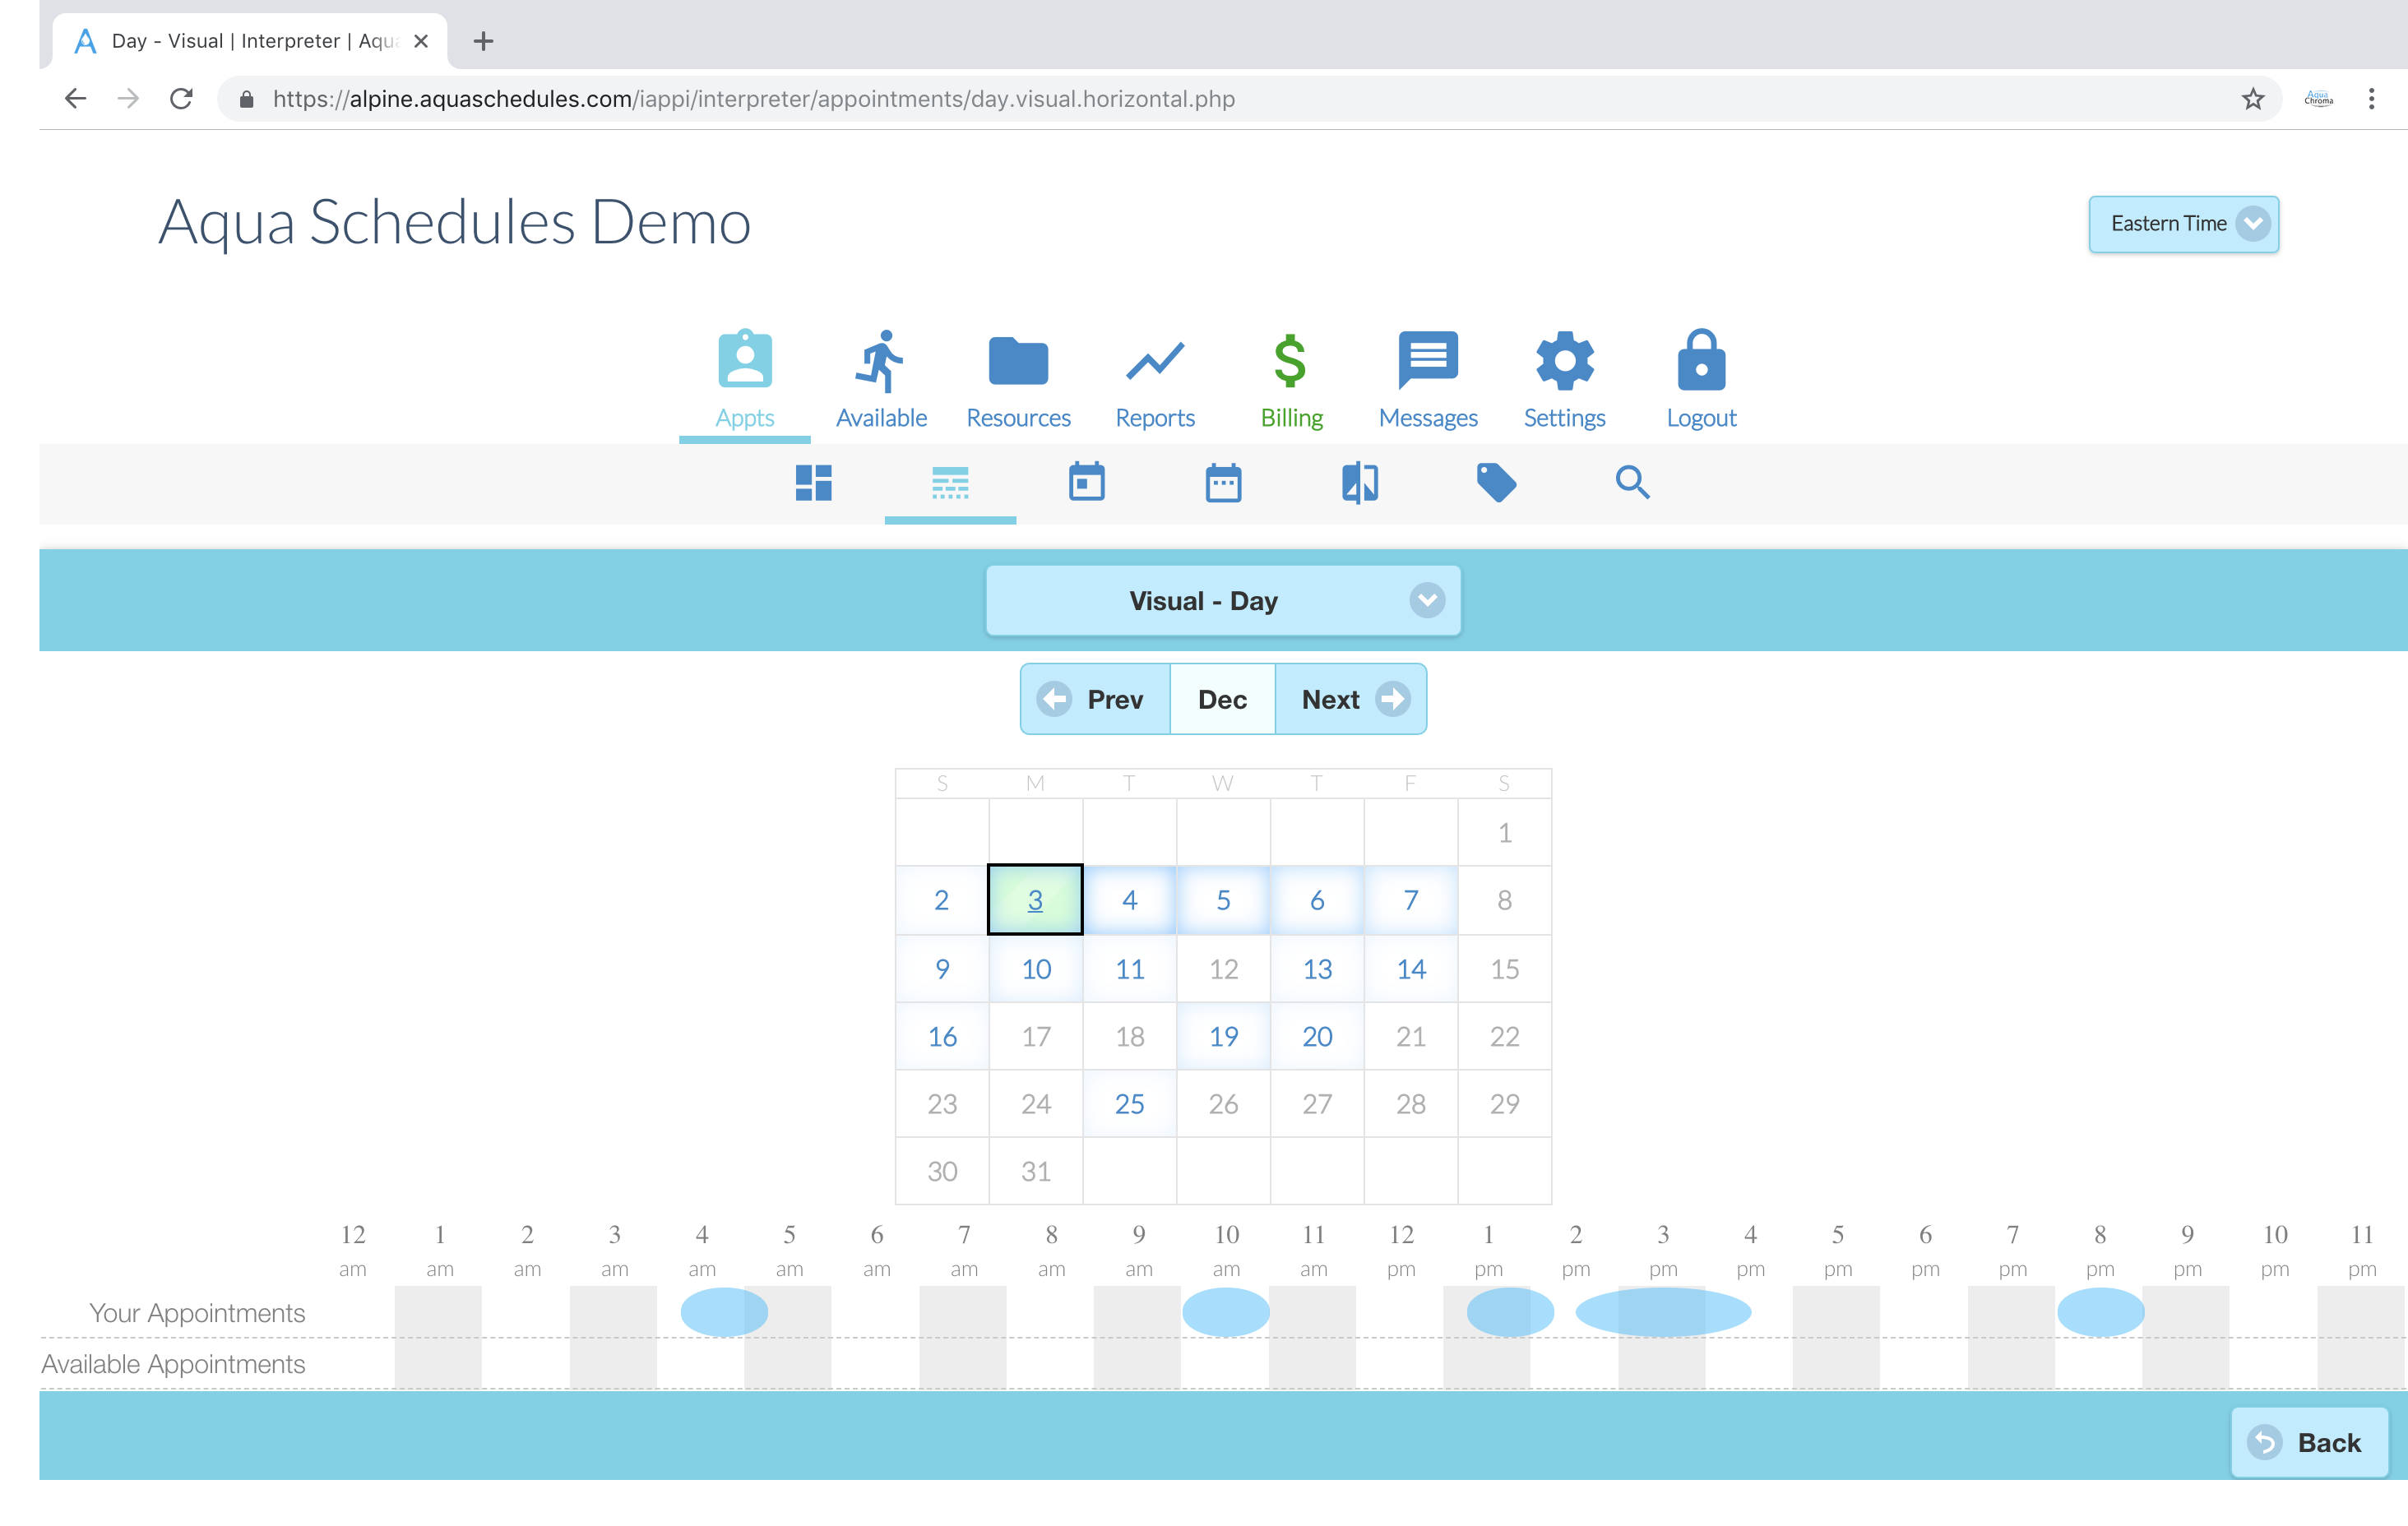
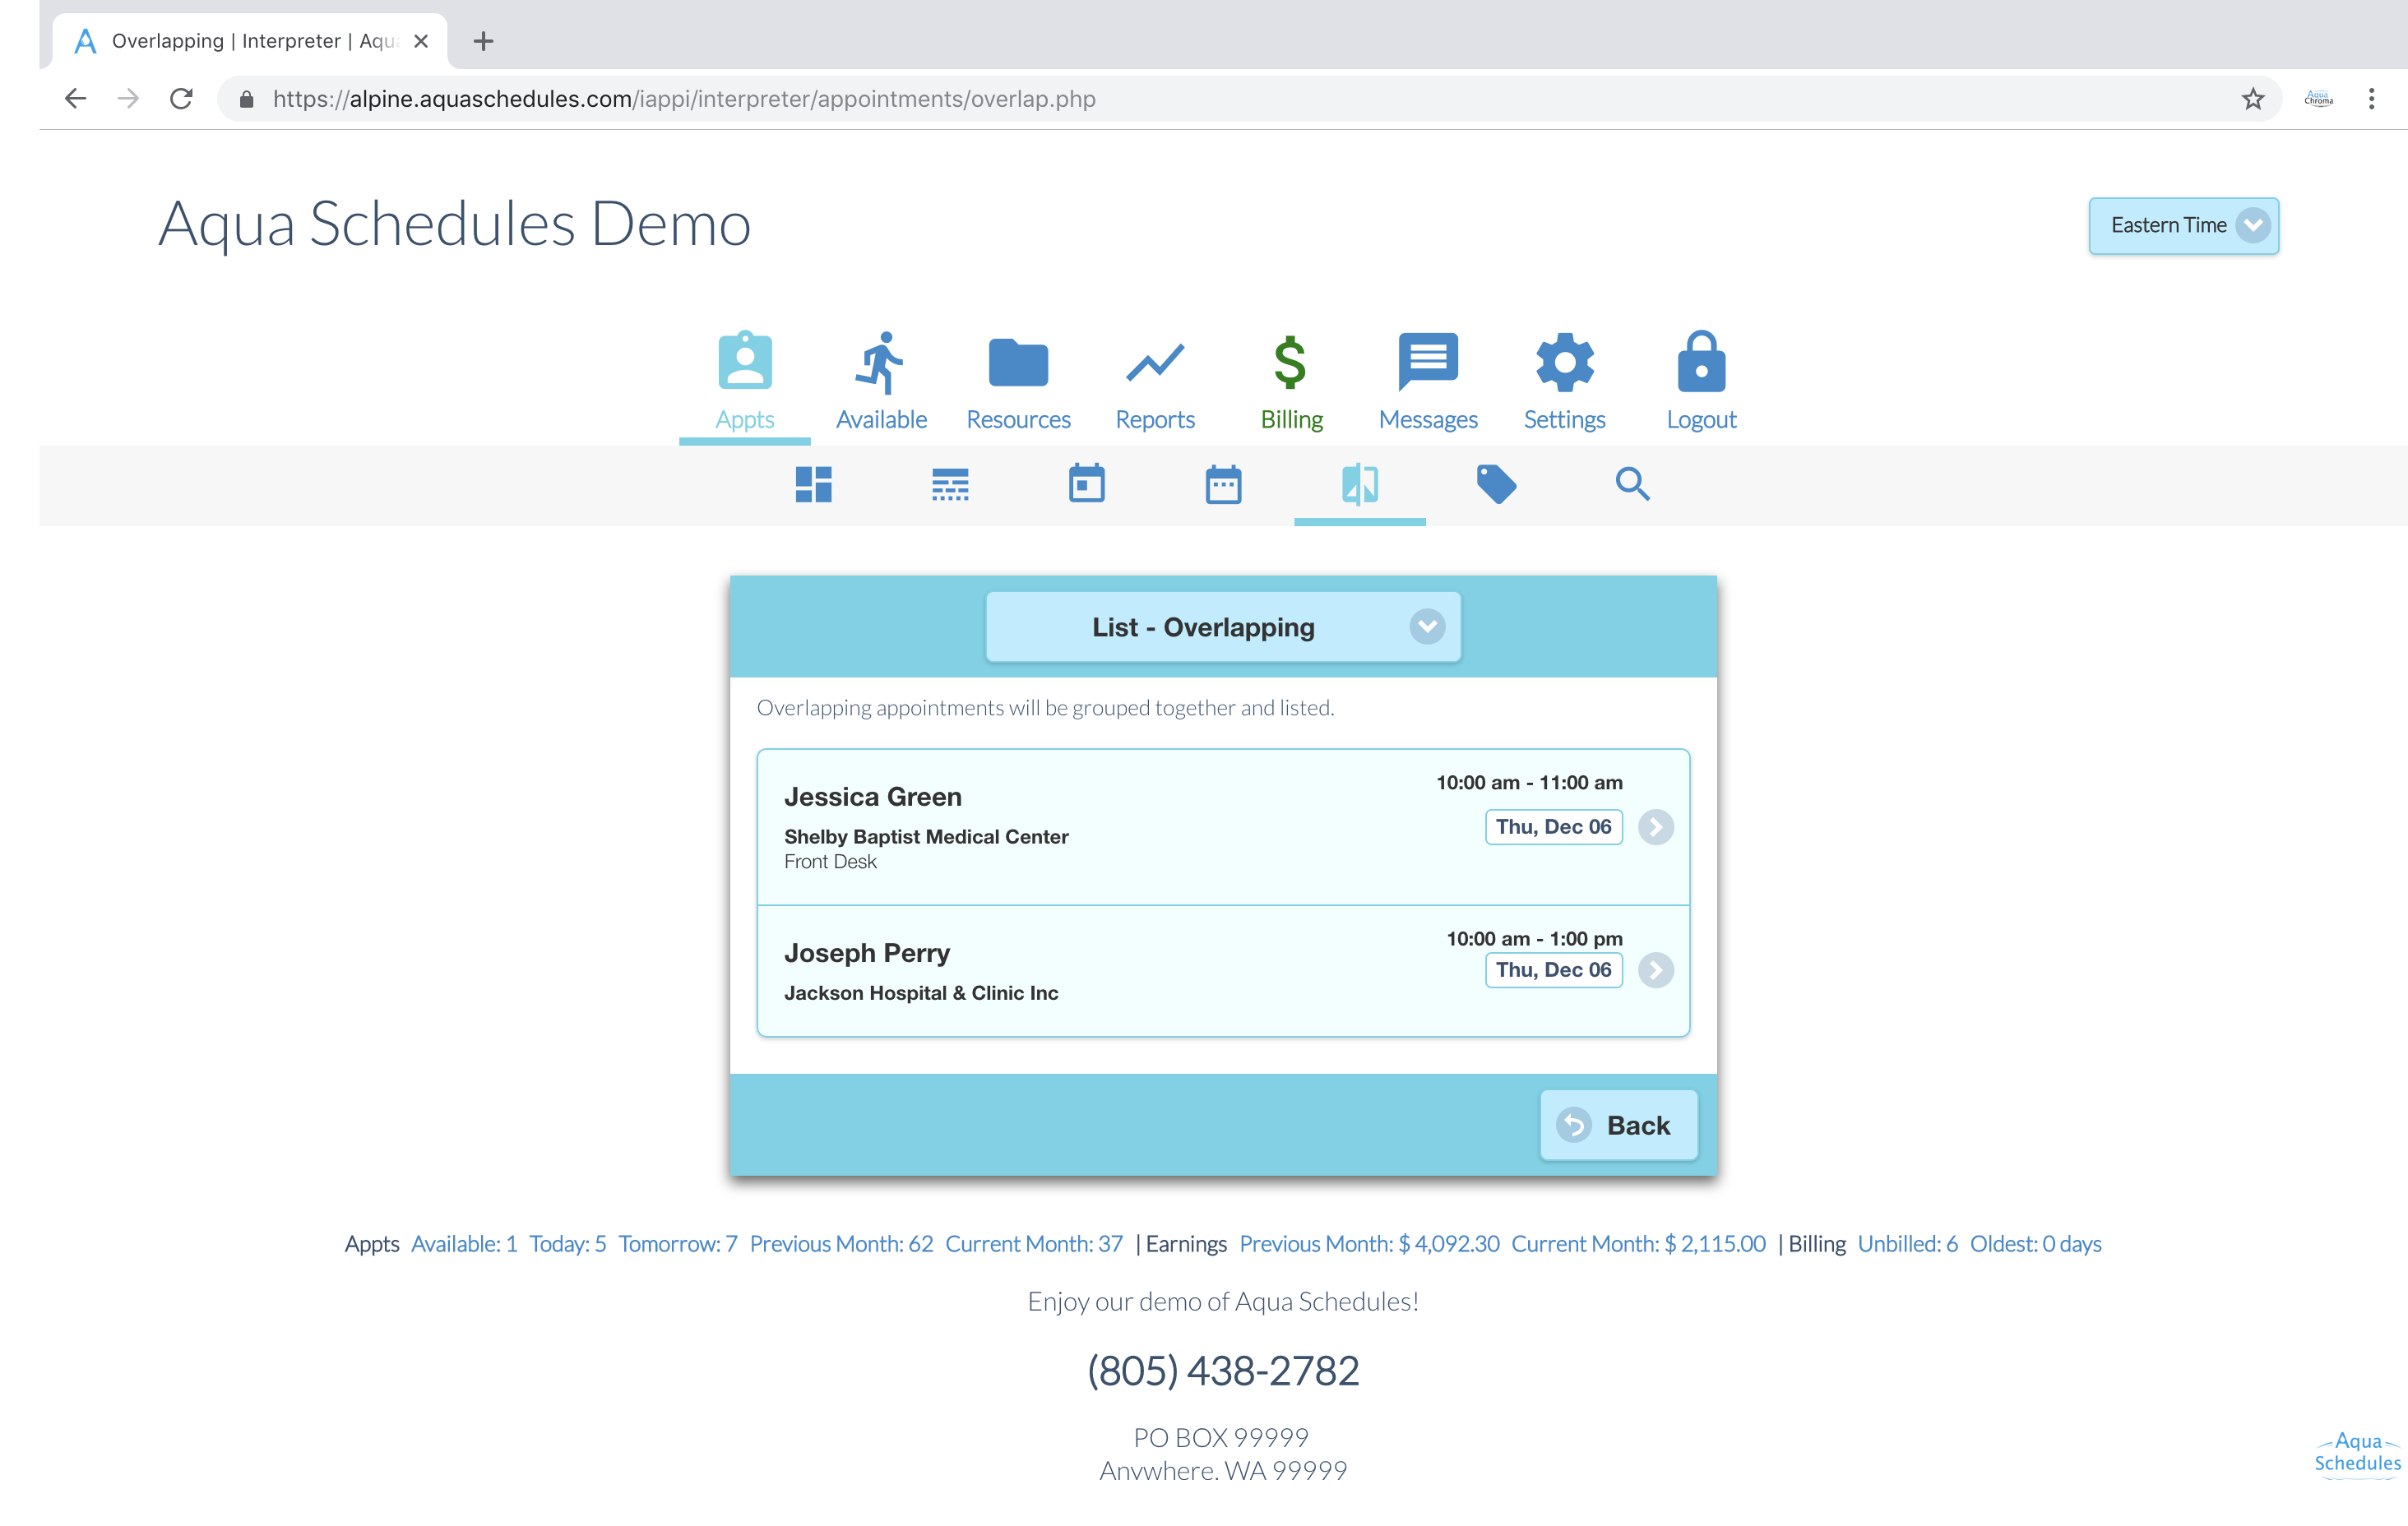
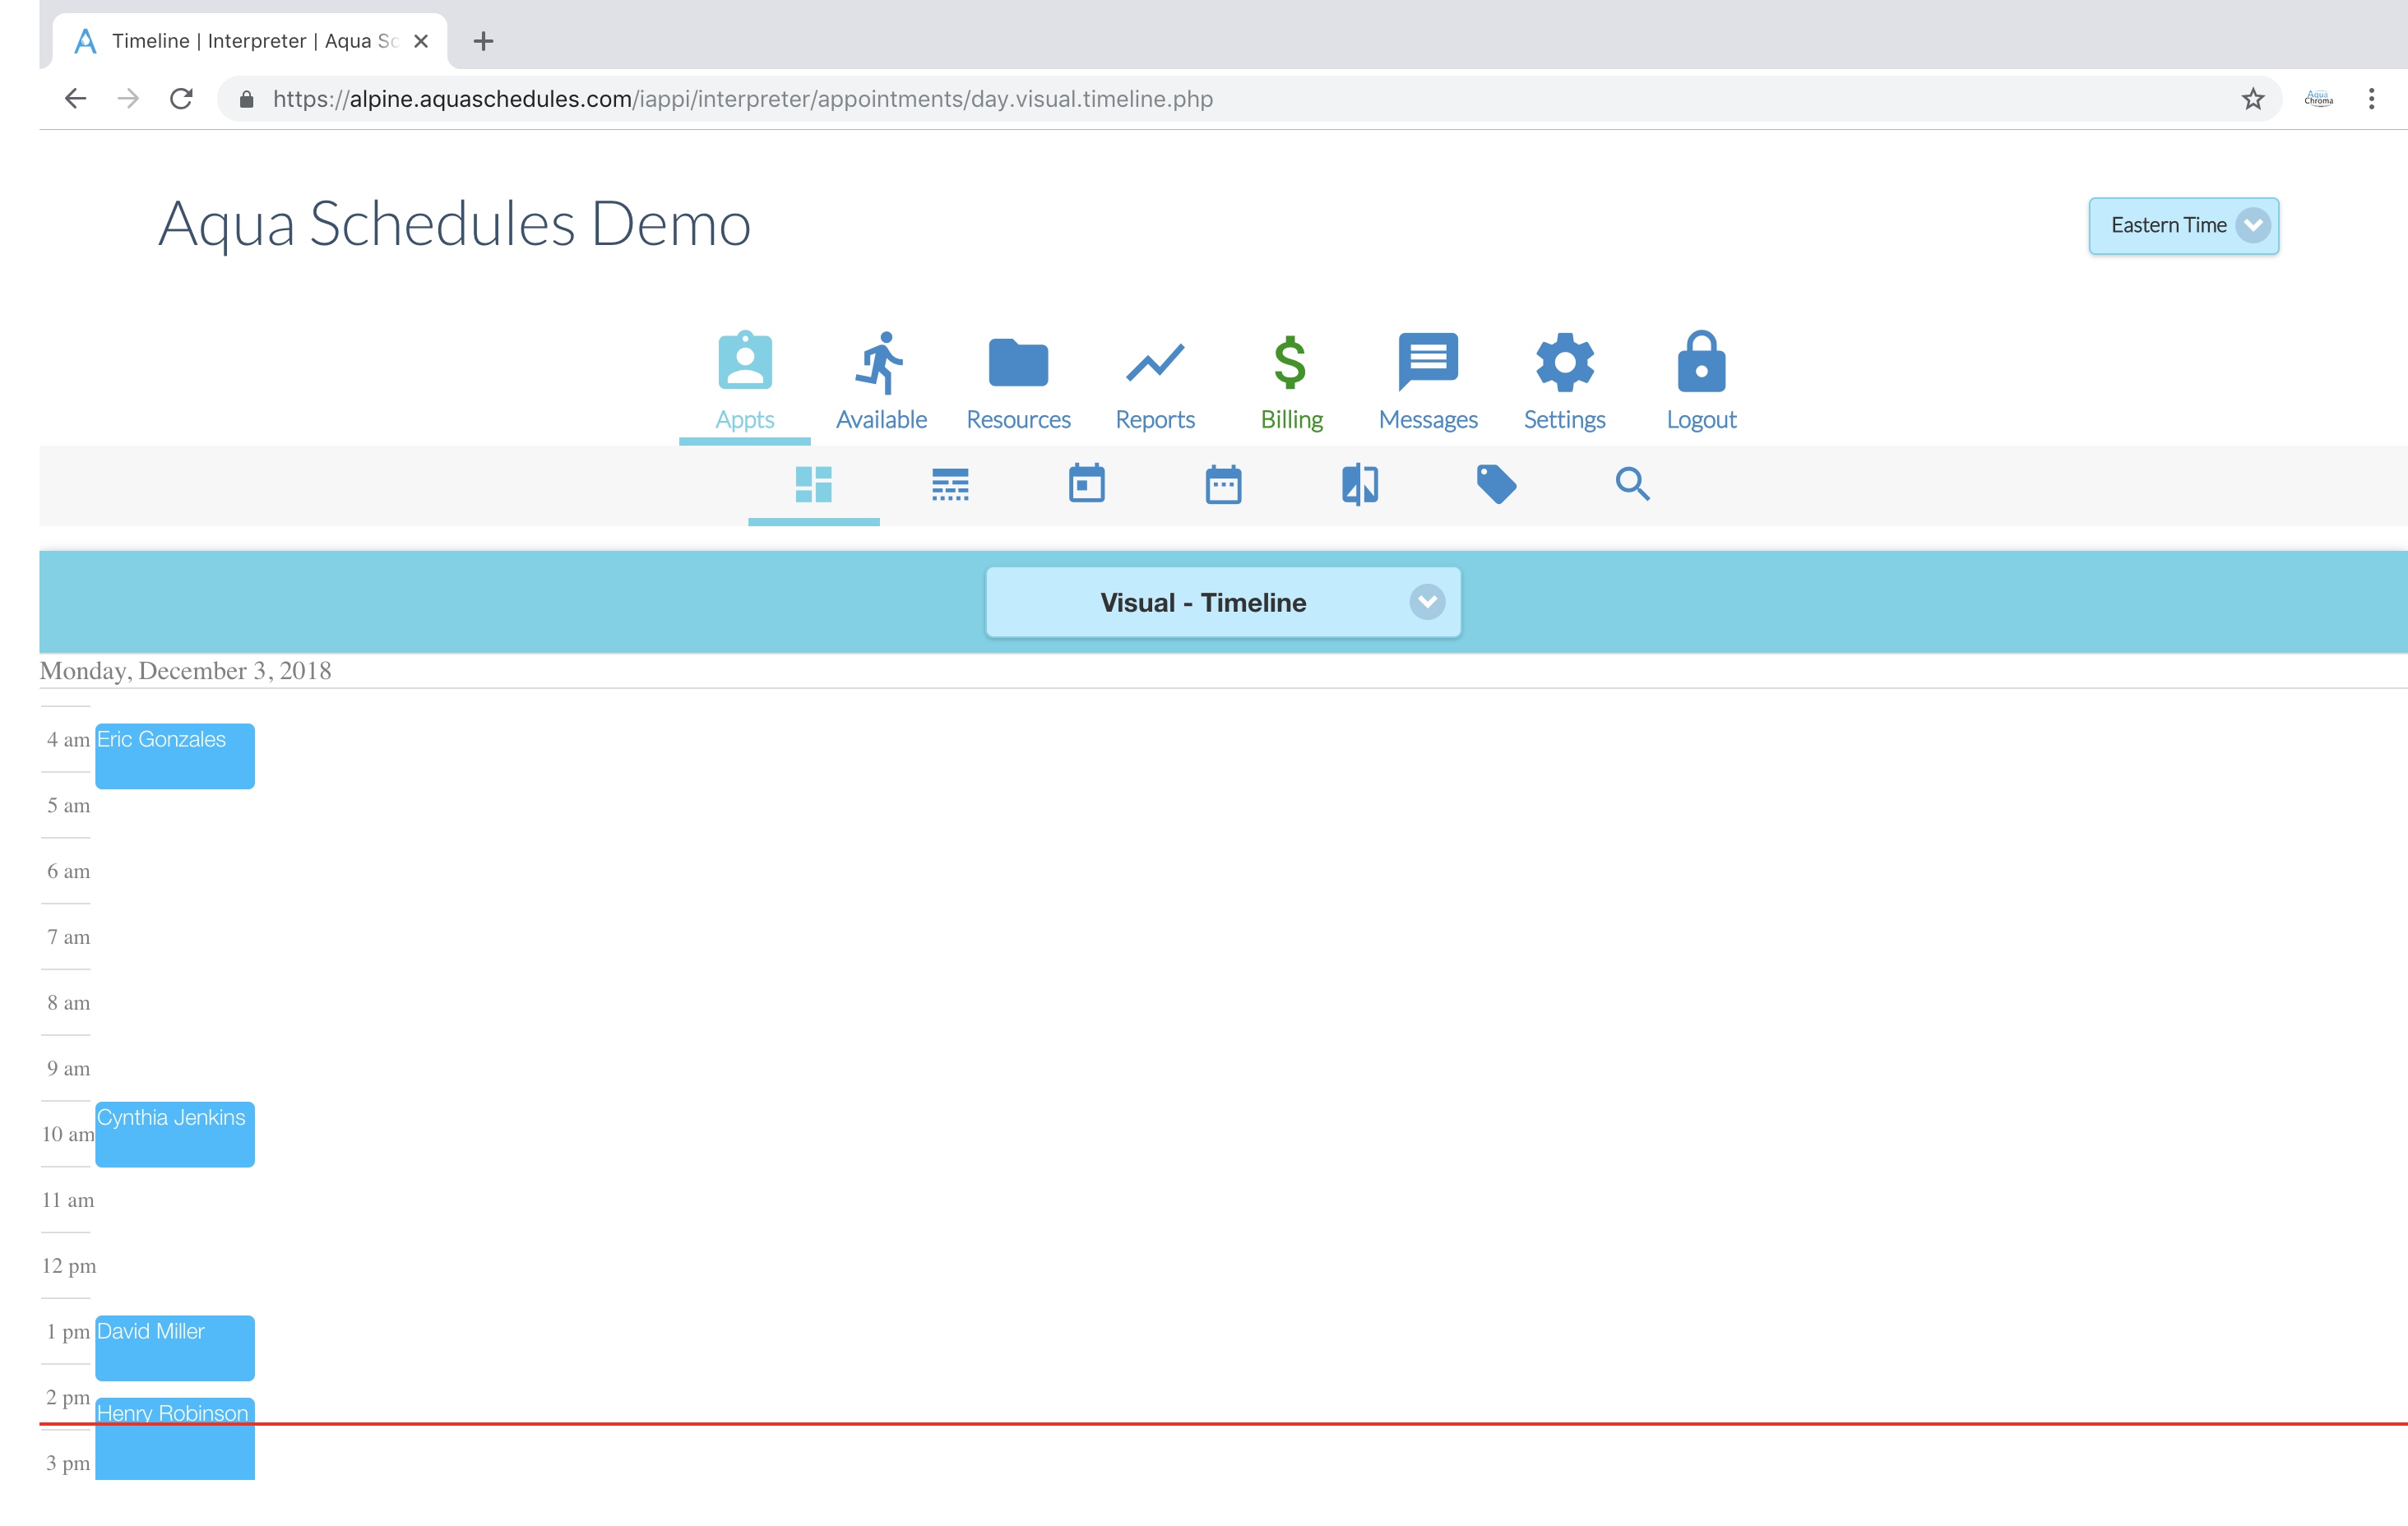
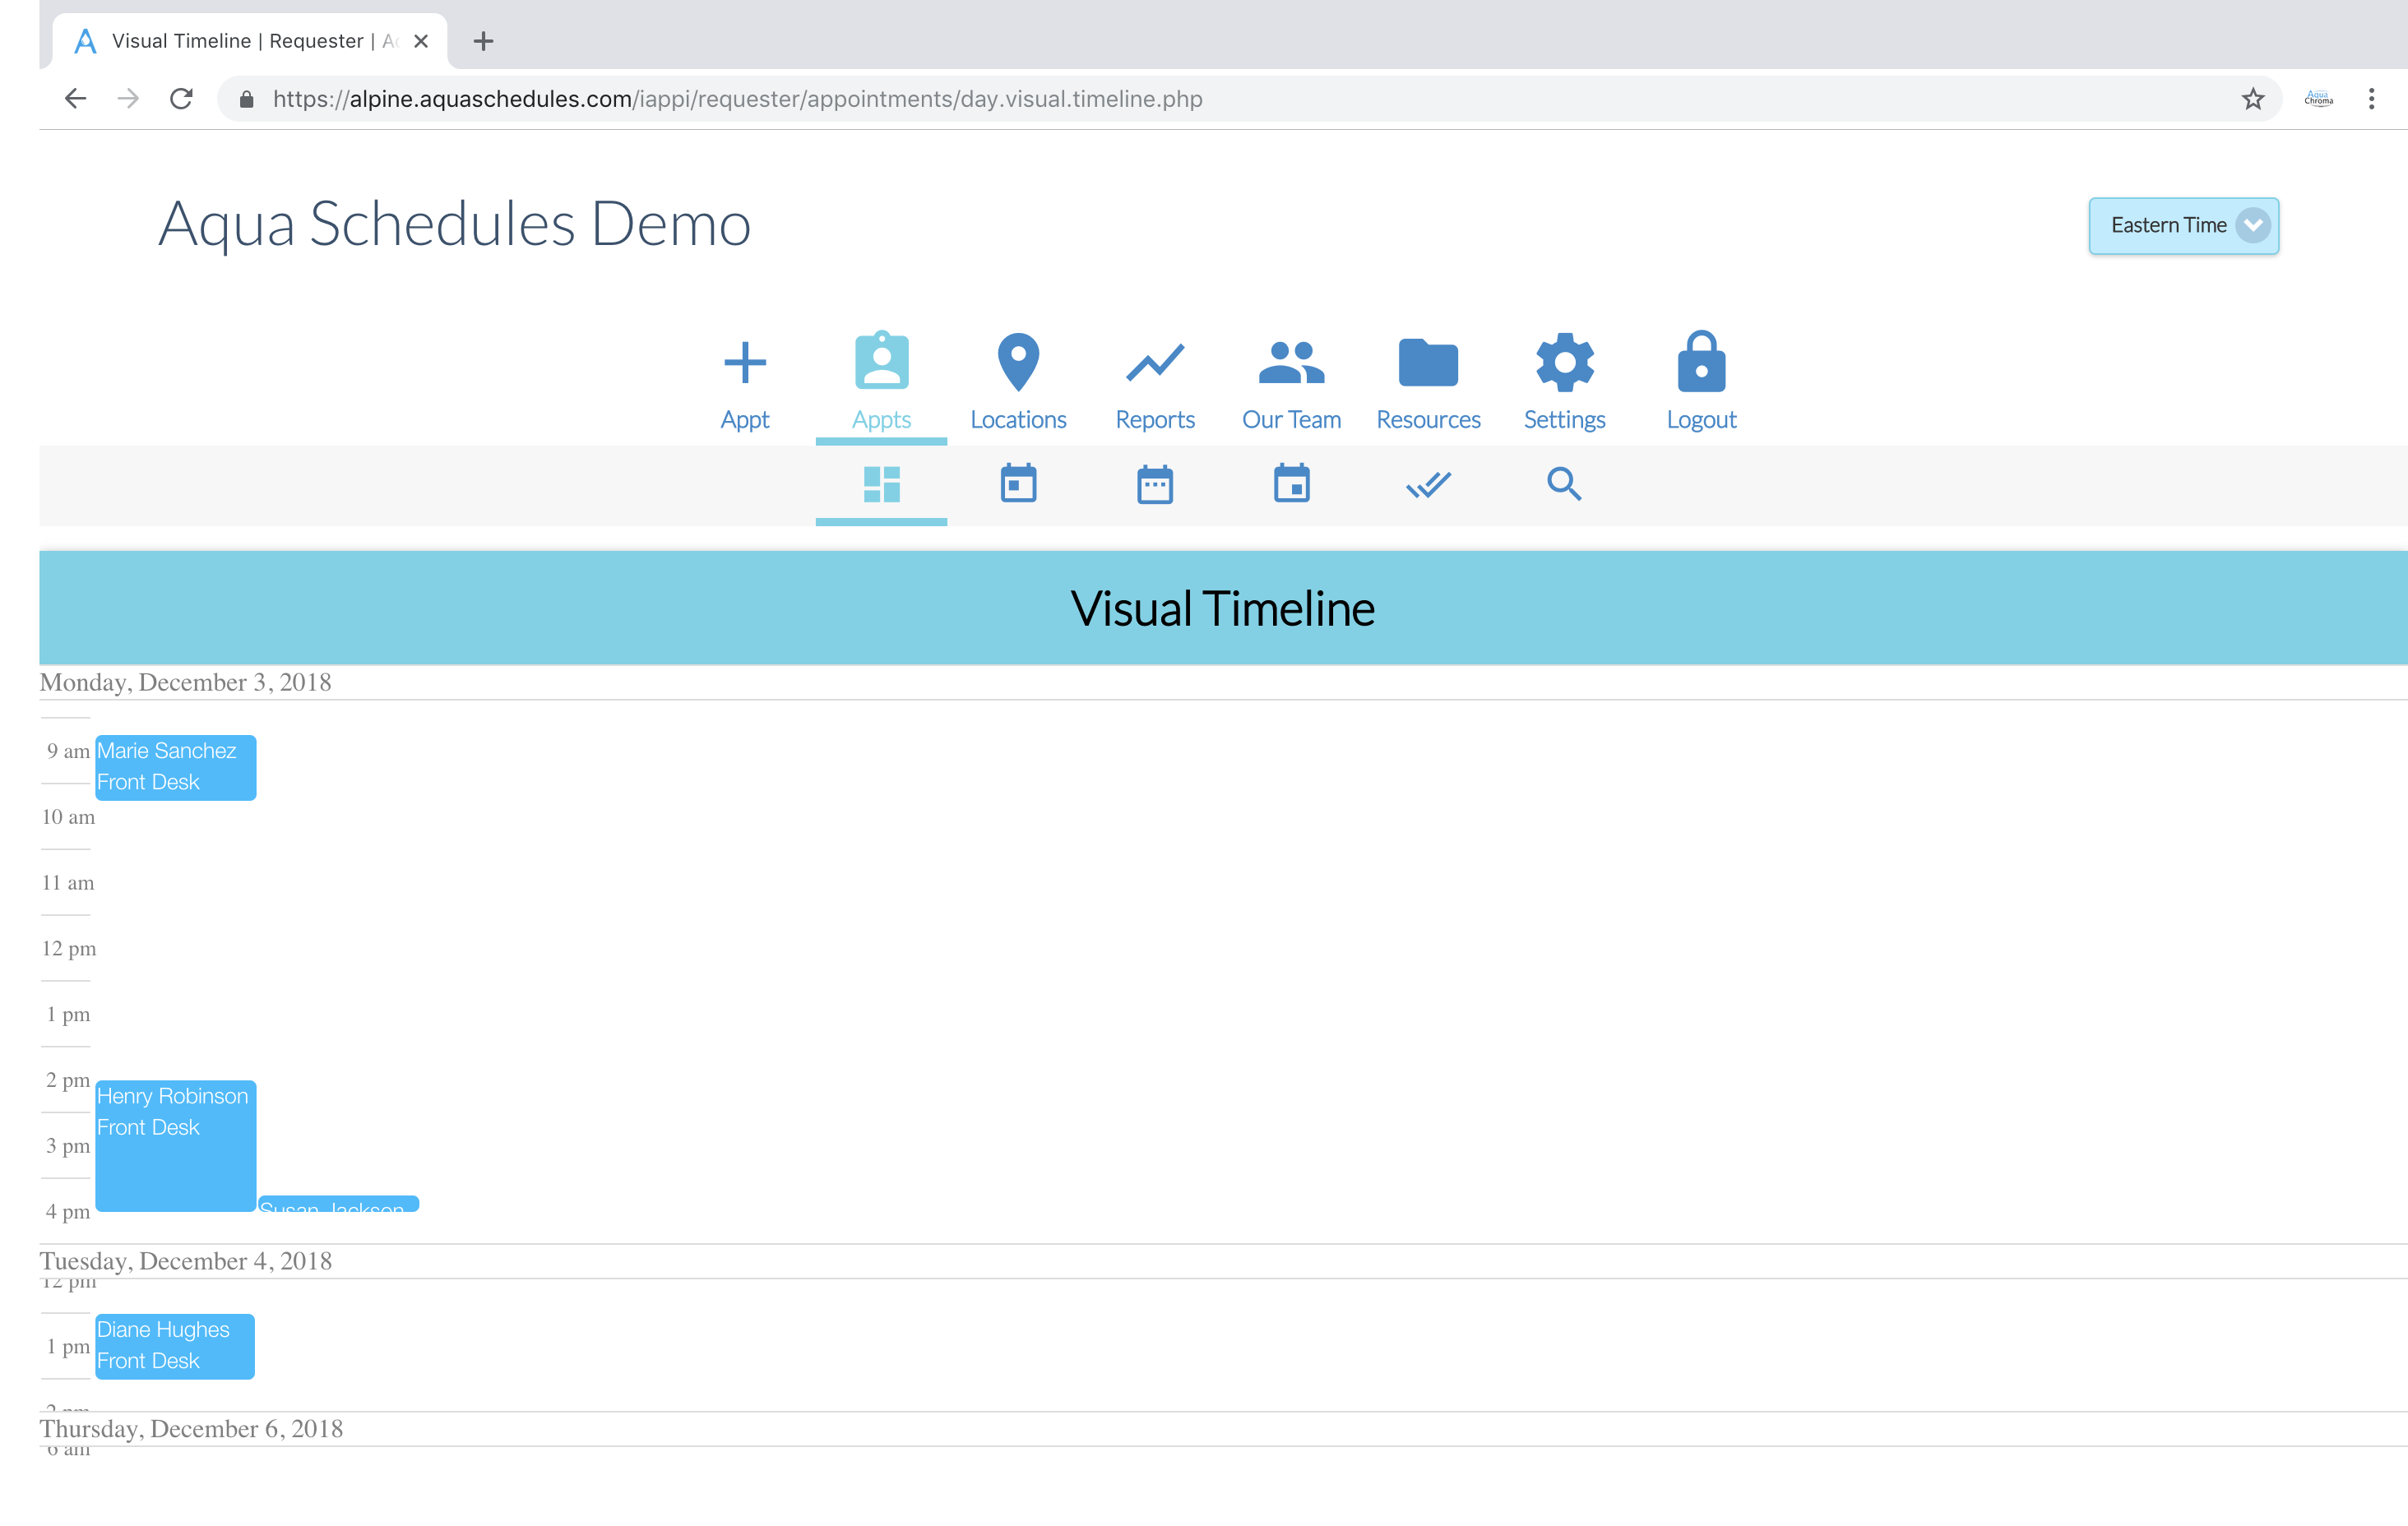
Interpreter view gives you a visual view of your interpreters schedules and also helps you to quickly spot overlapping appointments represented by blue transparent bubbles.
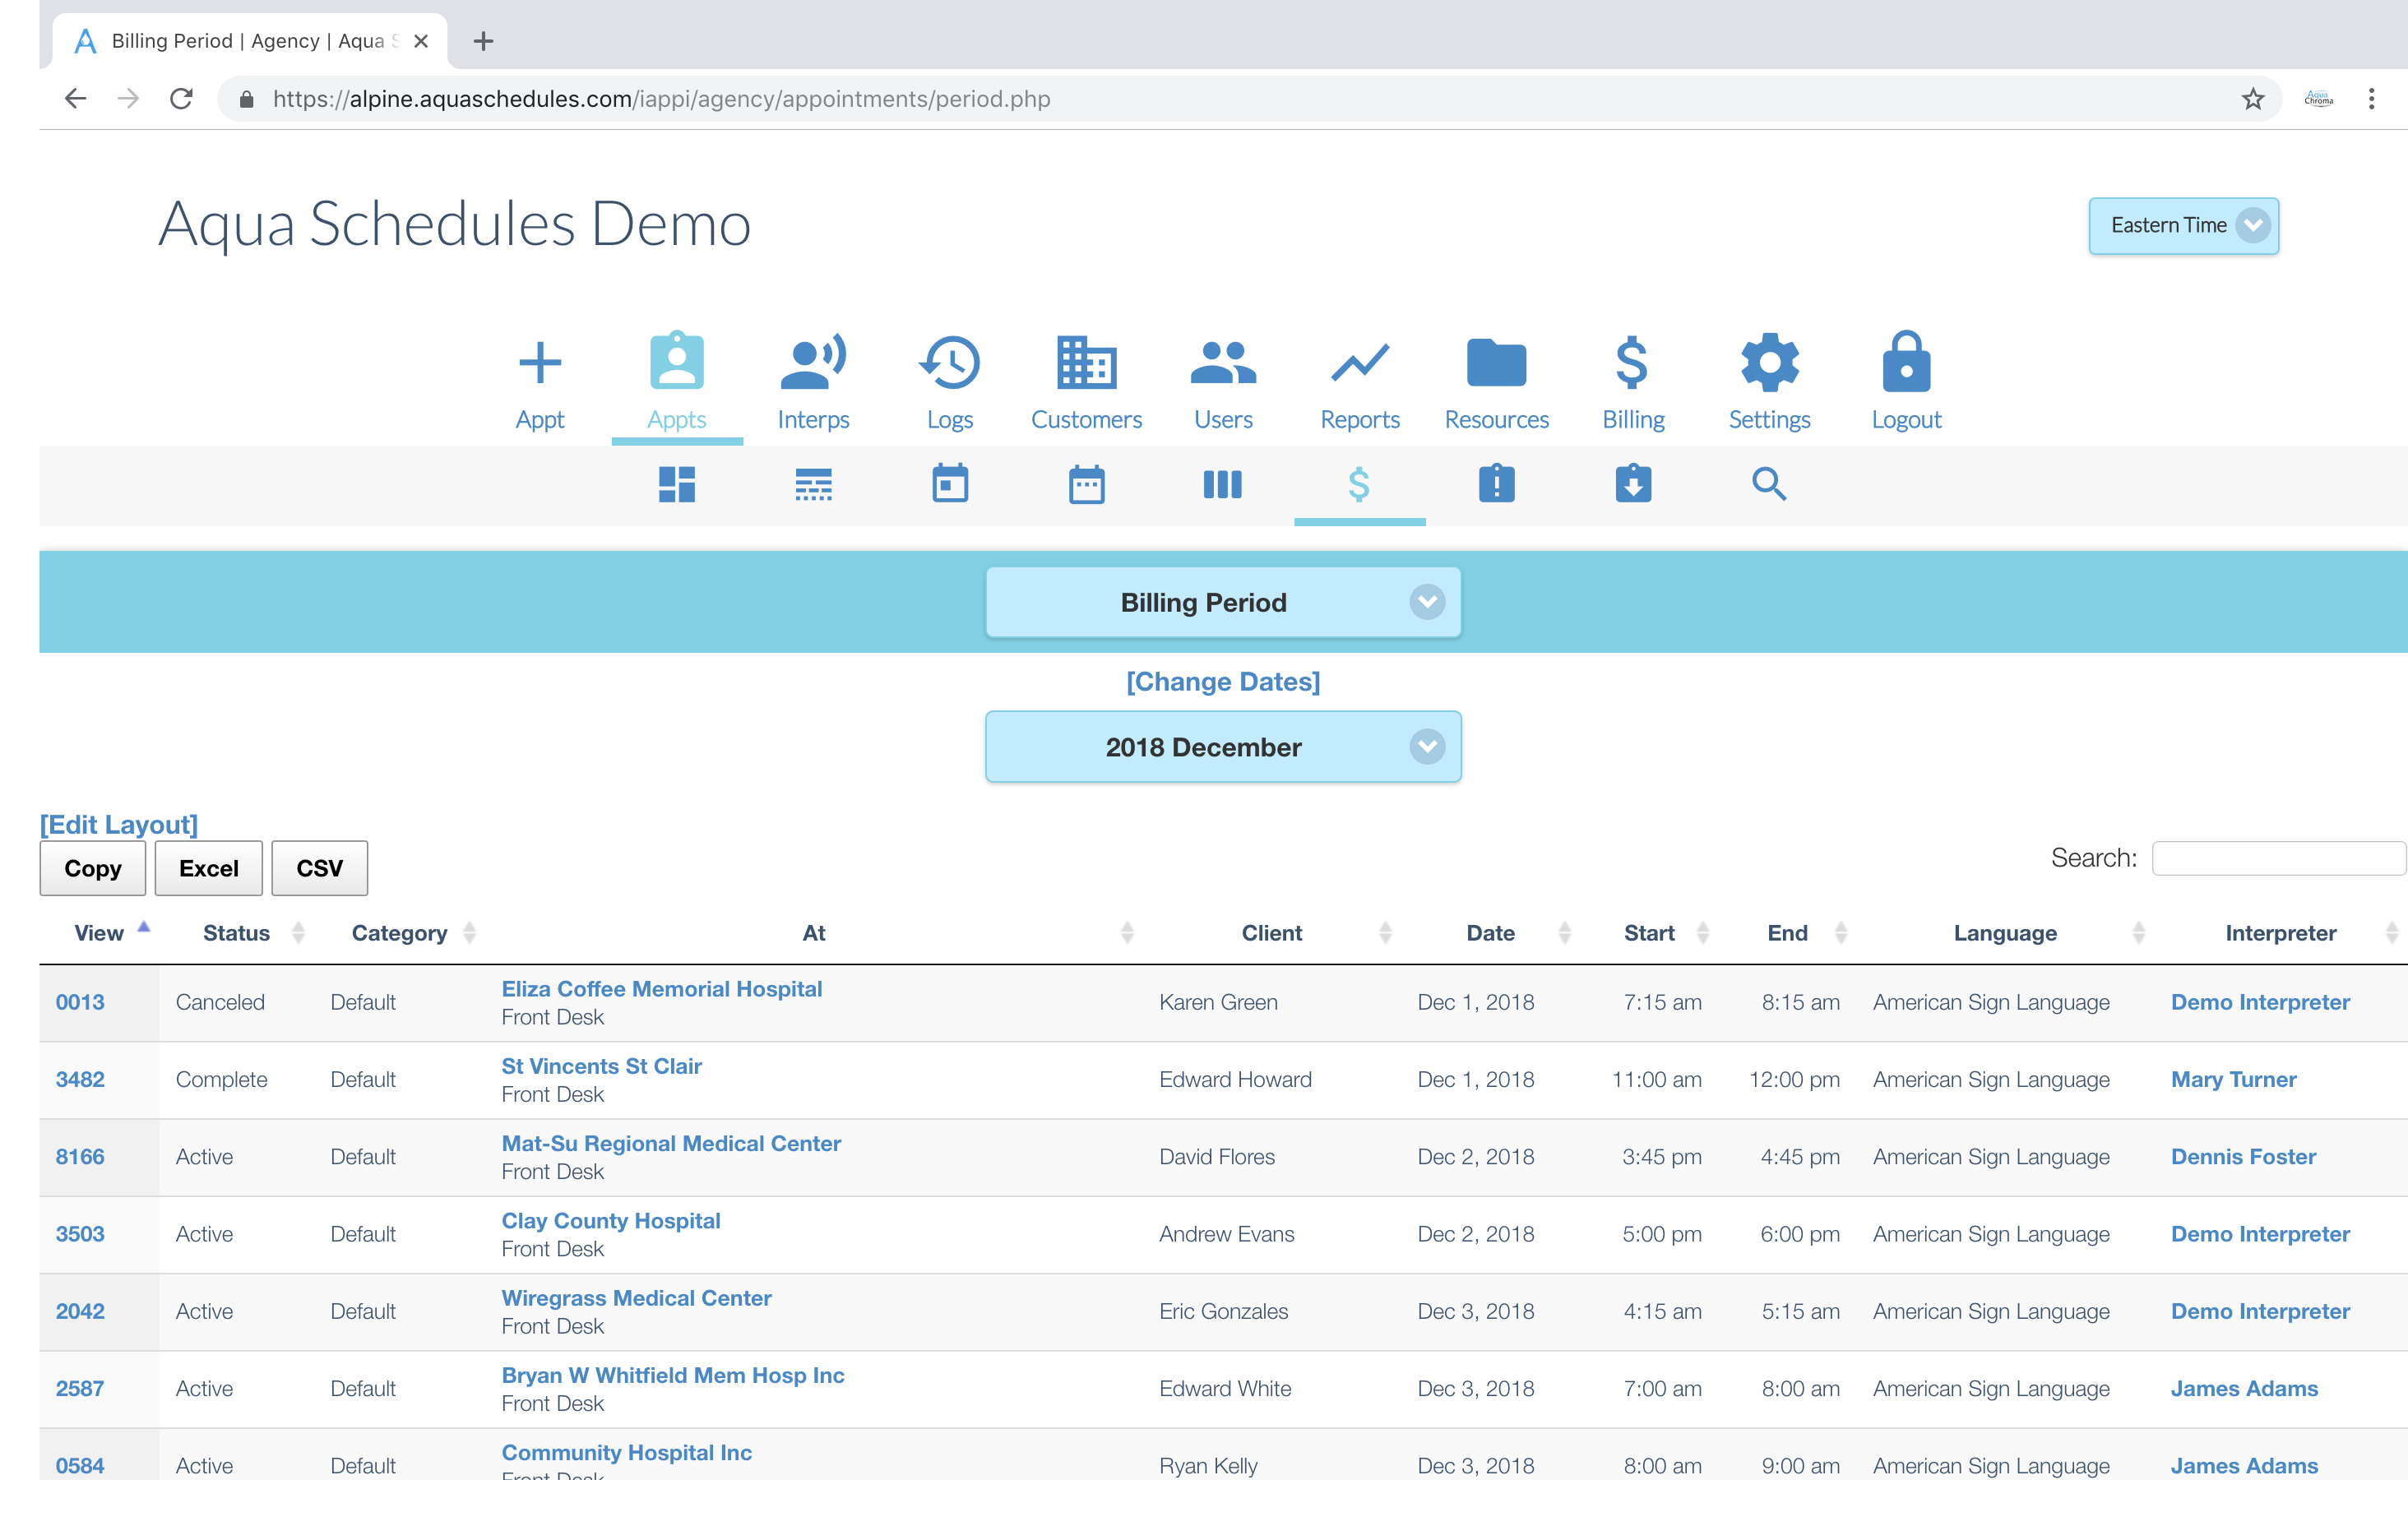
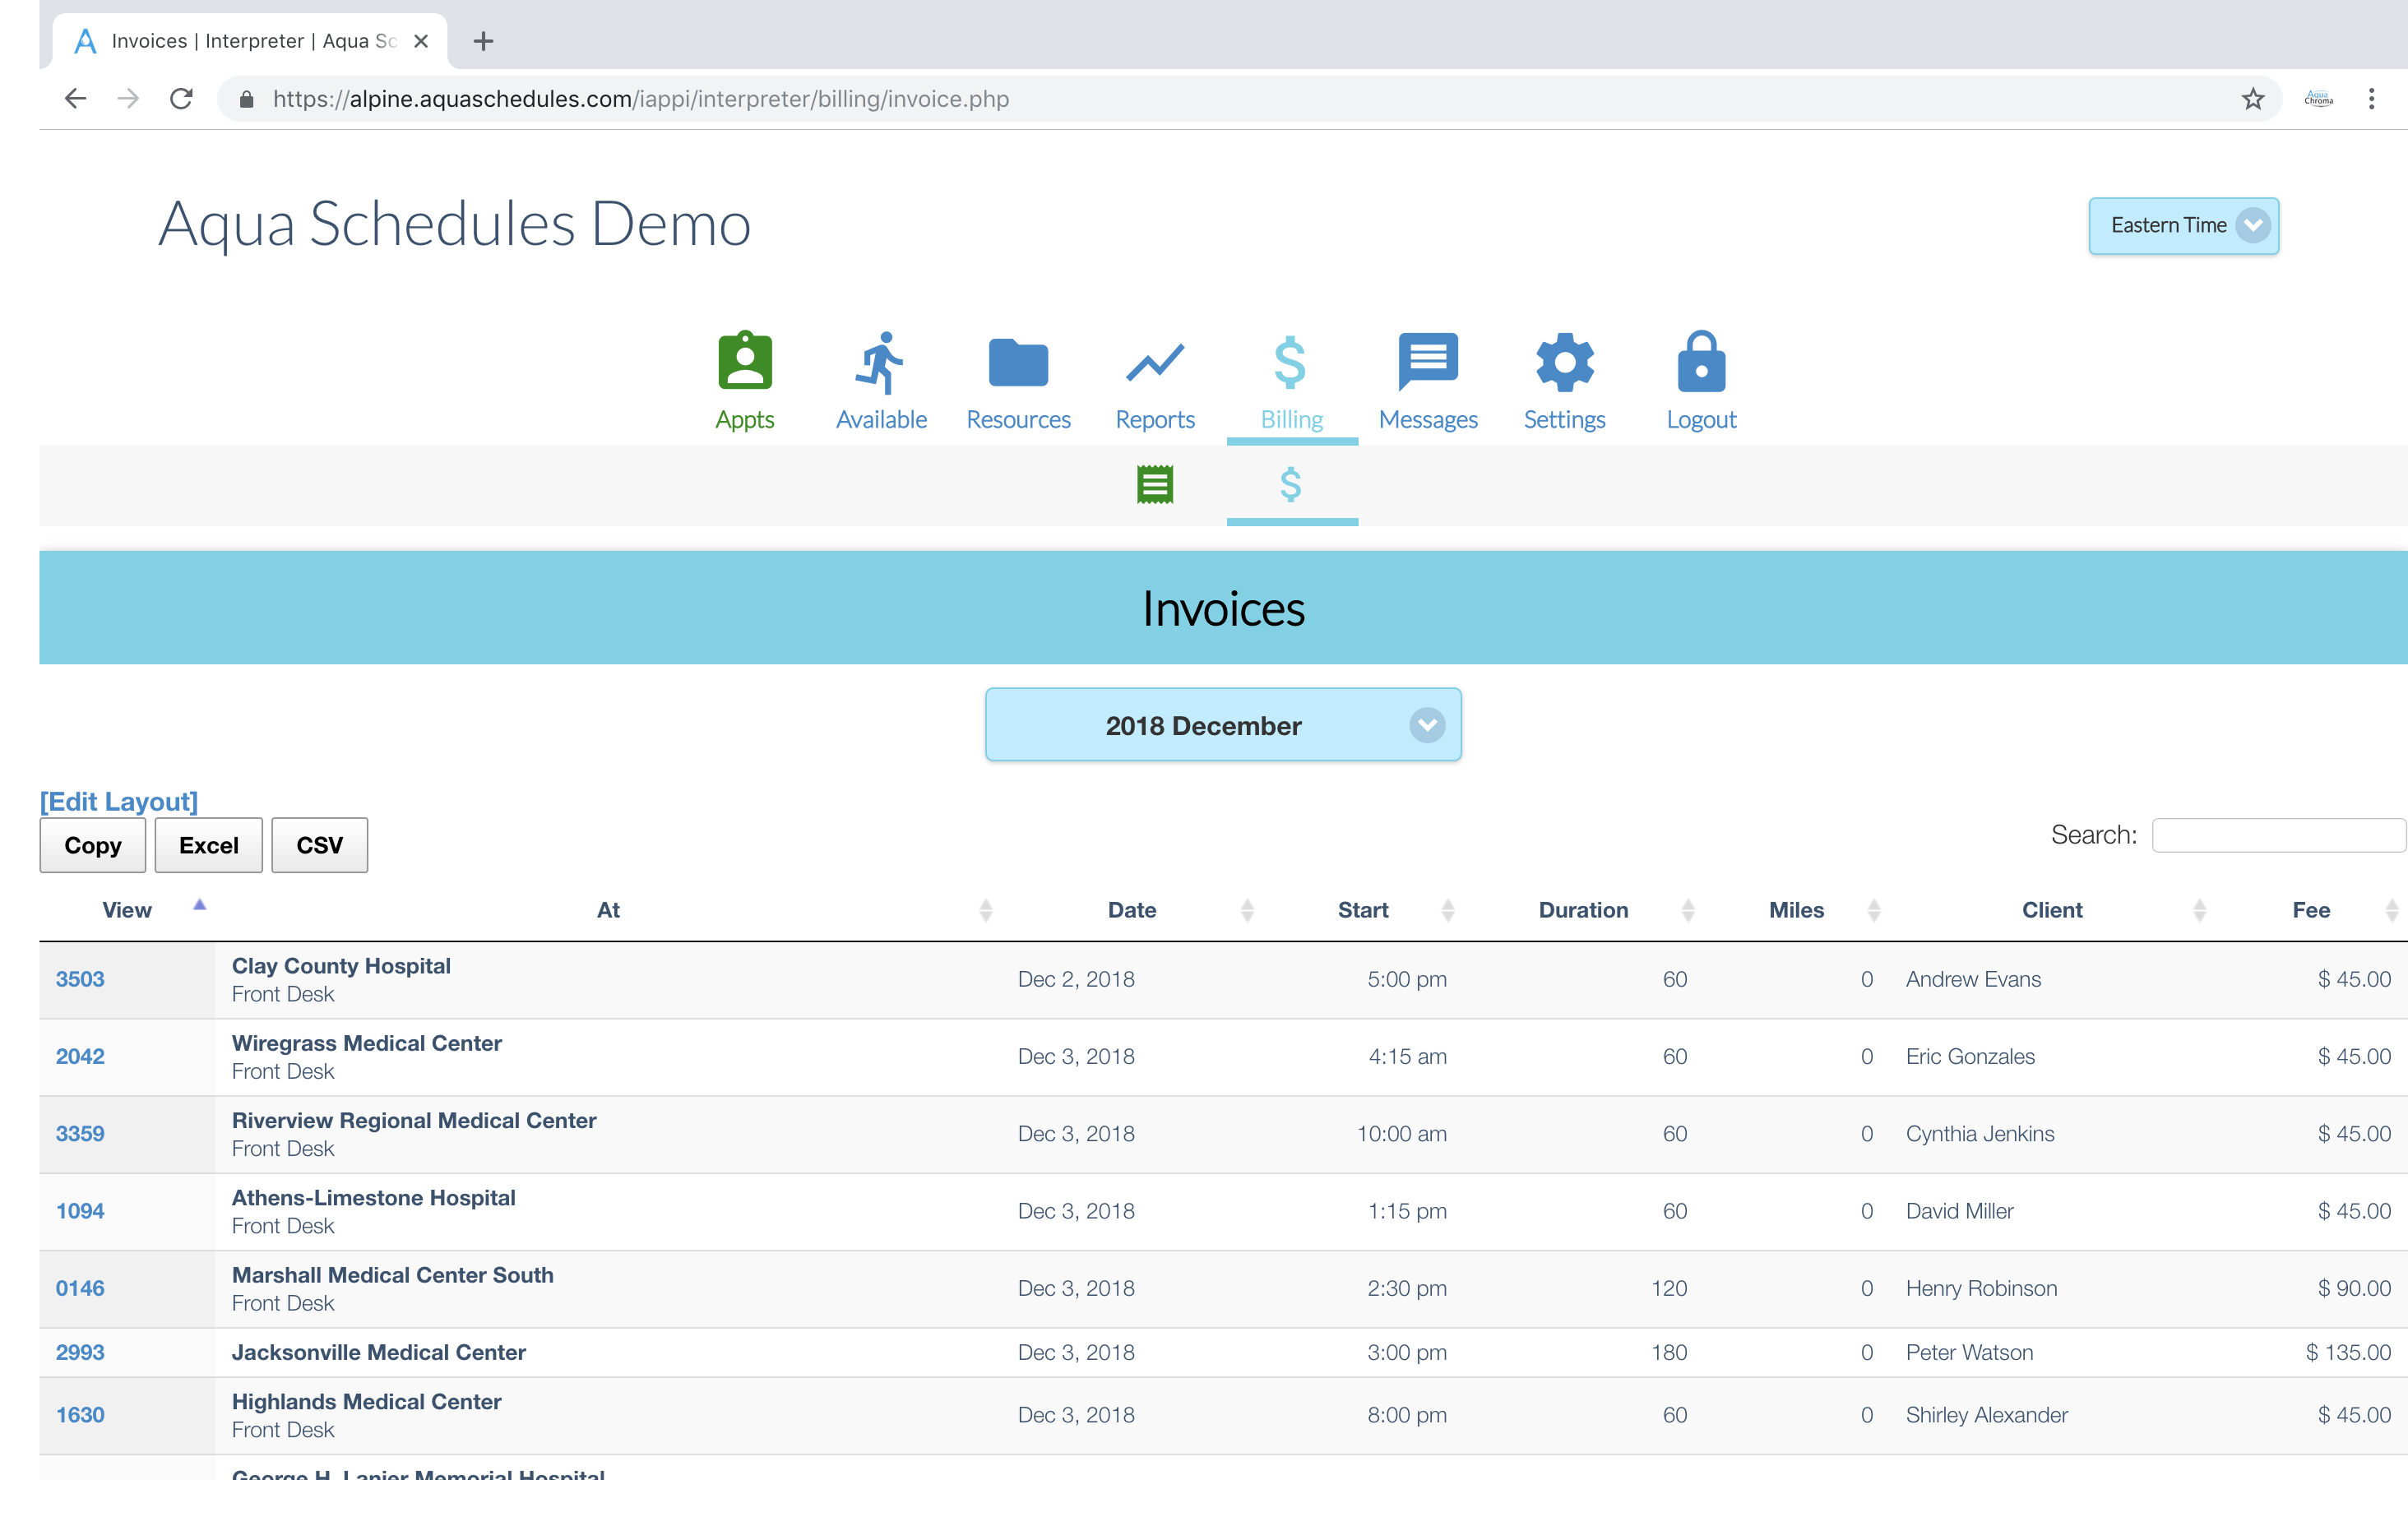
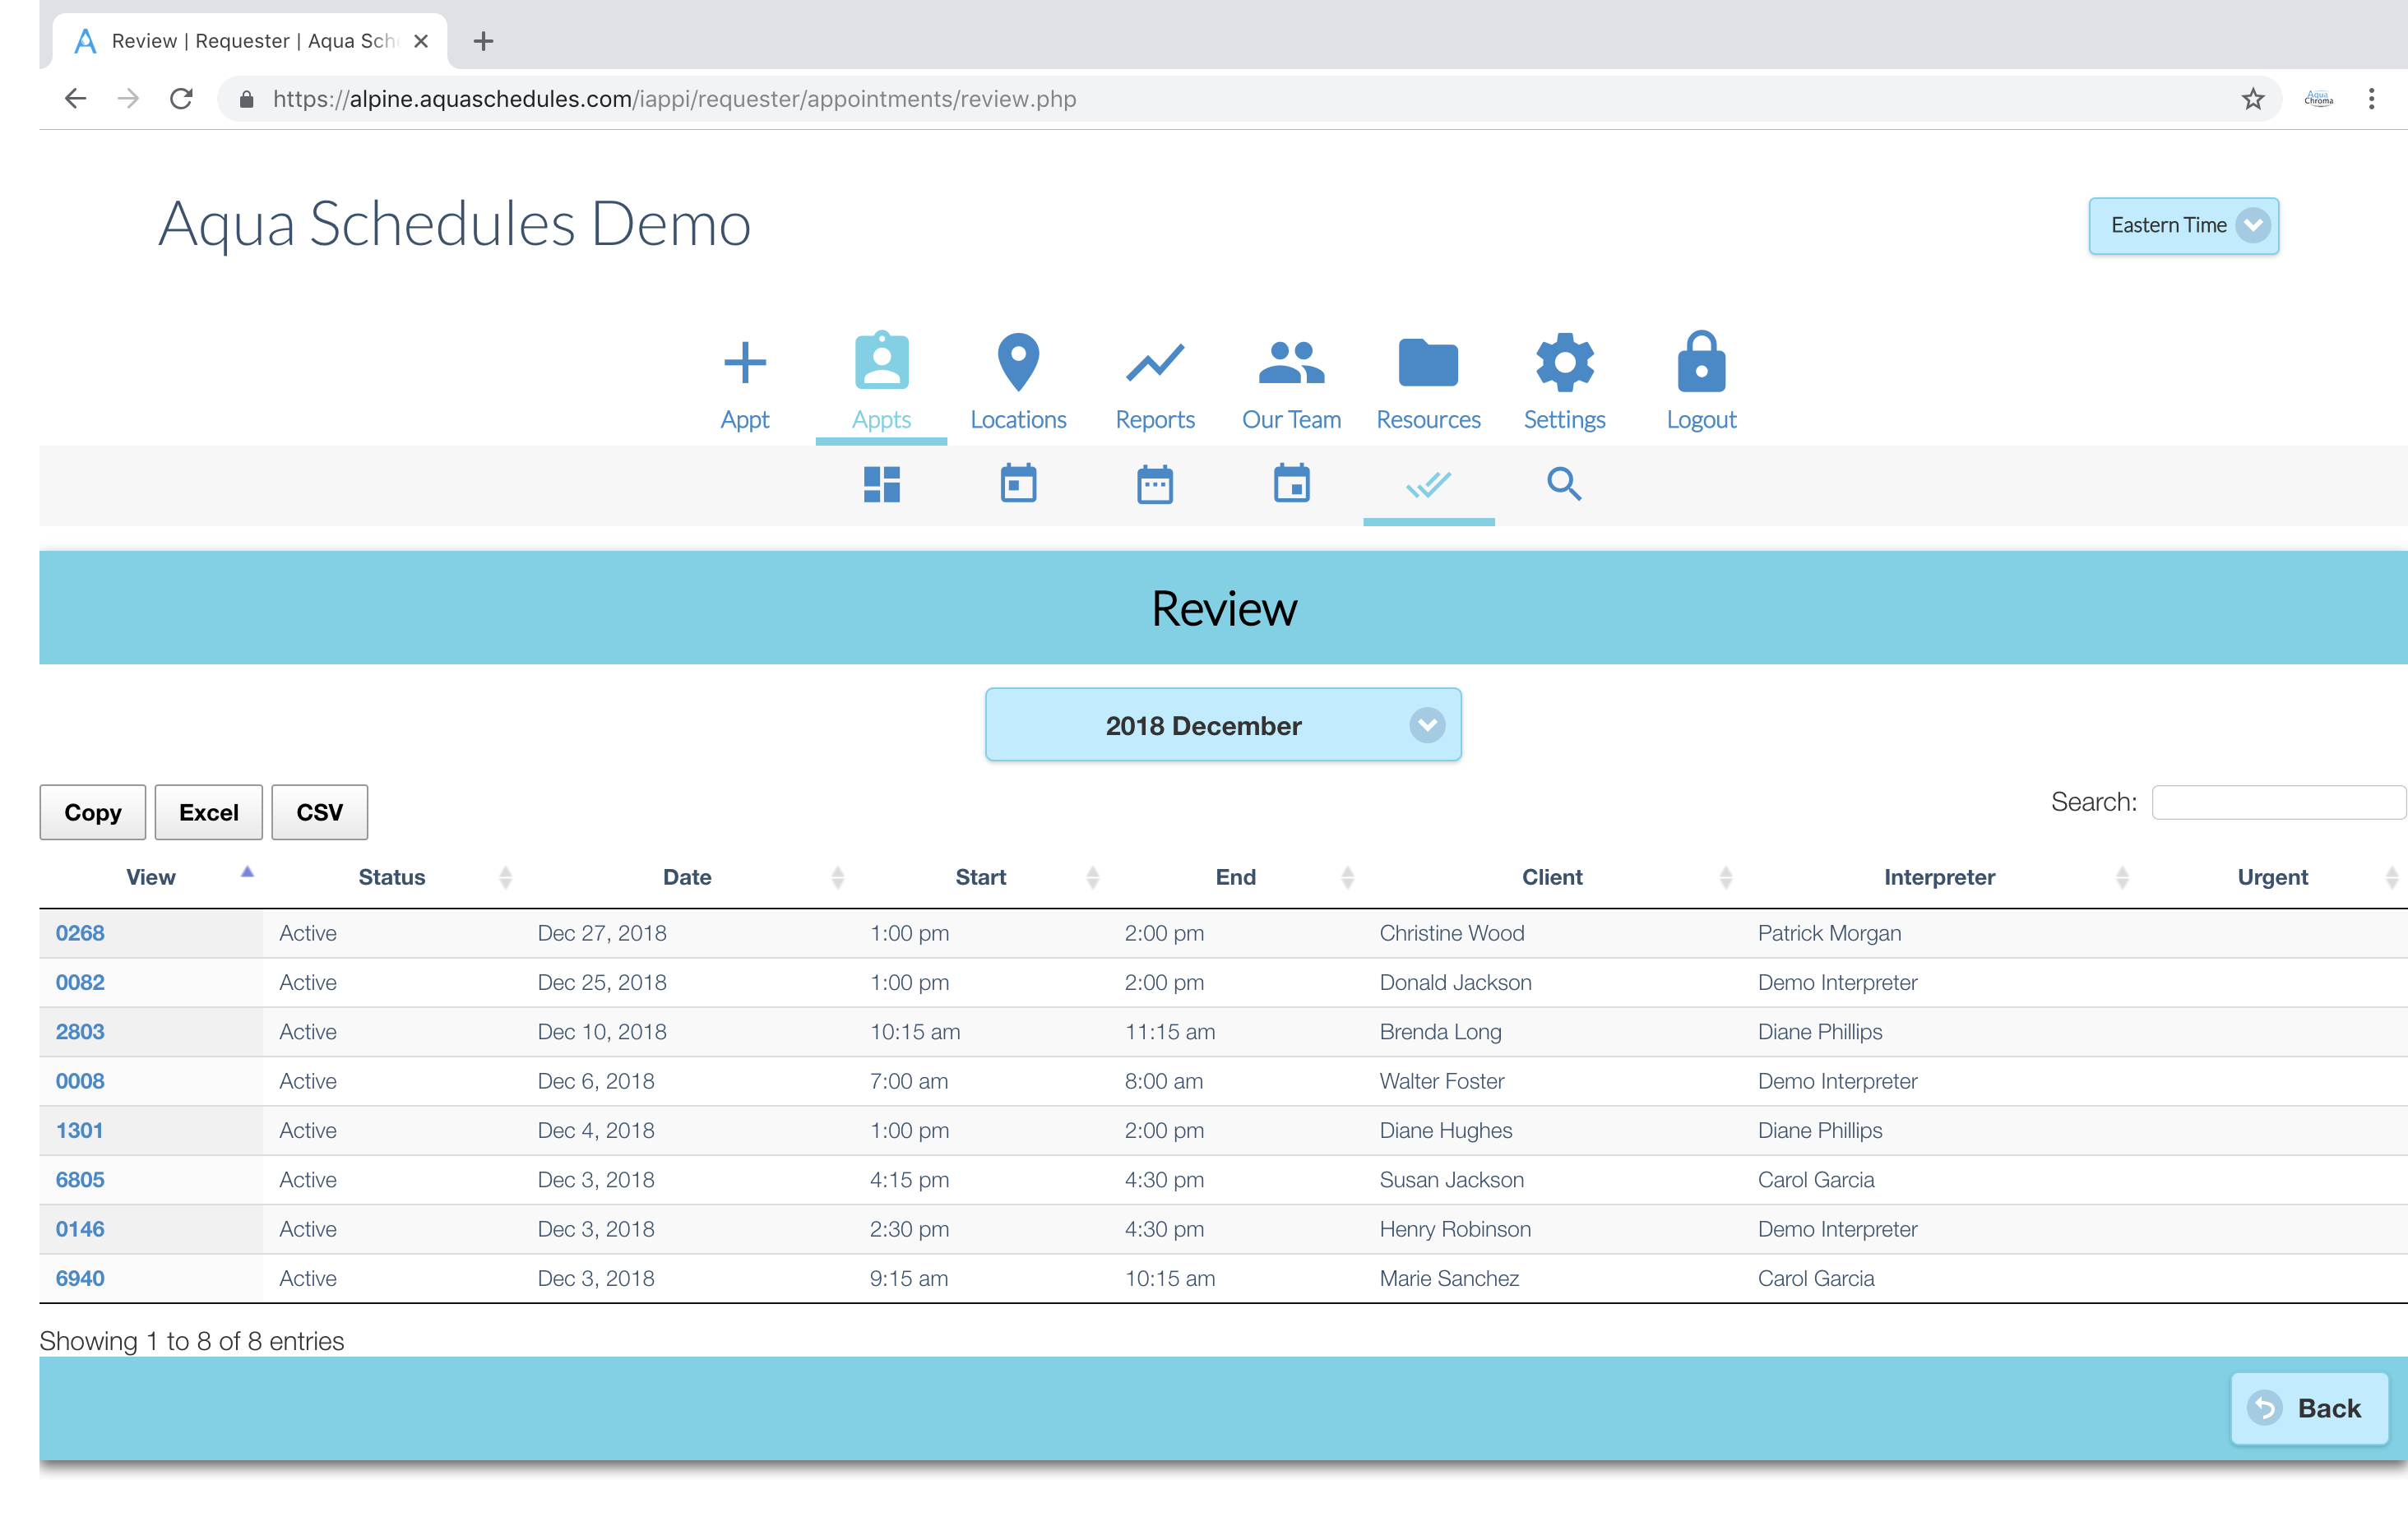
Billing period view lists all appointments for a certain month. Click on the Dropbox to choose any month you are looking for.
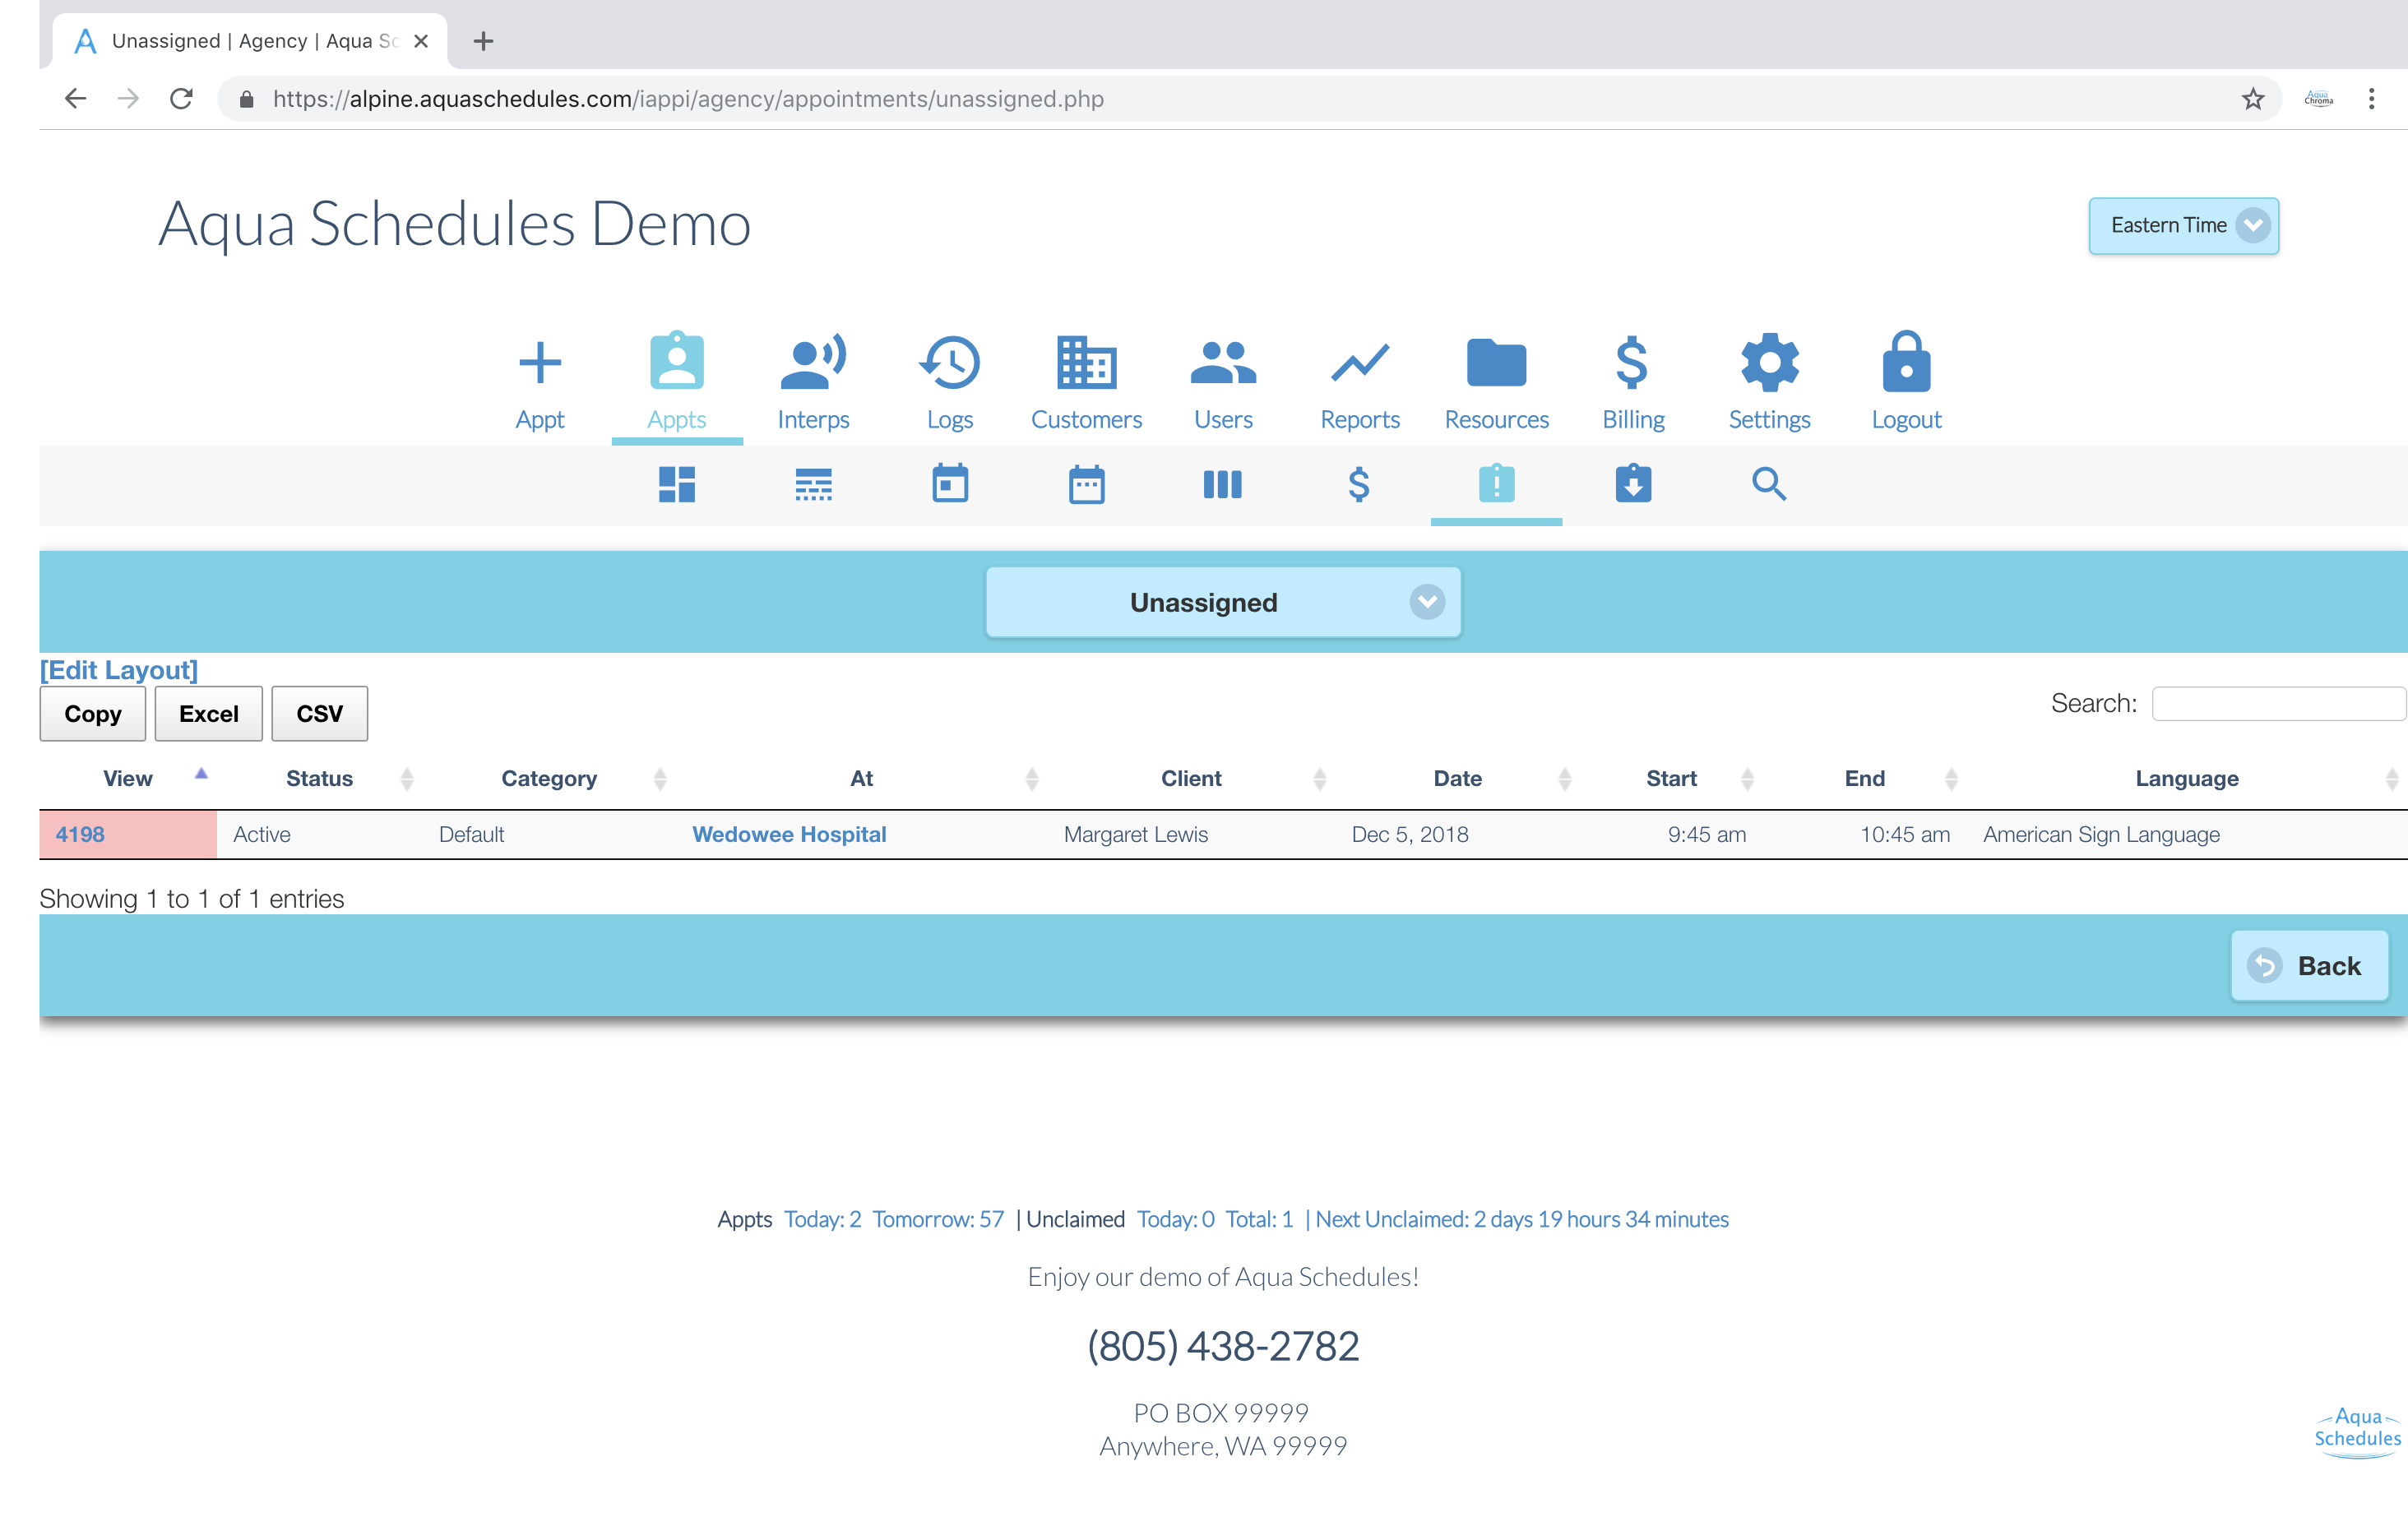
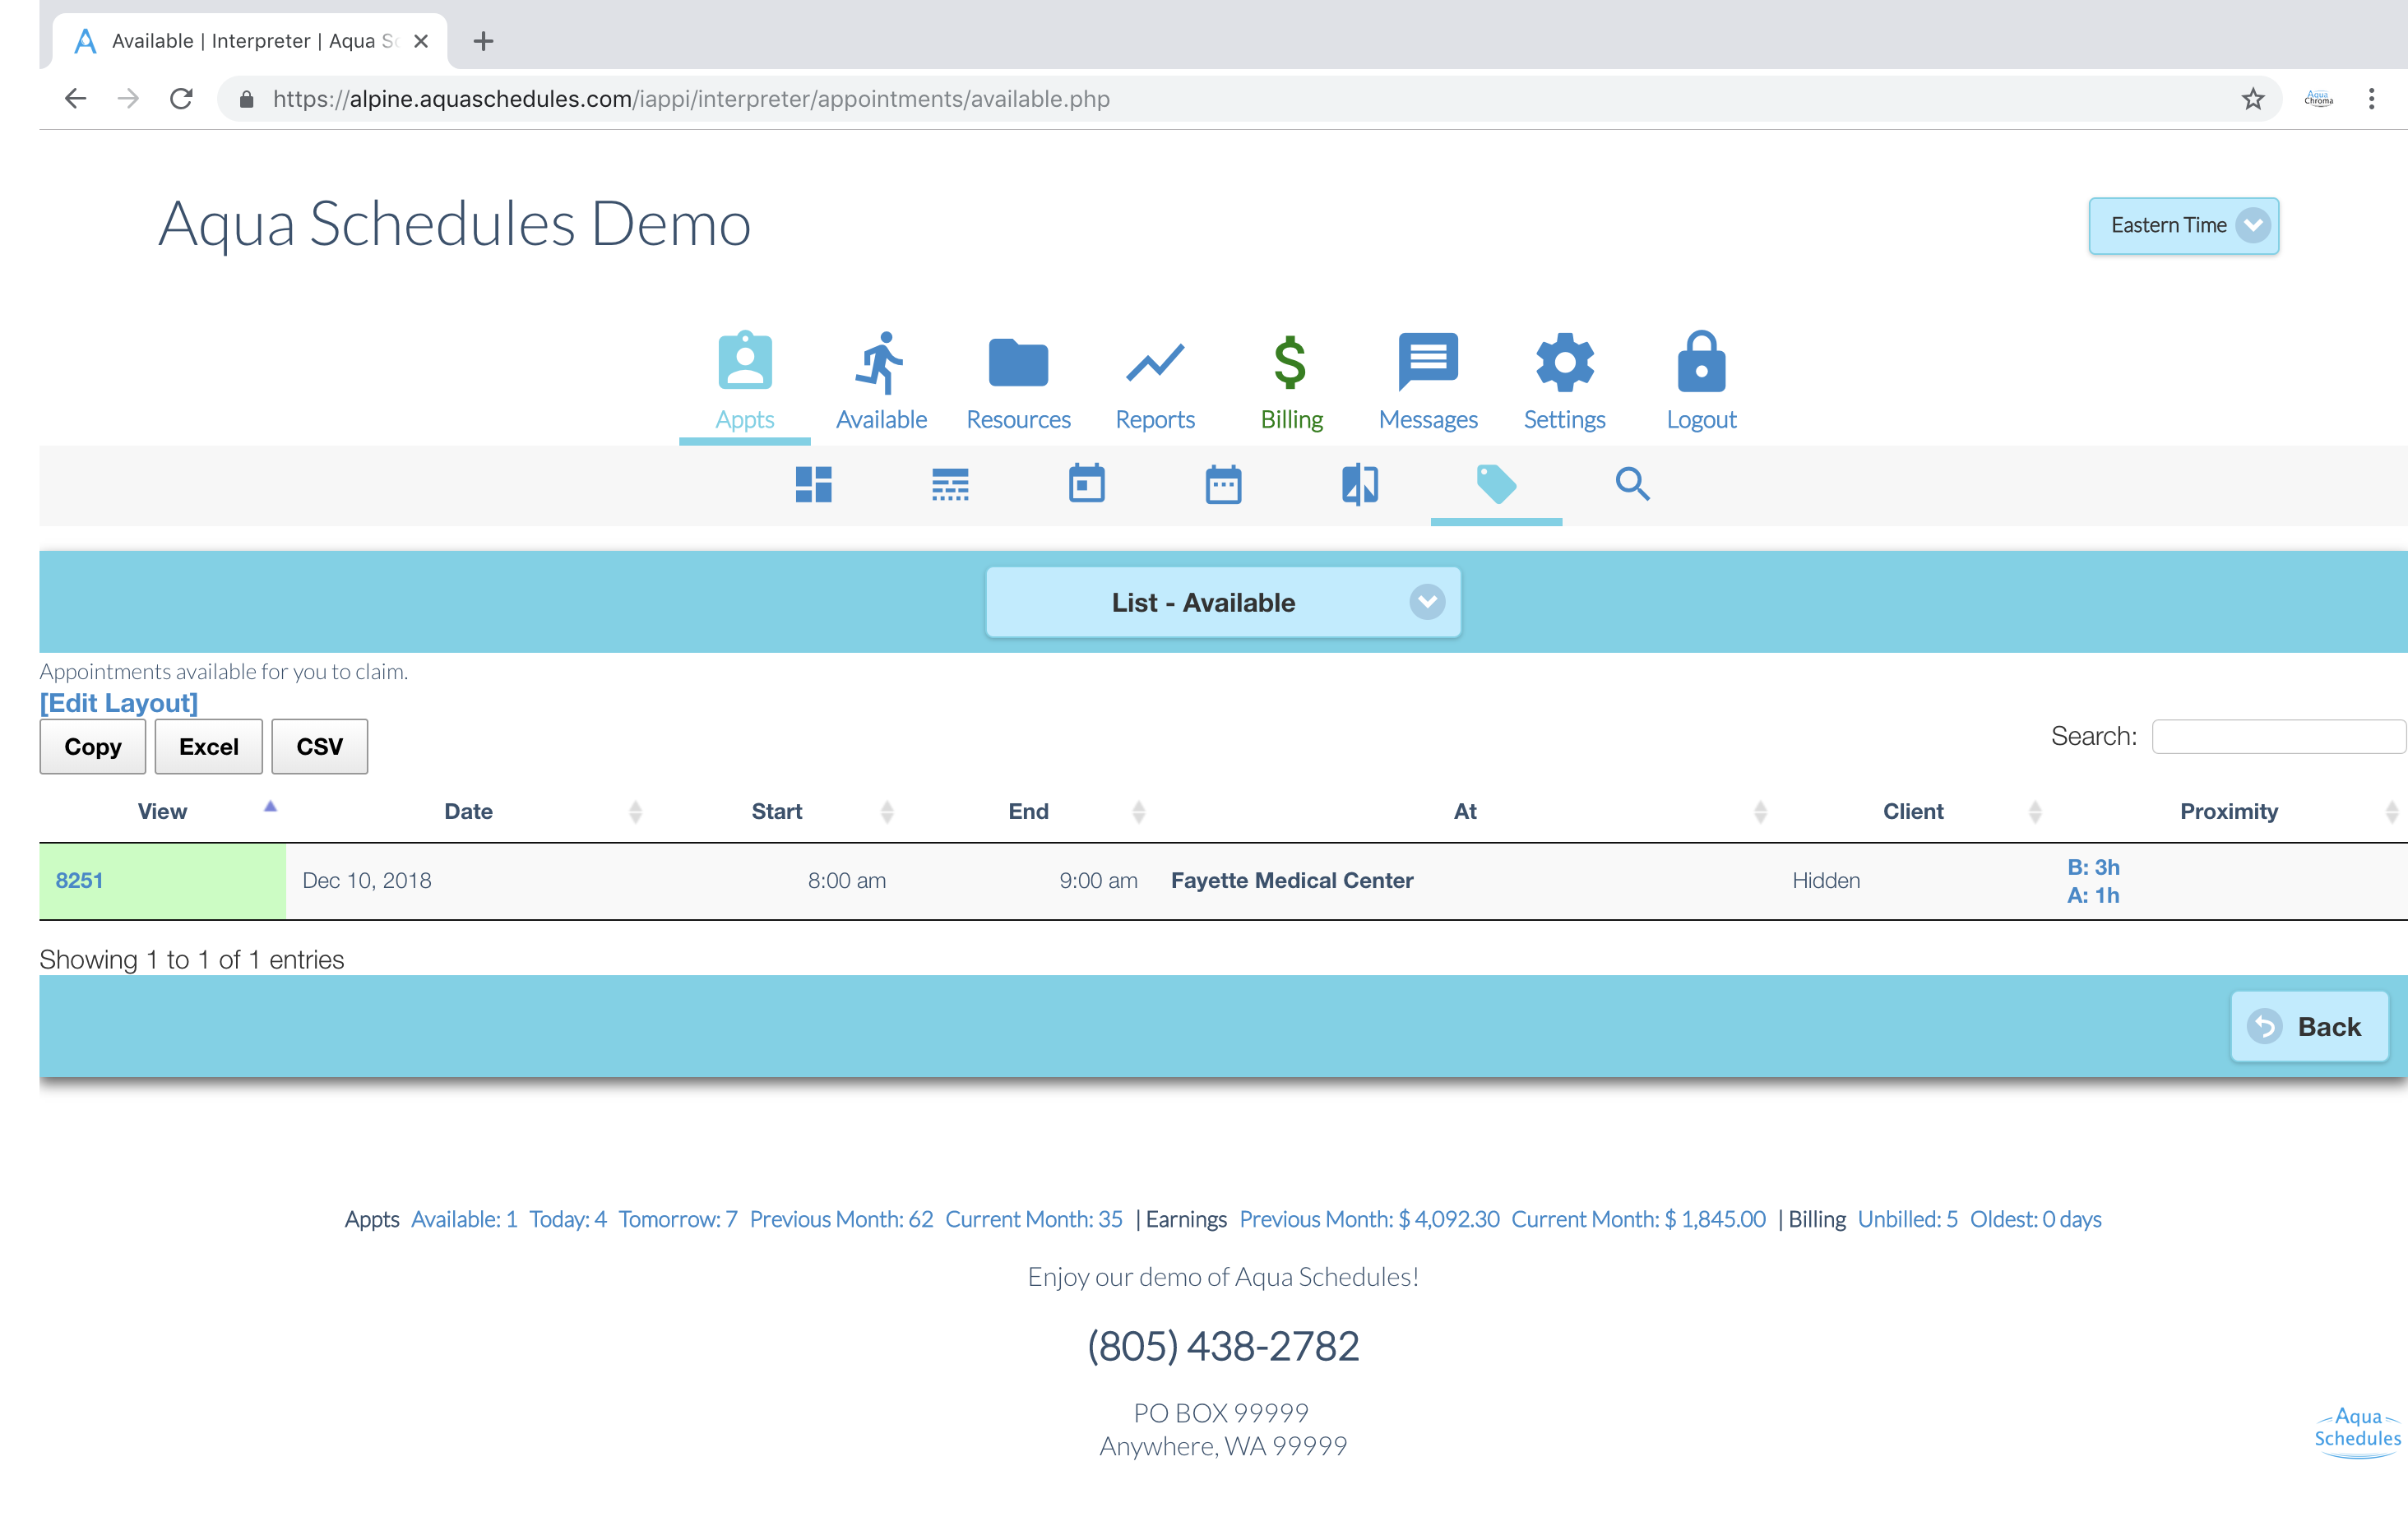
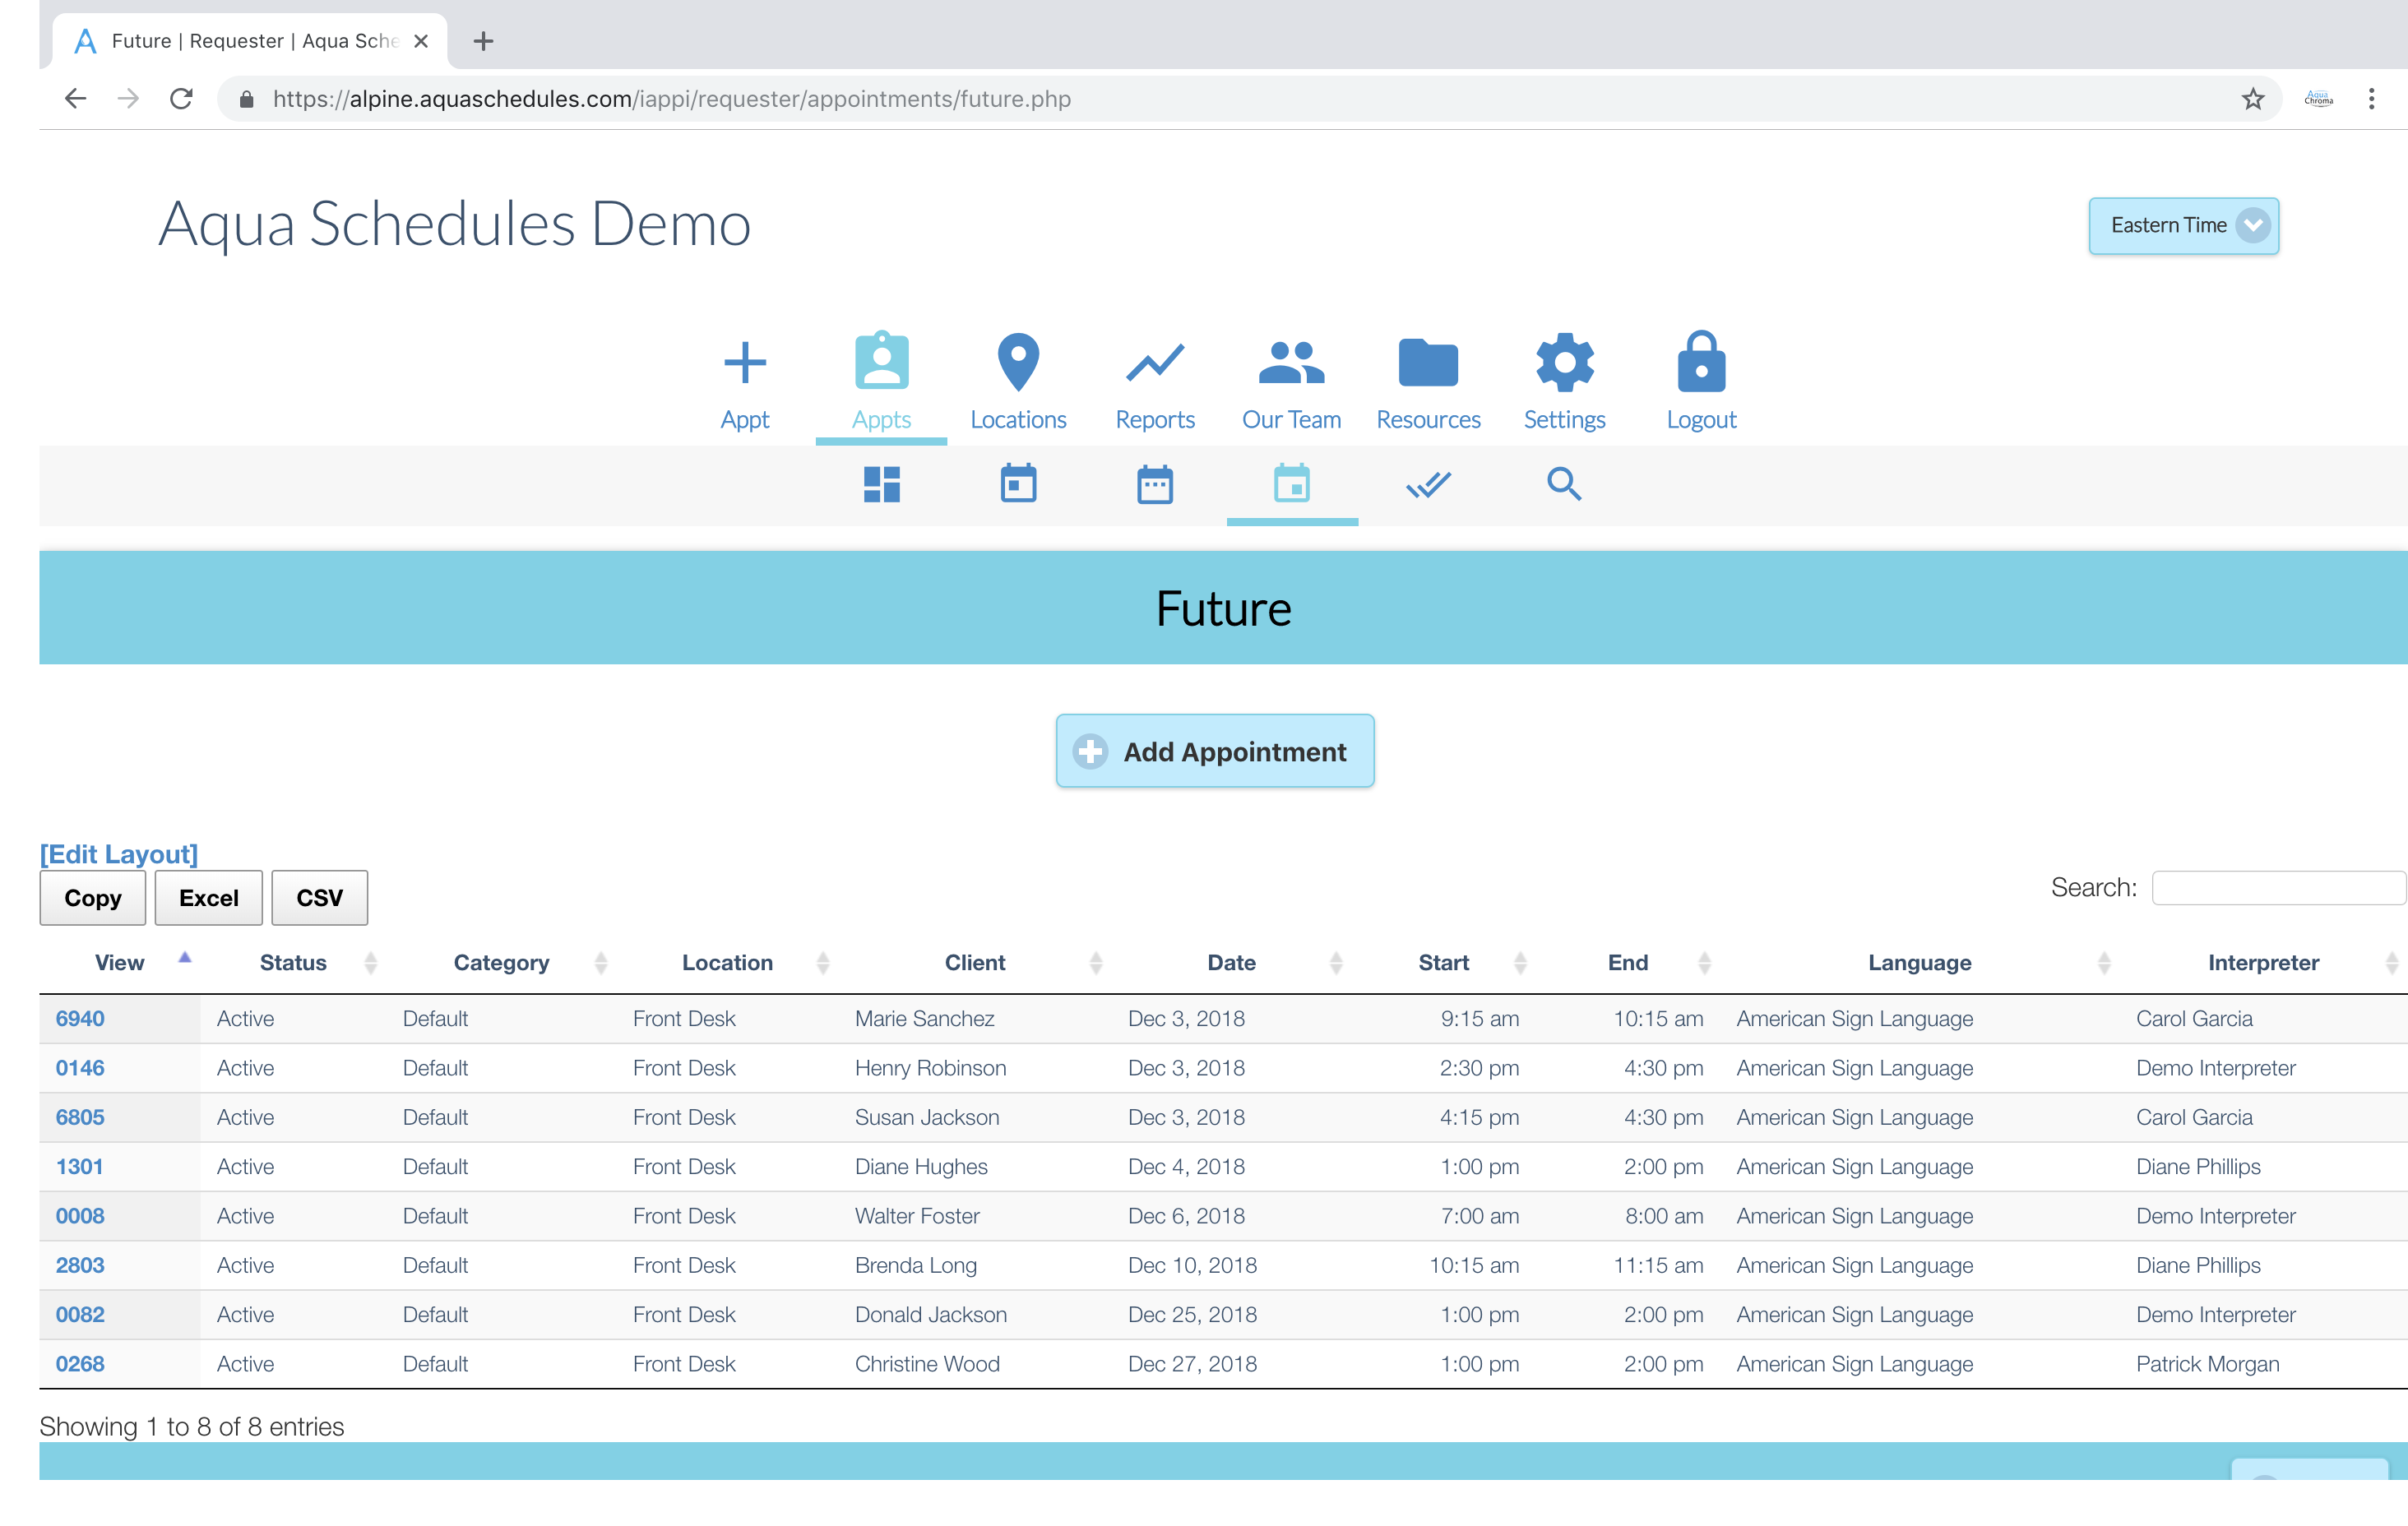
Unappointed appointments gives you a list of all future appointments that are not currently appointed to any interpreter.
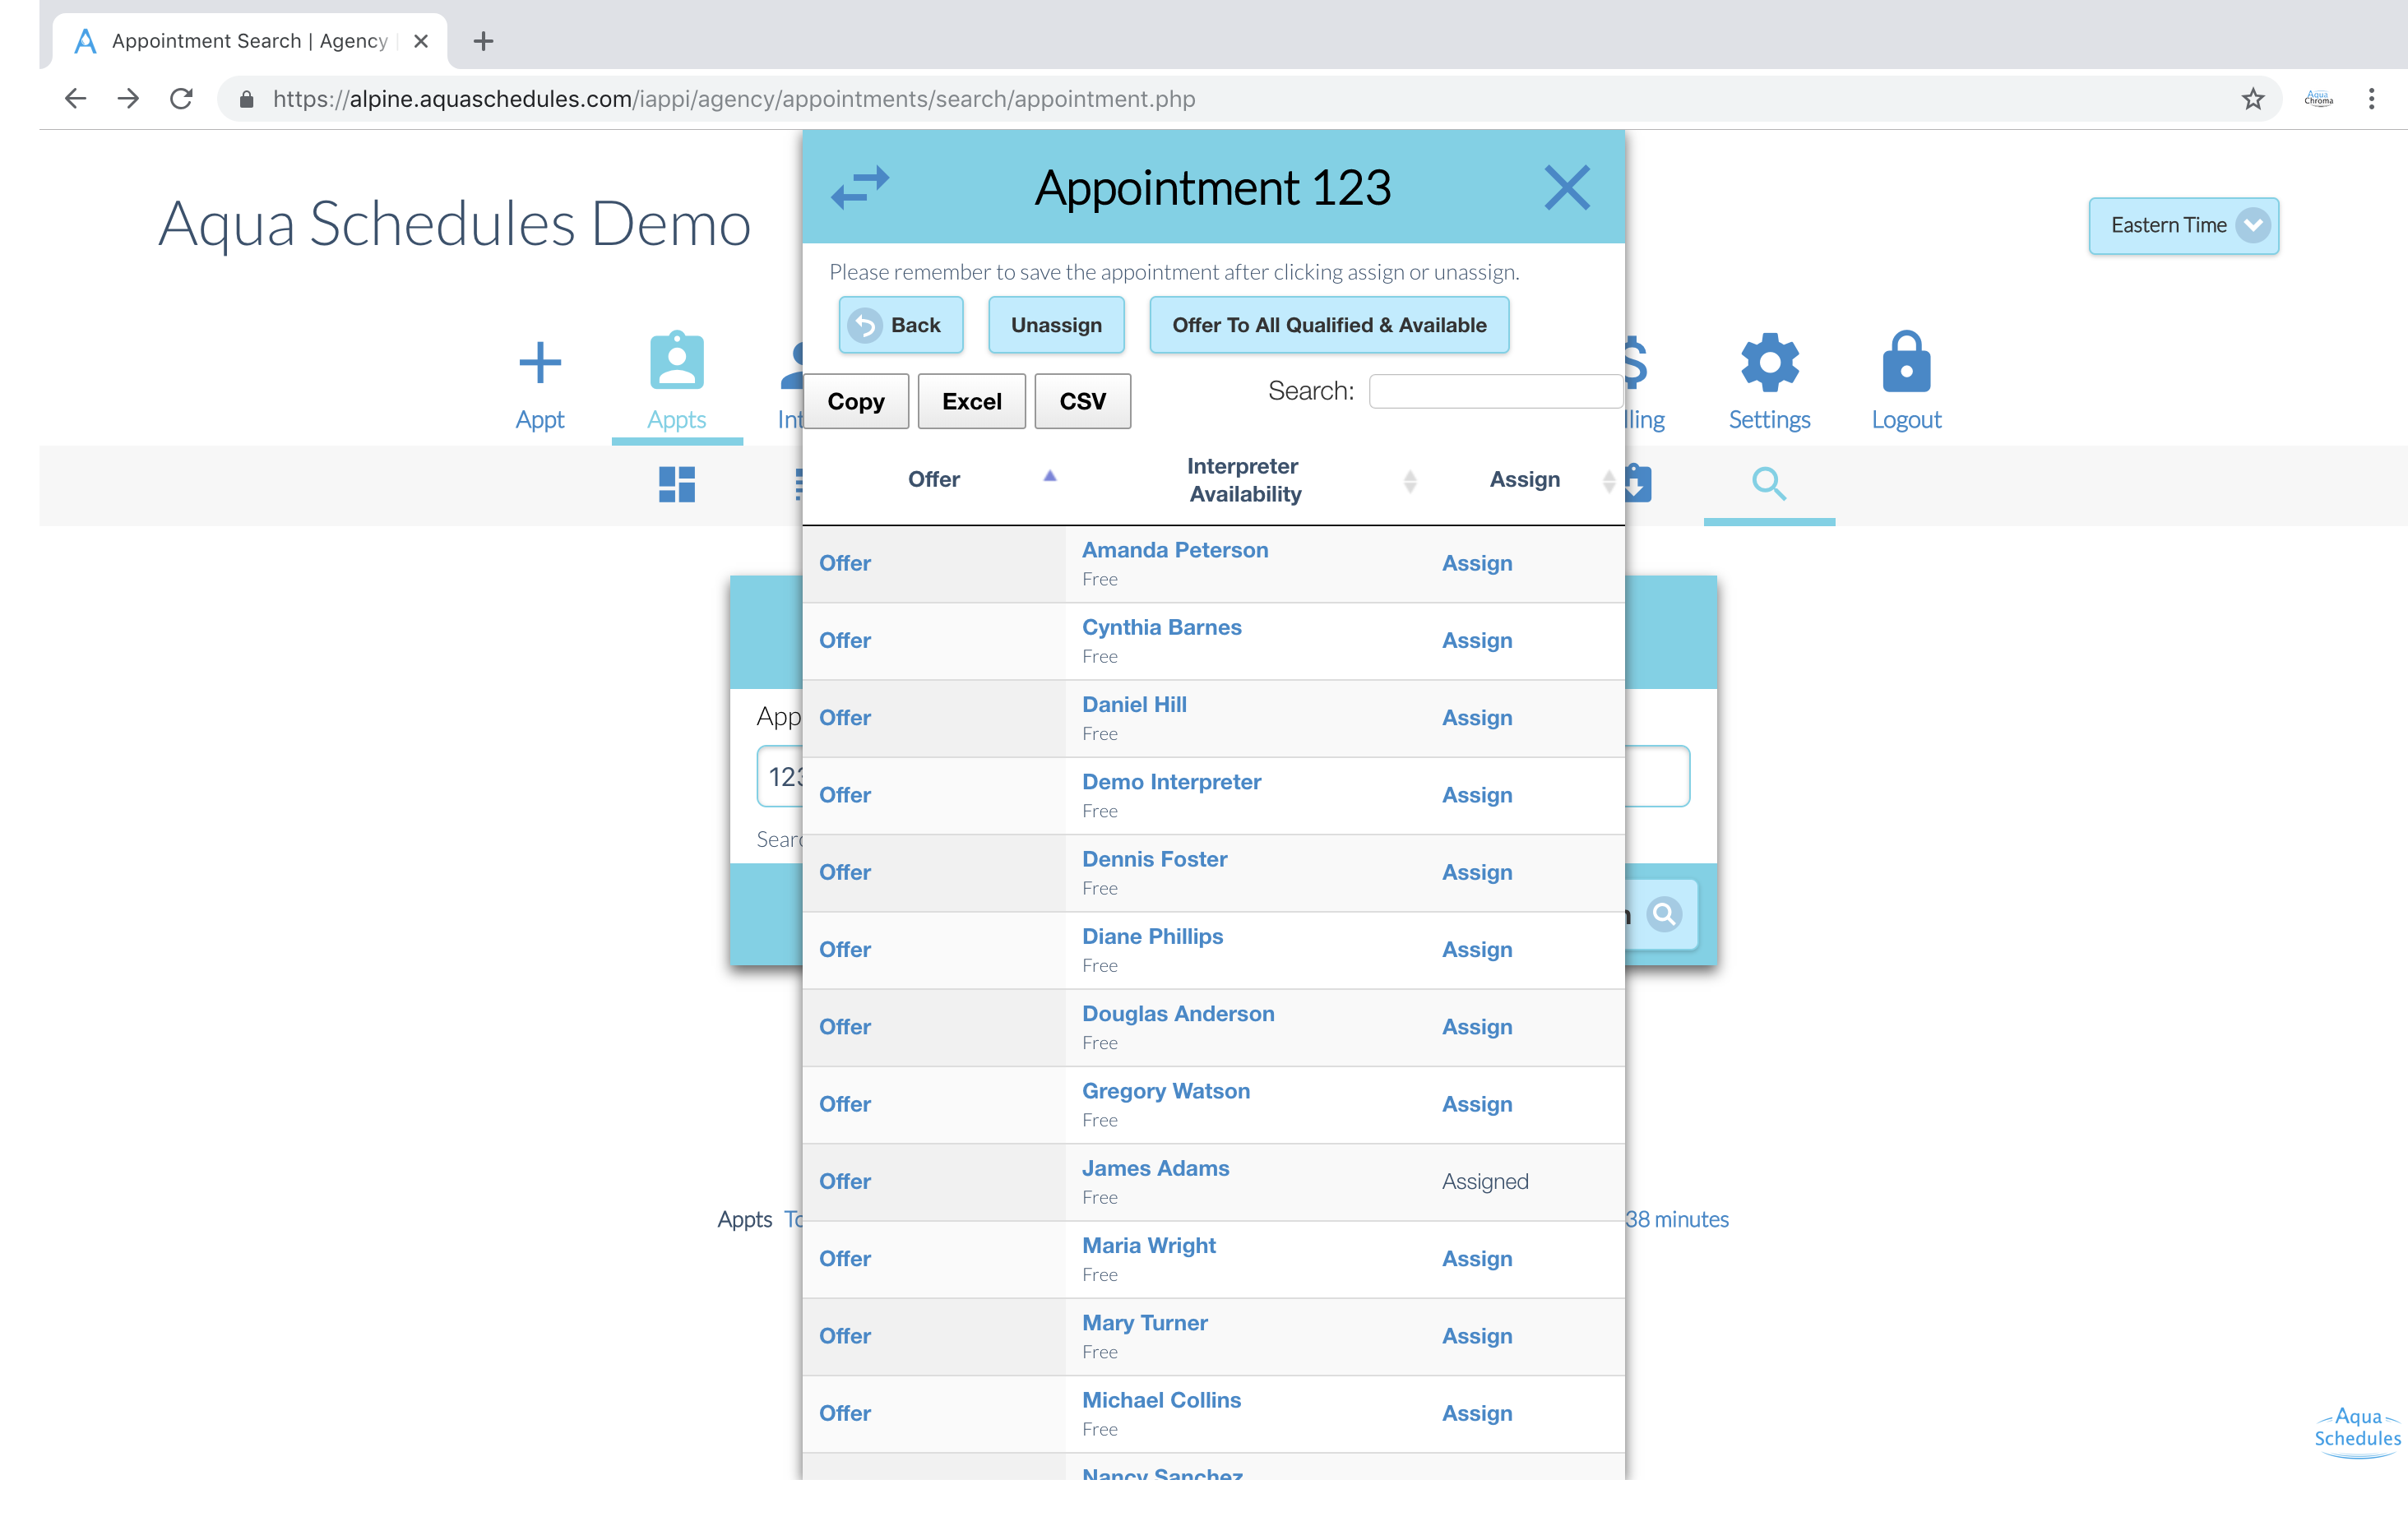
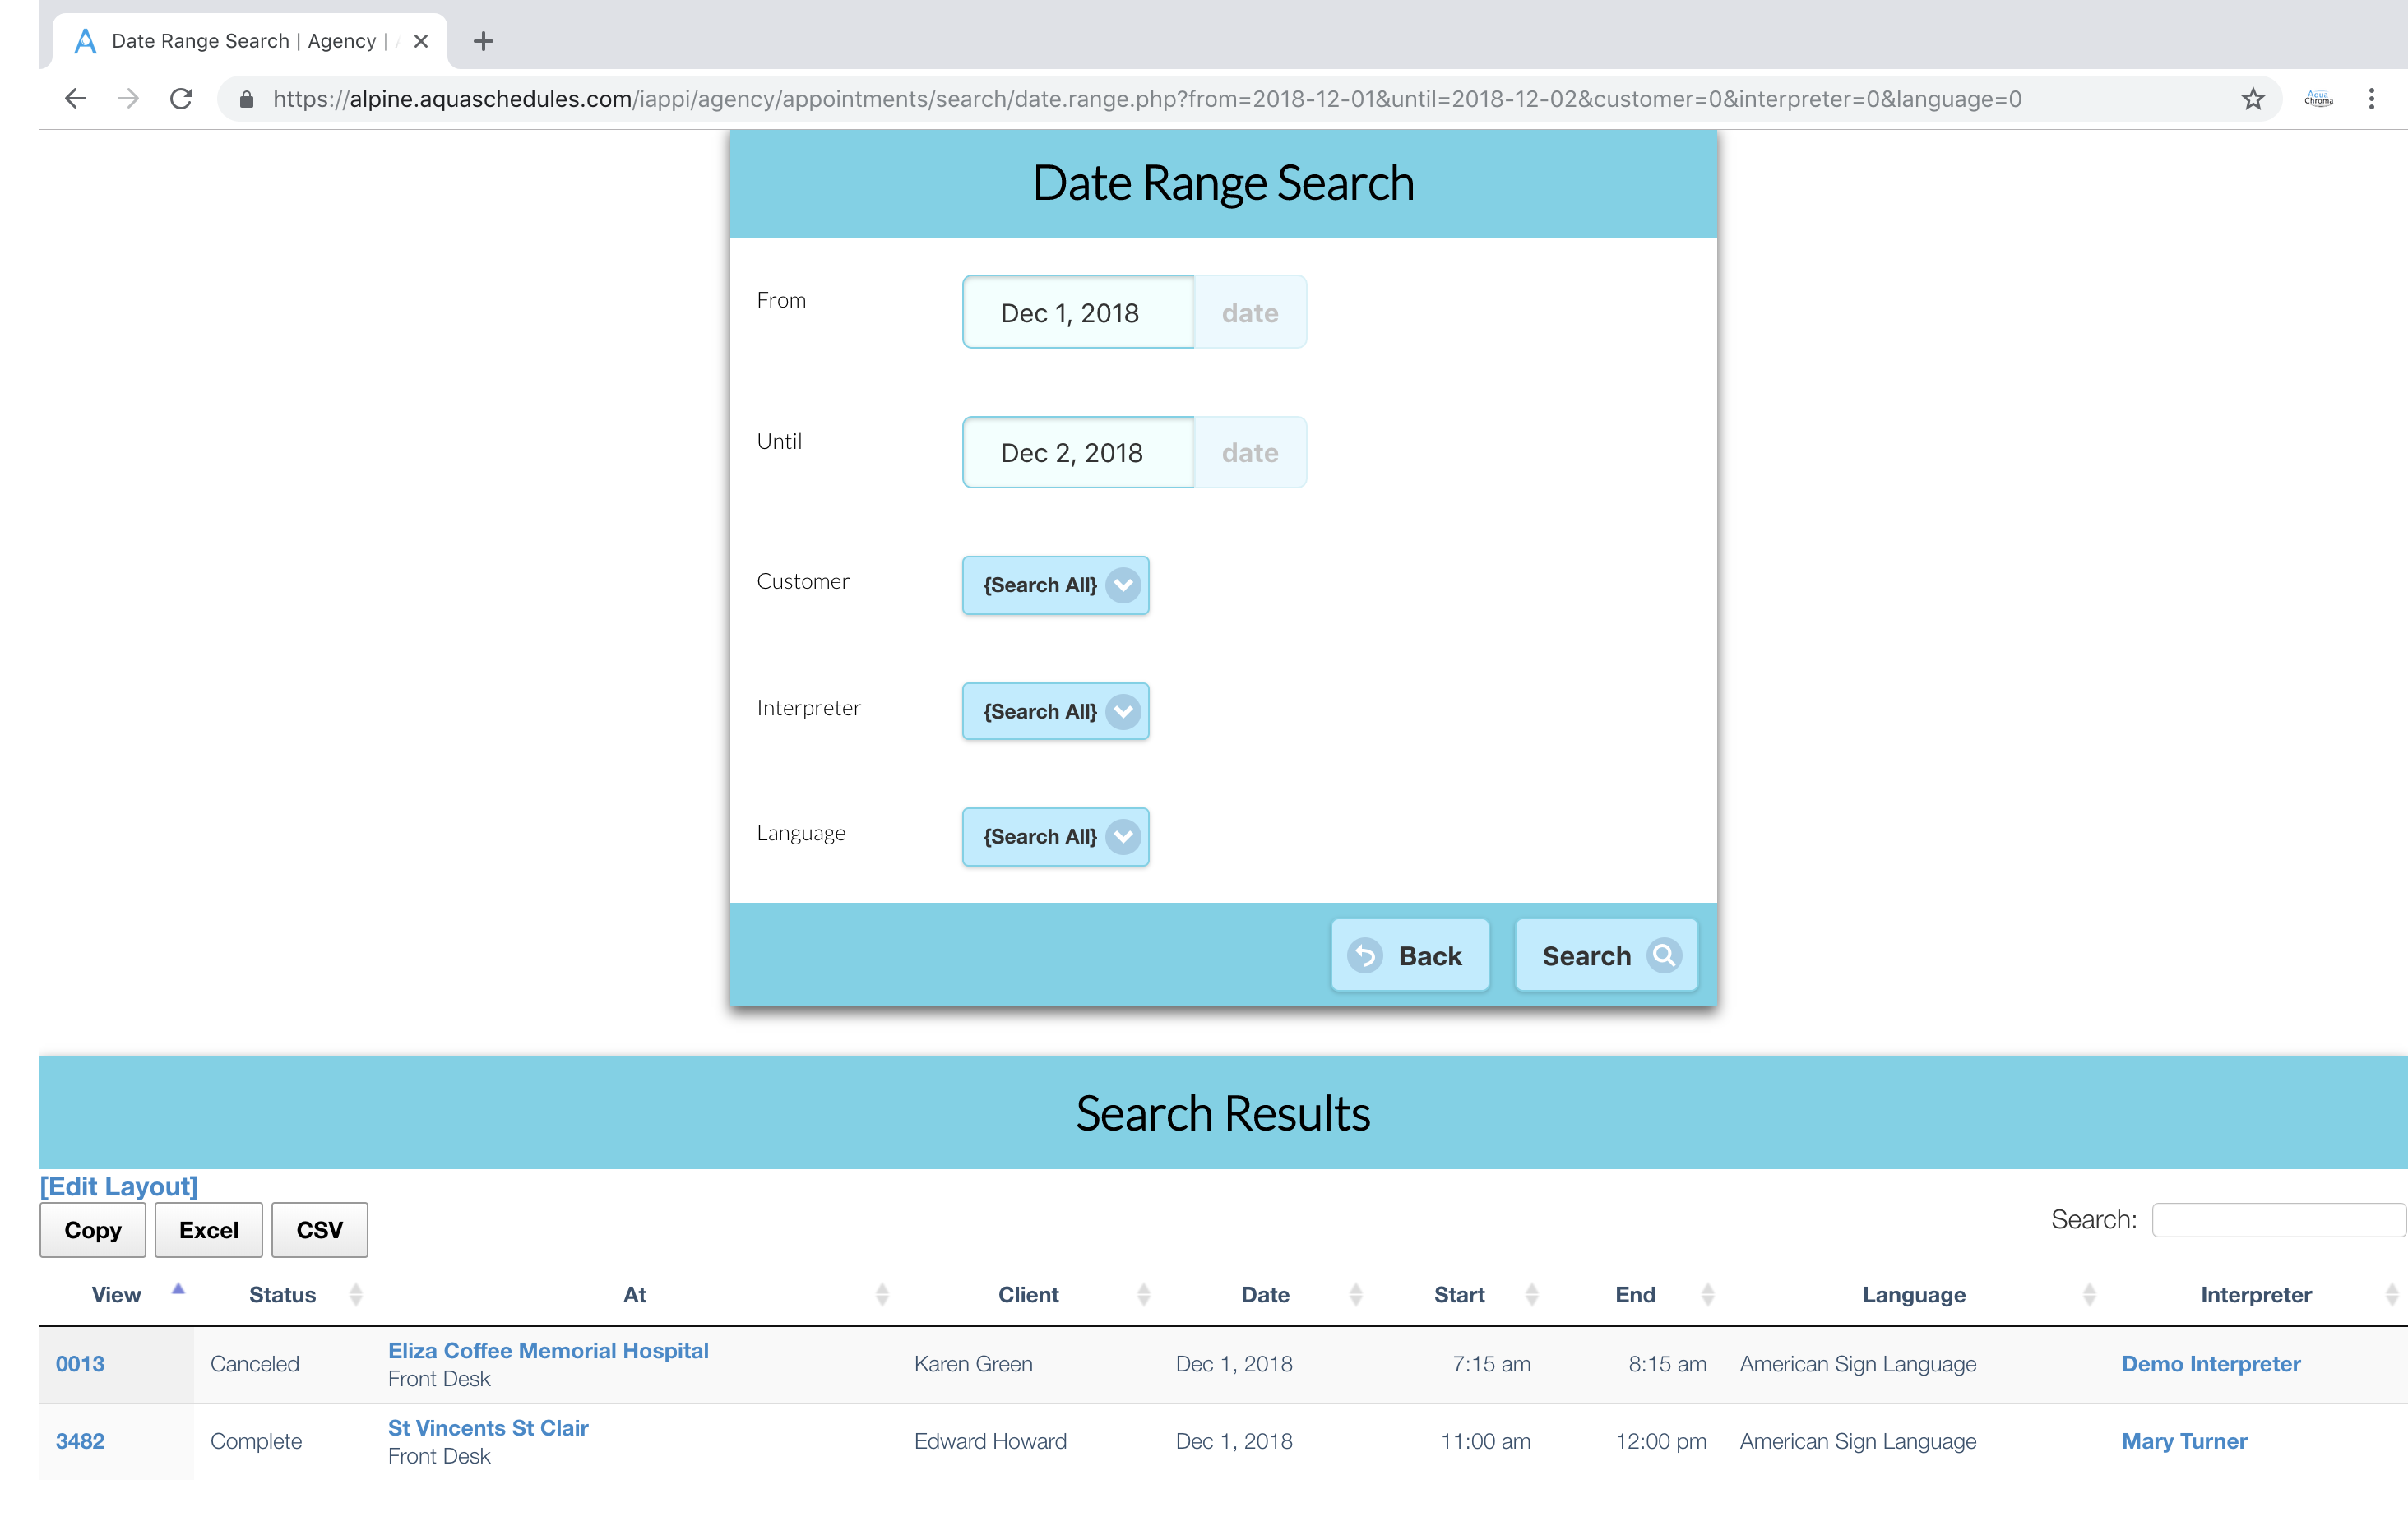
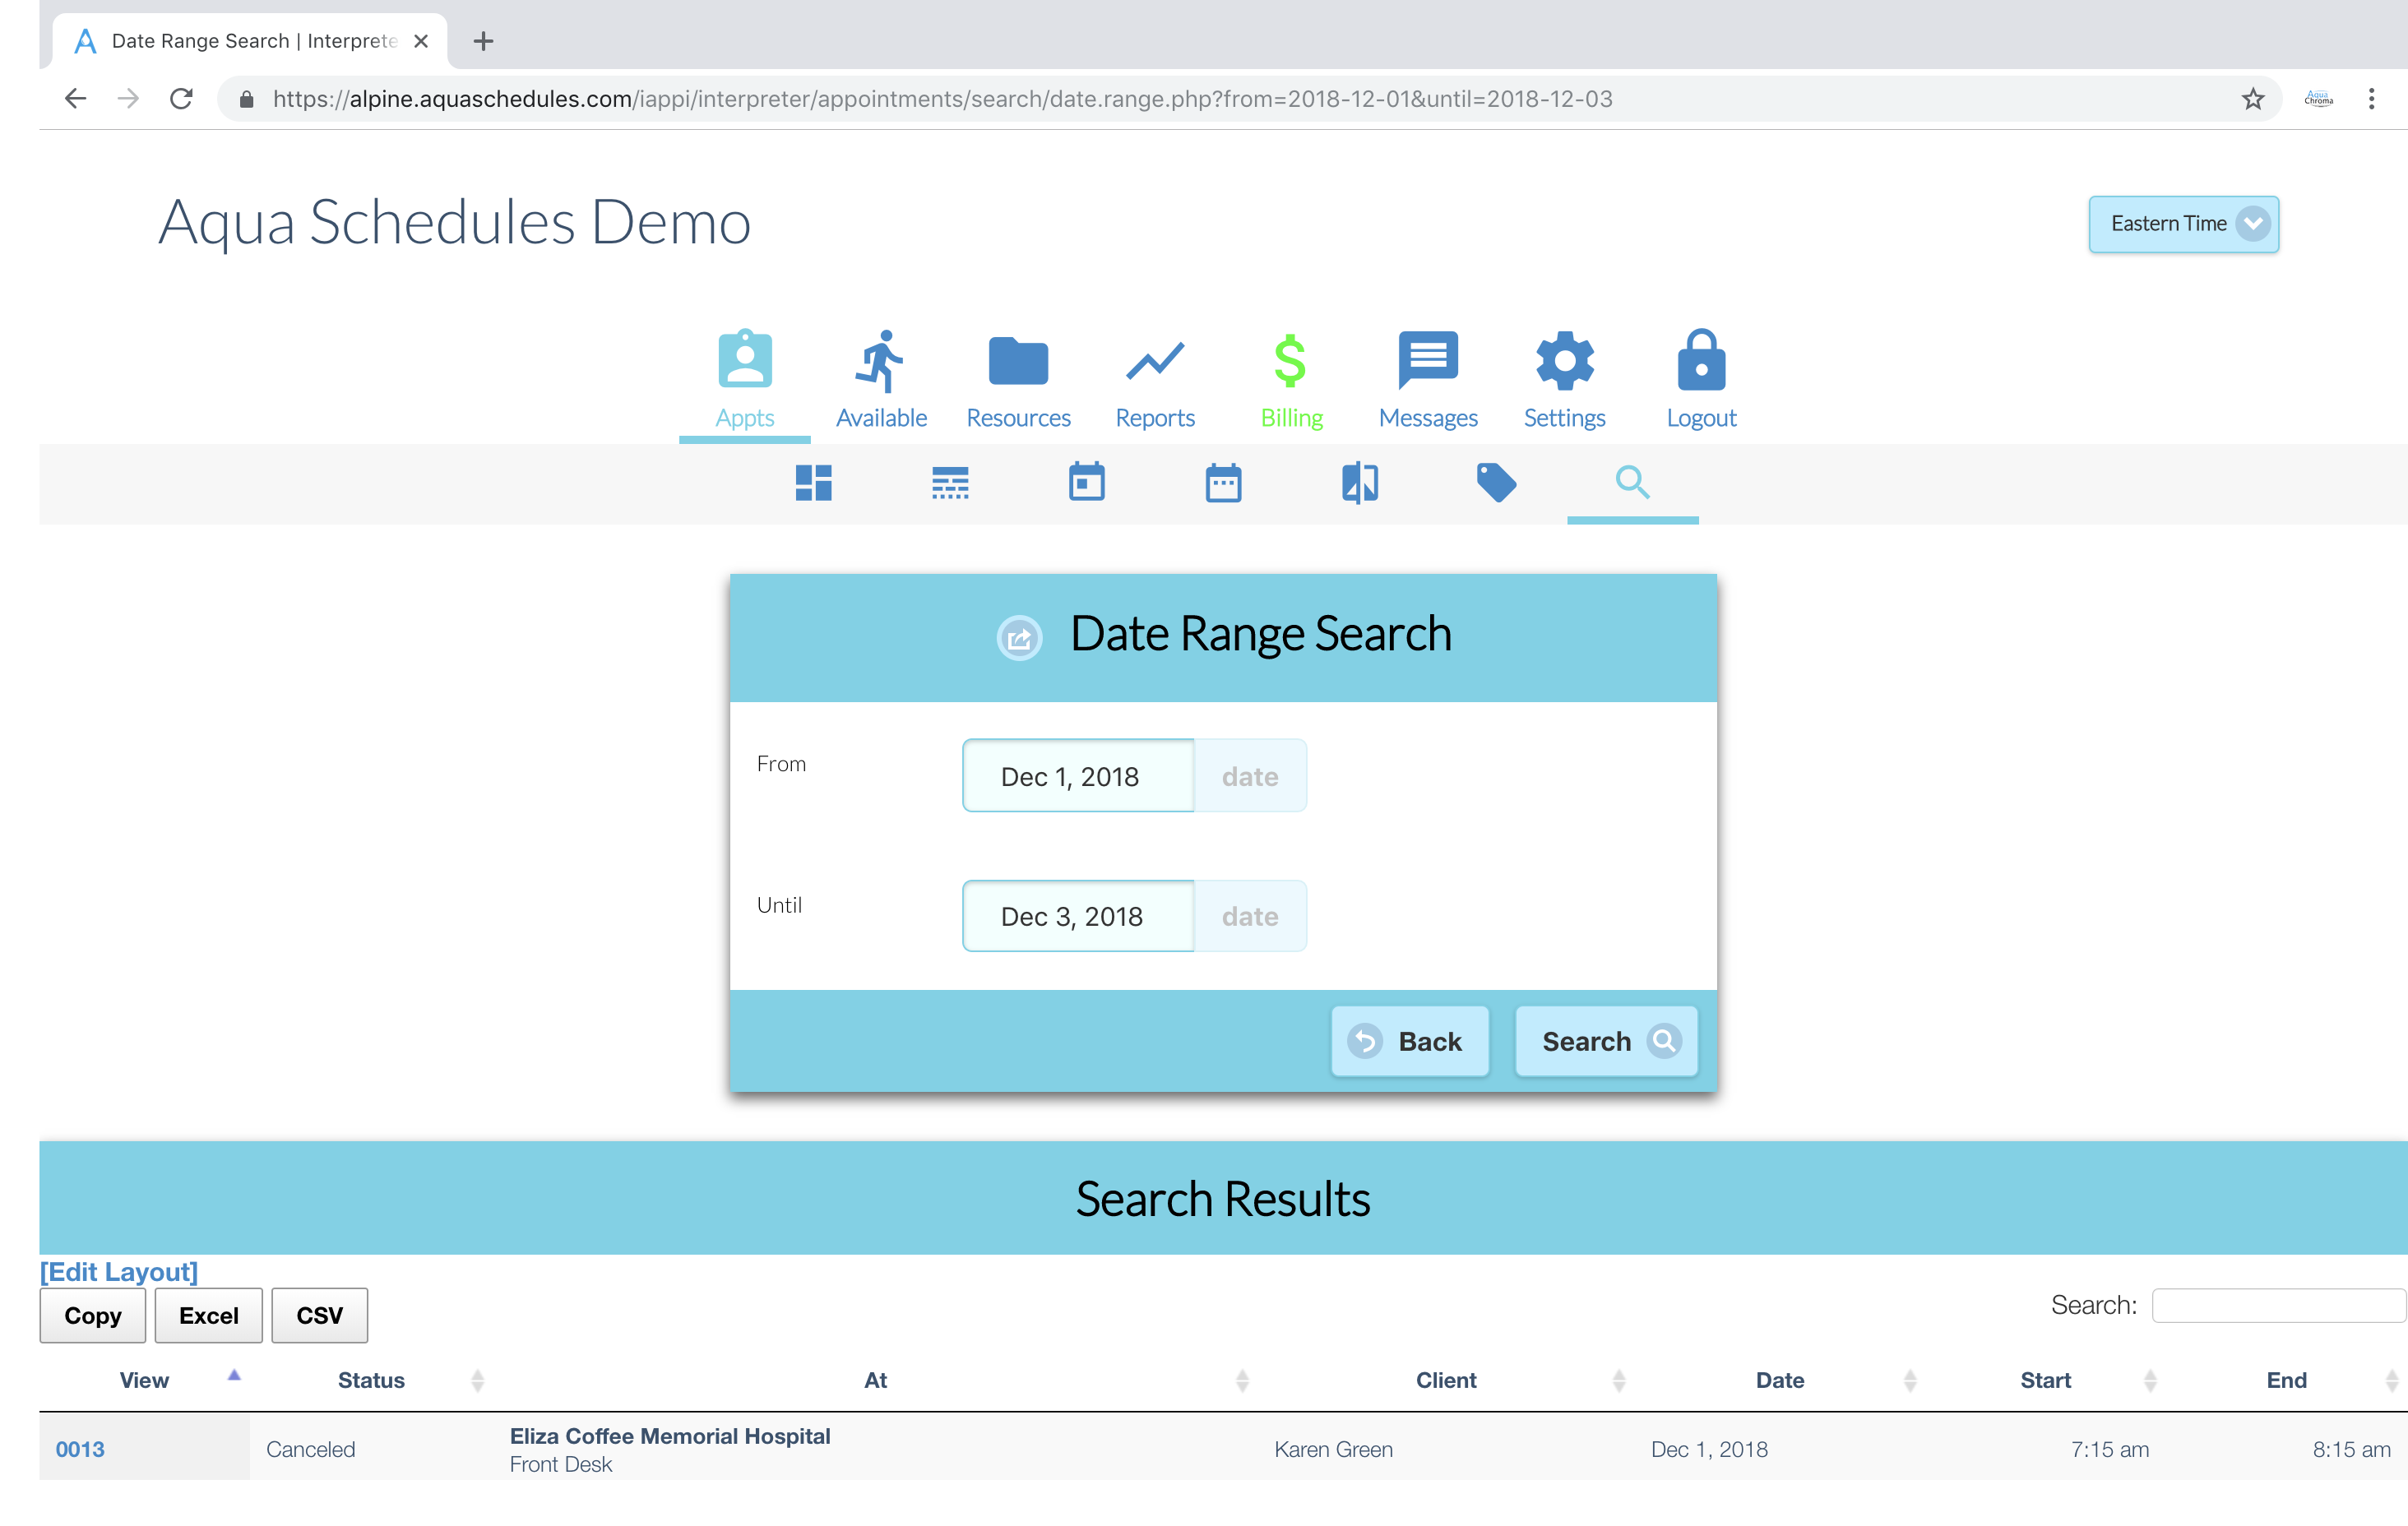
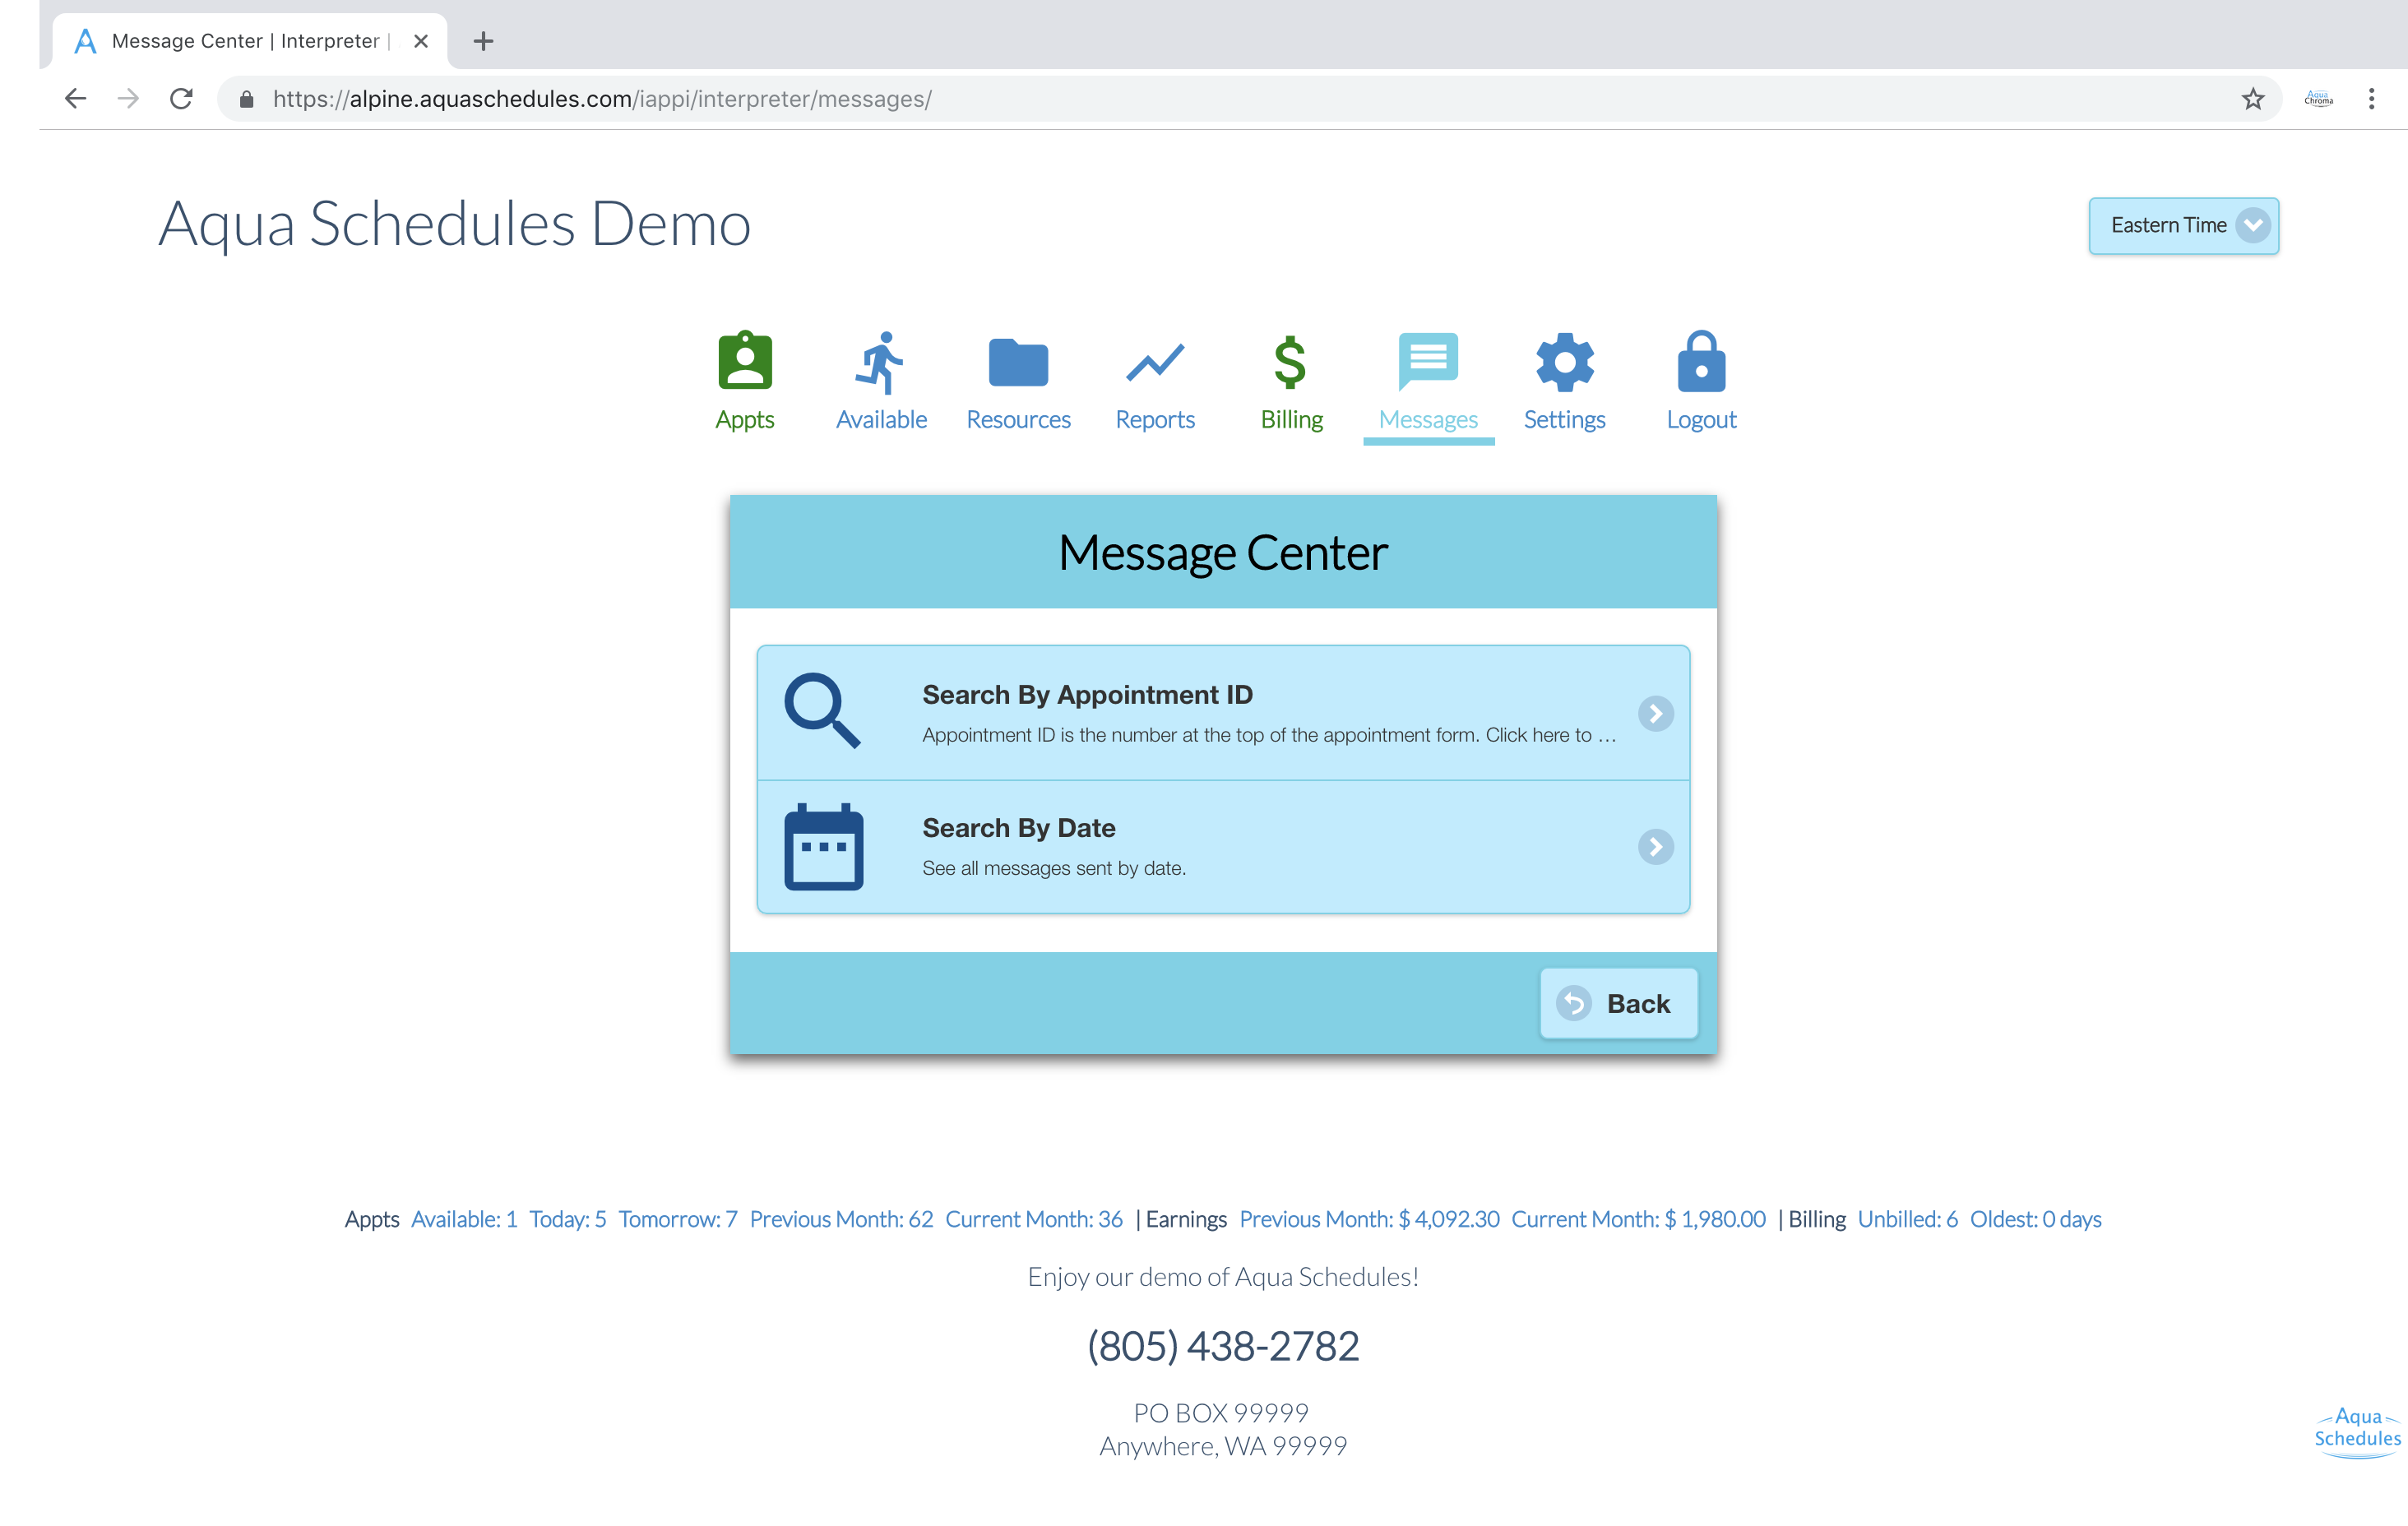
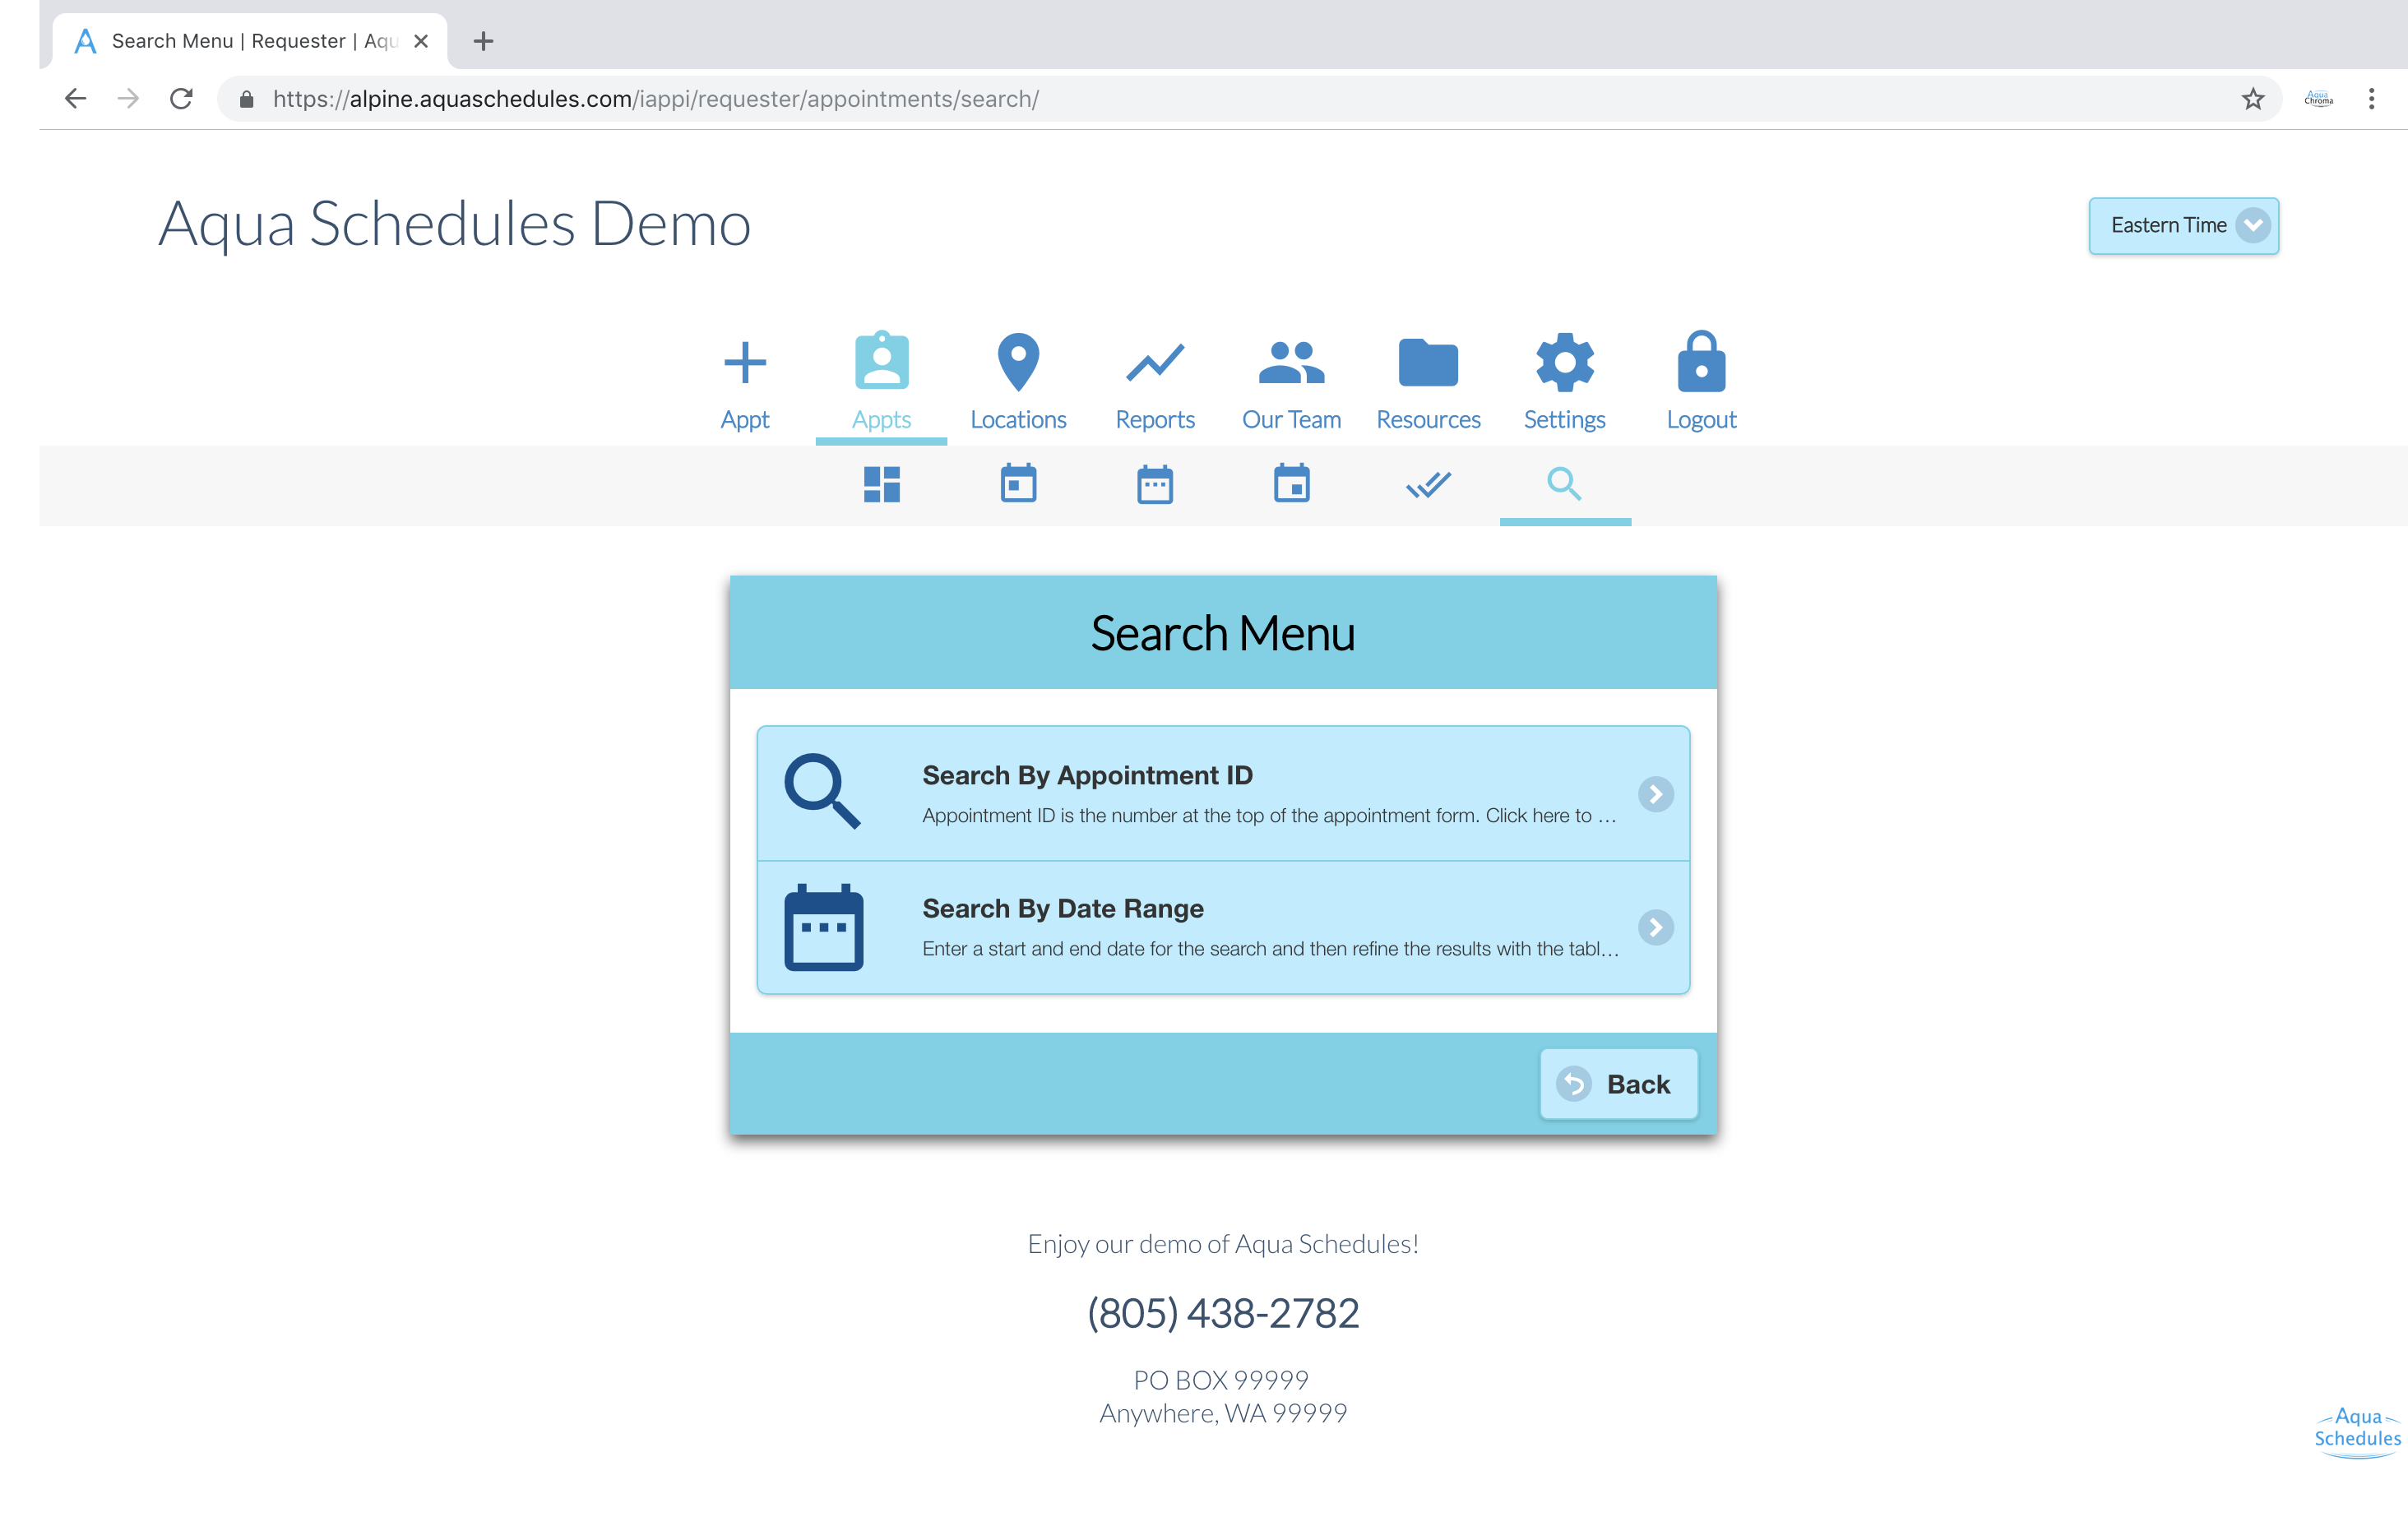
The search area gives two methods for finding appointment. Search by appointment ID allows you enter a specific appointment ID which then brings up that appointment. Search by date range allows you to set limits on the dates you want to look at.
Add appointment let you quickly add a new appointment. This is a generic appointment form that can be heavily customized based on your agencies needs.
The interpreters menu manages all interpreter information in one area.
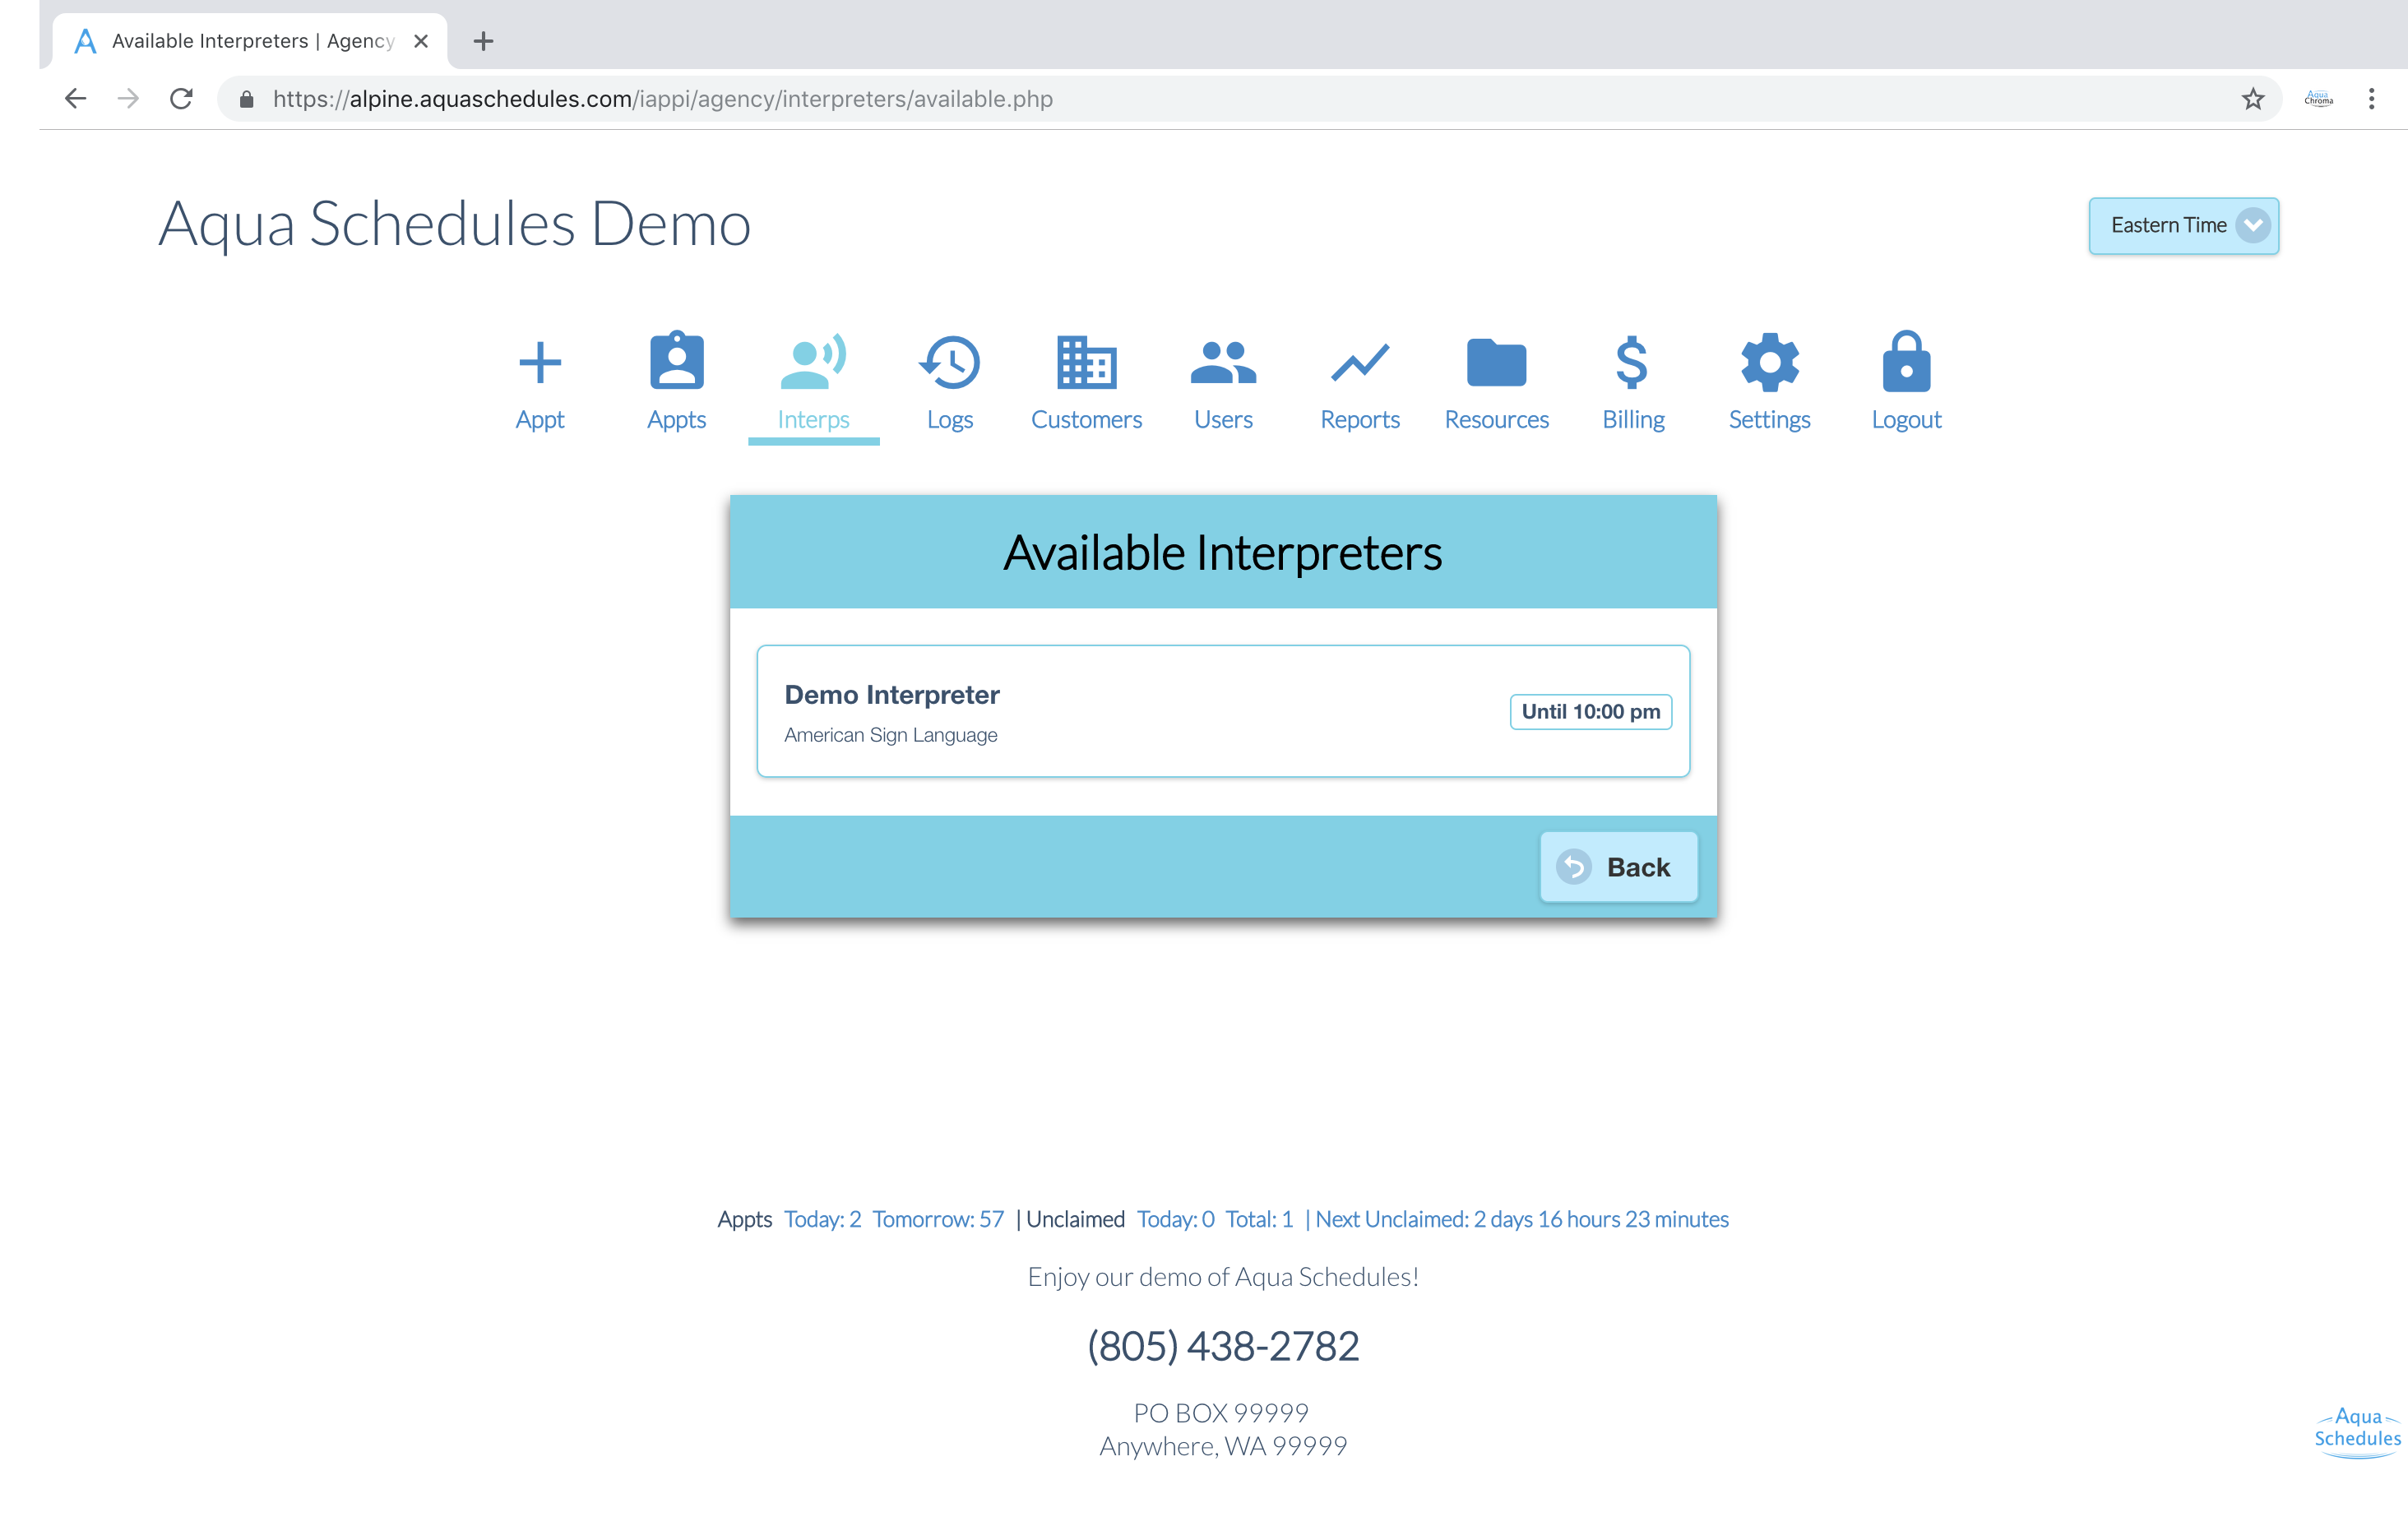
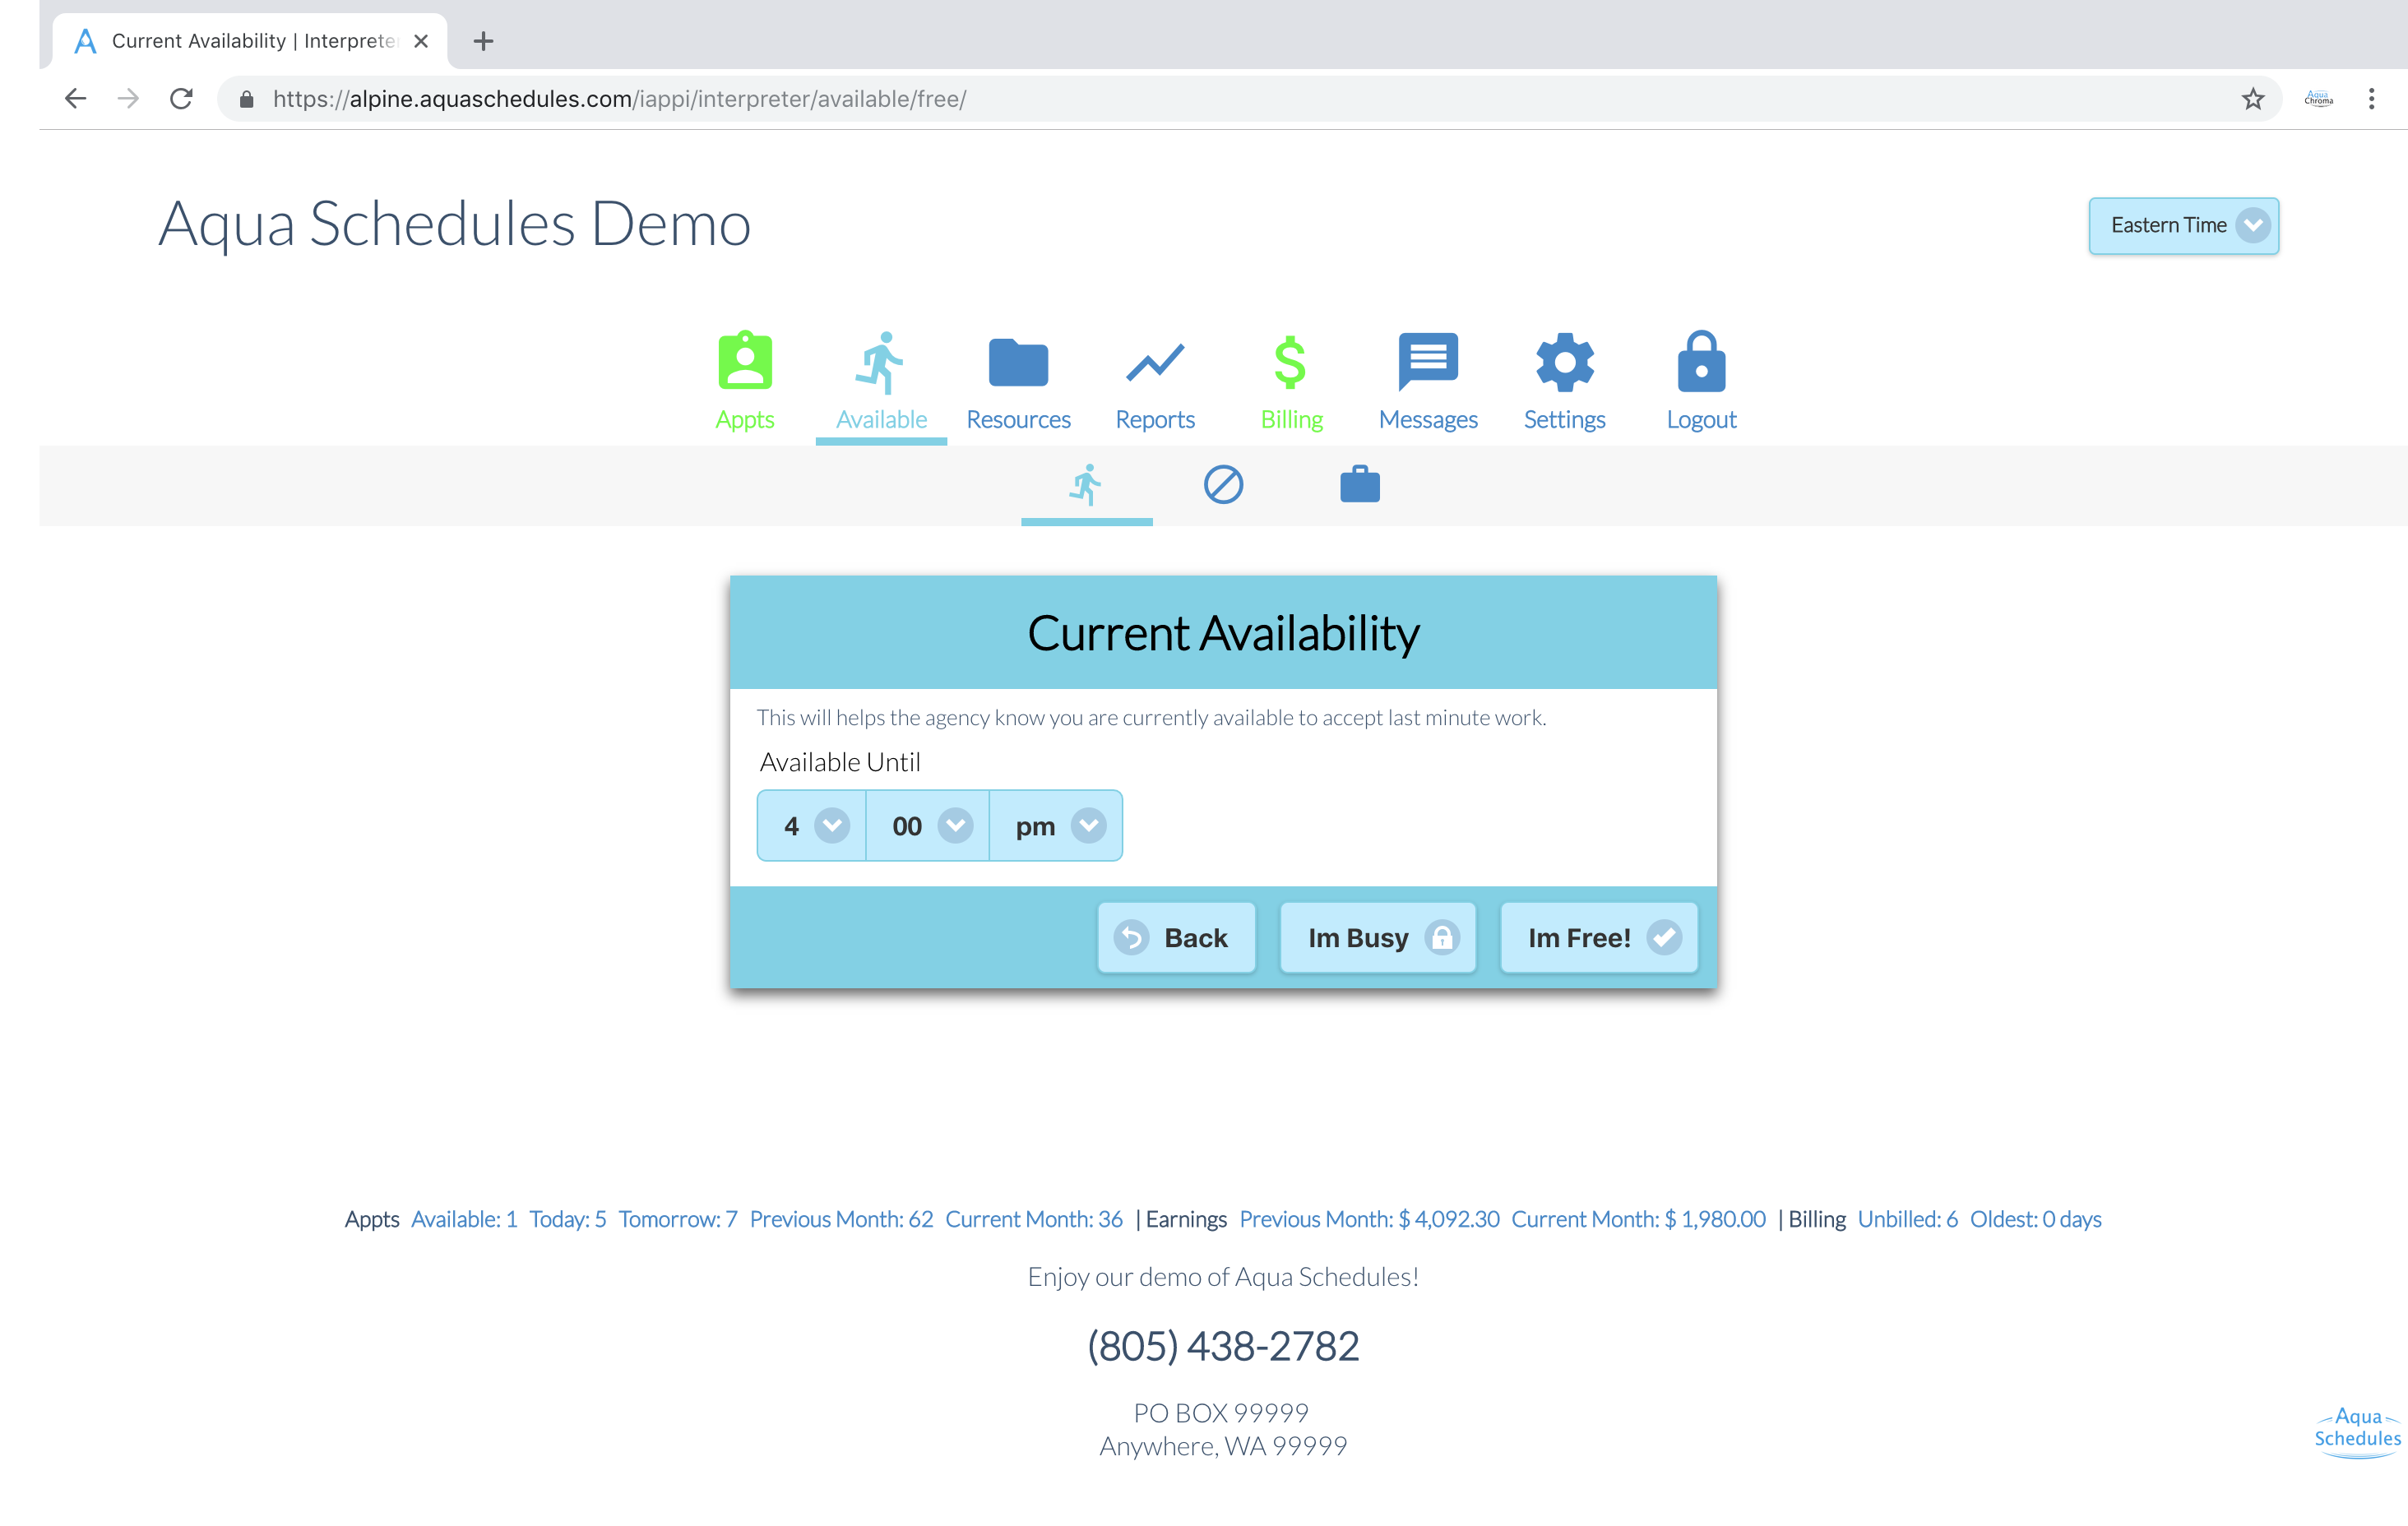
Free notifications shows a list of interpreters who mark themselves currently free or free until a certain time. The interpreters menu will flash in green letters showing that an interpreter posted their availability.
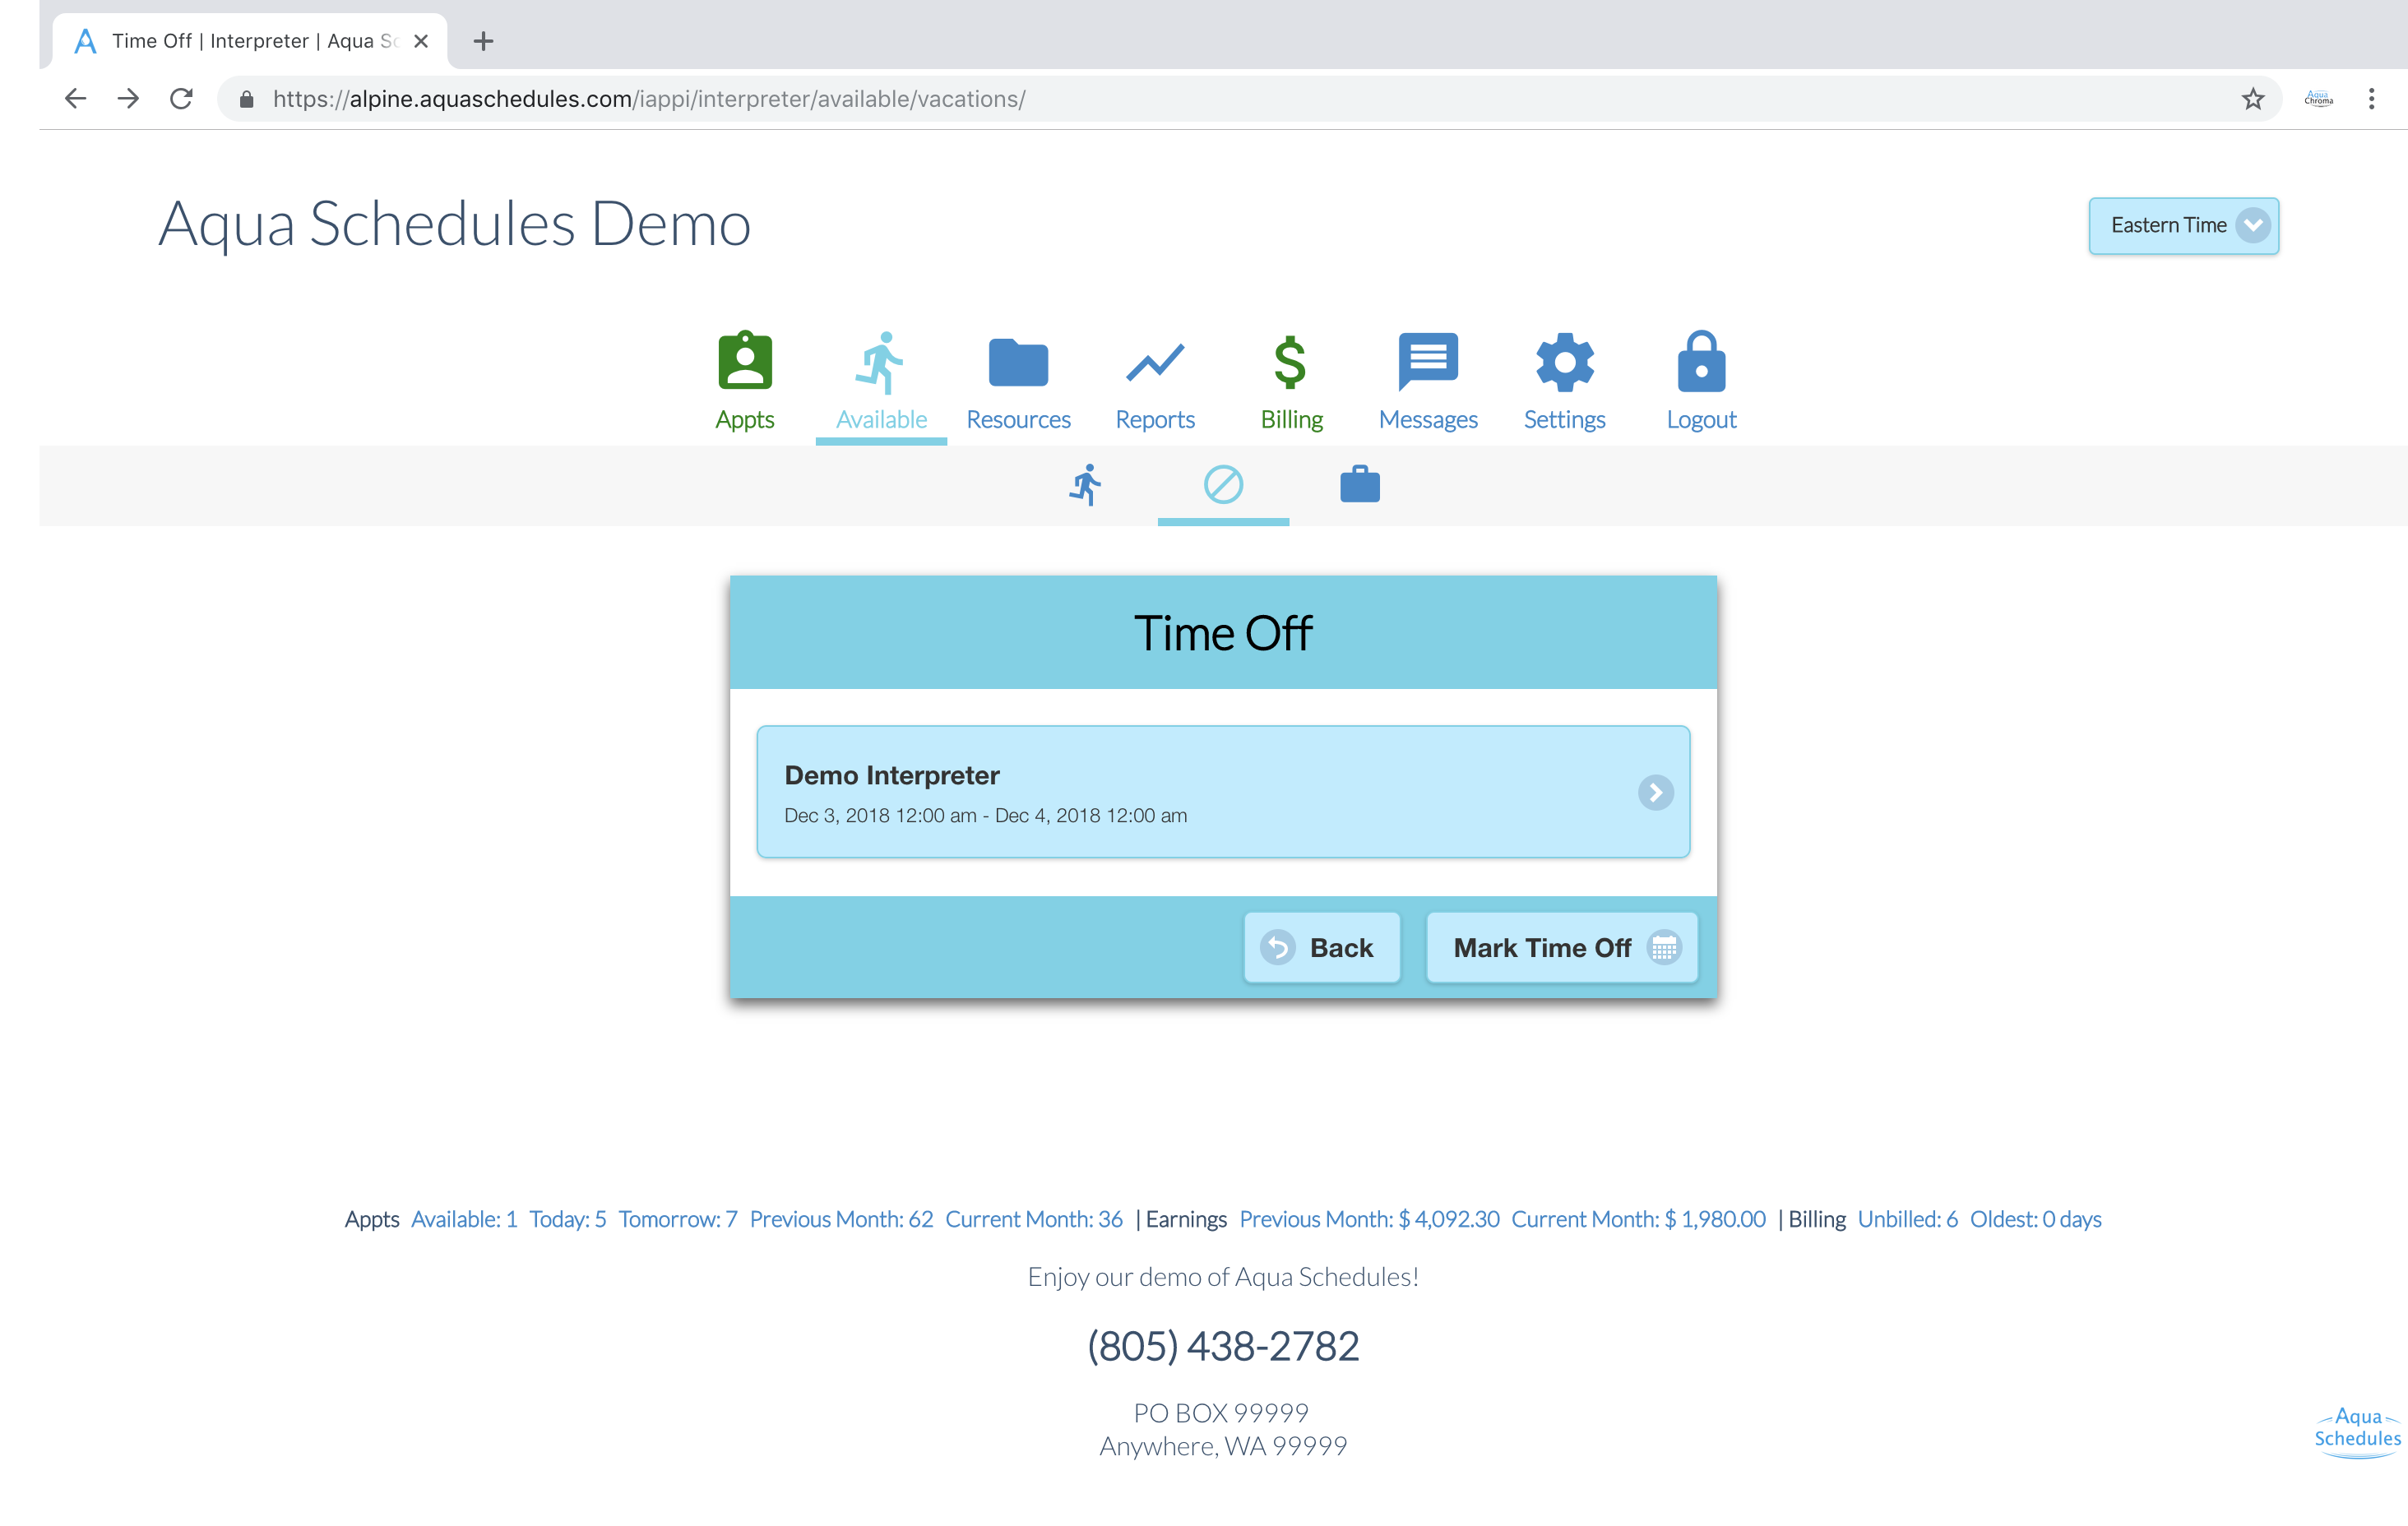
Vacations allows you to see when interpreters have taken time off. It displays past and future vacations that interpreters have posted and when you click on today, it filters out only the interpreters who are currently on vacation today.
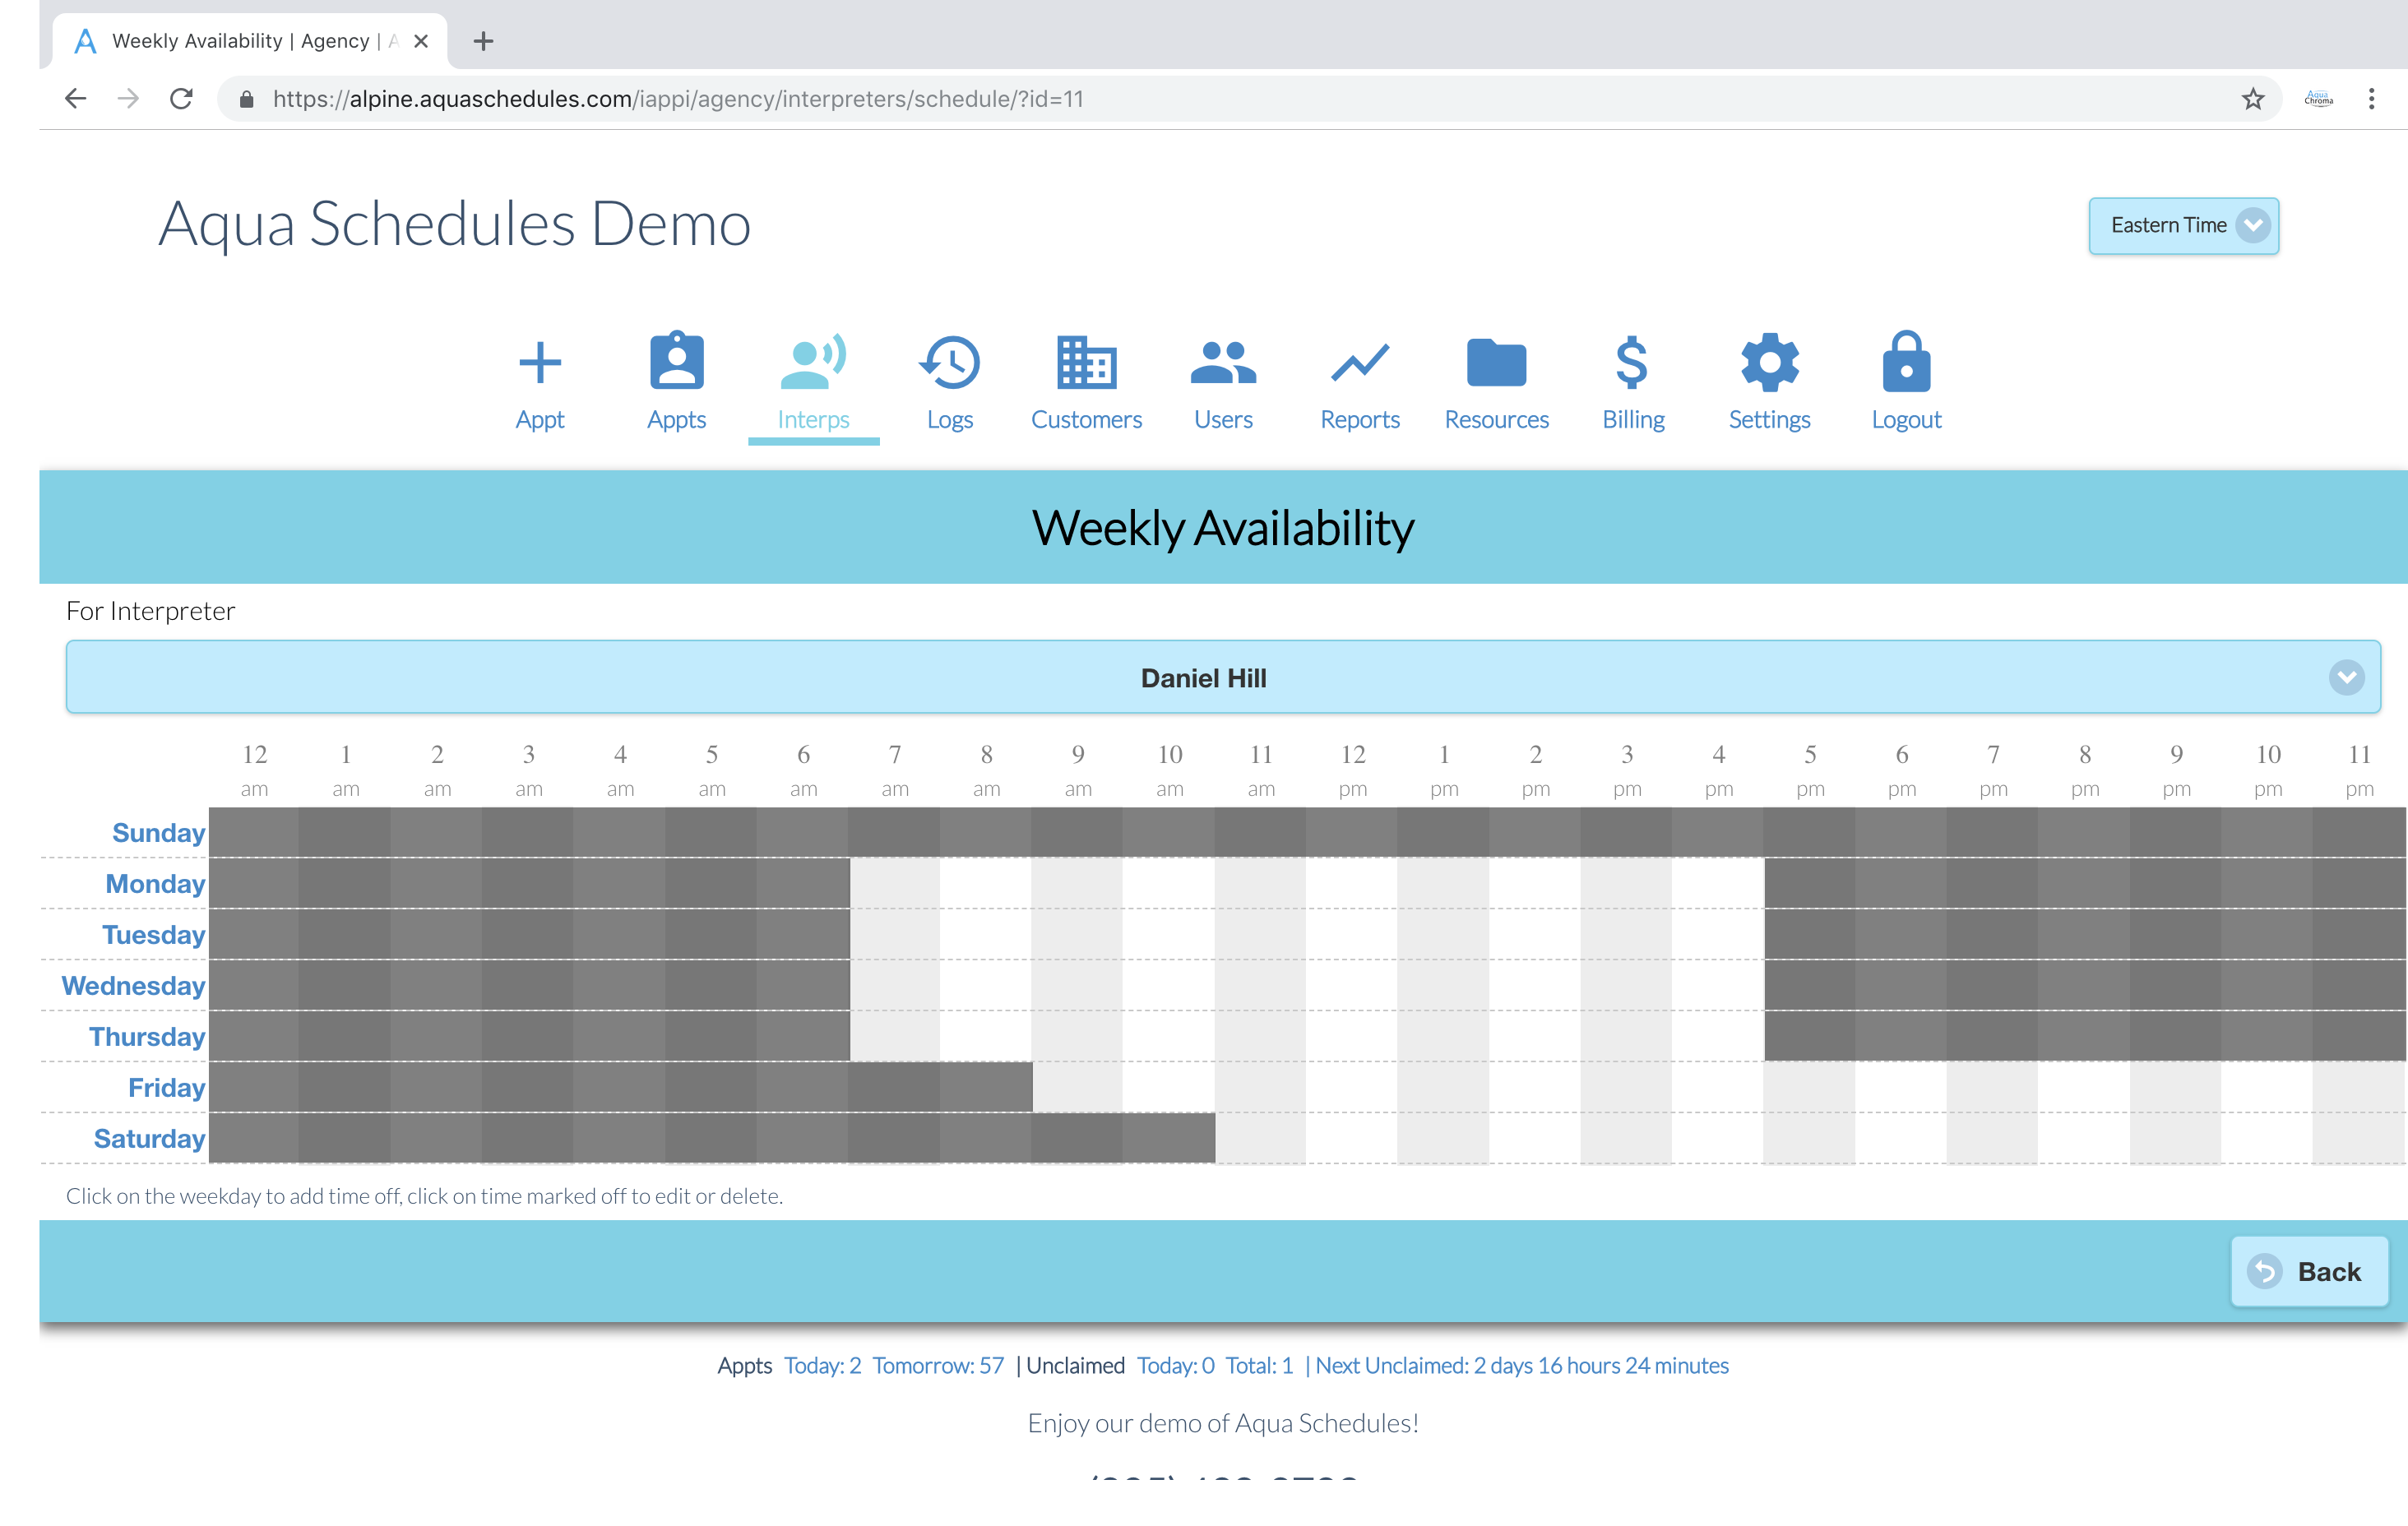
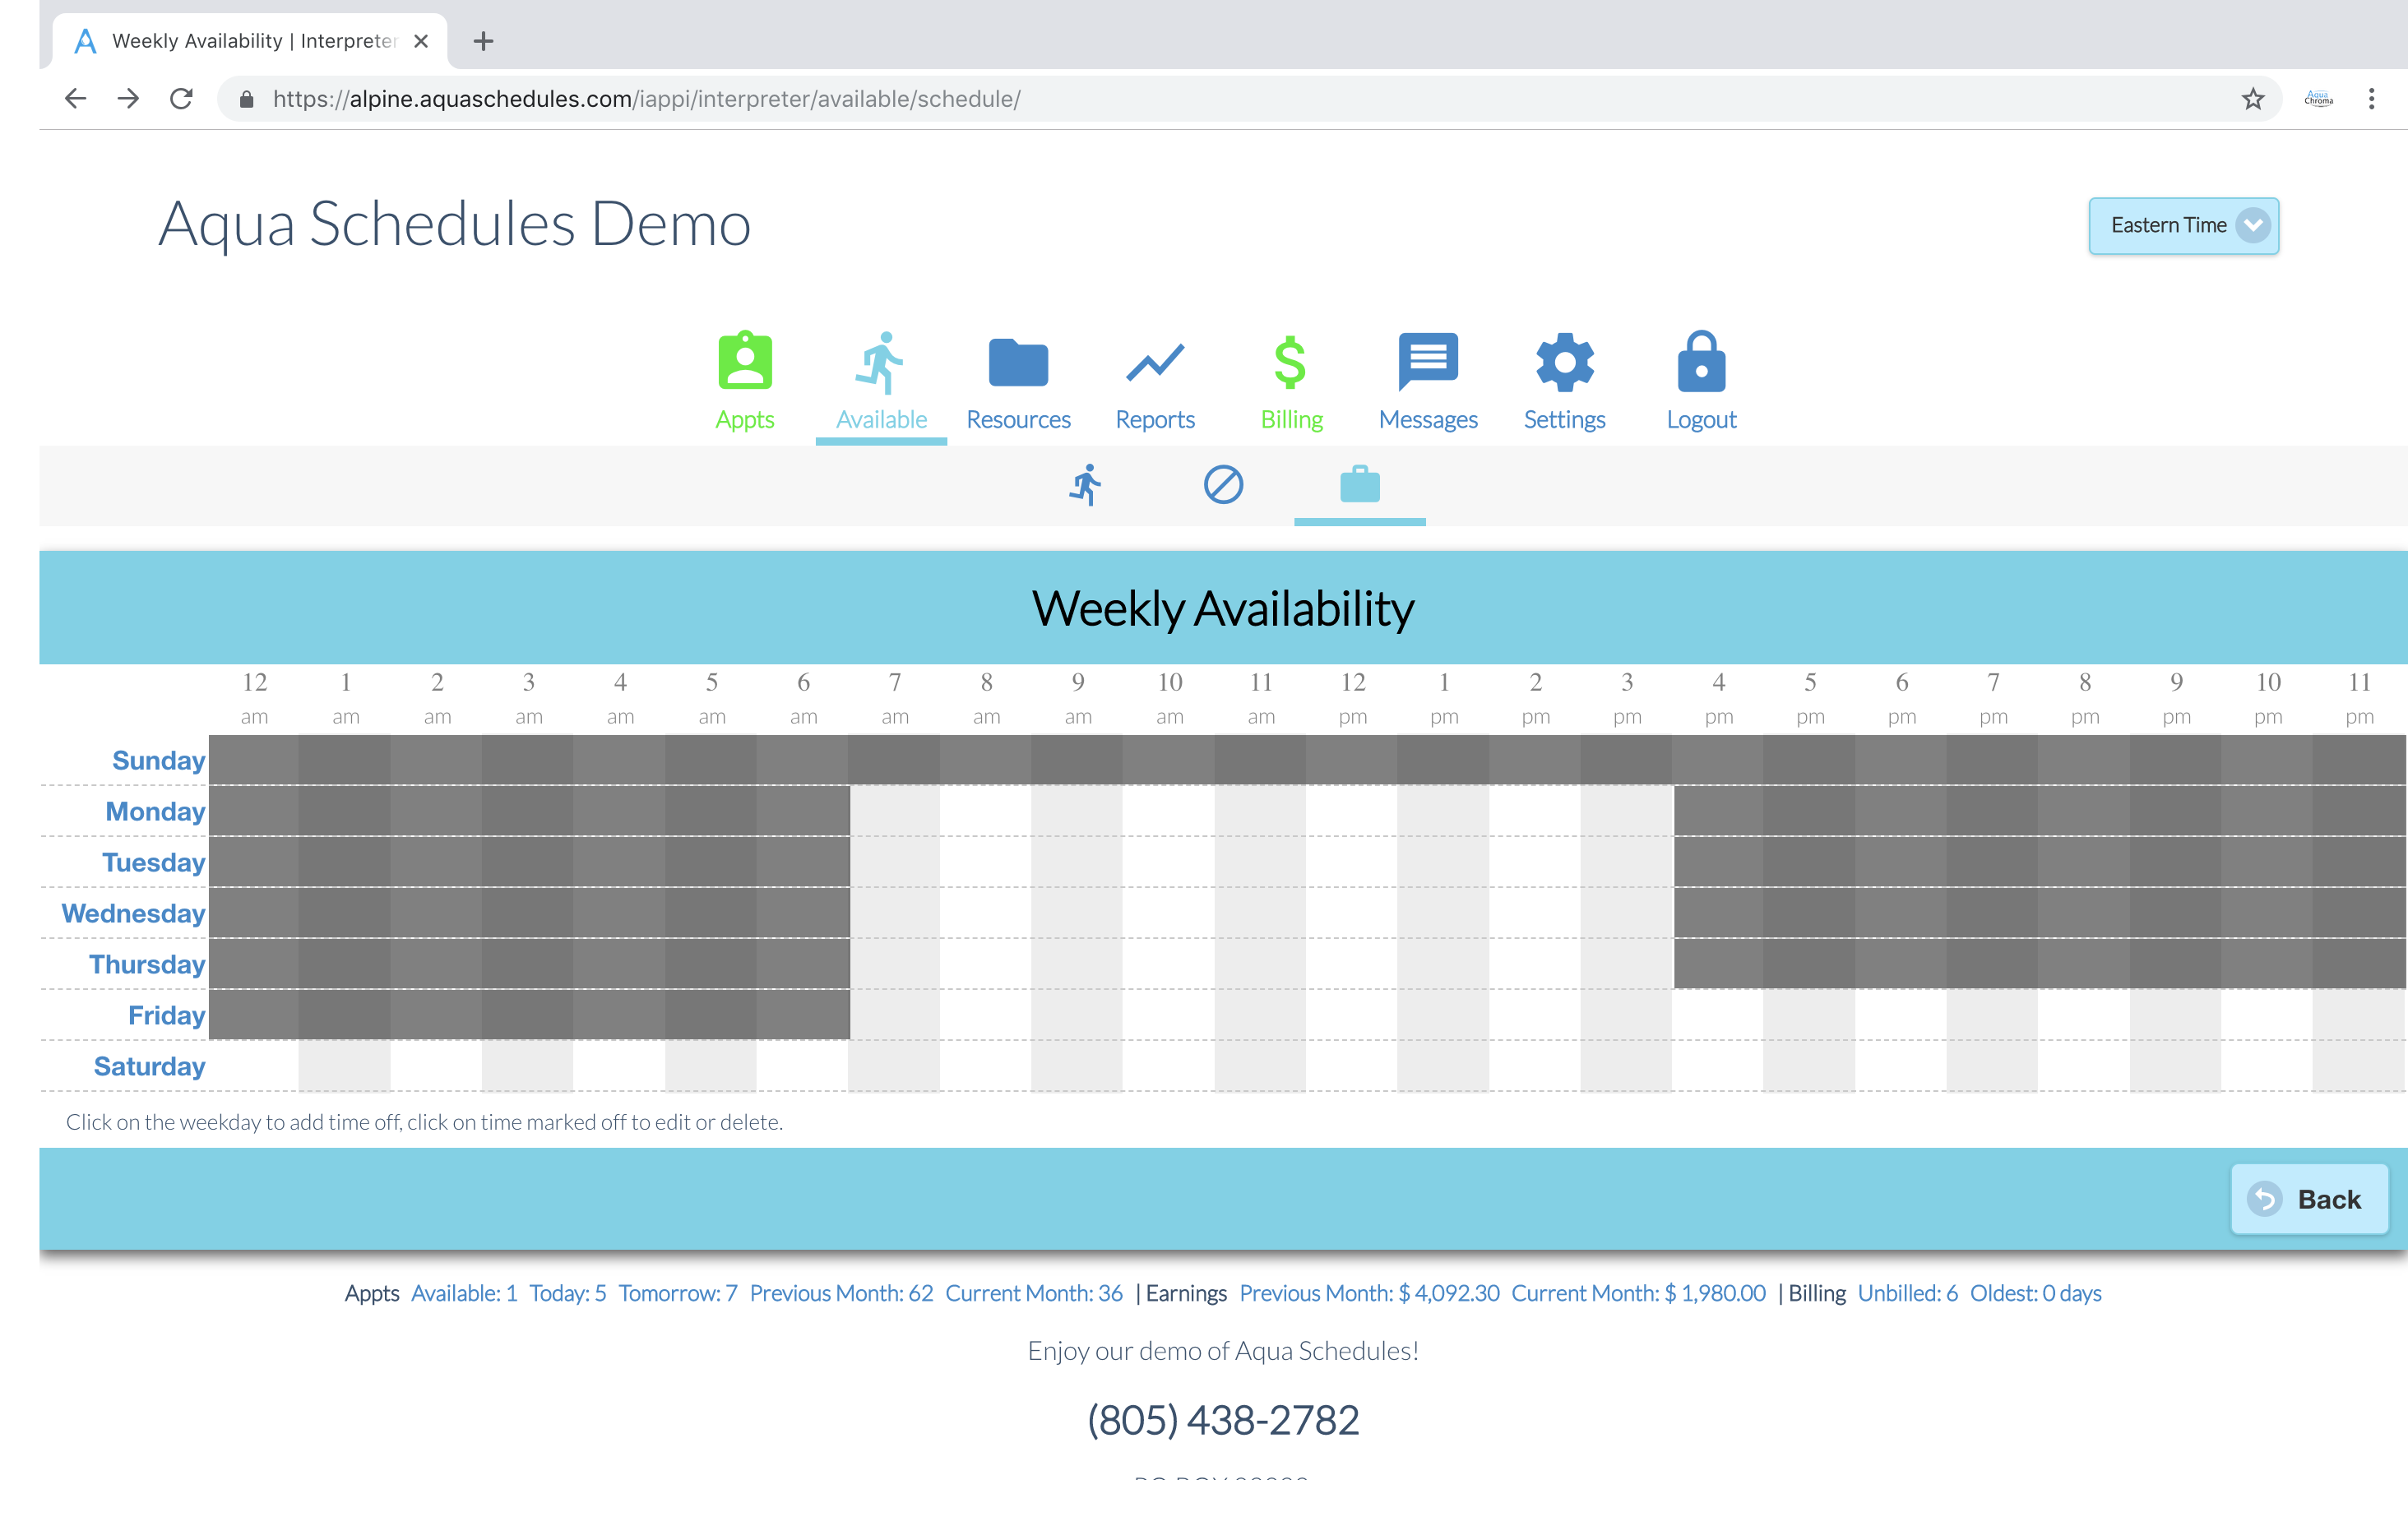
Weekly availability lets you see when interpreters are free to take appointments. Choose an interpreter from the Dropbox to see their availability. The agency is also able to edit the times that the interpreter has set.
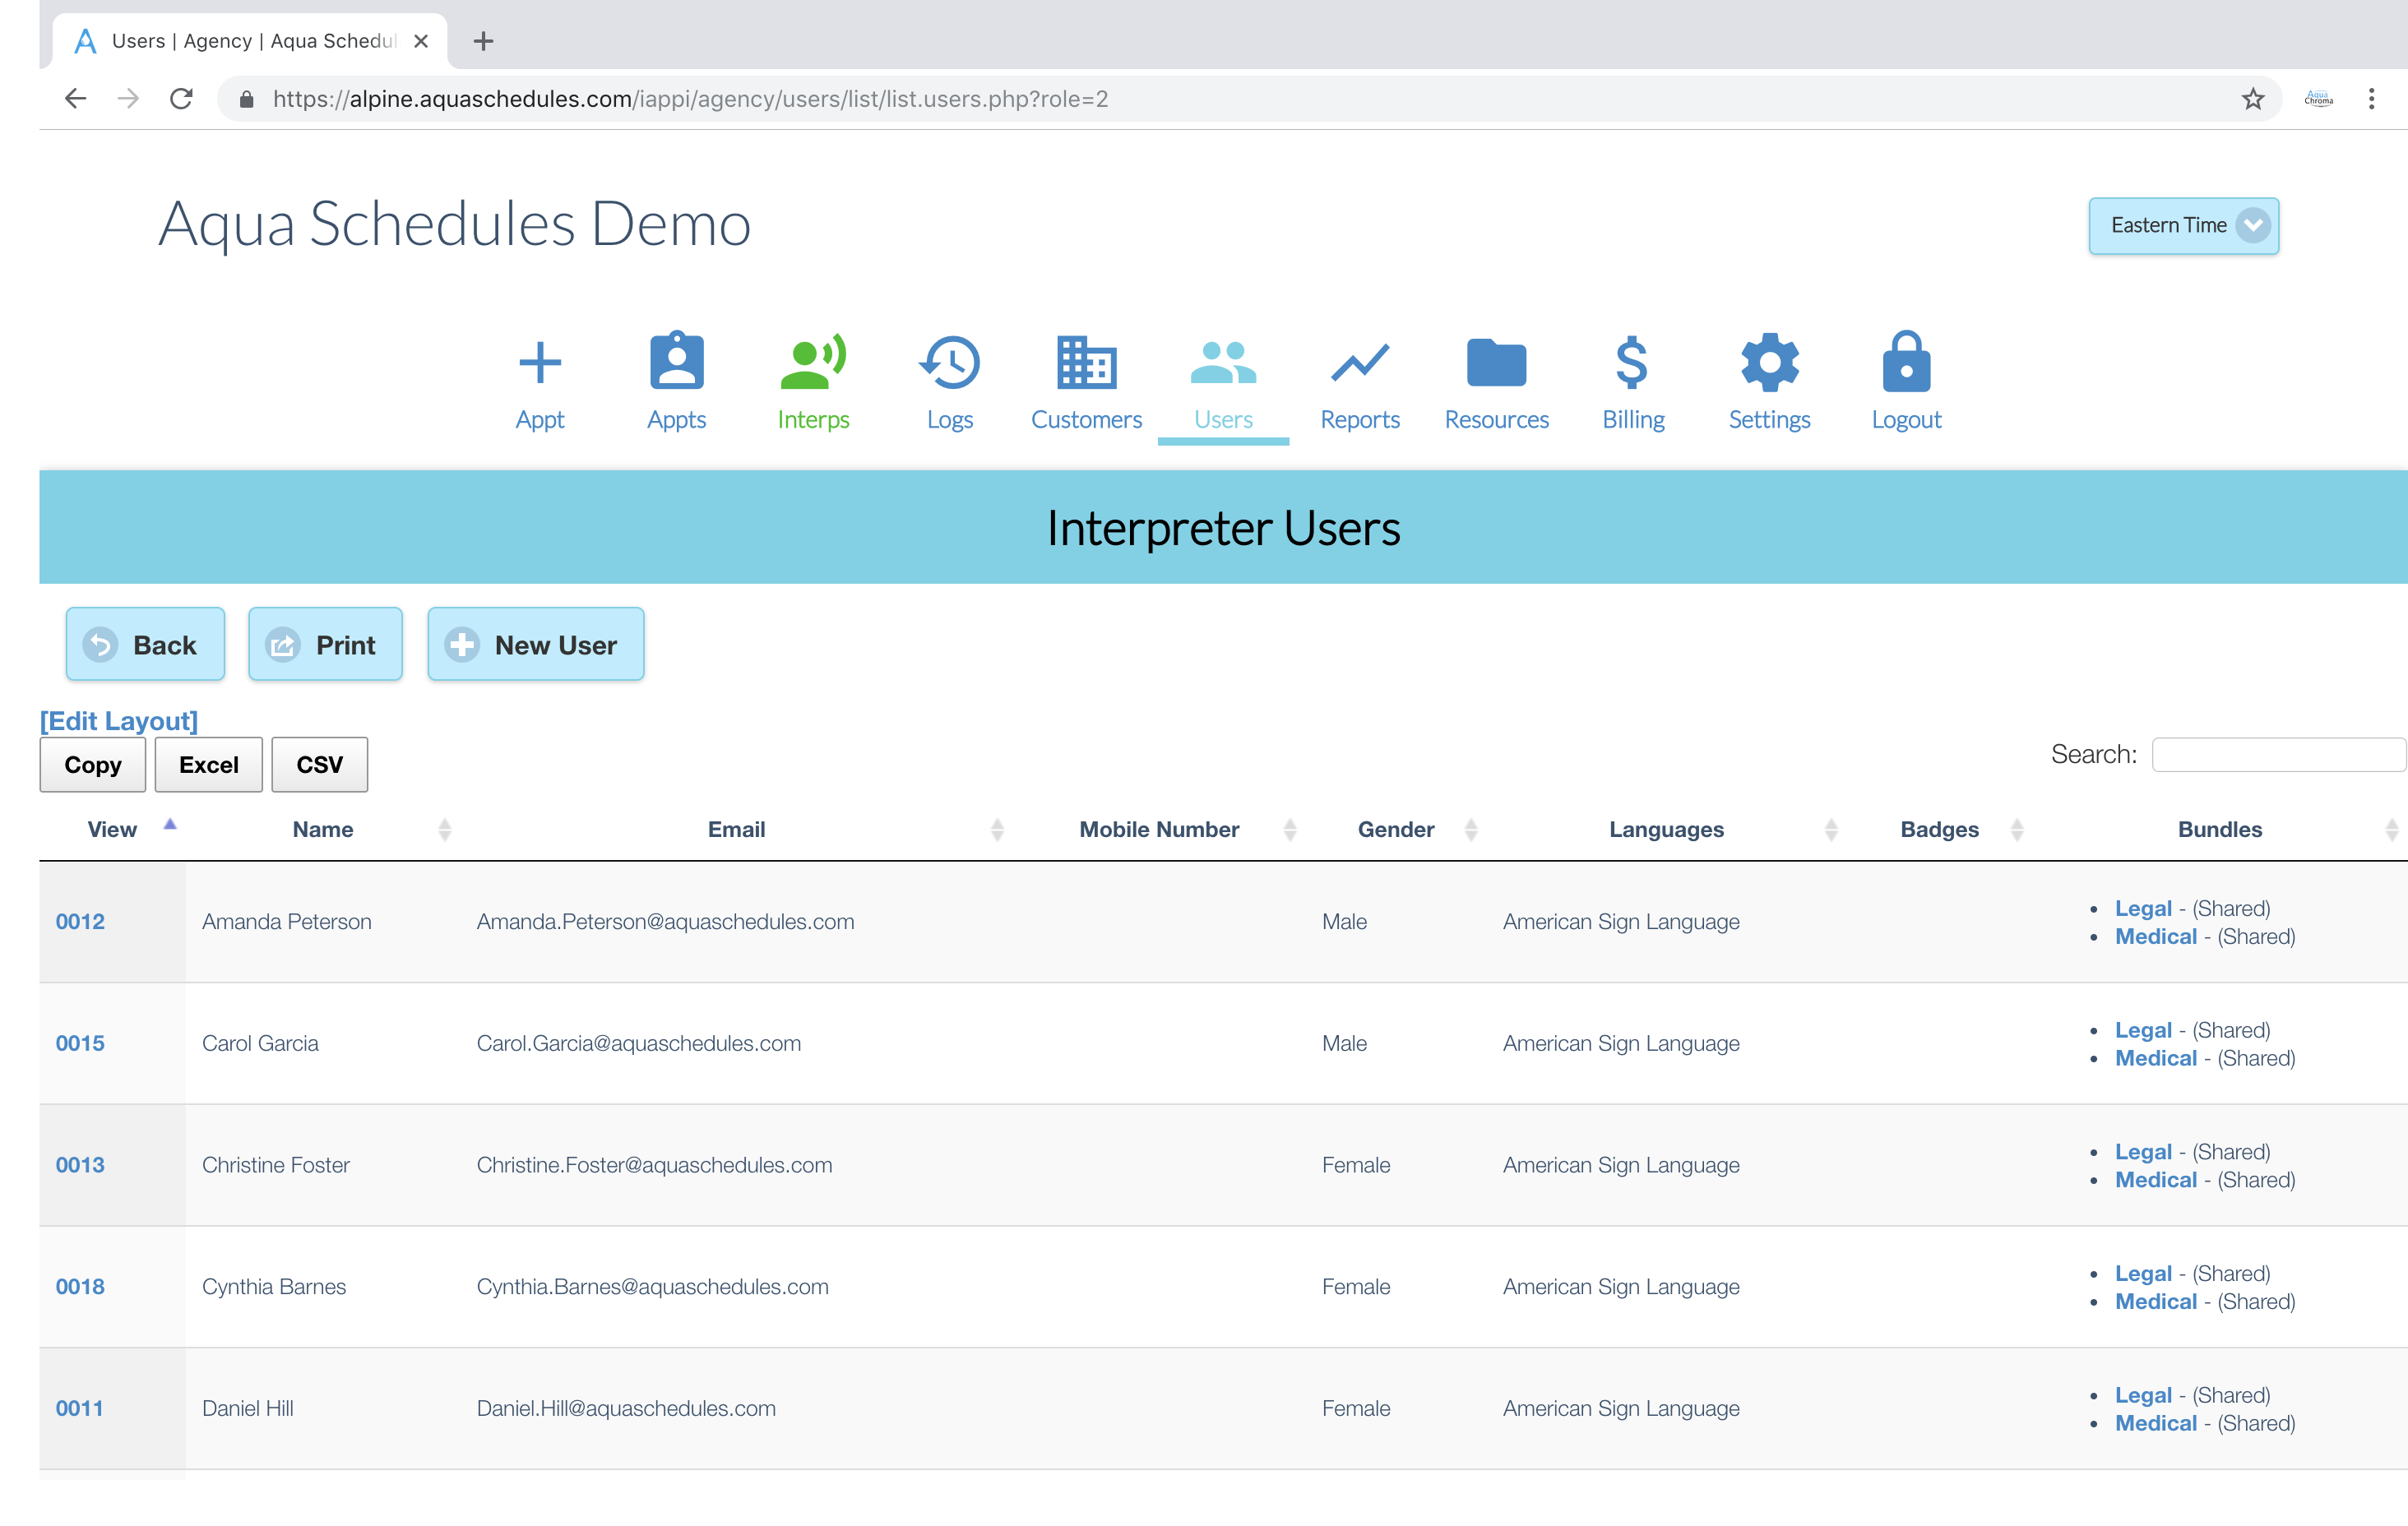
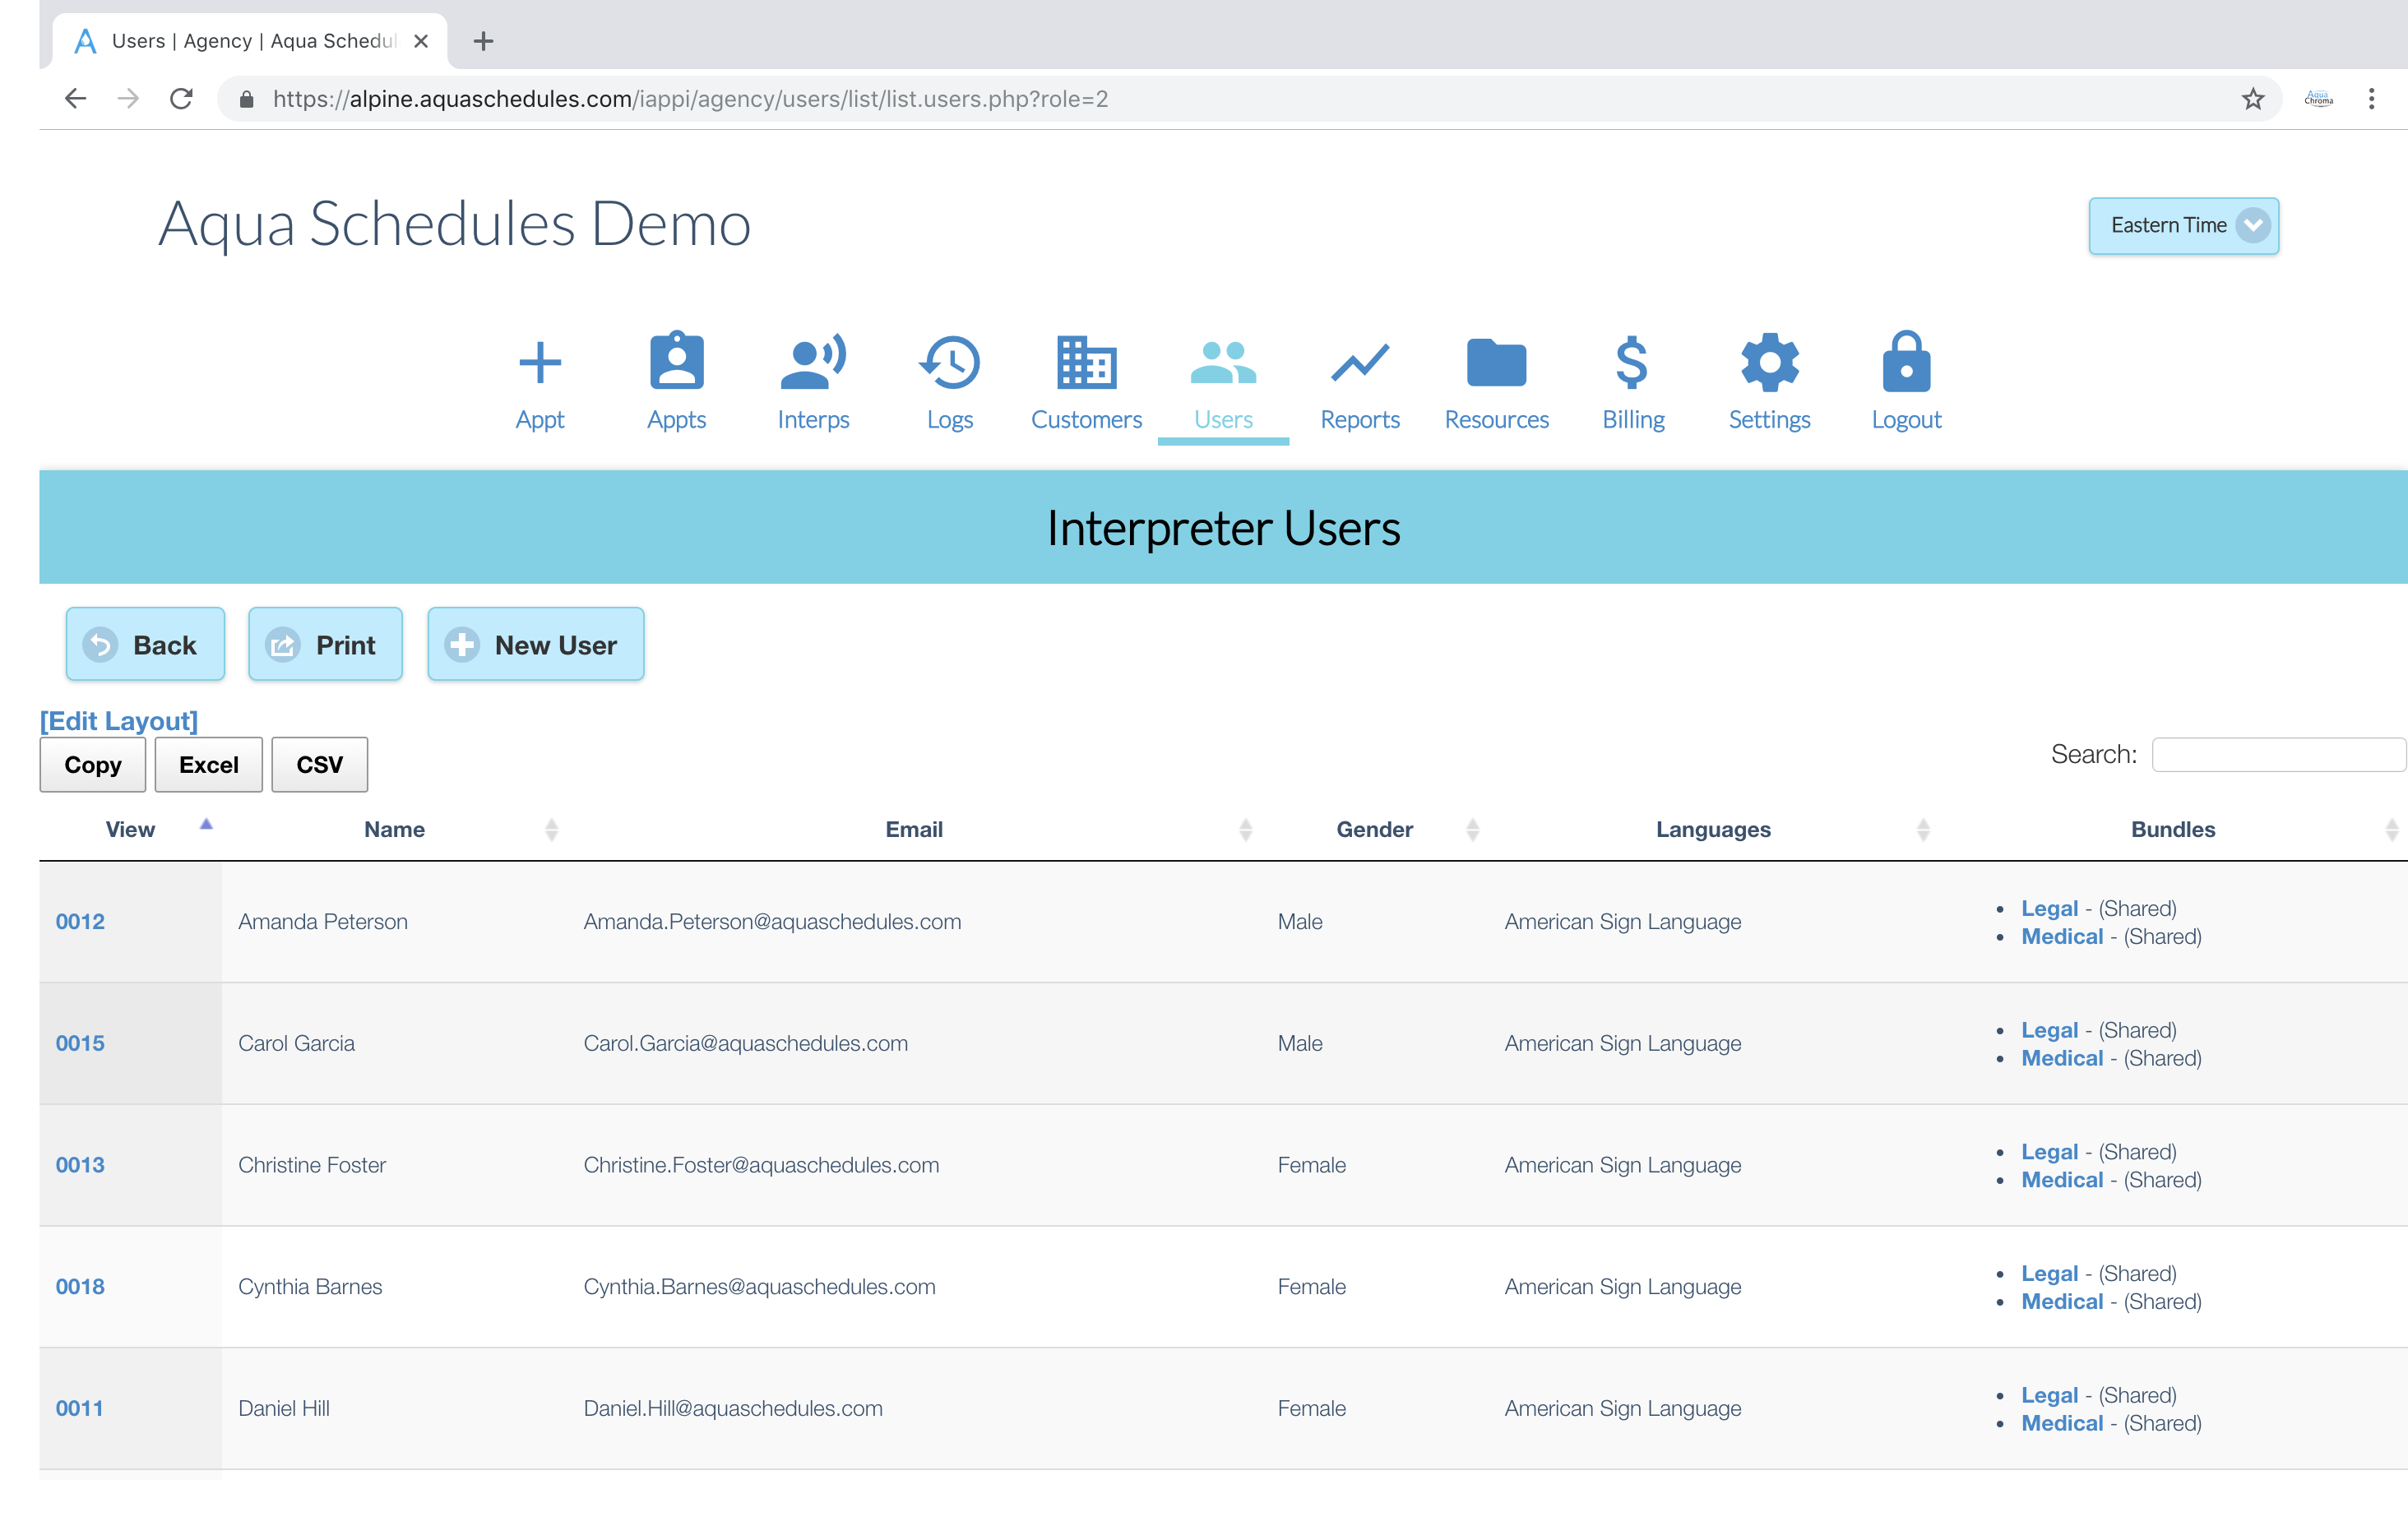
See all interpreters provides a list of all your active interpreters. Here we have the interpreters name and email. Their phone number, the date of registration, their gender, and their language or languages they interpret in. Click on anyone of your interpreters and a control panel will appear where you manage their account. Click on personal settings to view or update any information if needed such as their phone number or address.
When a phone number is entered this interpreter will receive alerts from the agency via text message. You can also set the time zone and mark if they are certified.
Documents allows the agency to upload any documents that you or the interpreter may need such as any certifications or background checks.
User languages lets you appoint one or multiple languages to a certain interpreter. This allows interpreters to be able to view appointments in only those languages.
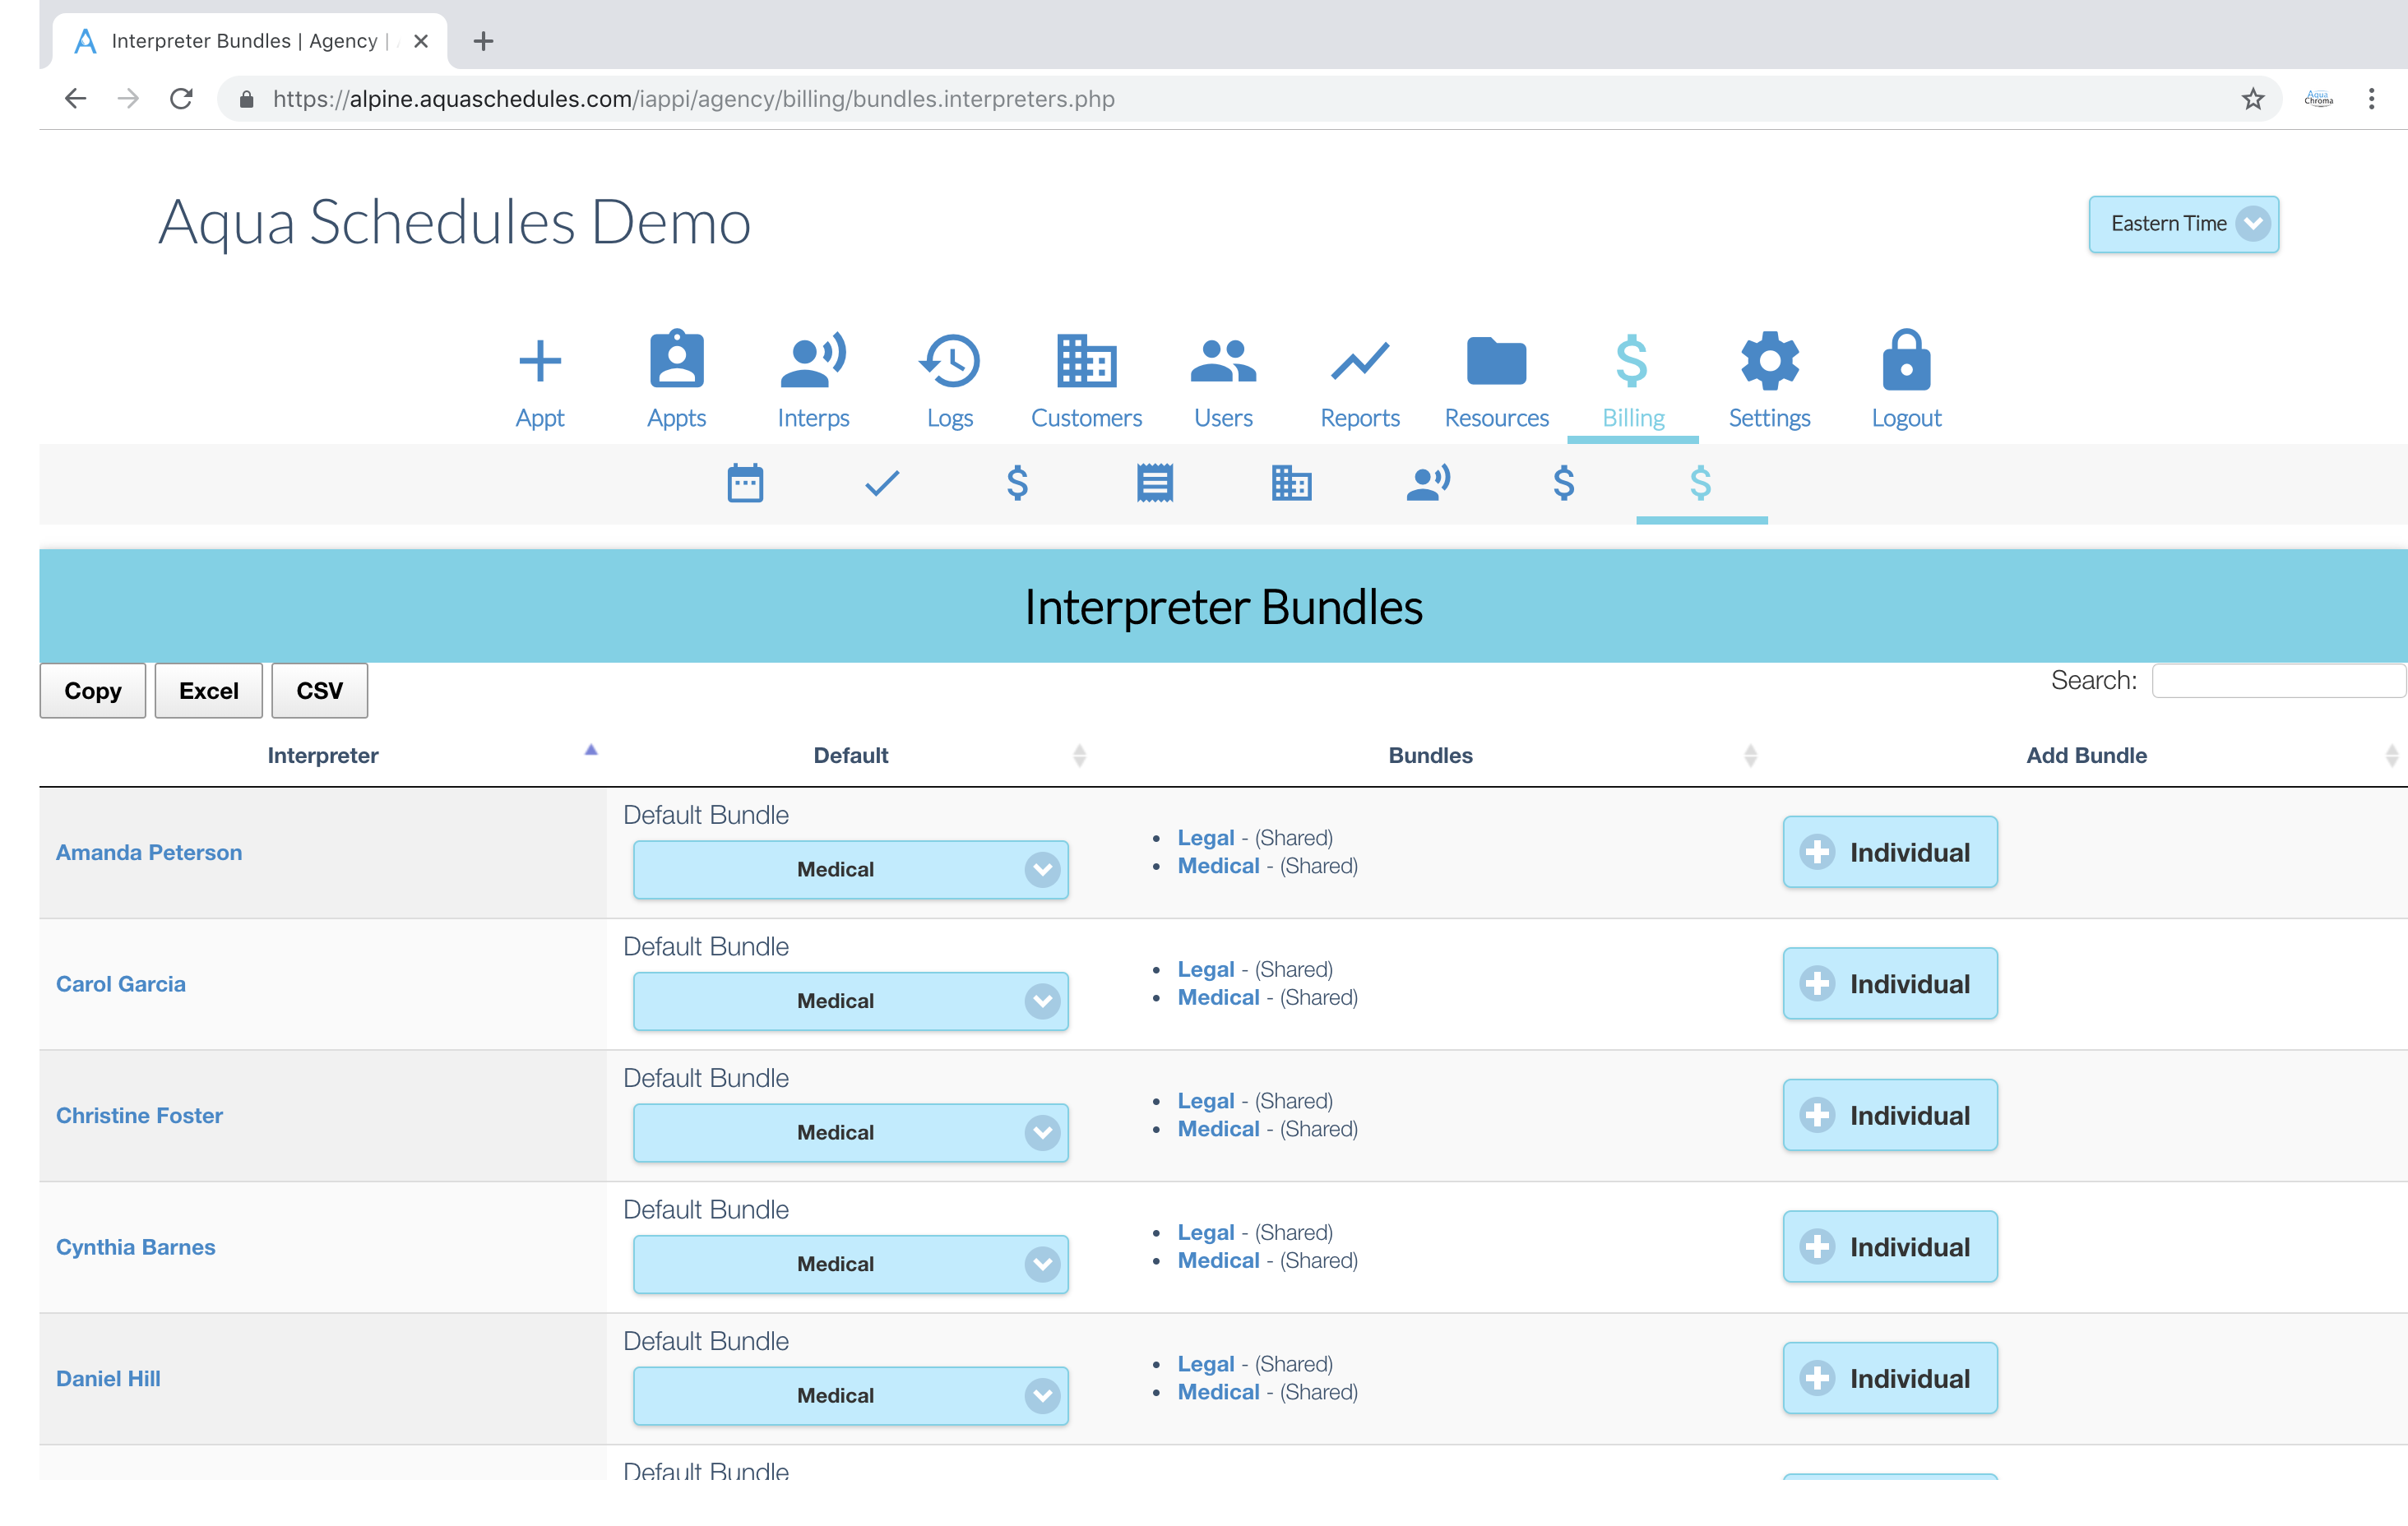
Billing bundles is where you would set the pay rate for a particular interpreter. This is helpful if your agency pays a different rate to each interpreter. Perhaps depending on what type of appointment the interpreter does. Here you can add a bundle and then choose the bundle from the Dropbox.
Weekly availability shows you the weekly availability for this particular interpreter.
If an interpreter has forgotten or wants to change their password, this setting allows the agency to set up a temporary password for the interpreter.
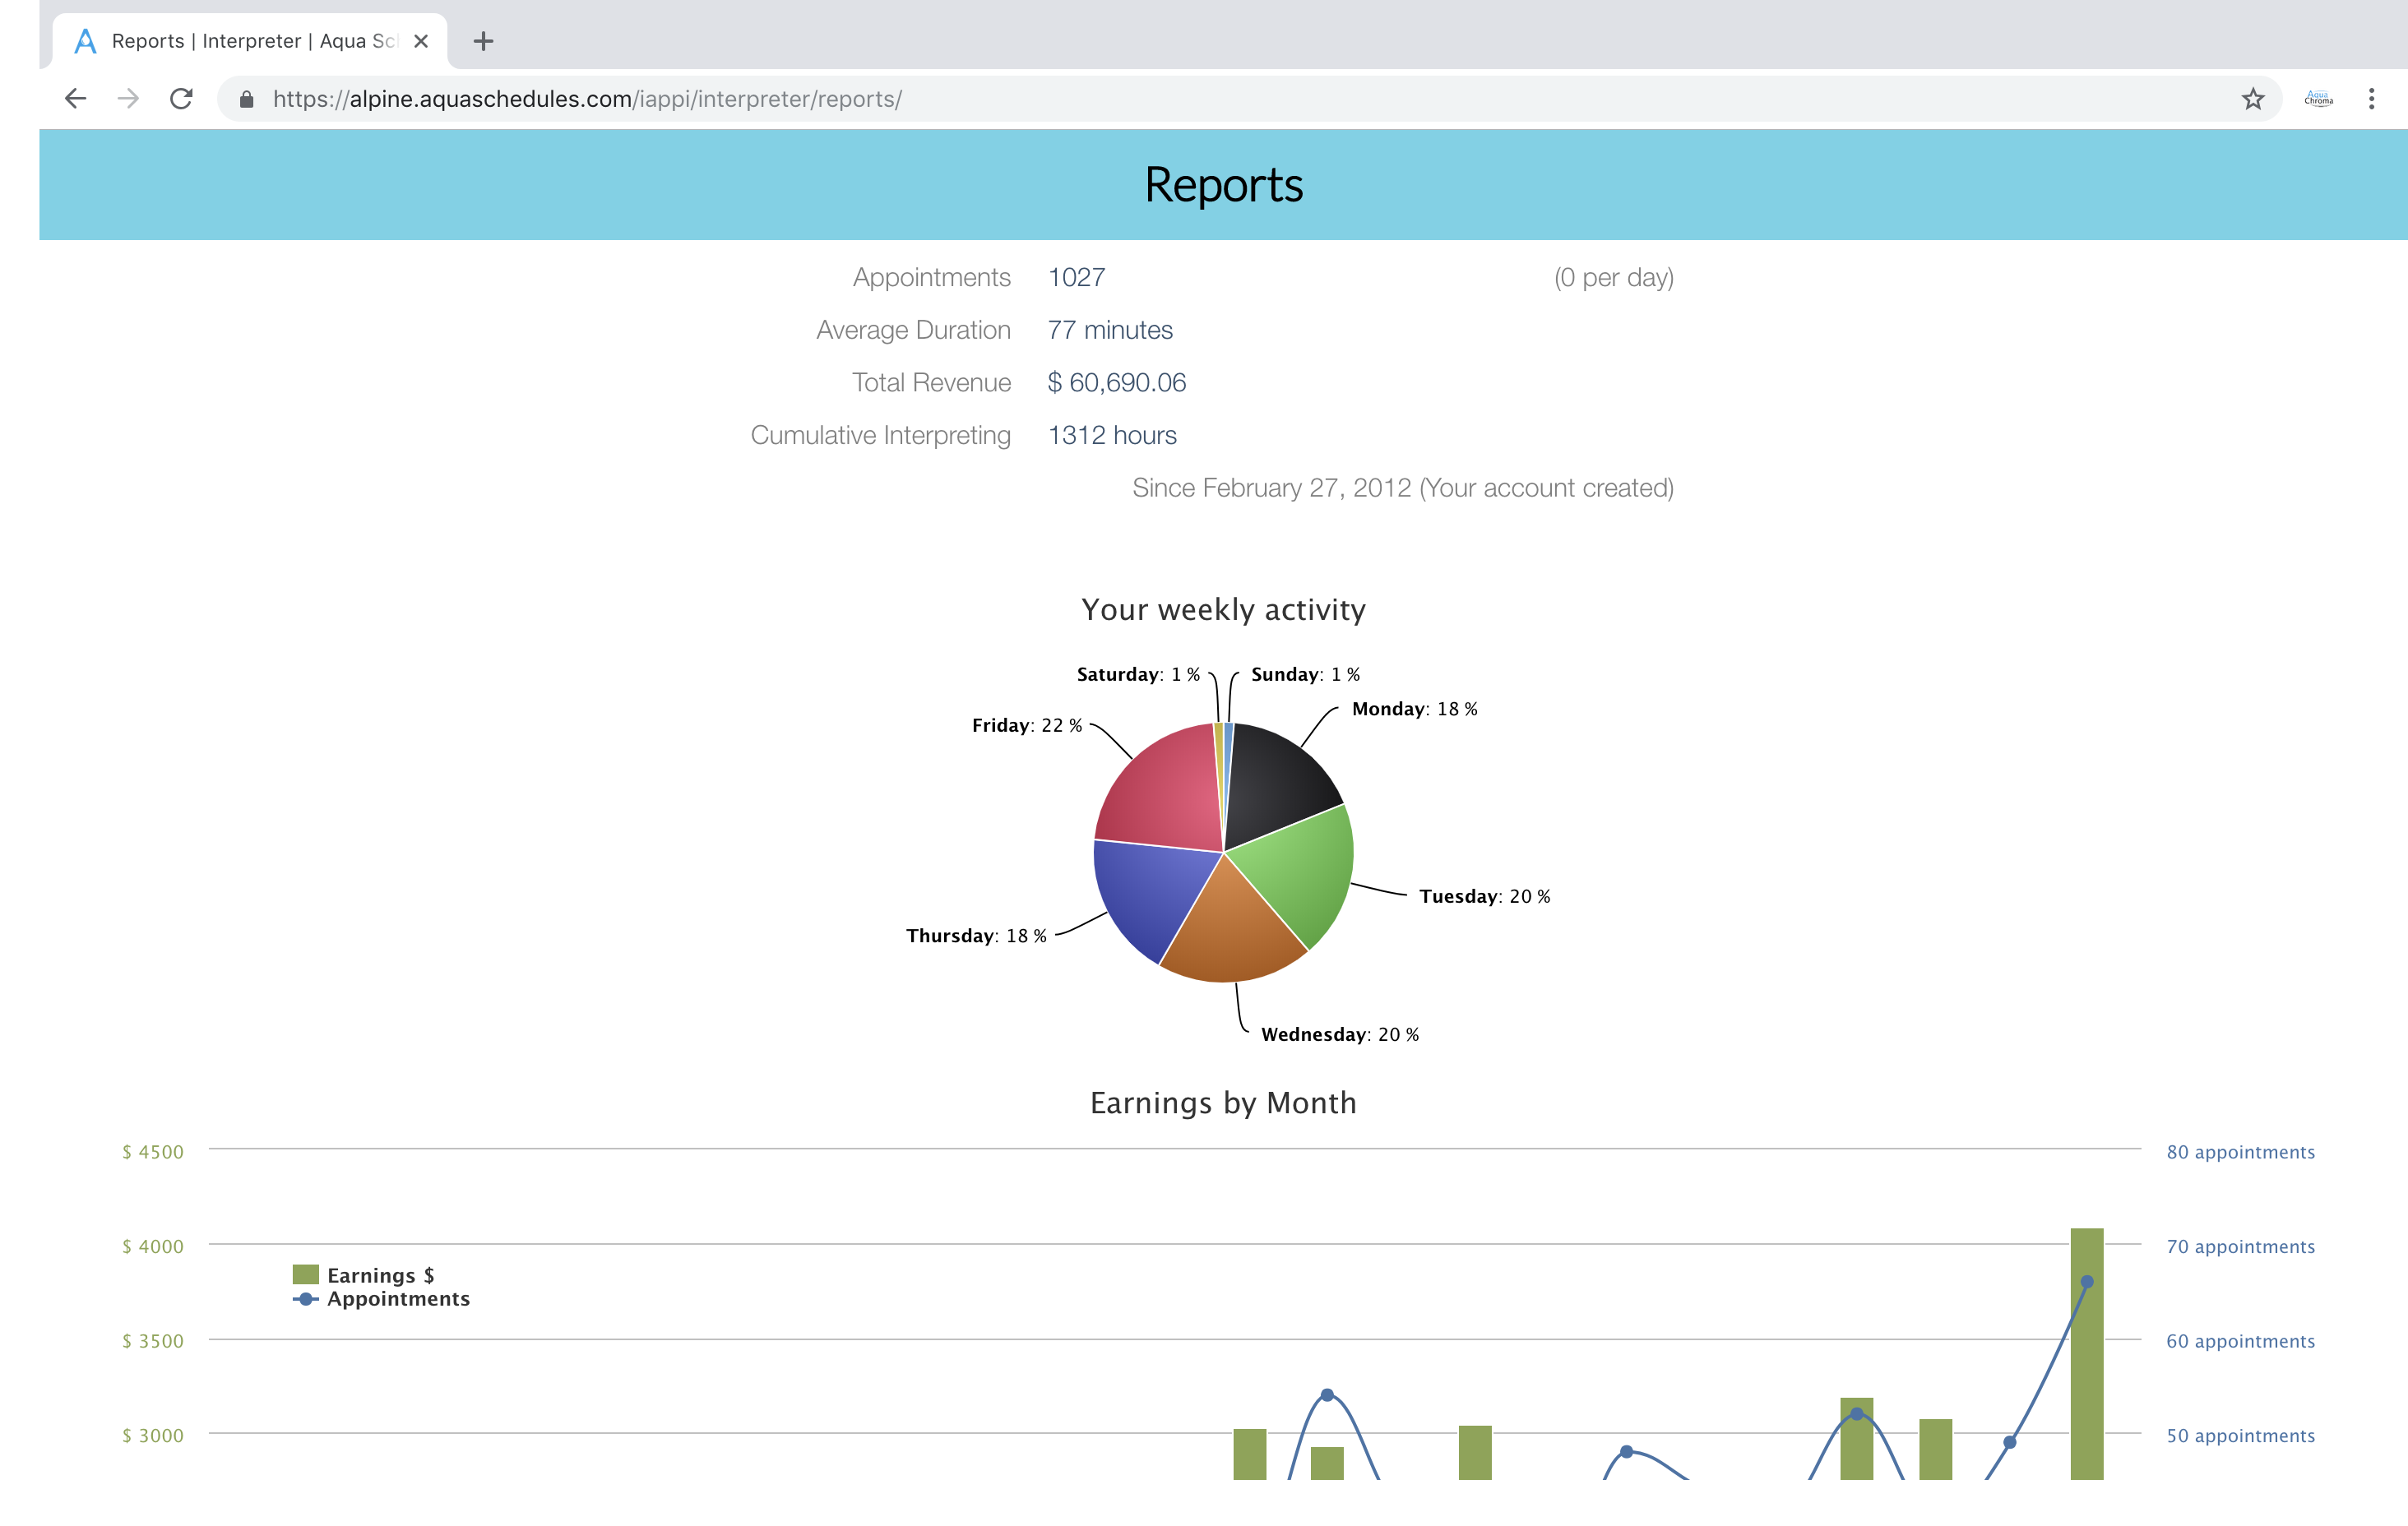
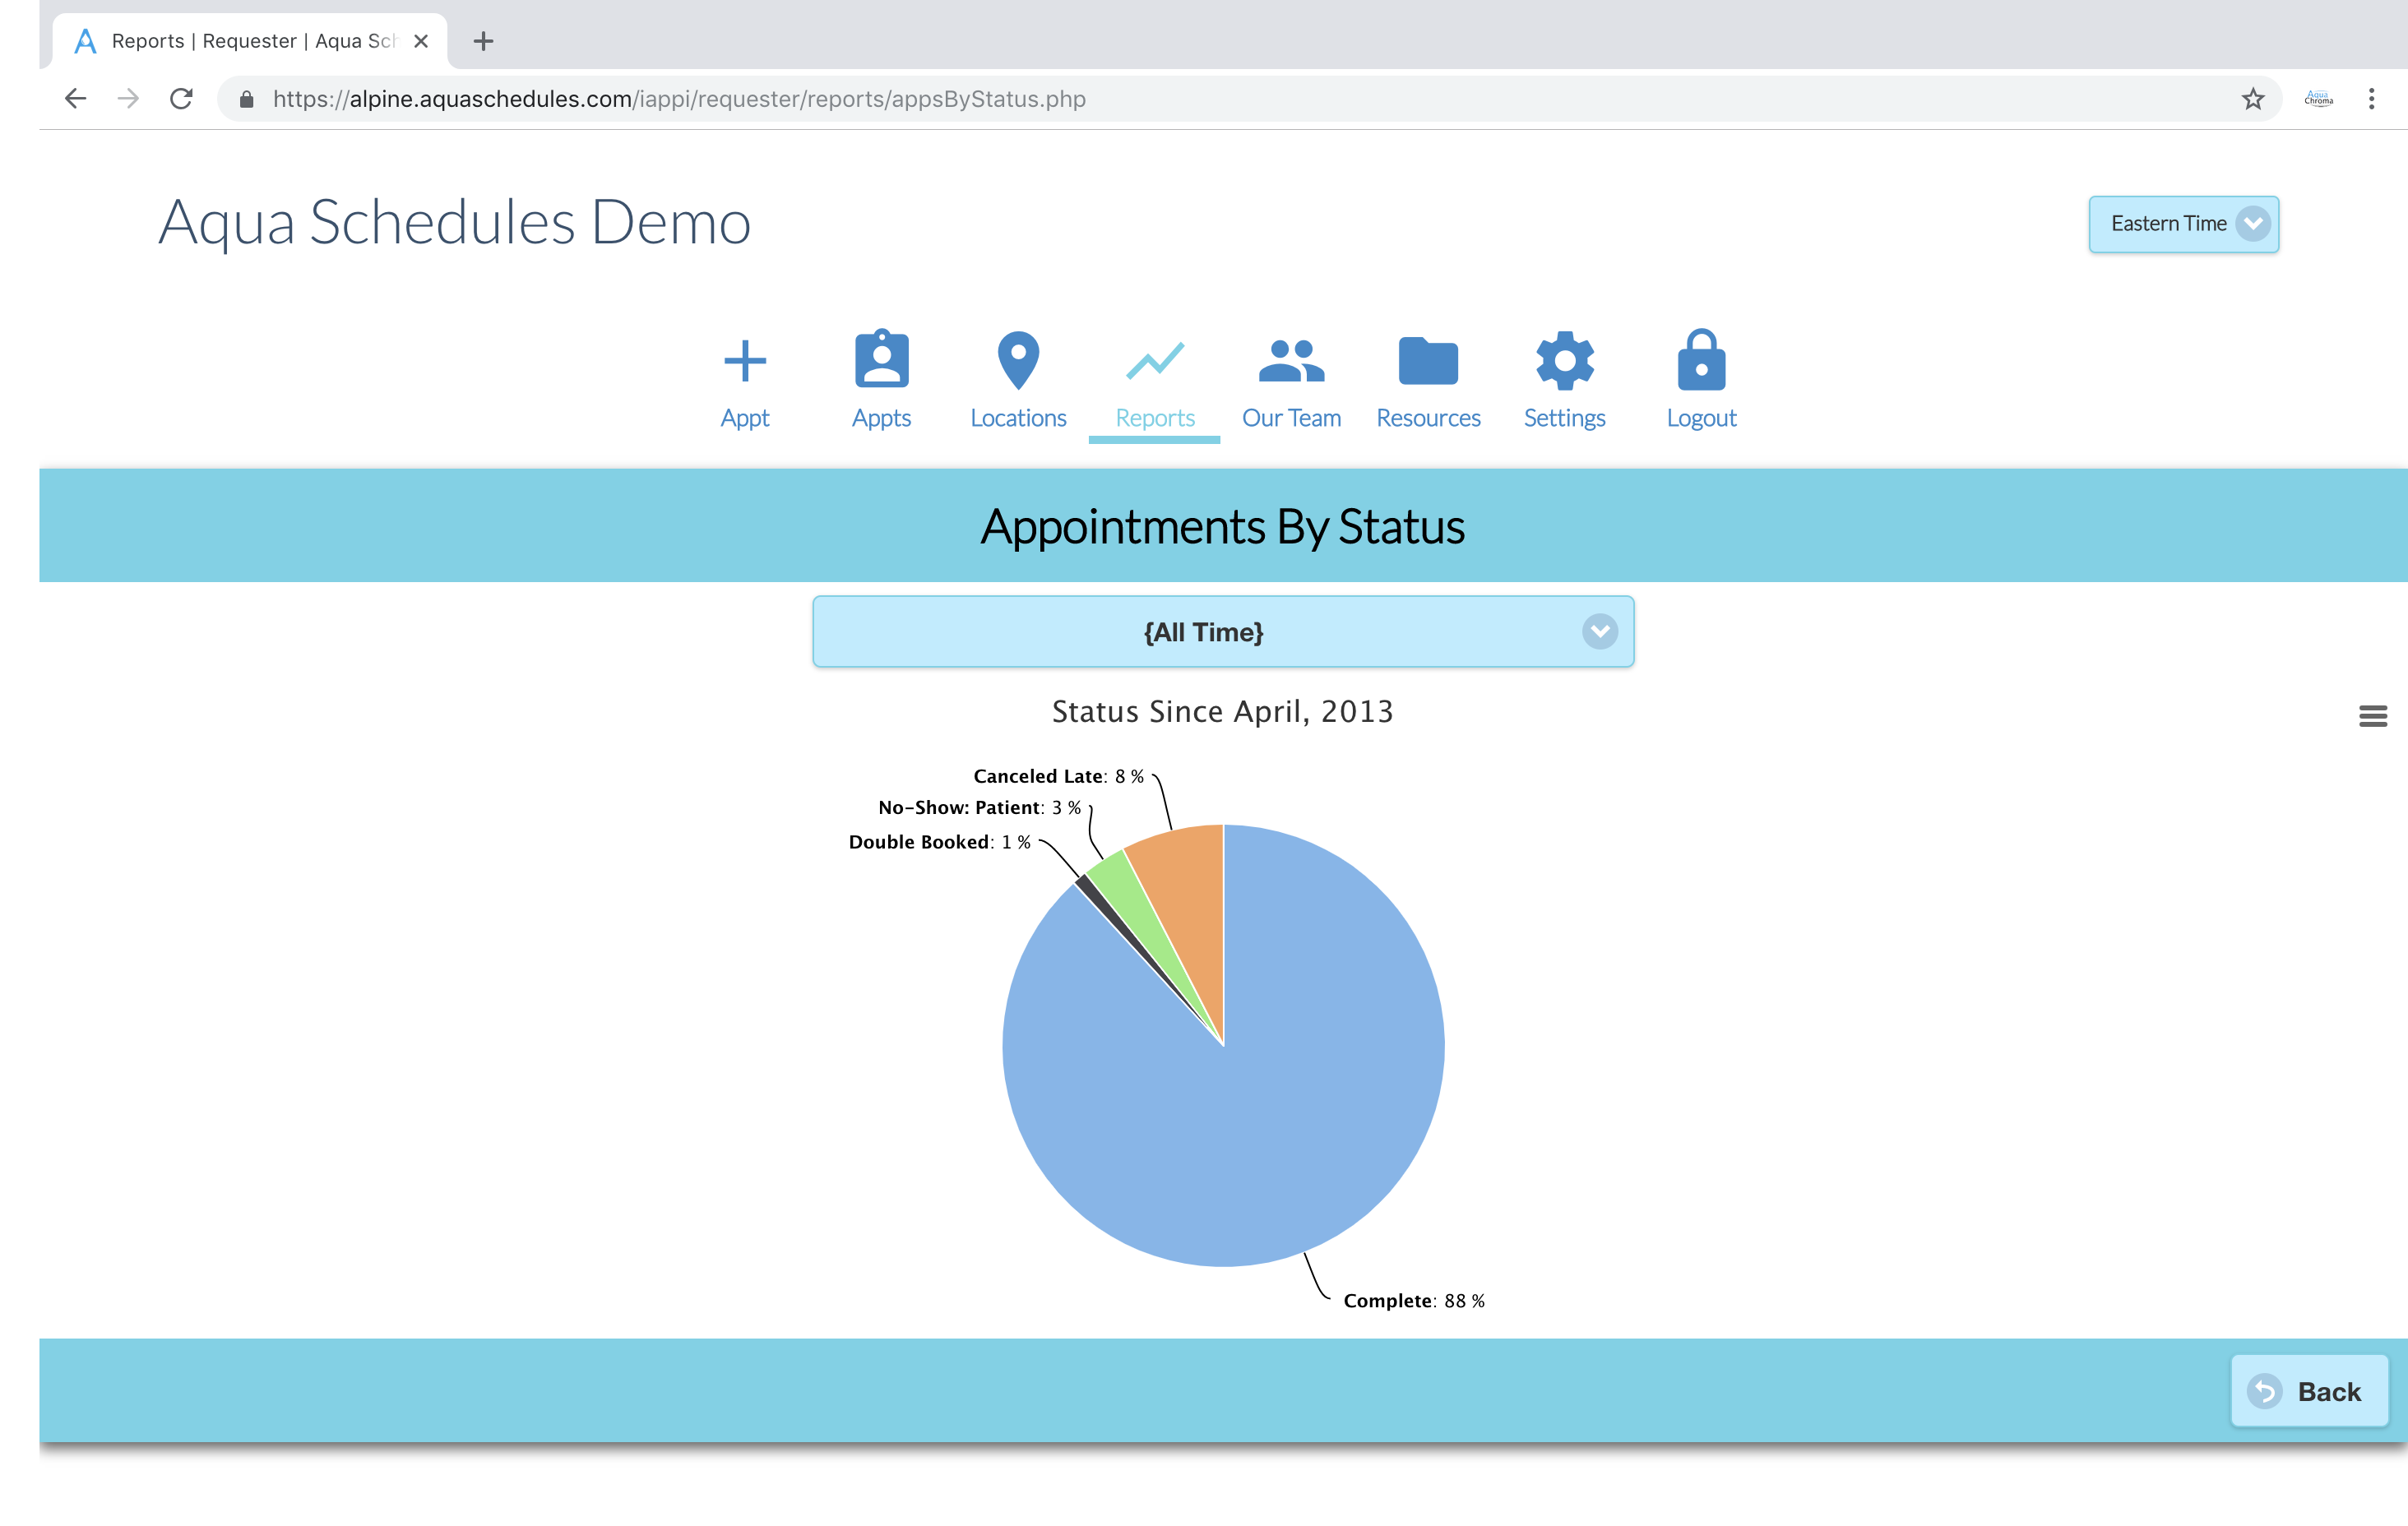
Here we have a graph that shows how many appointments the interpreter has done since they started working, their total earnings and any unbilled appointments they've left in the system. Here we have a pie chart that shows the status of the appointments of this interpreter. It shows complete appointments, patient no shows, cancellations etc...
Logs menu
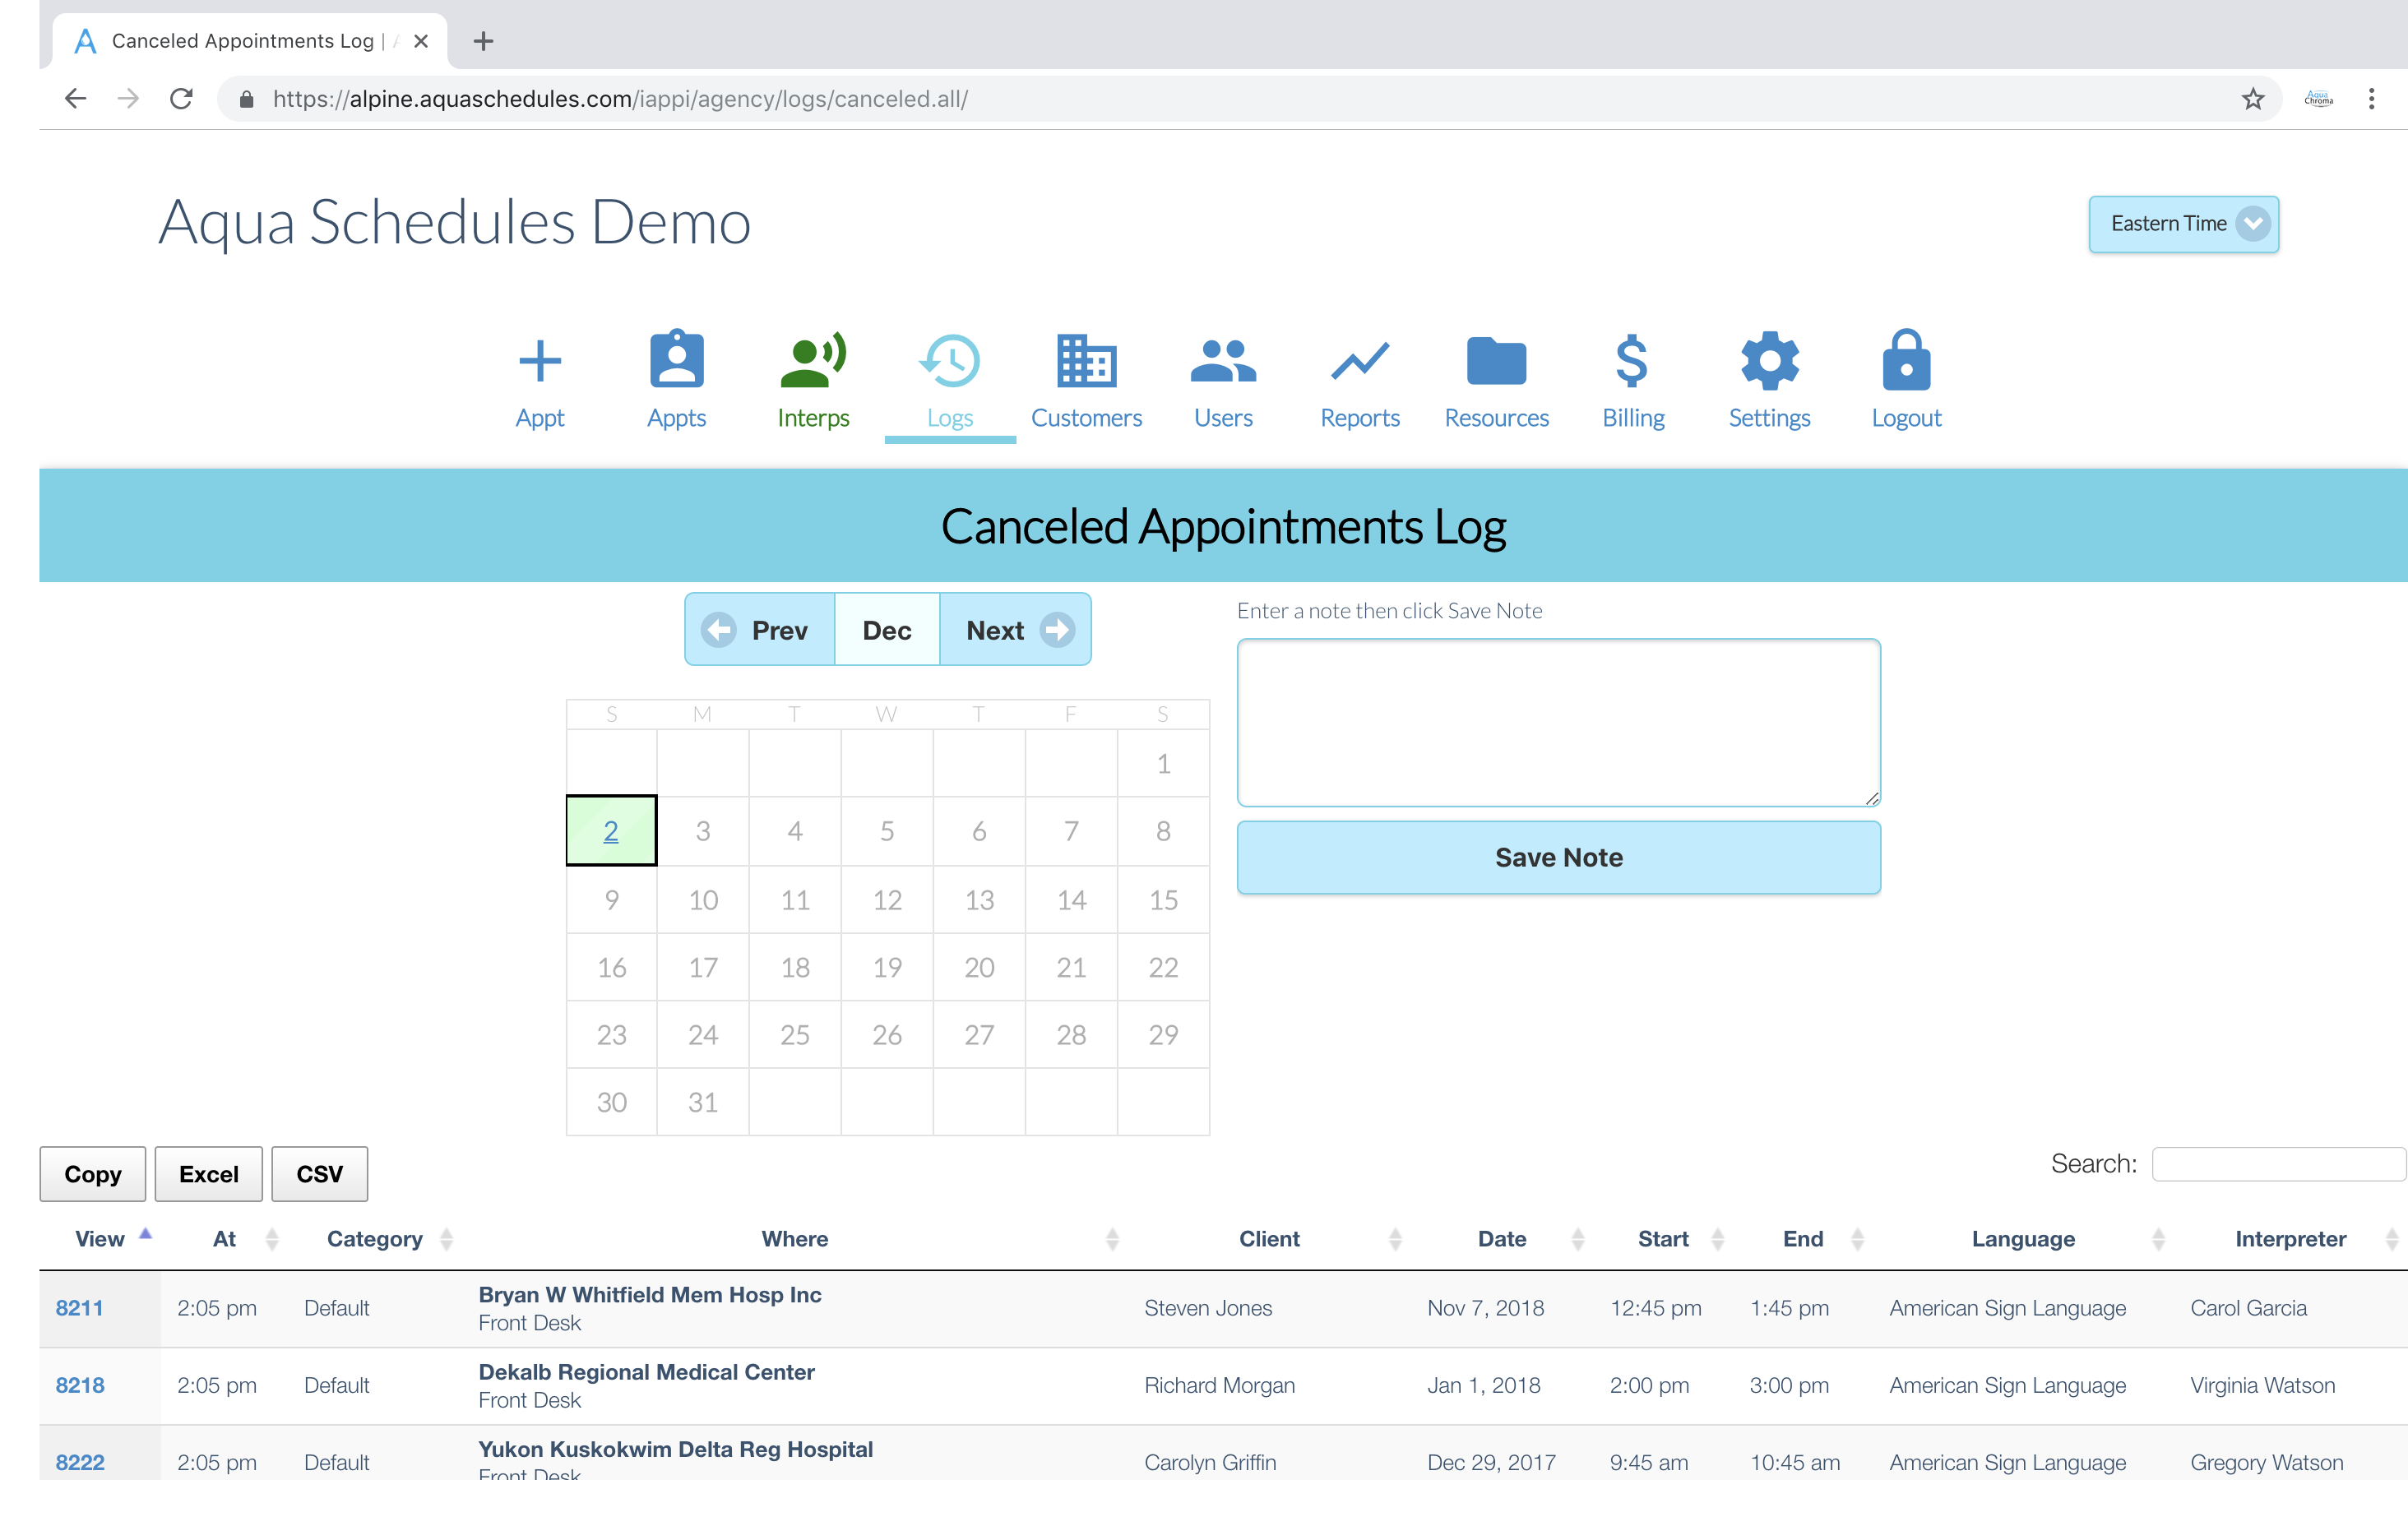
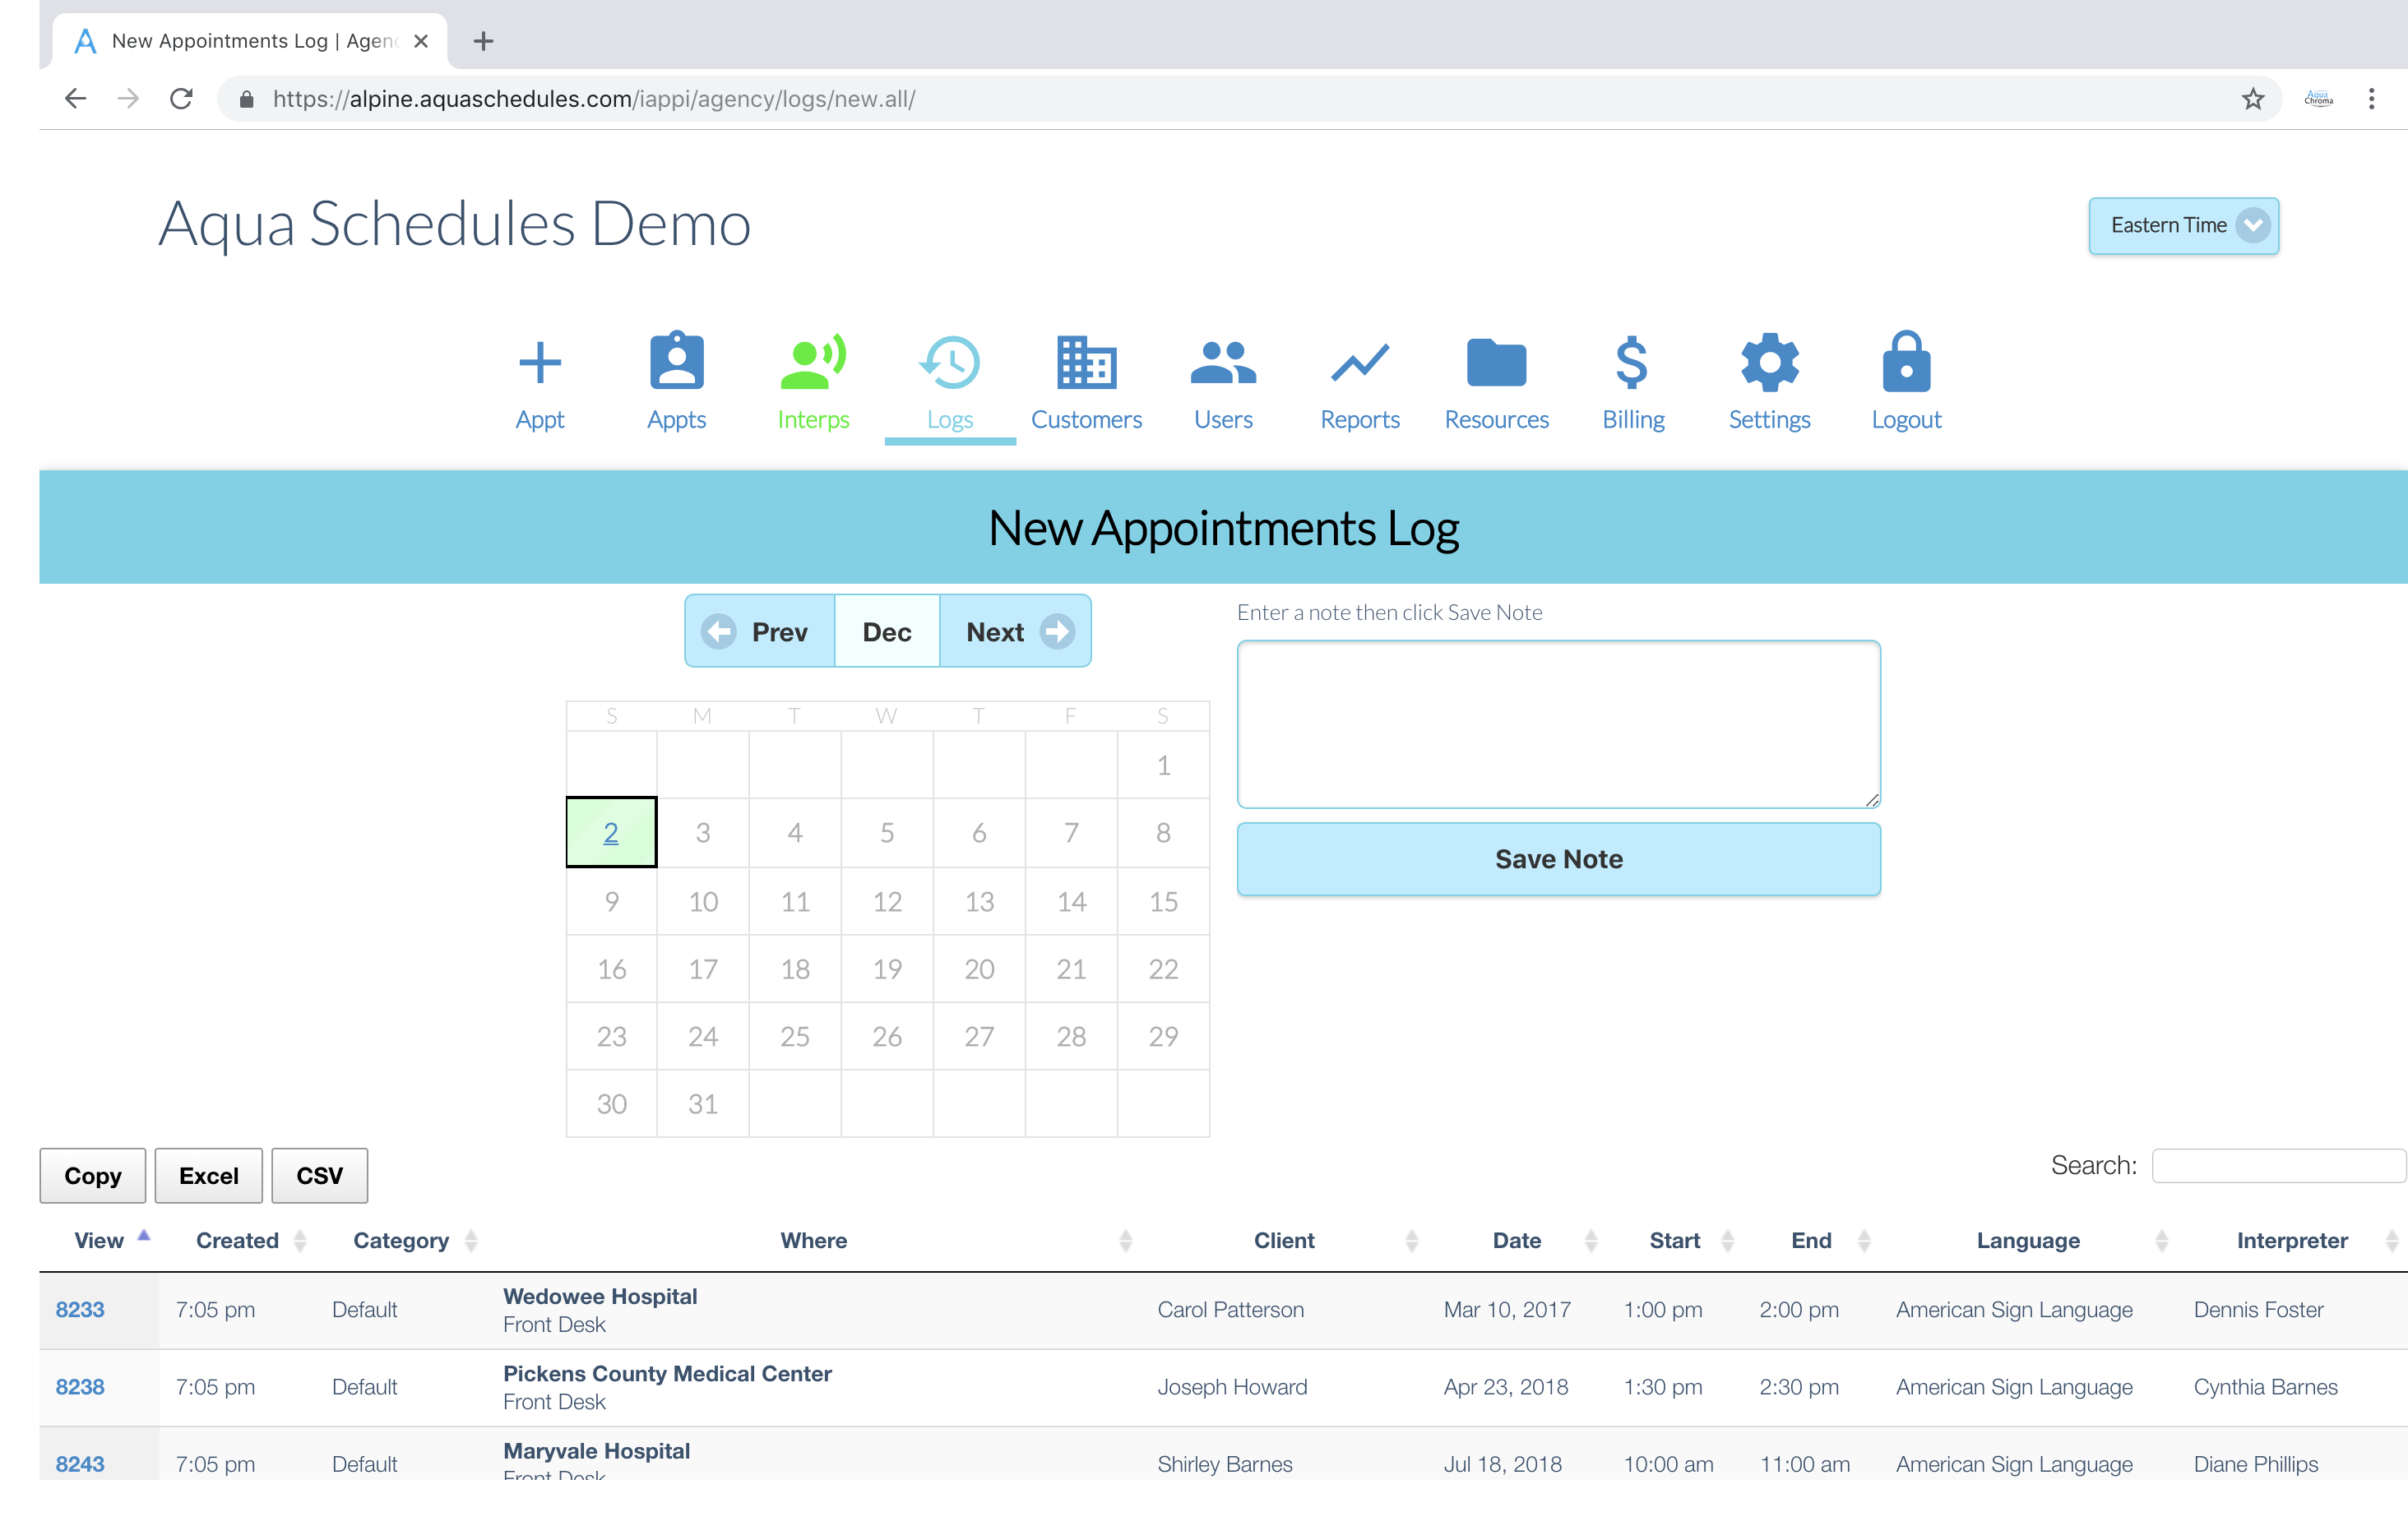
The New appointments log and canceled appointments log have a similar design as the day view but instead of seeing the scheduled appointment on the day of the appointment, these logs organize it by the day it was created on the system. So we see that there were ____ appointments created today for future dates or for the same day. We can organize it by each column such as the time it was created today and the date of the appointment scheduled. The cancelled appointments log is the same concept as the new appointments log, except is shows all cancelled appointments by day.
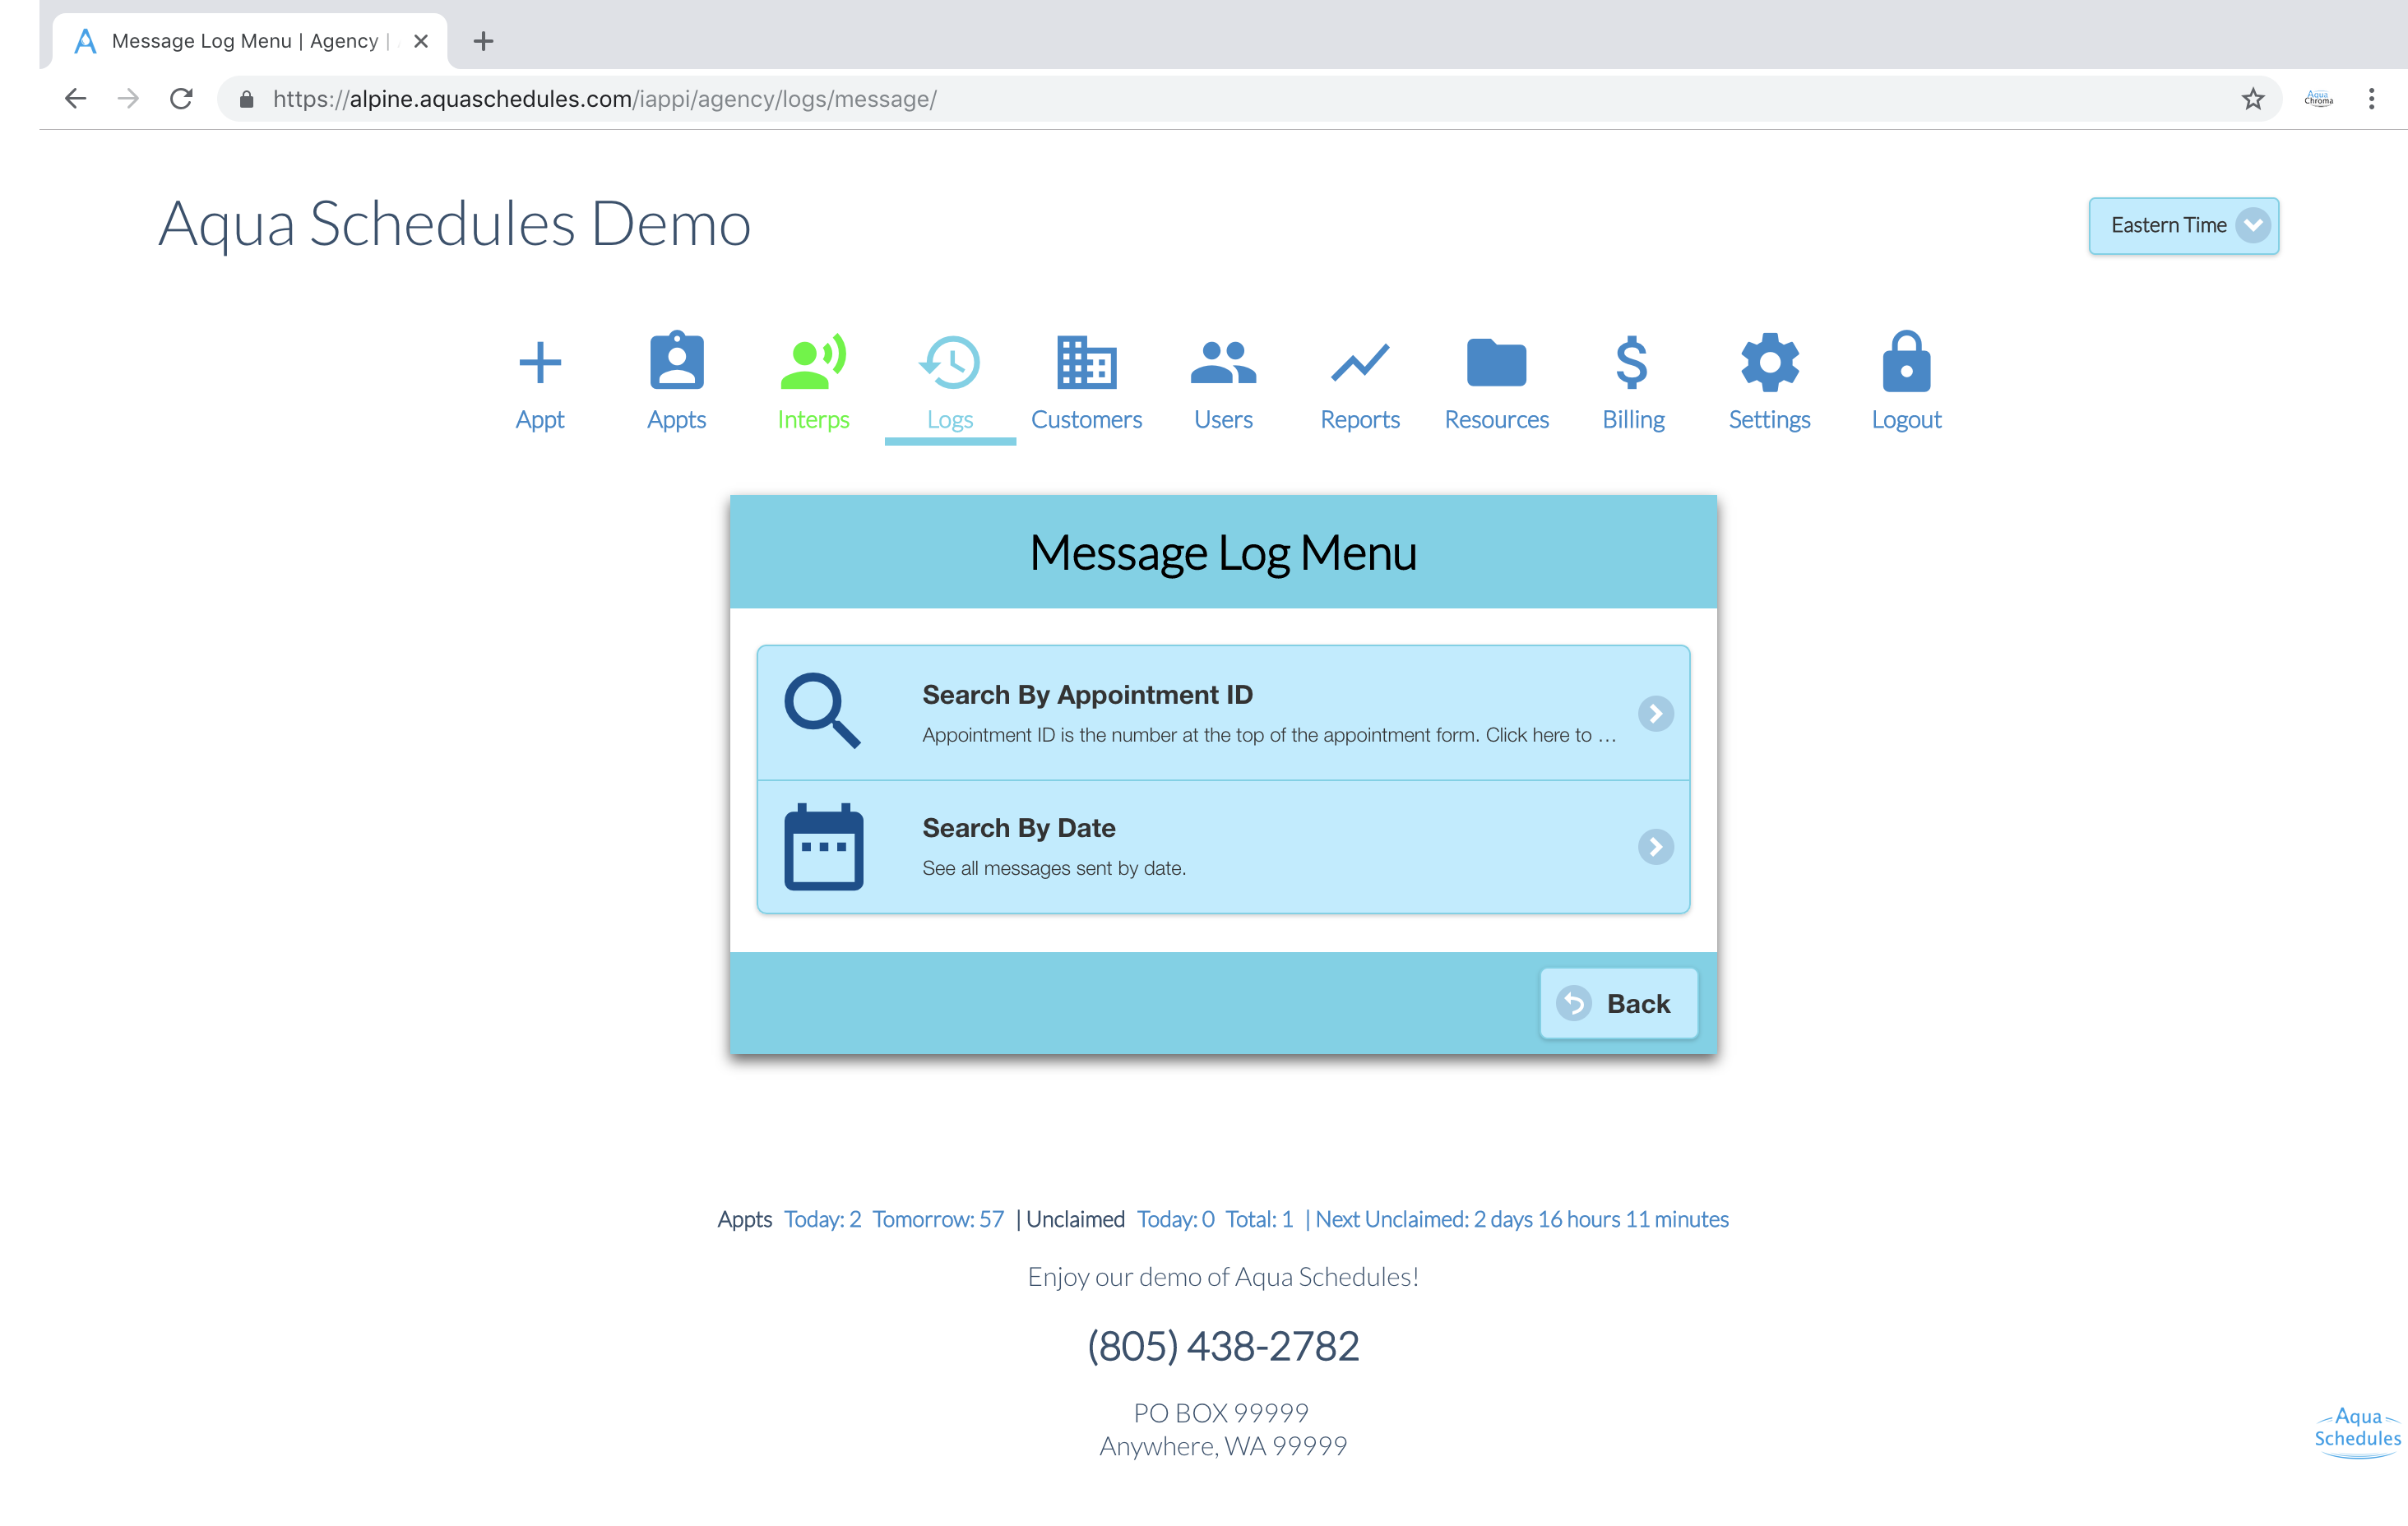
In the message log you can see all messages or alerts that the system sends out to interpreters for each day. The system automatically sends messages to each interpreter once they are appointed an appointment, when an appointment is cancelled and a reminder message 30min before each appointment. This log keeps track of all these messages as well as alerts that are sent by the agency throughout the day.
Customers menu
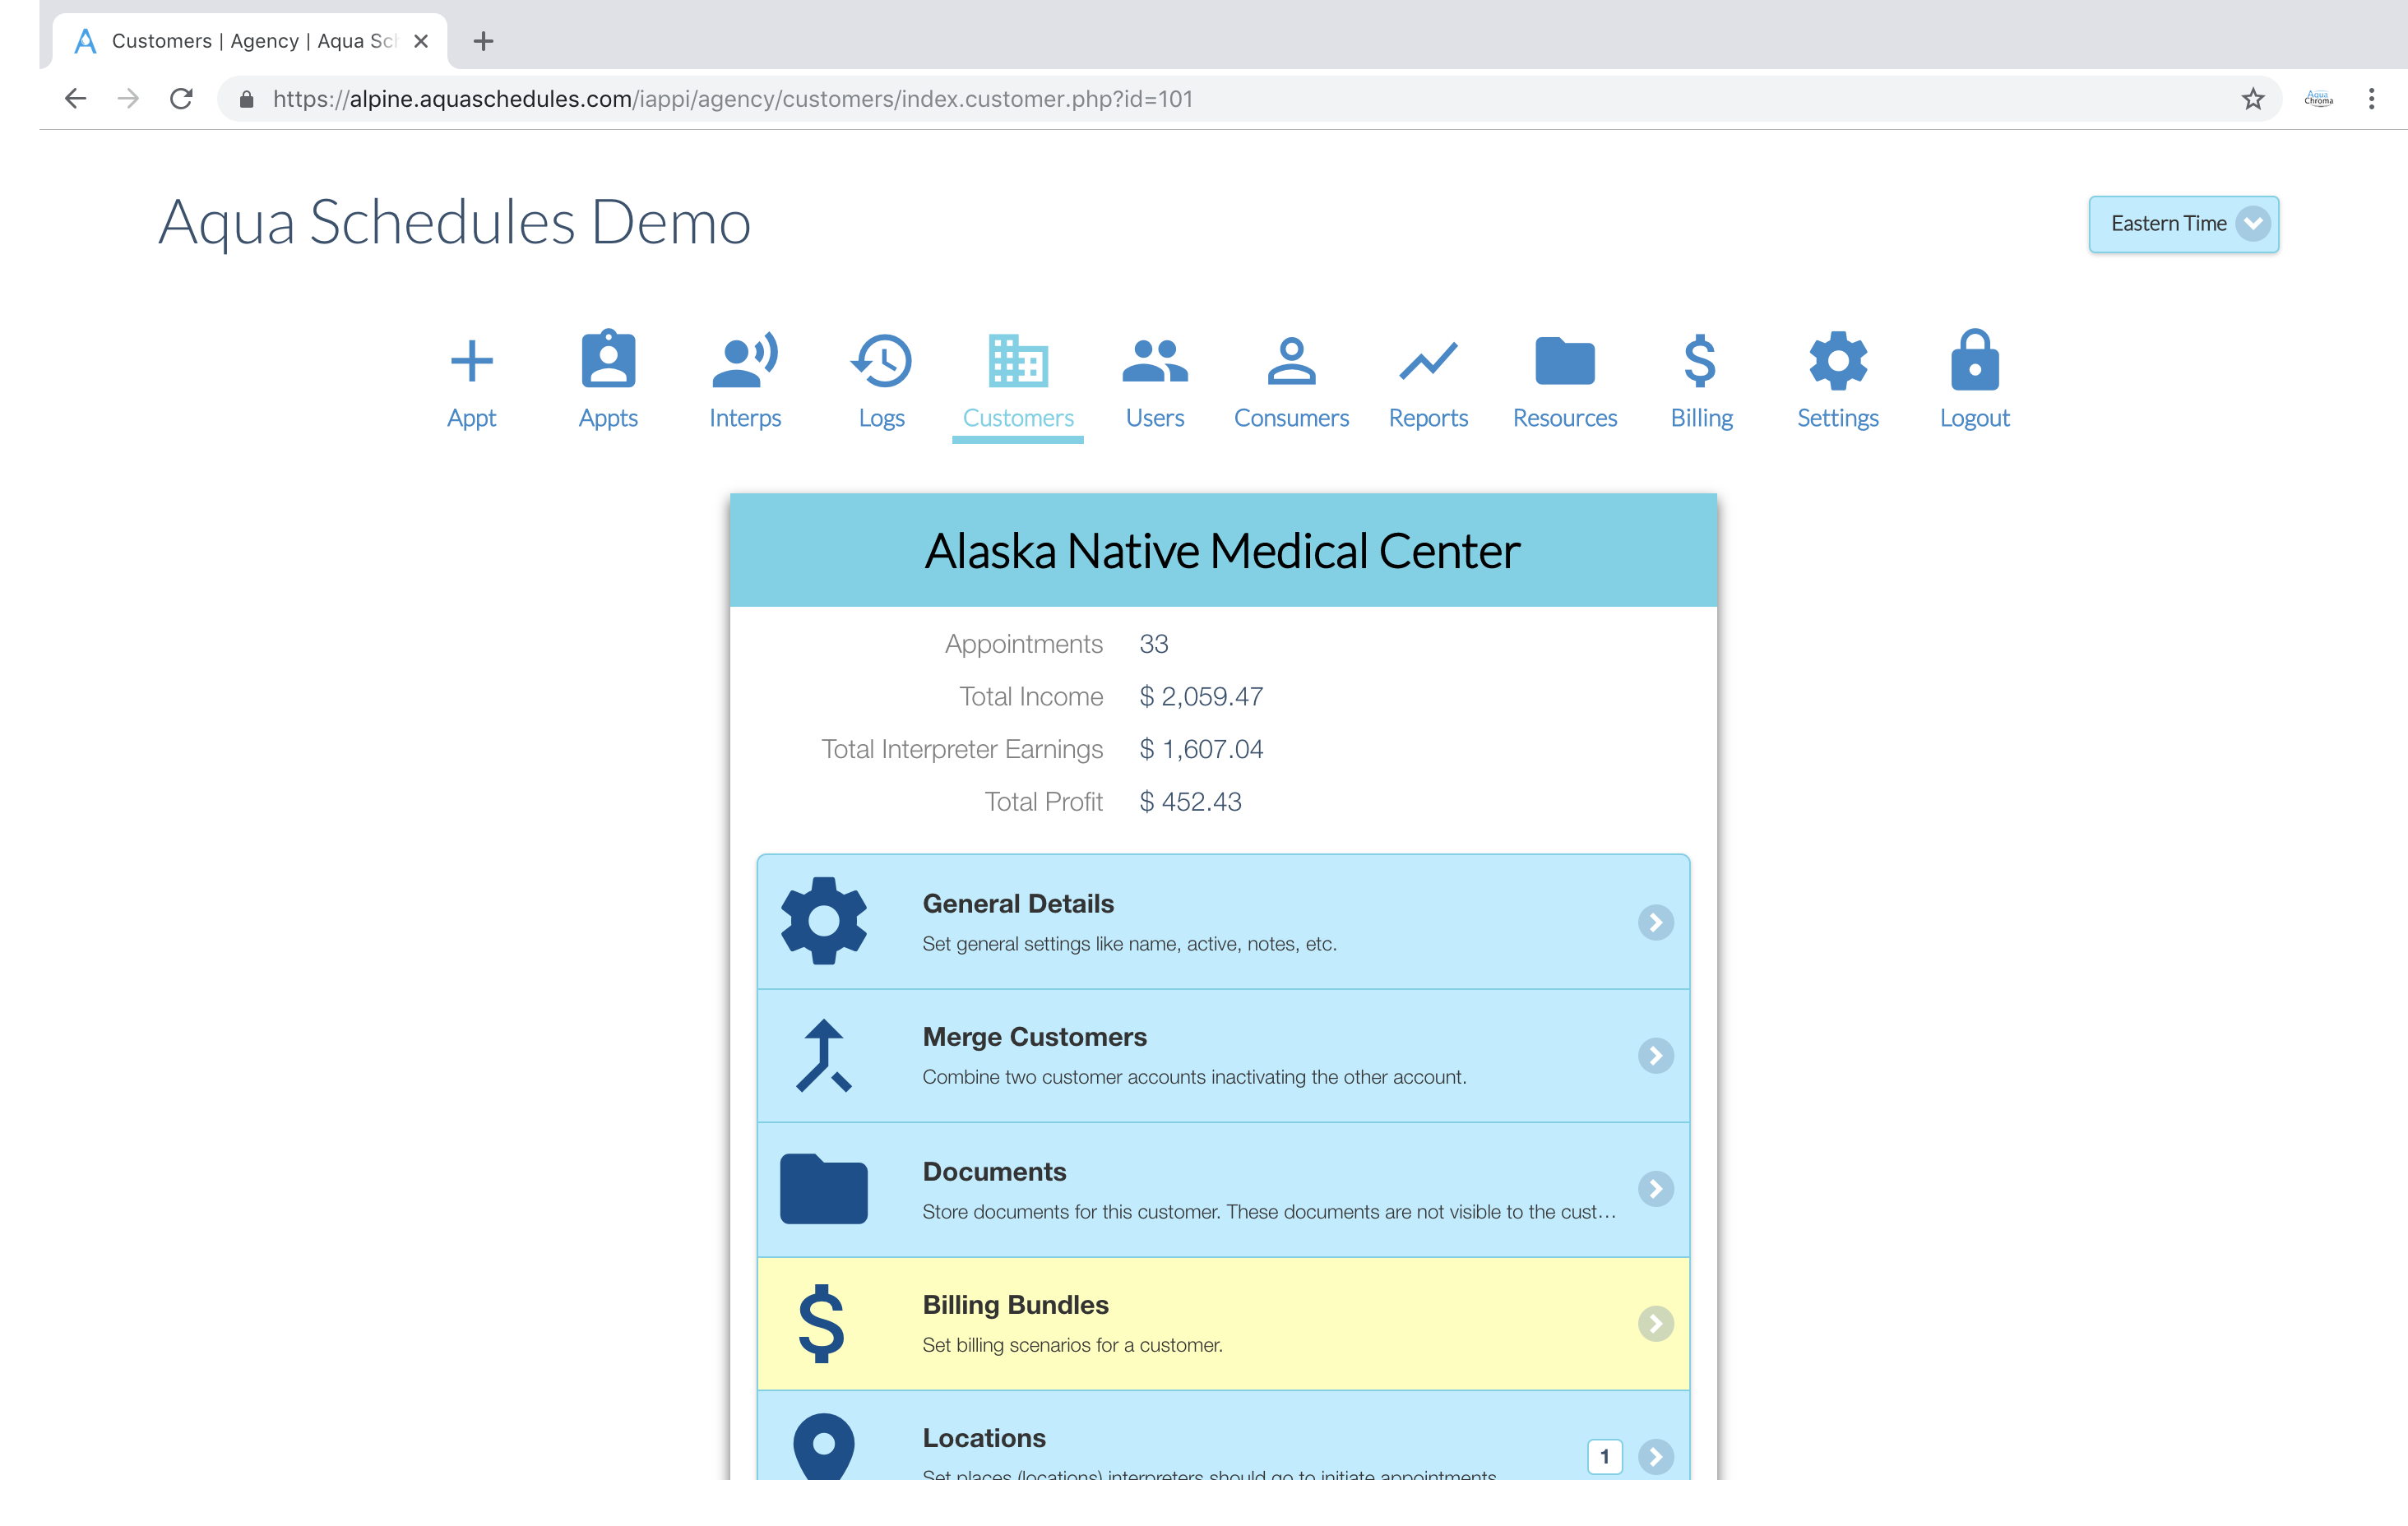
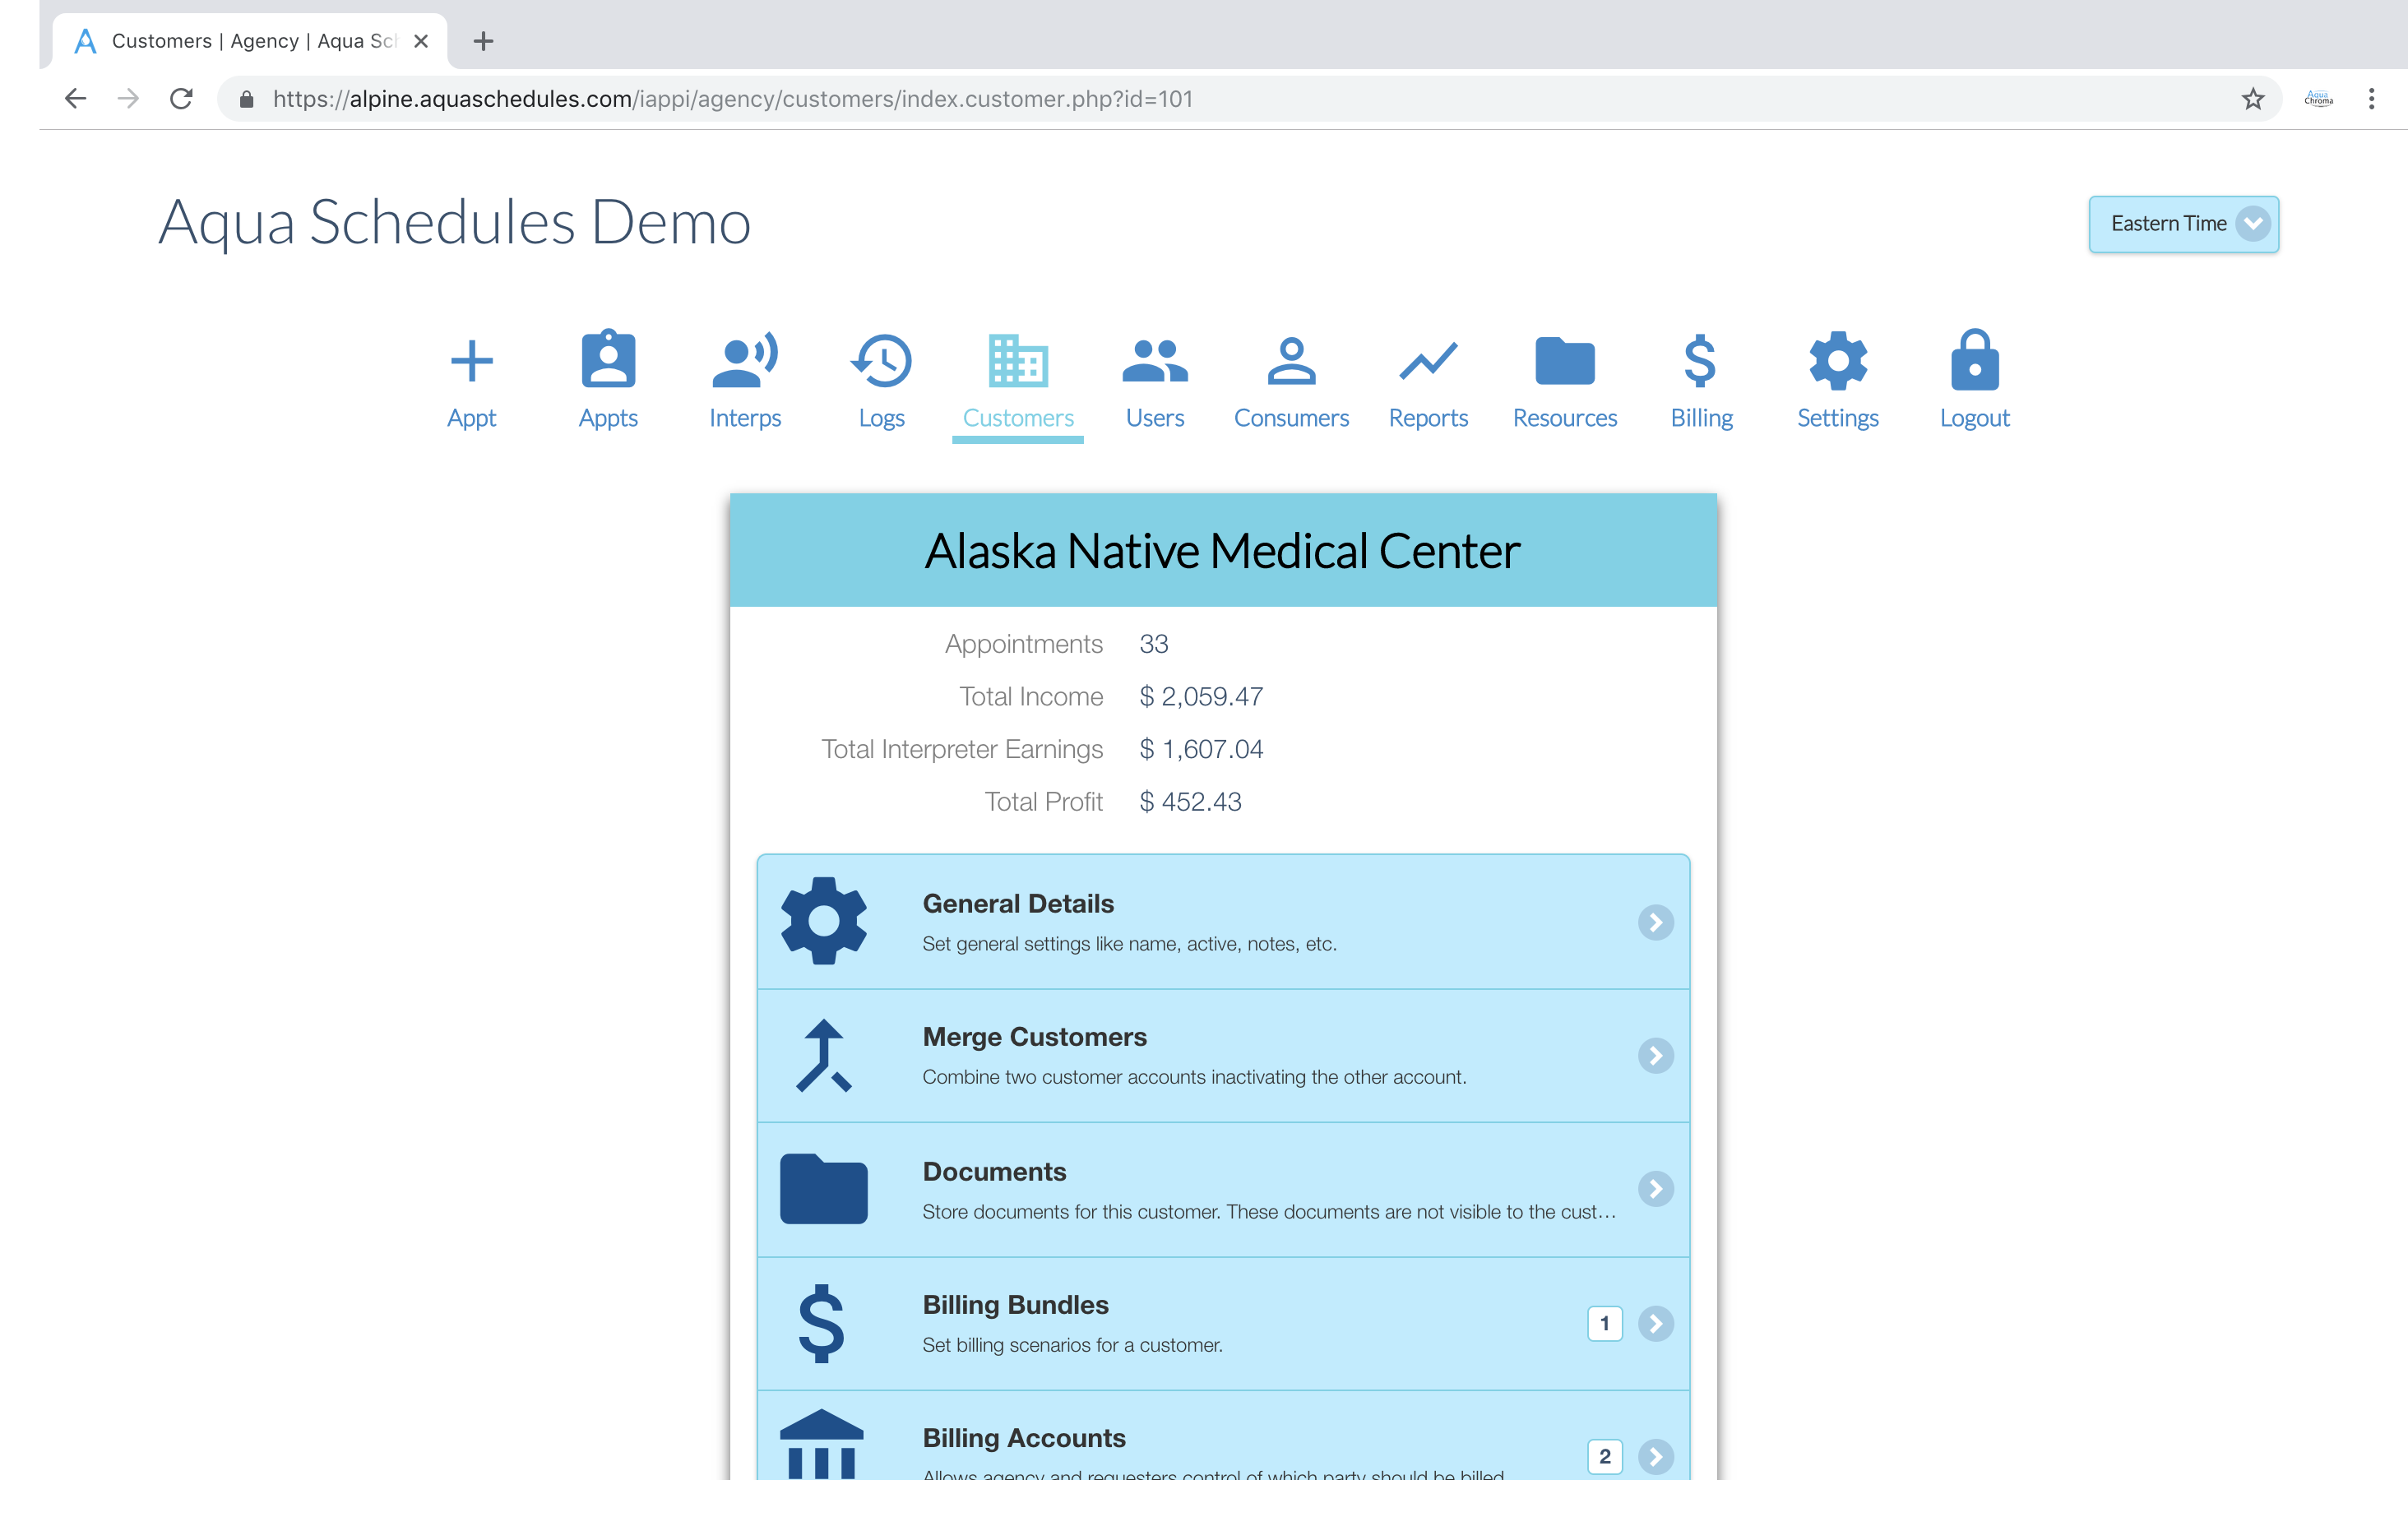
List customers, which has the same design as list interpreters, lists all your customers you provide services for and let's you manage their accounts. I am going to search for decatur hospital parkway campus. Here you can add or edit their general details. Merge customers combines two customer accounts inactivating the other accounts. Say one customer was created by error and both of them have appointments for the same customer. Merging them will inactivate one of them so they will all be filed under one customer account.
Documents allows the agency to upload any documents that you or the customer may need, such your agency contract.
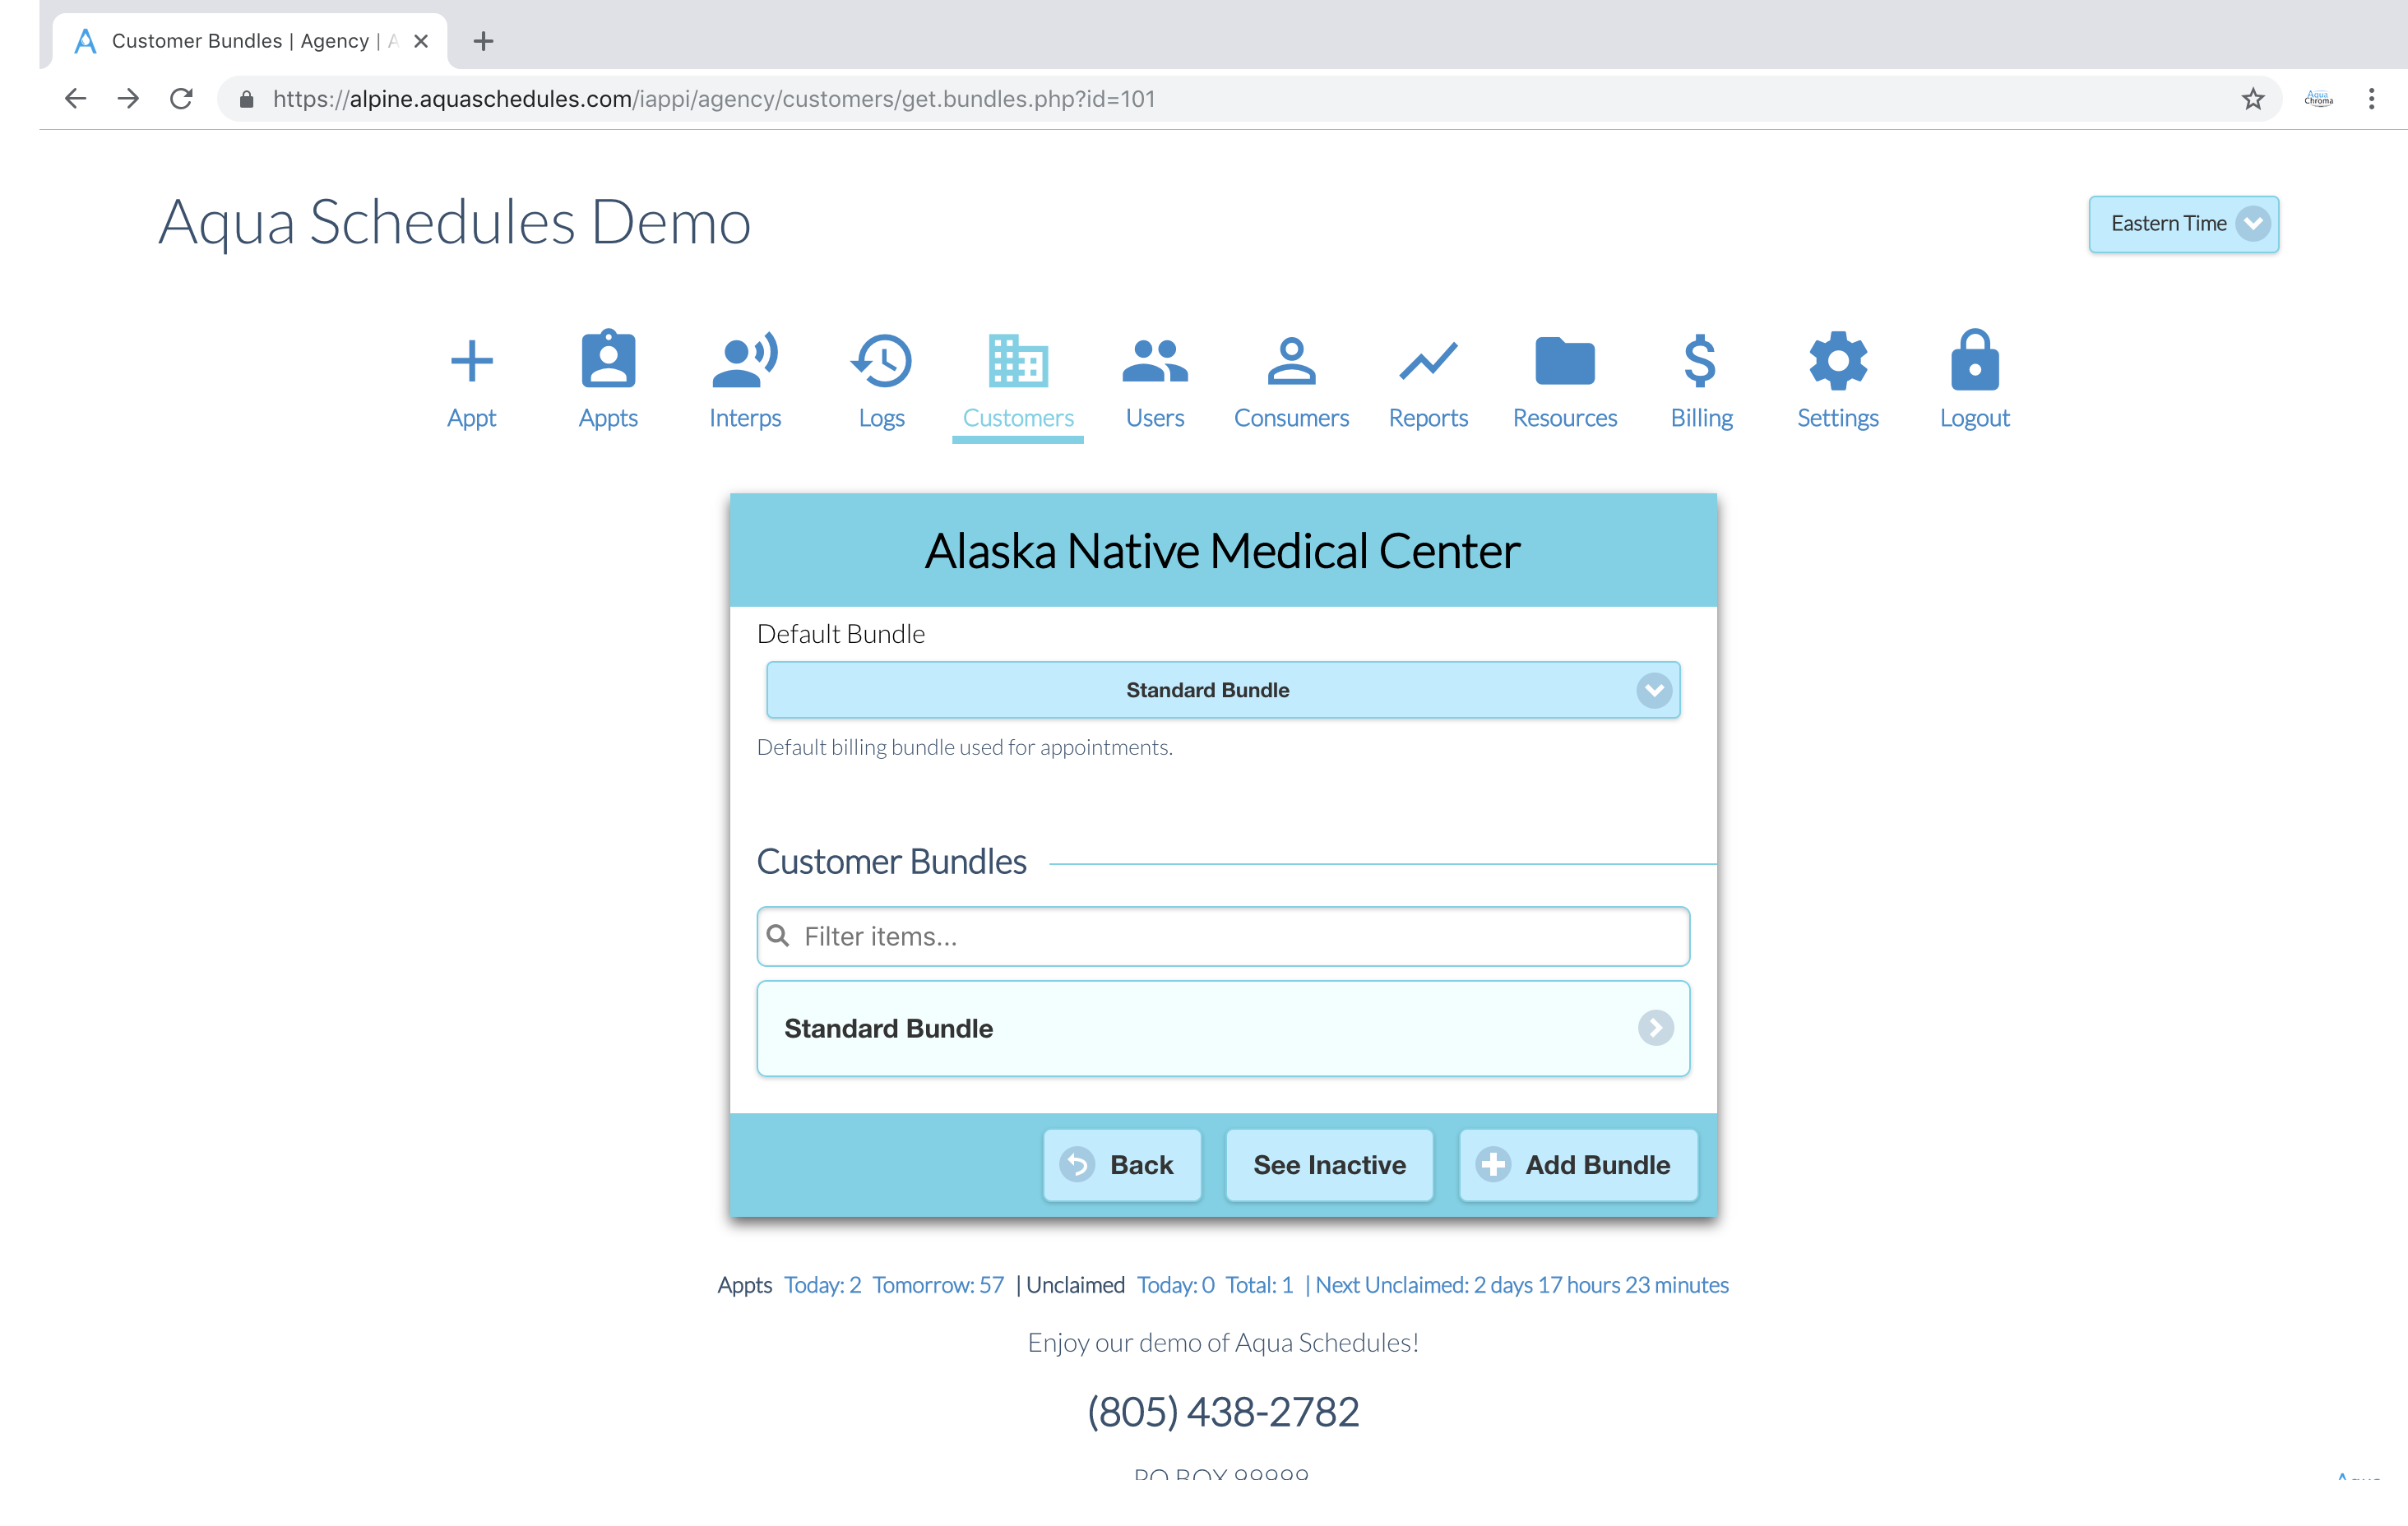
Customer billing bundles lets you create billing bundles based on the customer or type of appointment. This is useful if the agency charges different amounts based on the customer or the type of appointment.
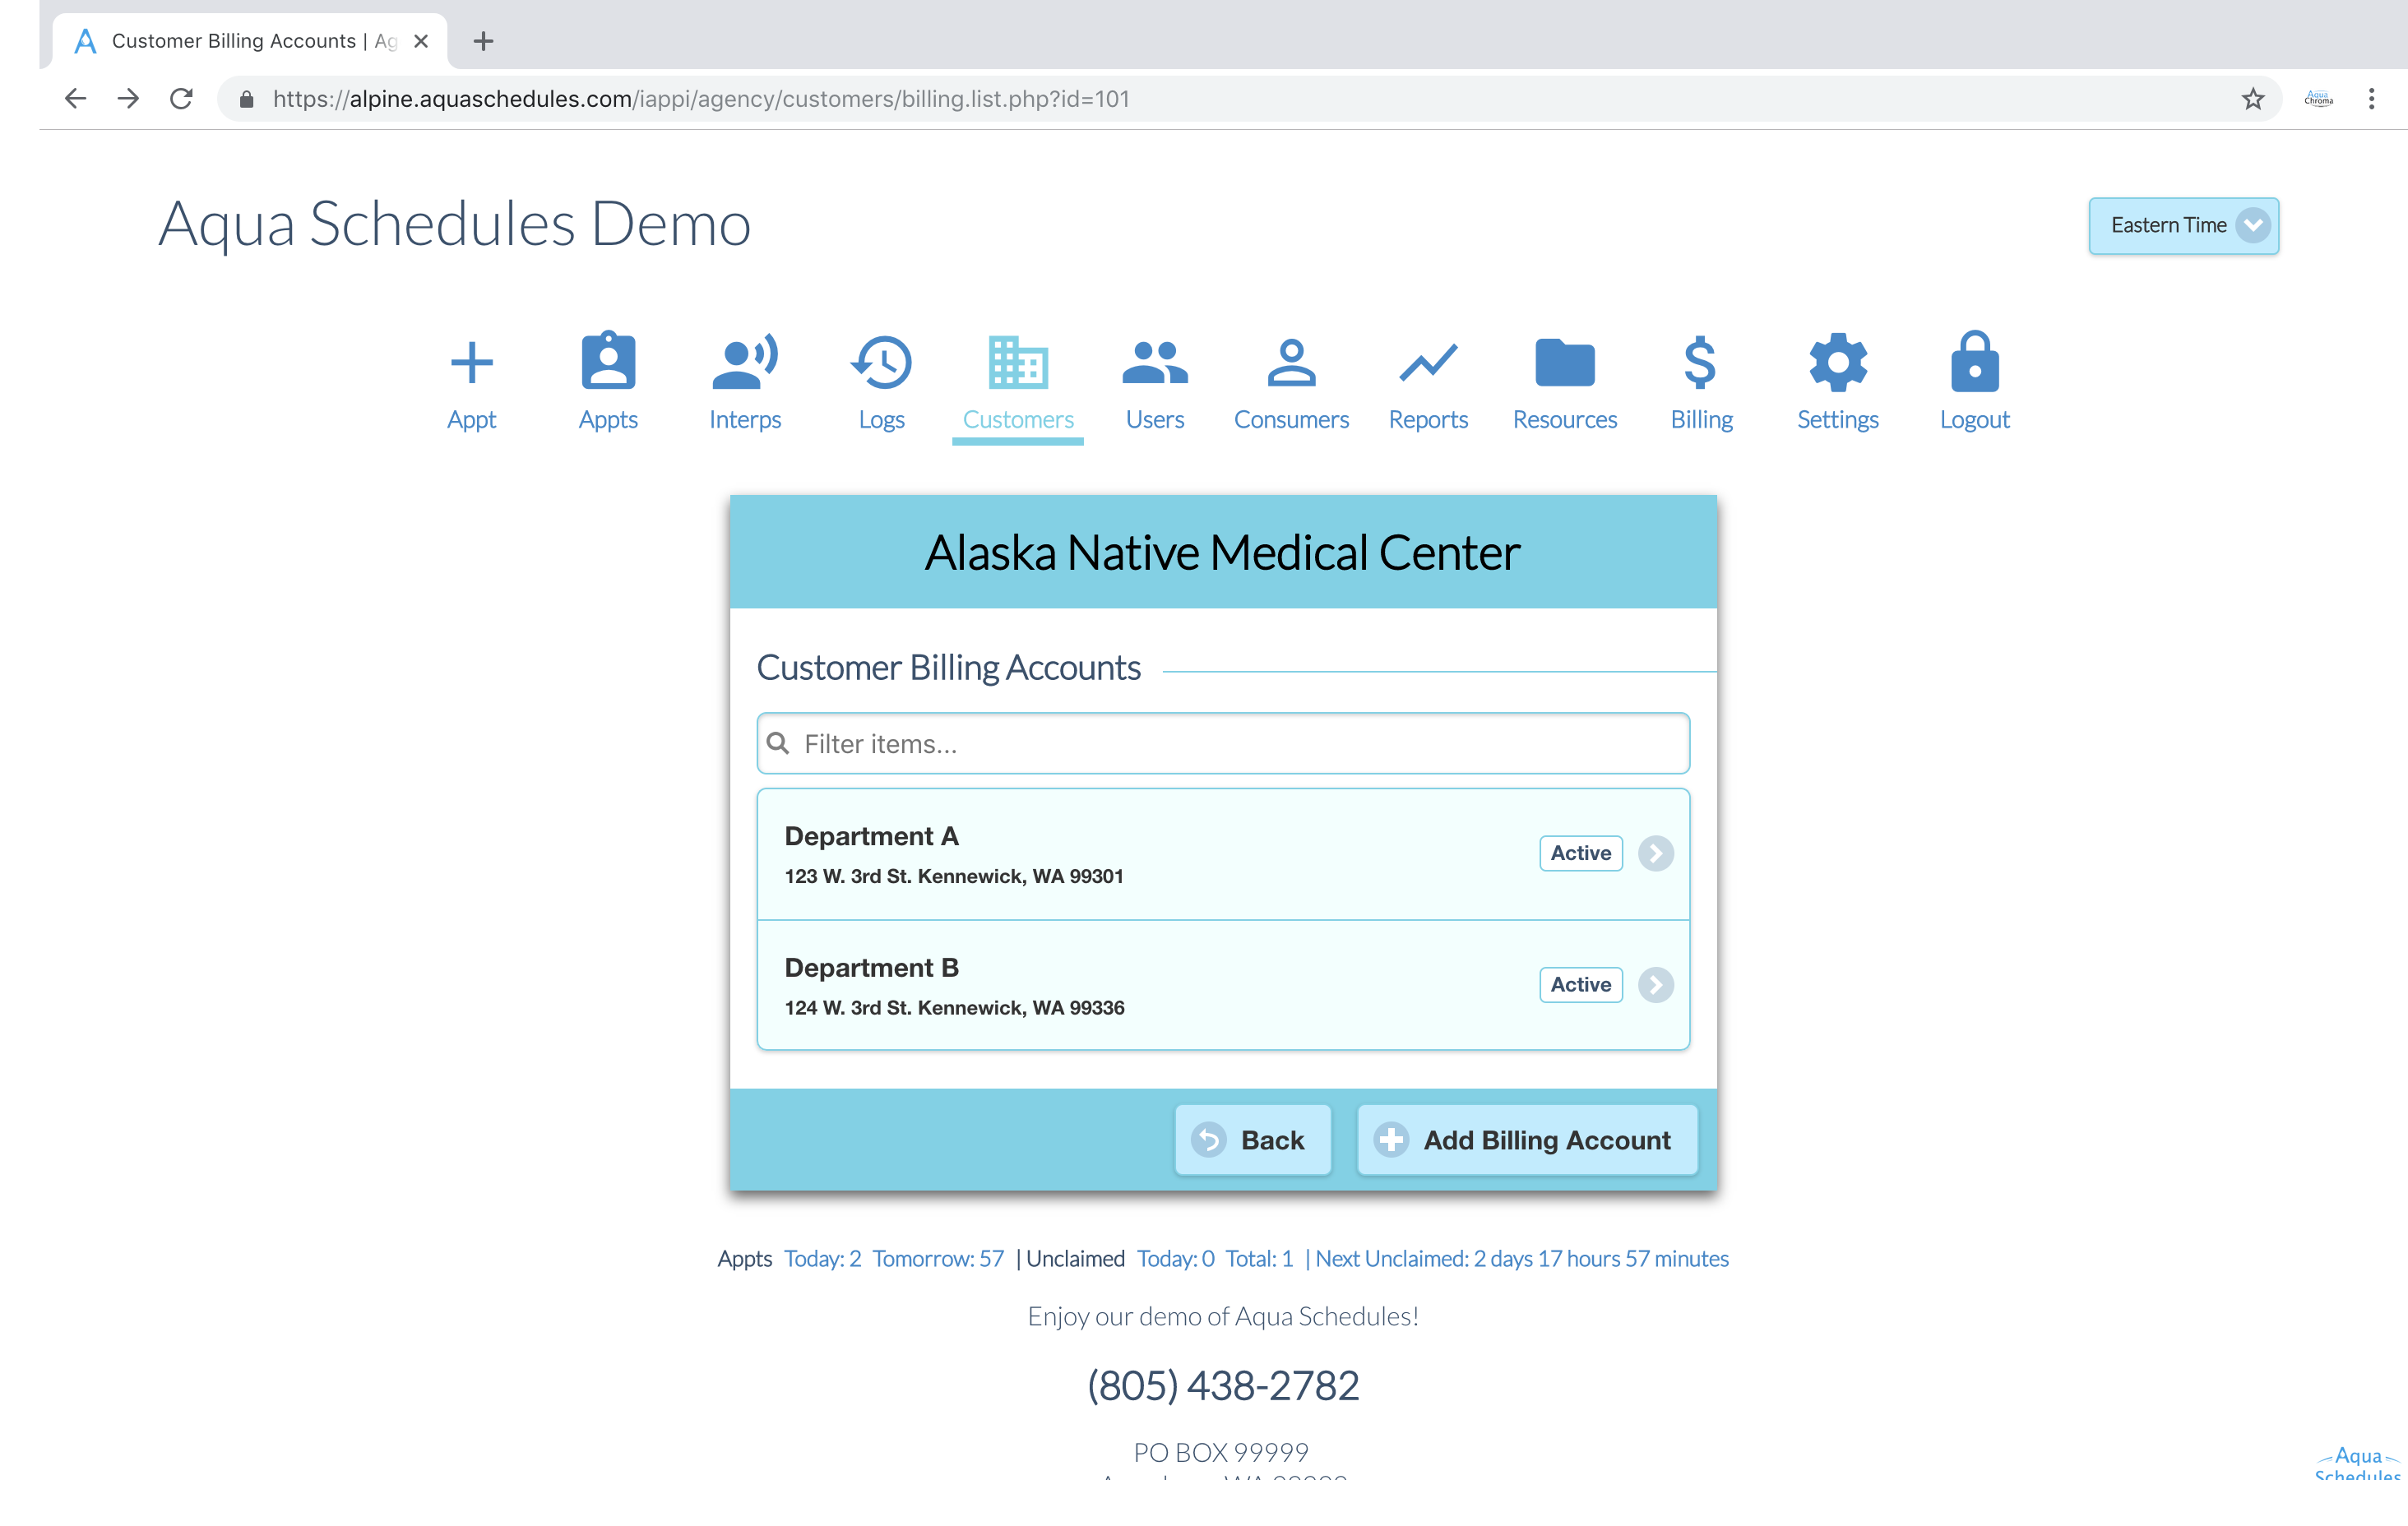
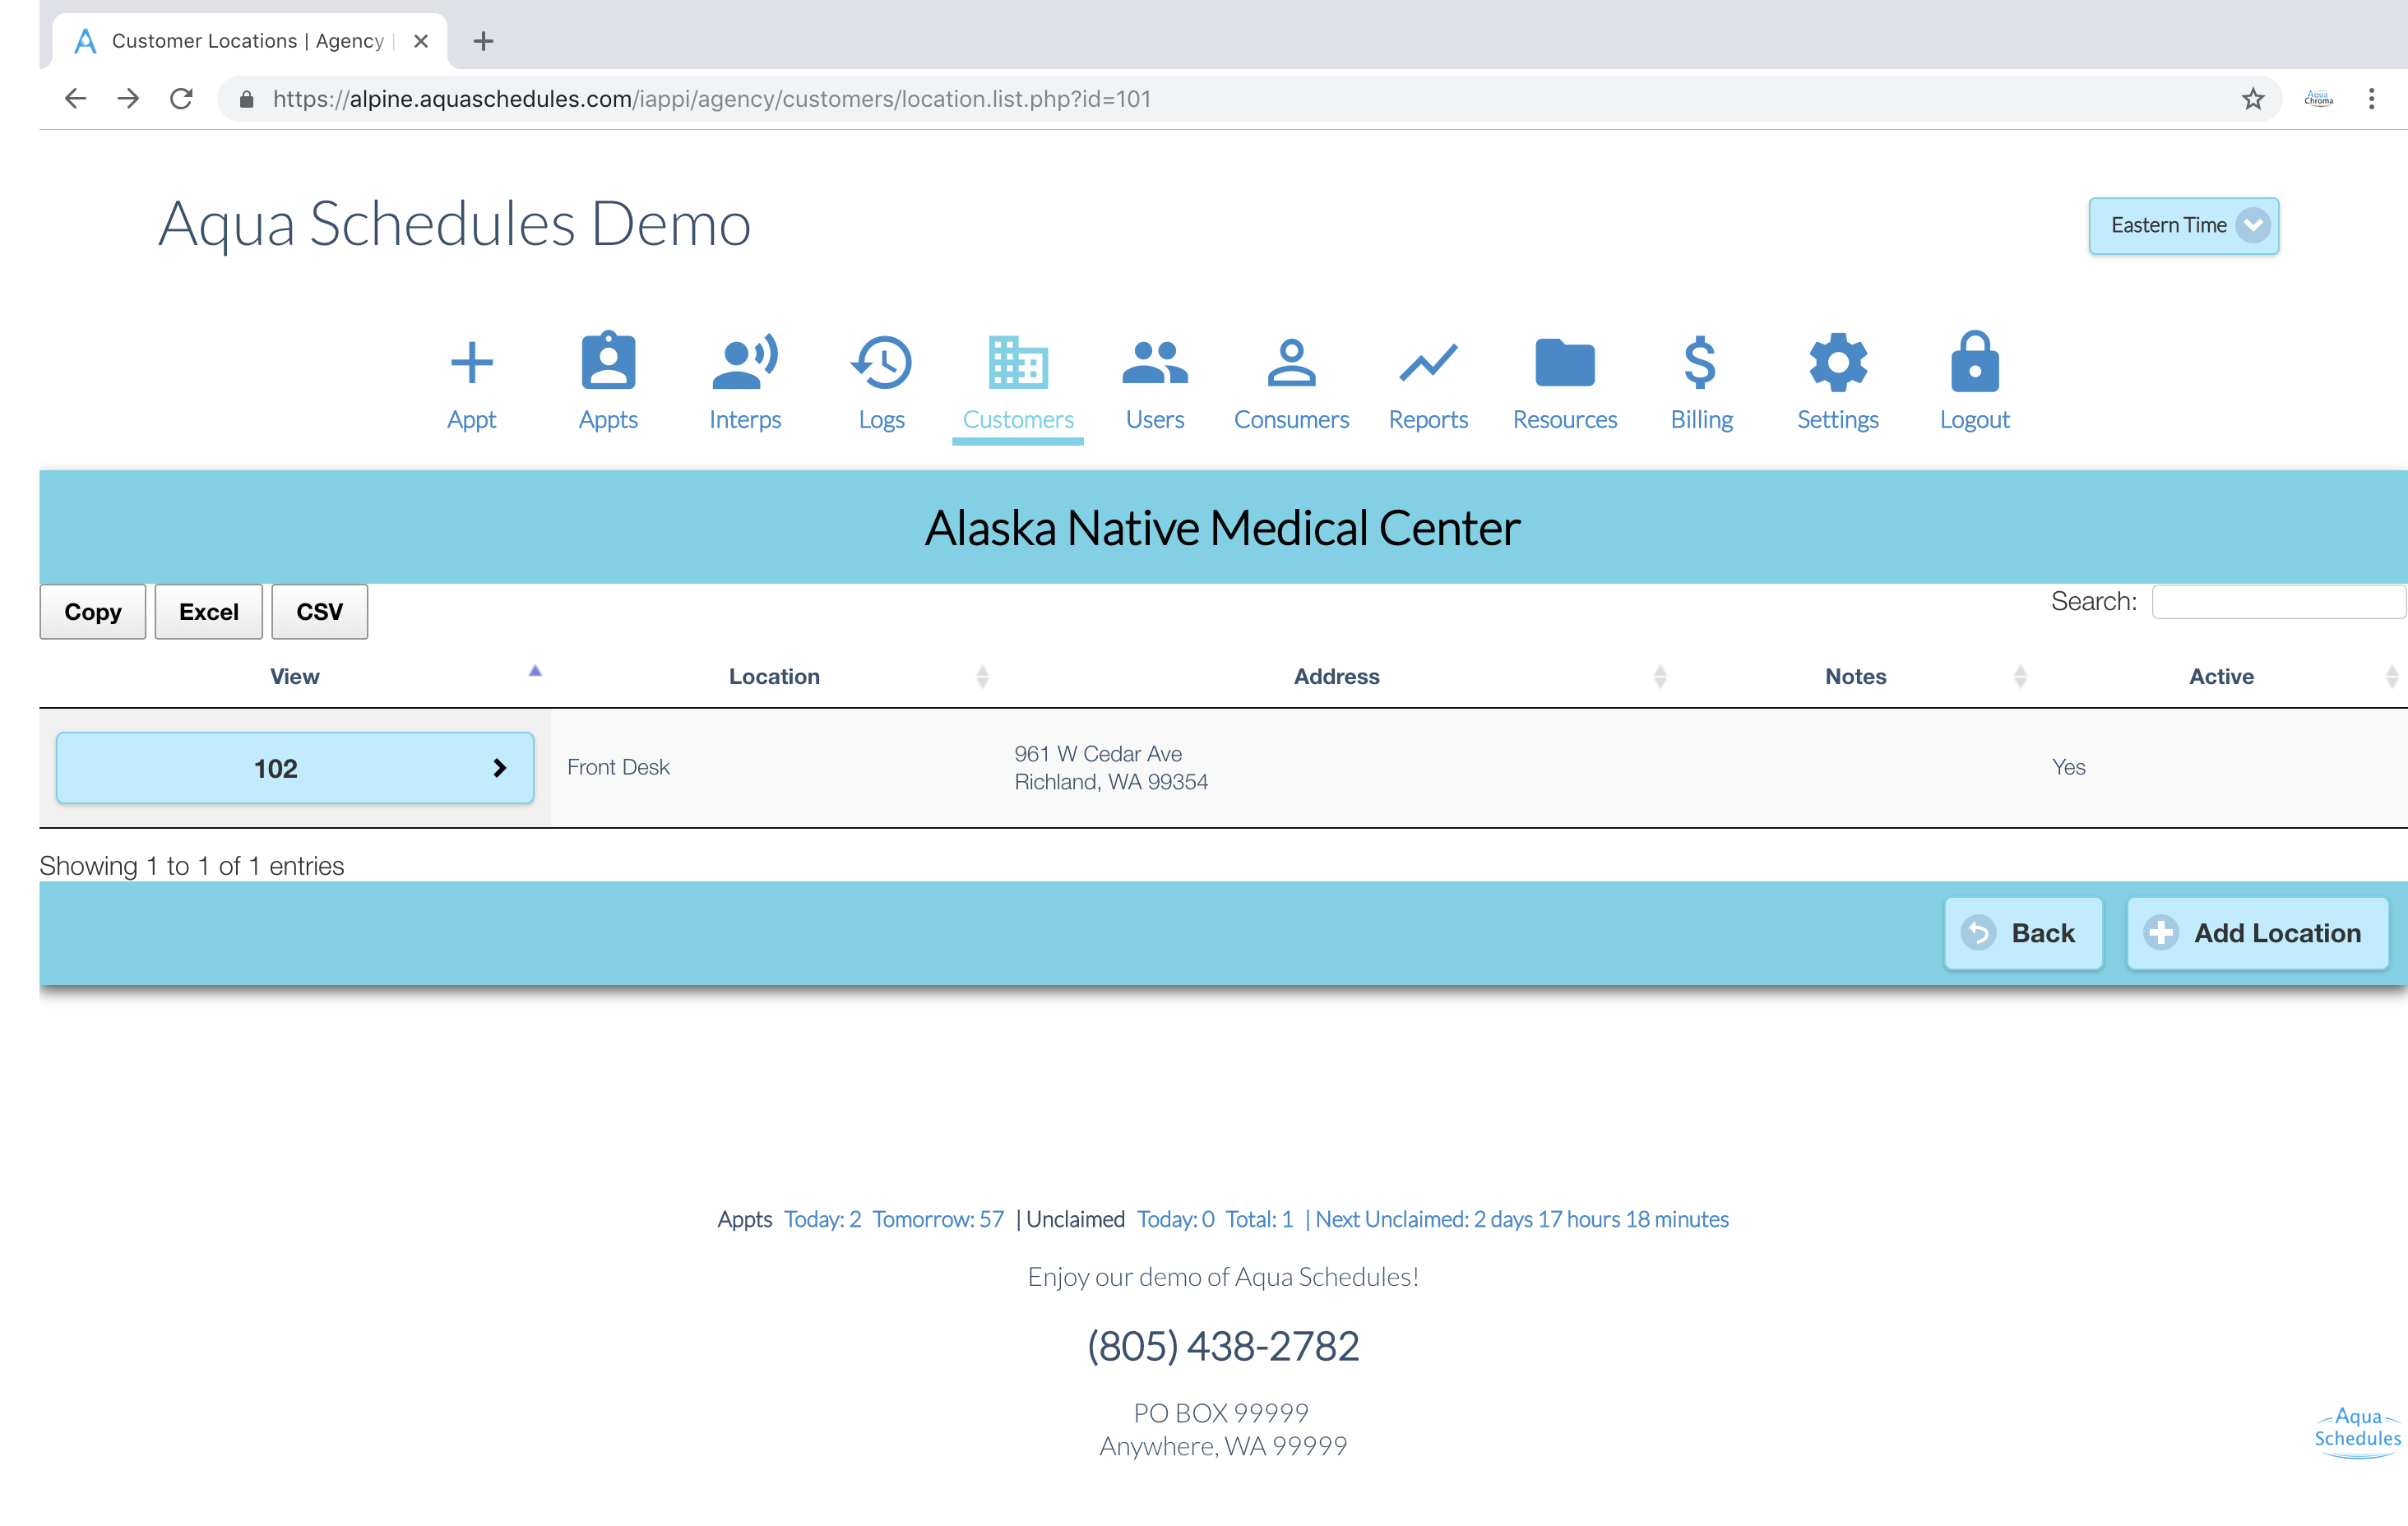
Customer locations lets you set the location or the many locations of a customer. Suppose one of your customers is a network of clinics that each have their own location or at the same location but from different departments. For example, when we schedule an appointment for a hospital the appointment will be listed under the name of the hospital as the network, along with the physical location of where the interpreter has to go to as a subset of the customer. This makes it easier for the entire network to receive one invoice regardless of how many subset clinic locations they have.
Appointments list all appointments created by and for this customer since your agency started providing interpreting services for them.
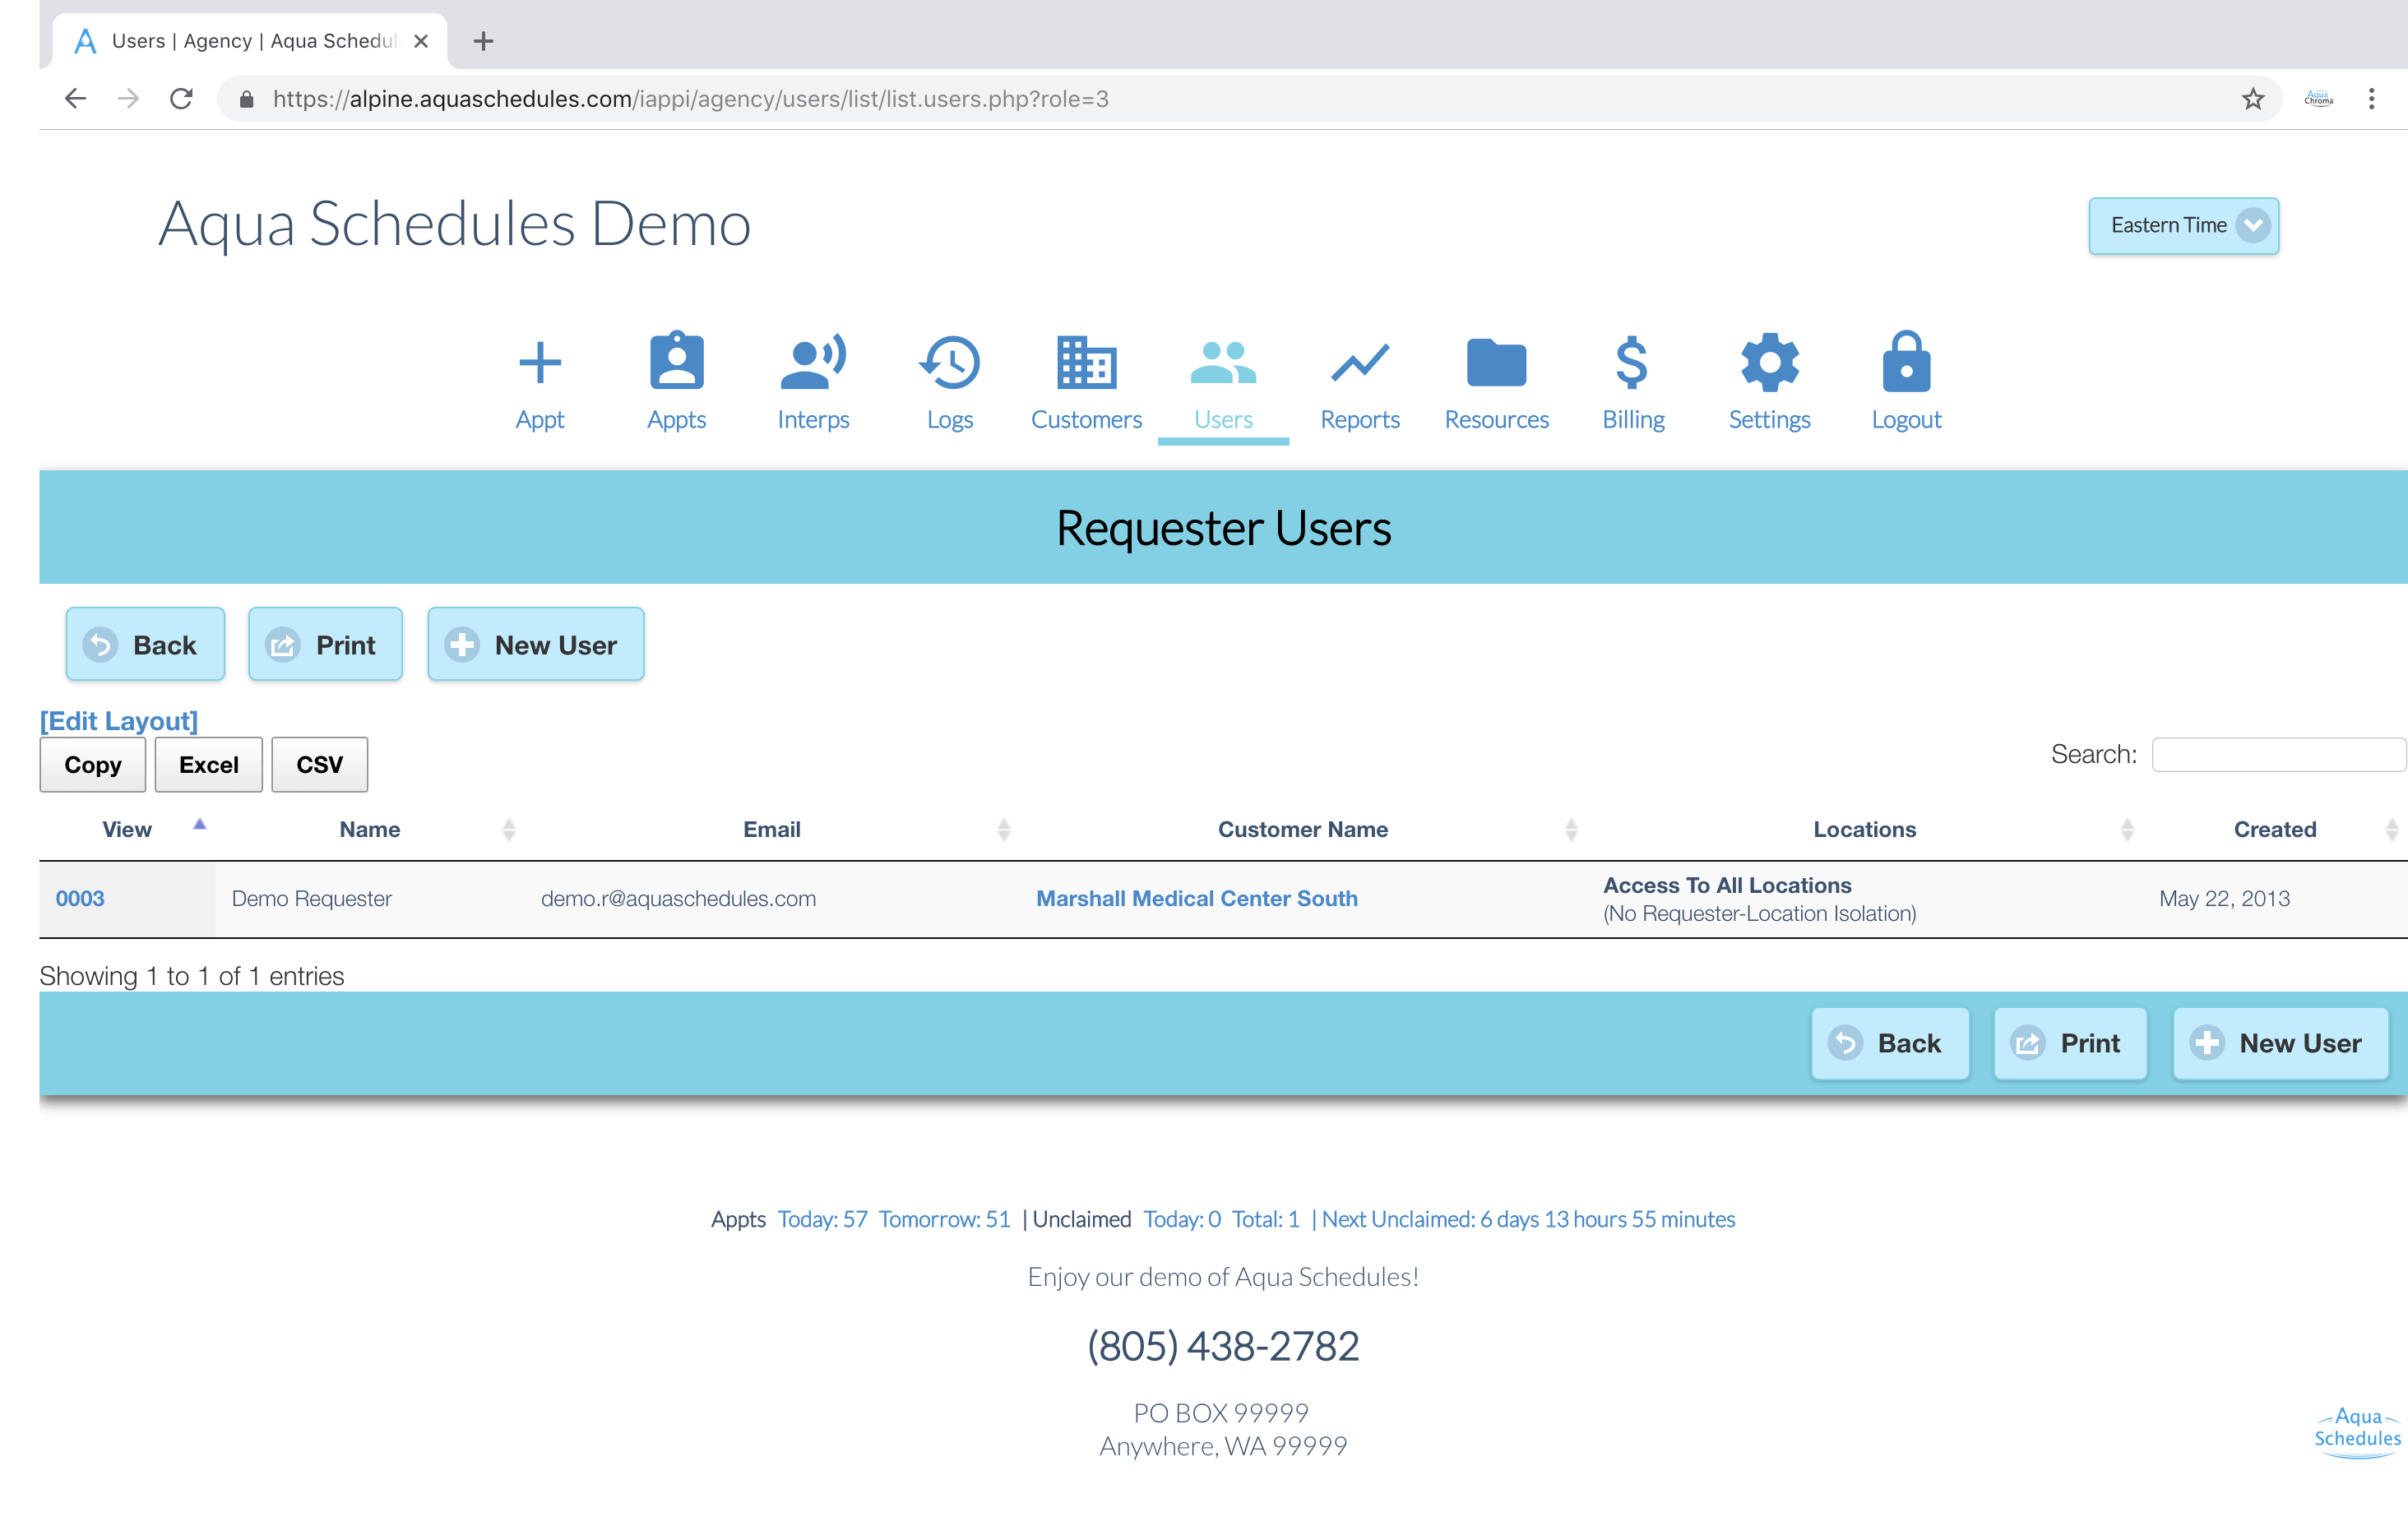
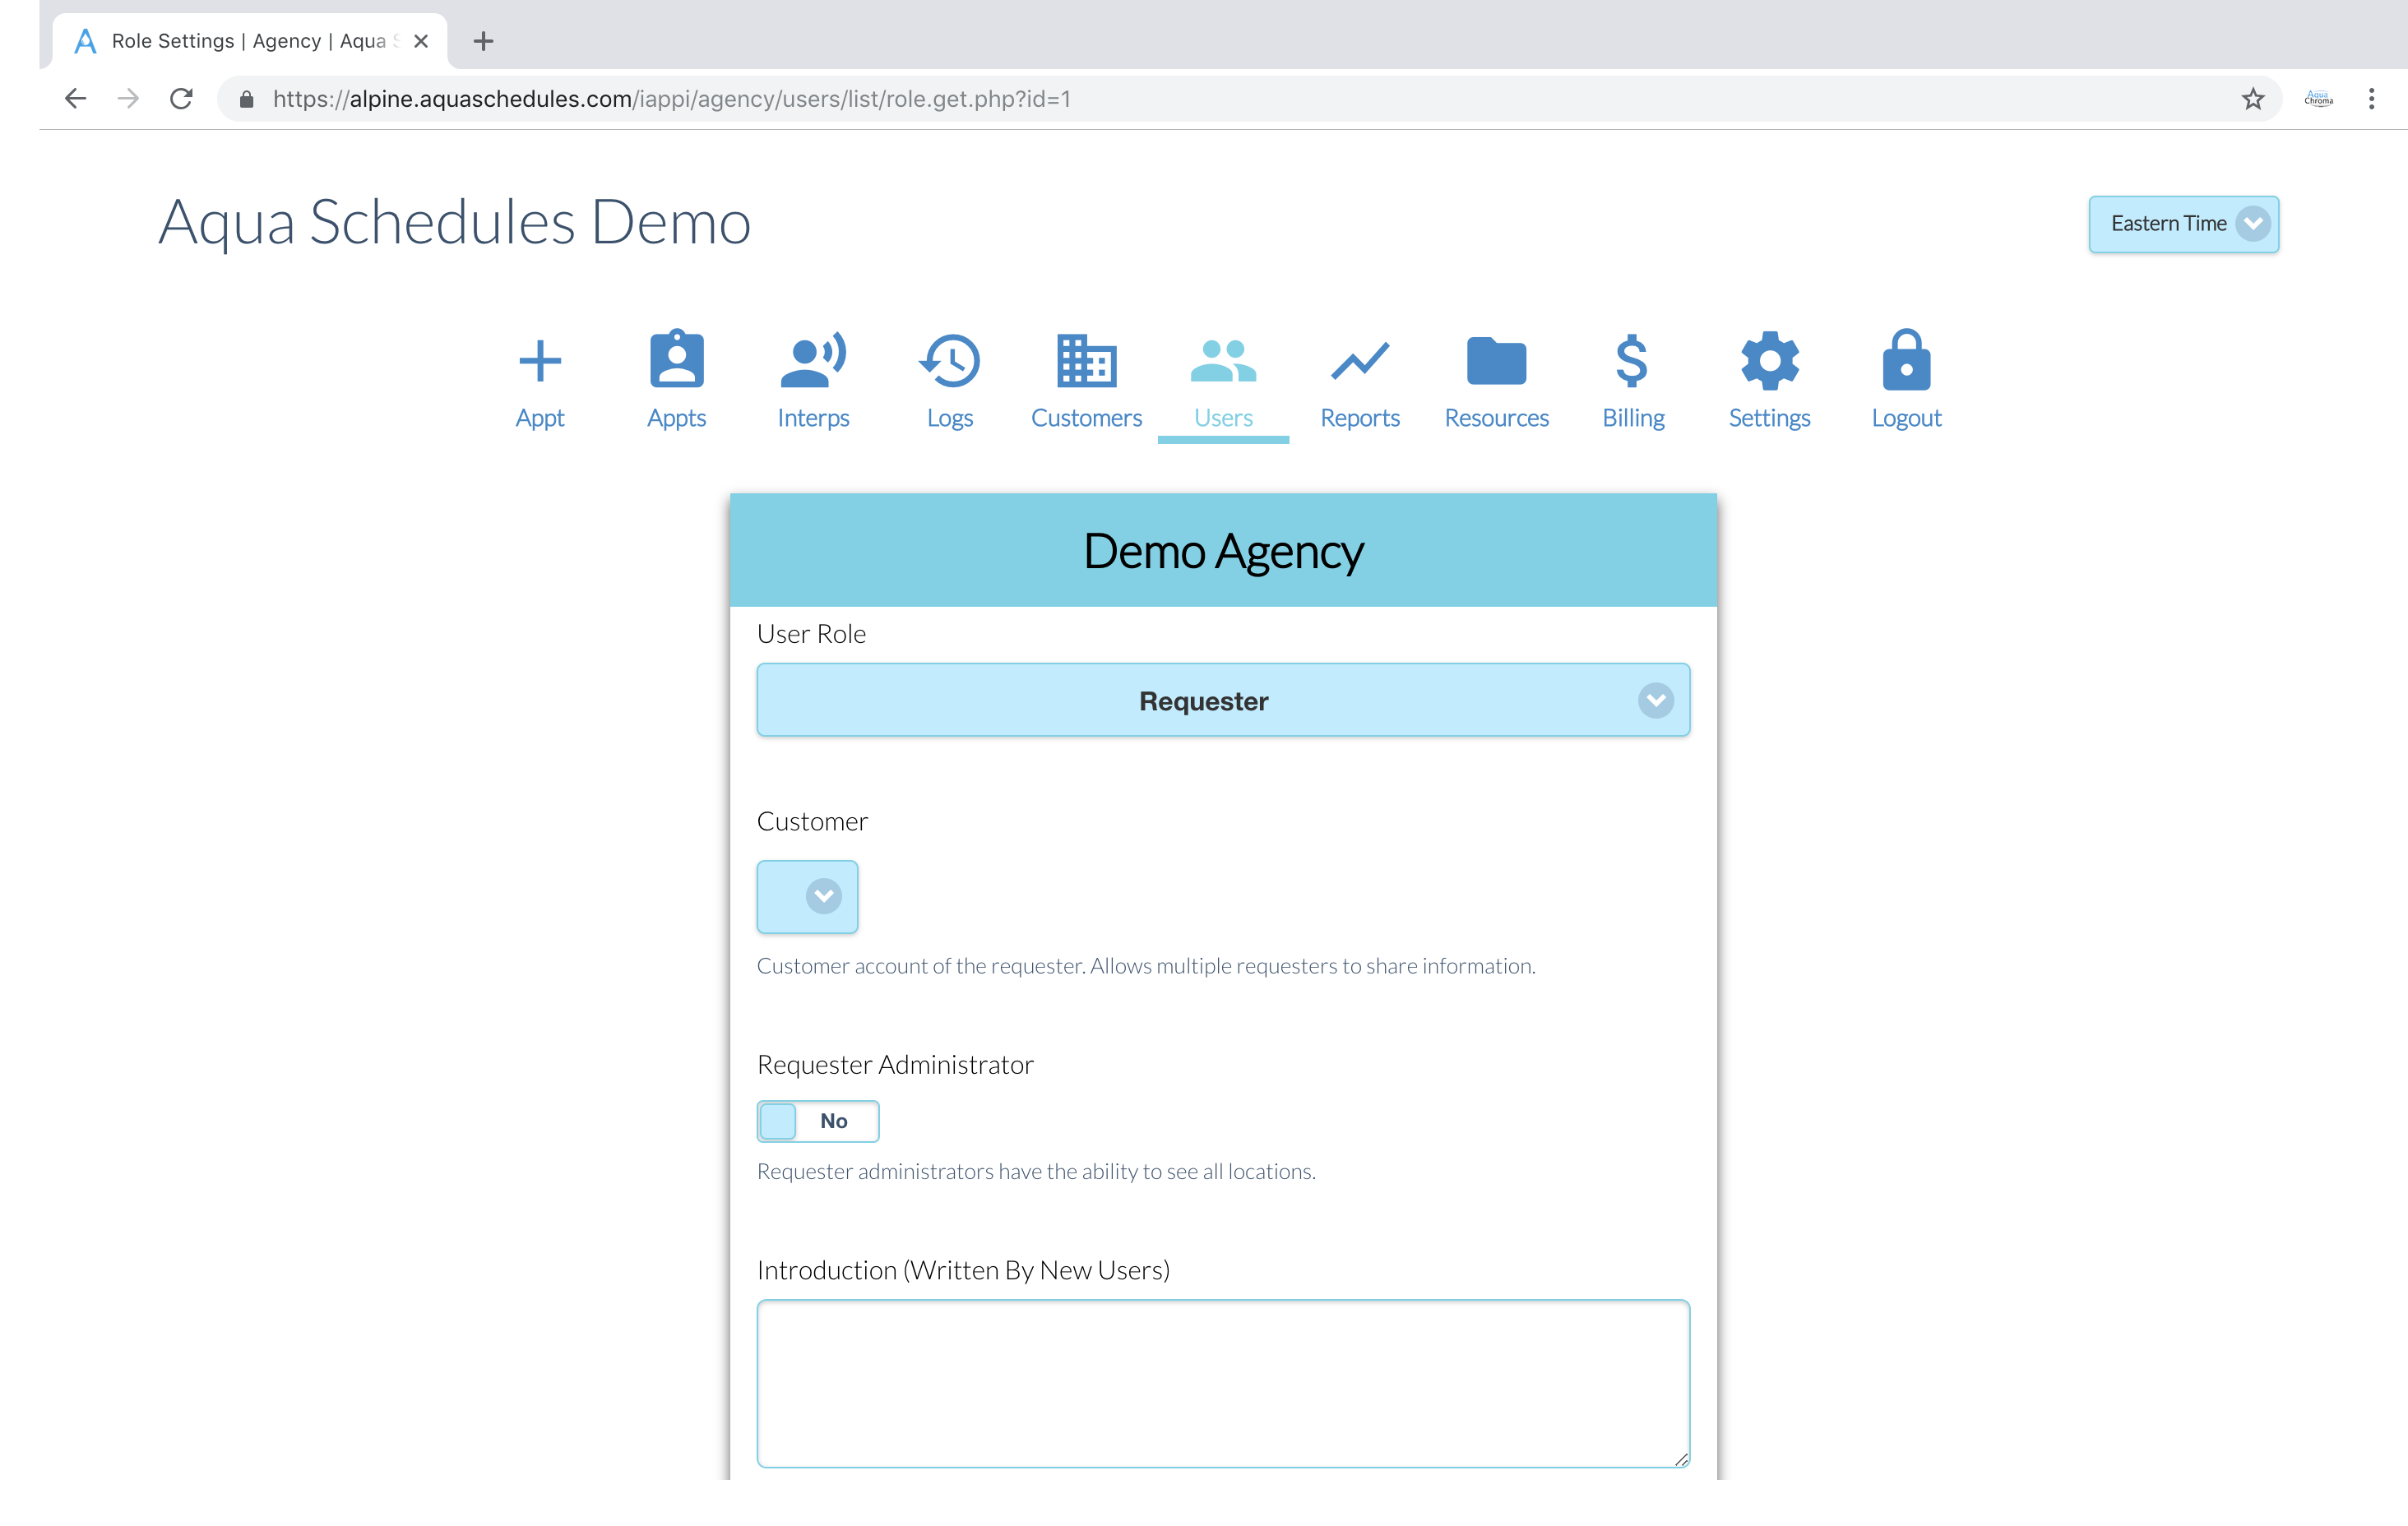
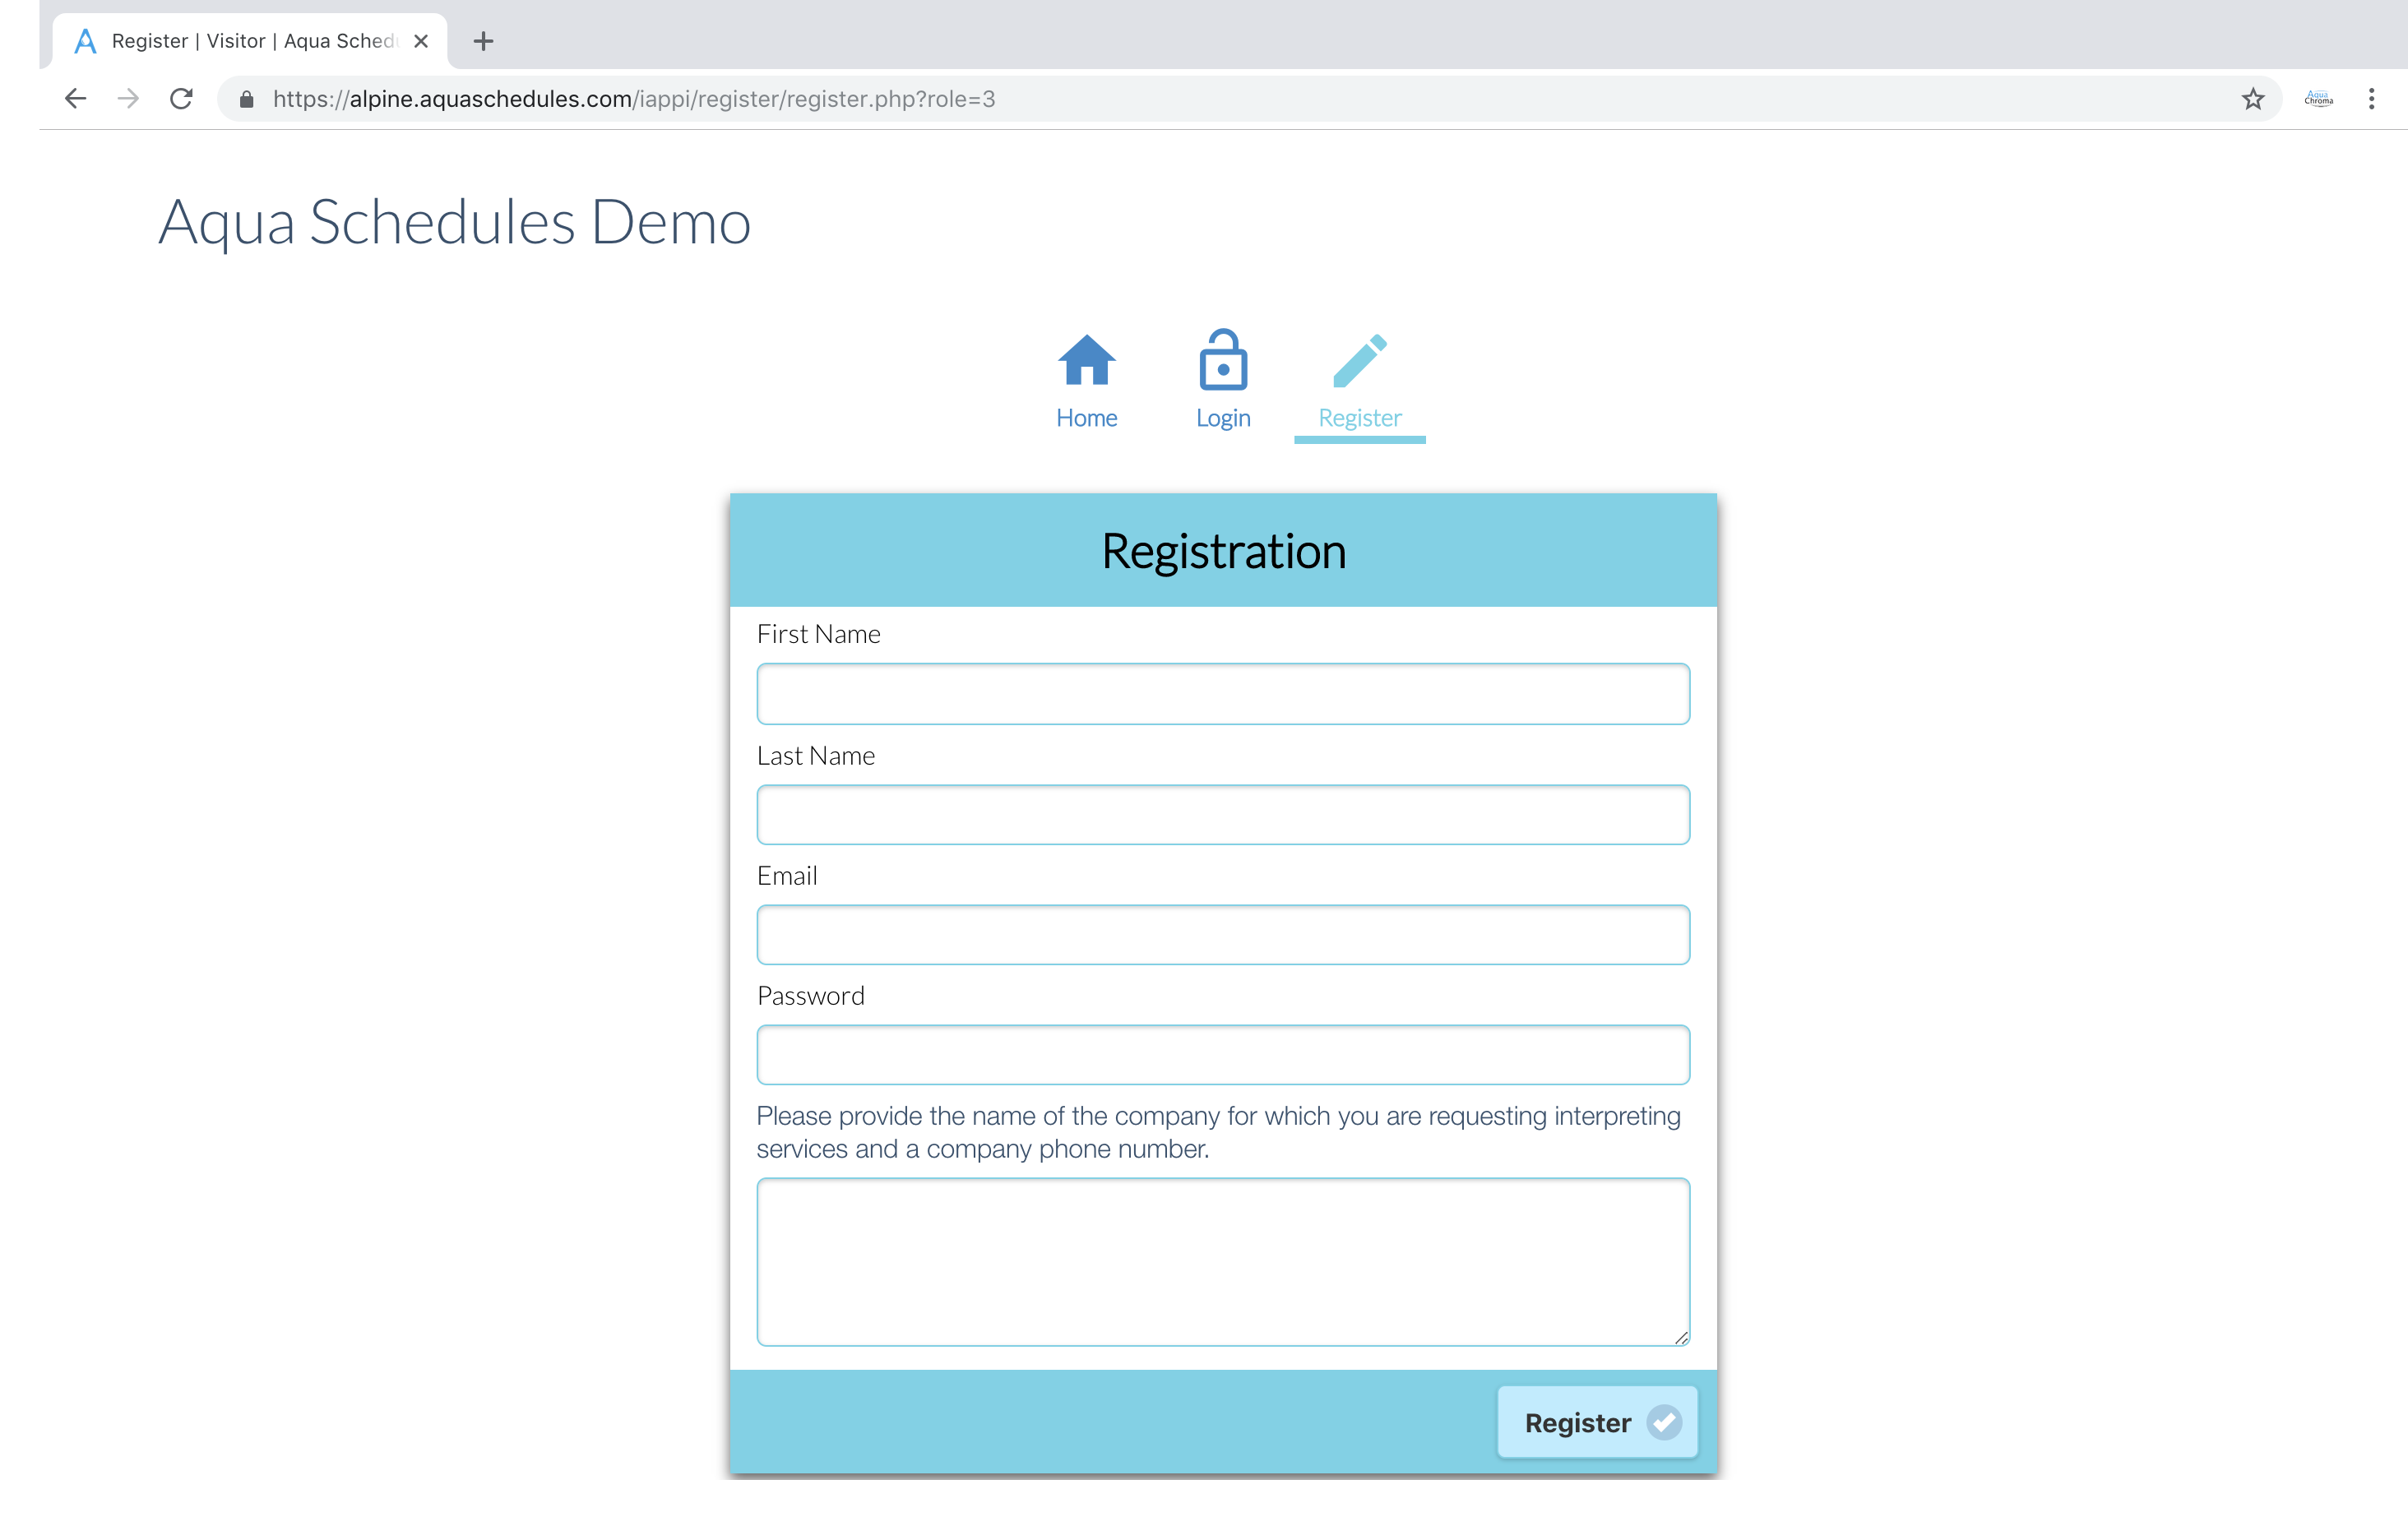
Requesters list all users who work for and are appointed to this customer. These users have access to create and manage appointments for only the clinic they work for. Each requester has their own account that your agency can mange.
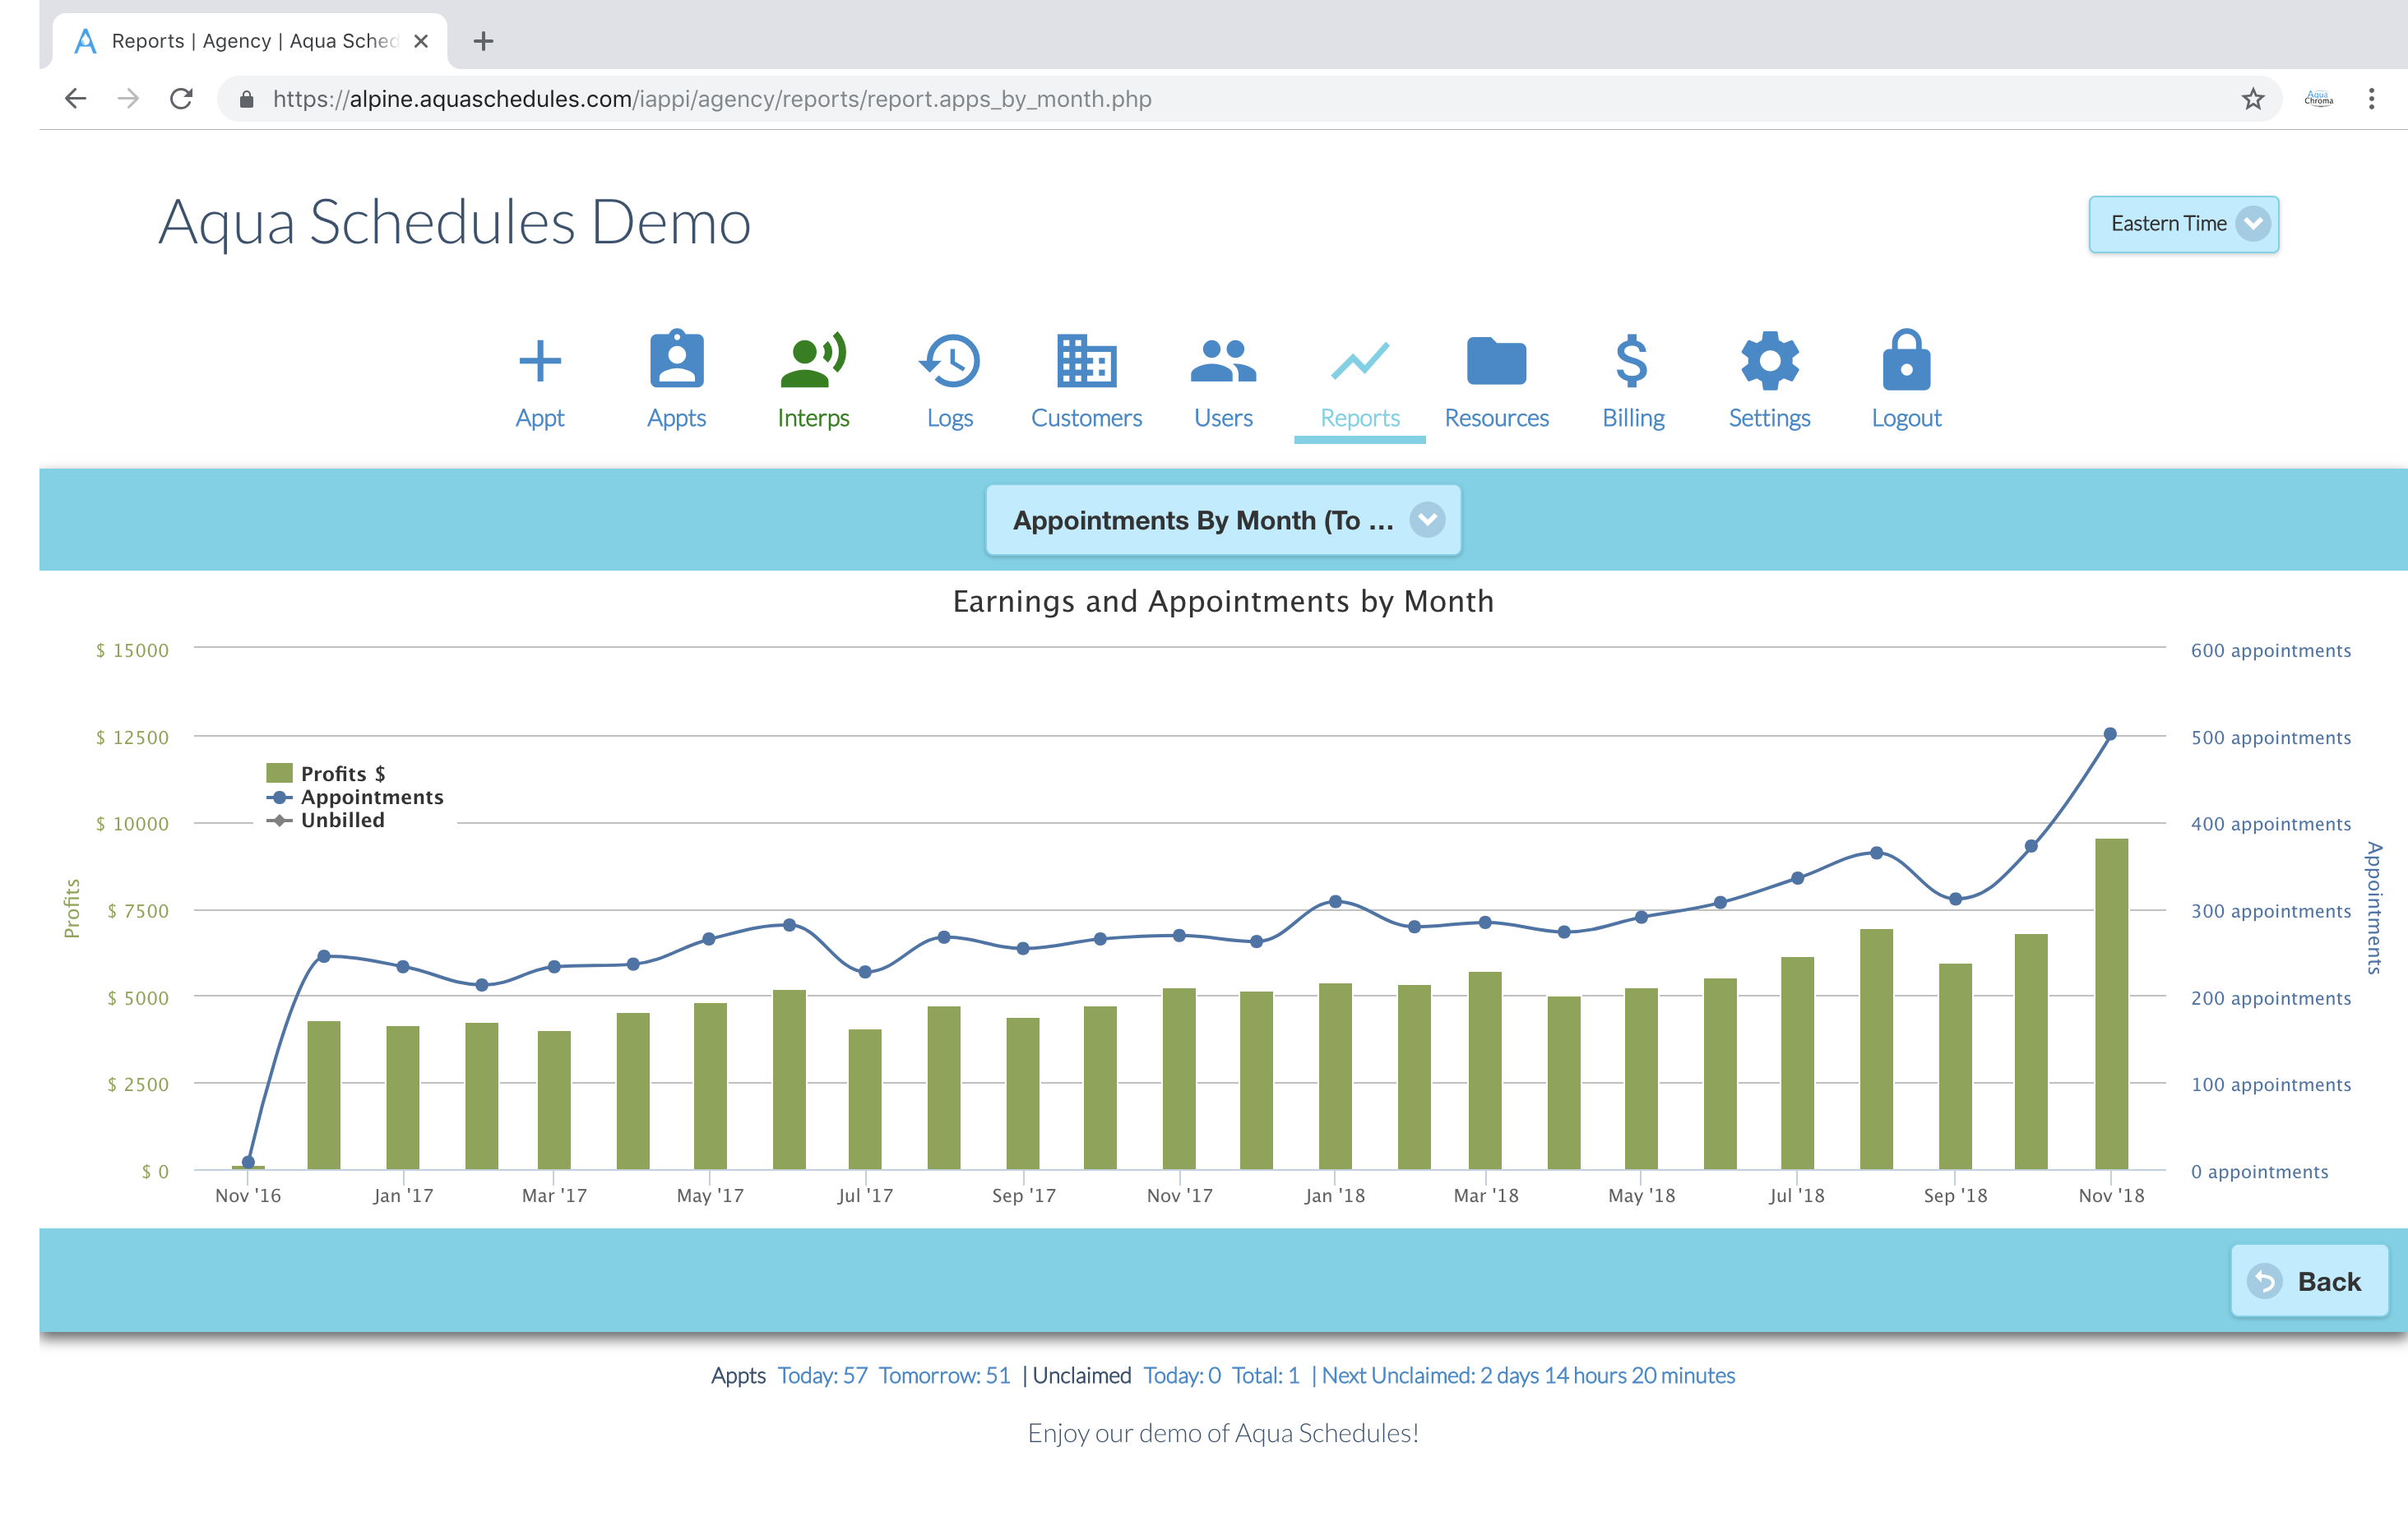
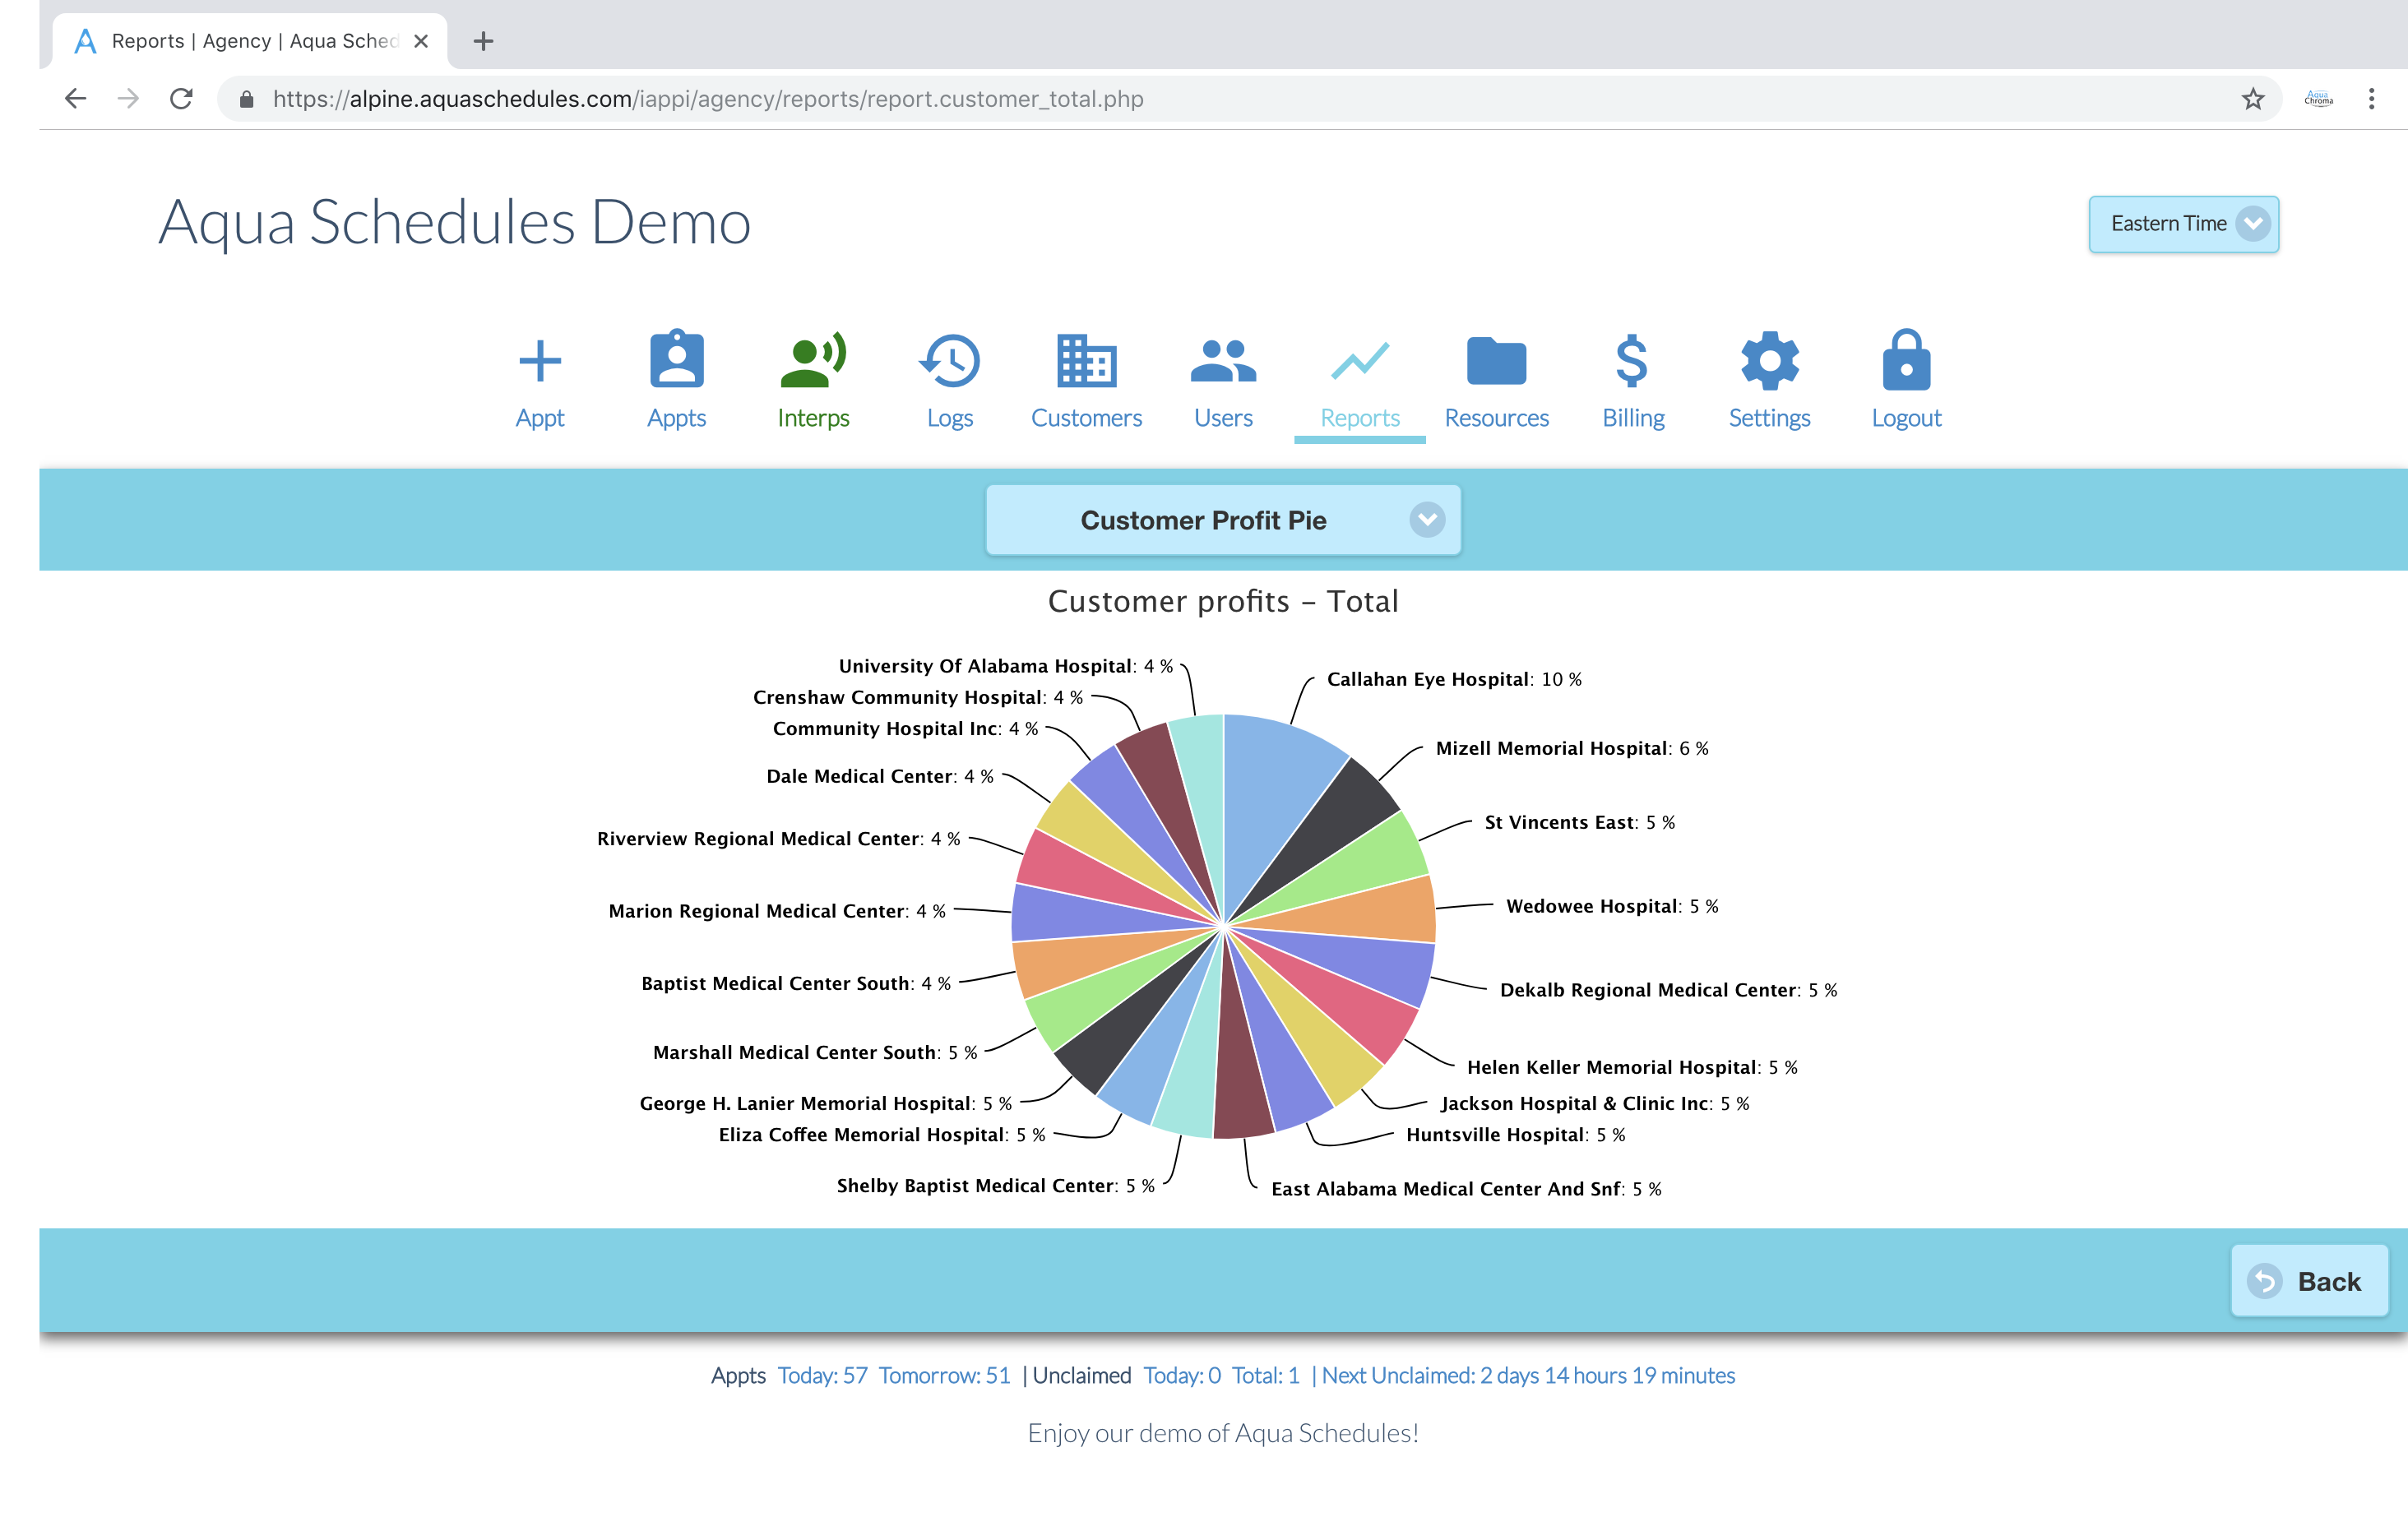
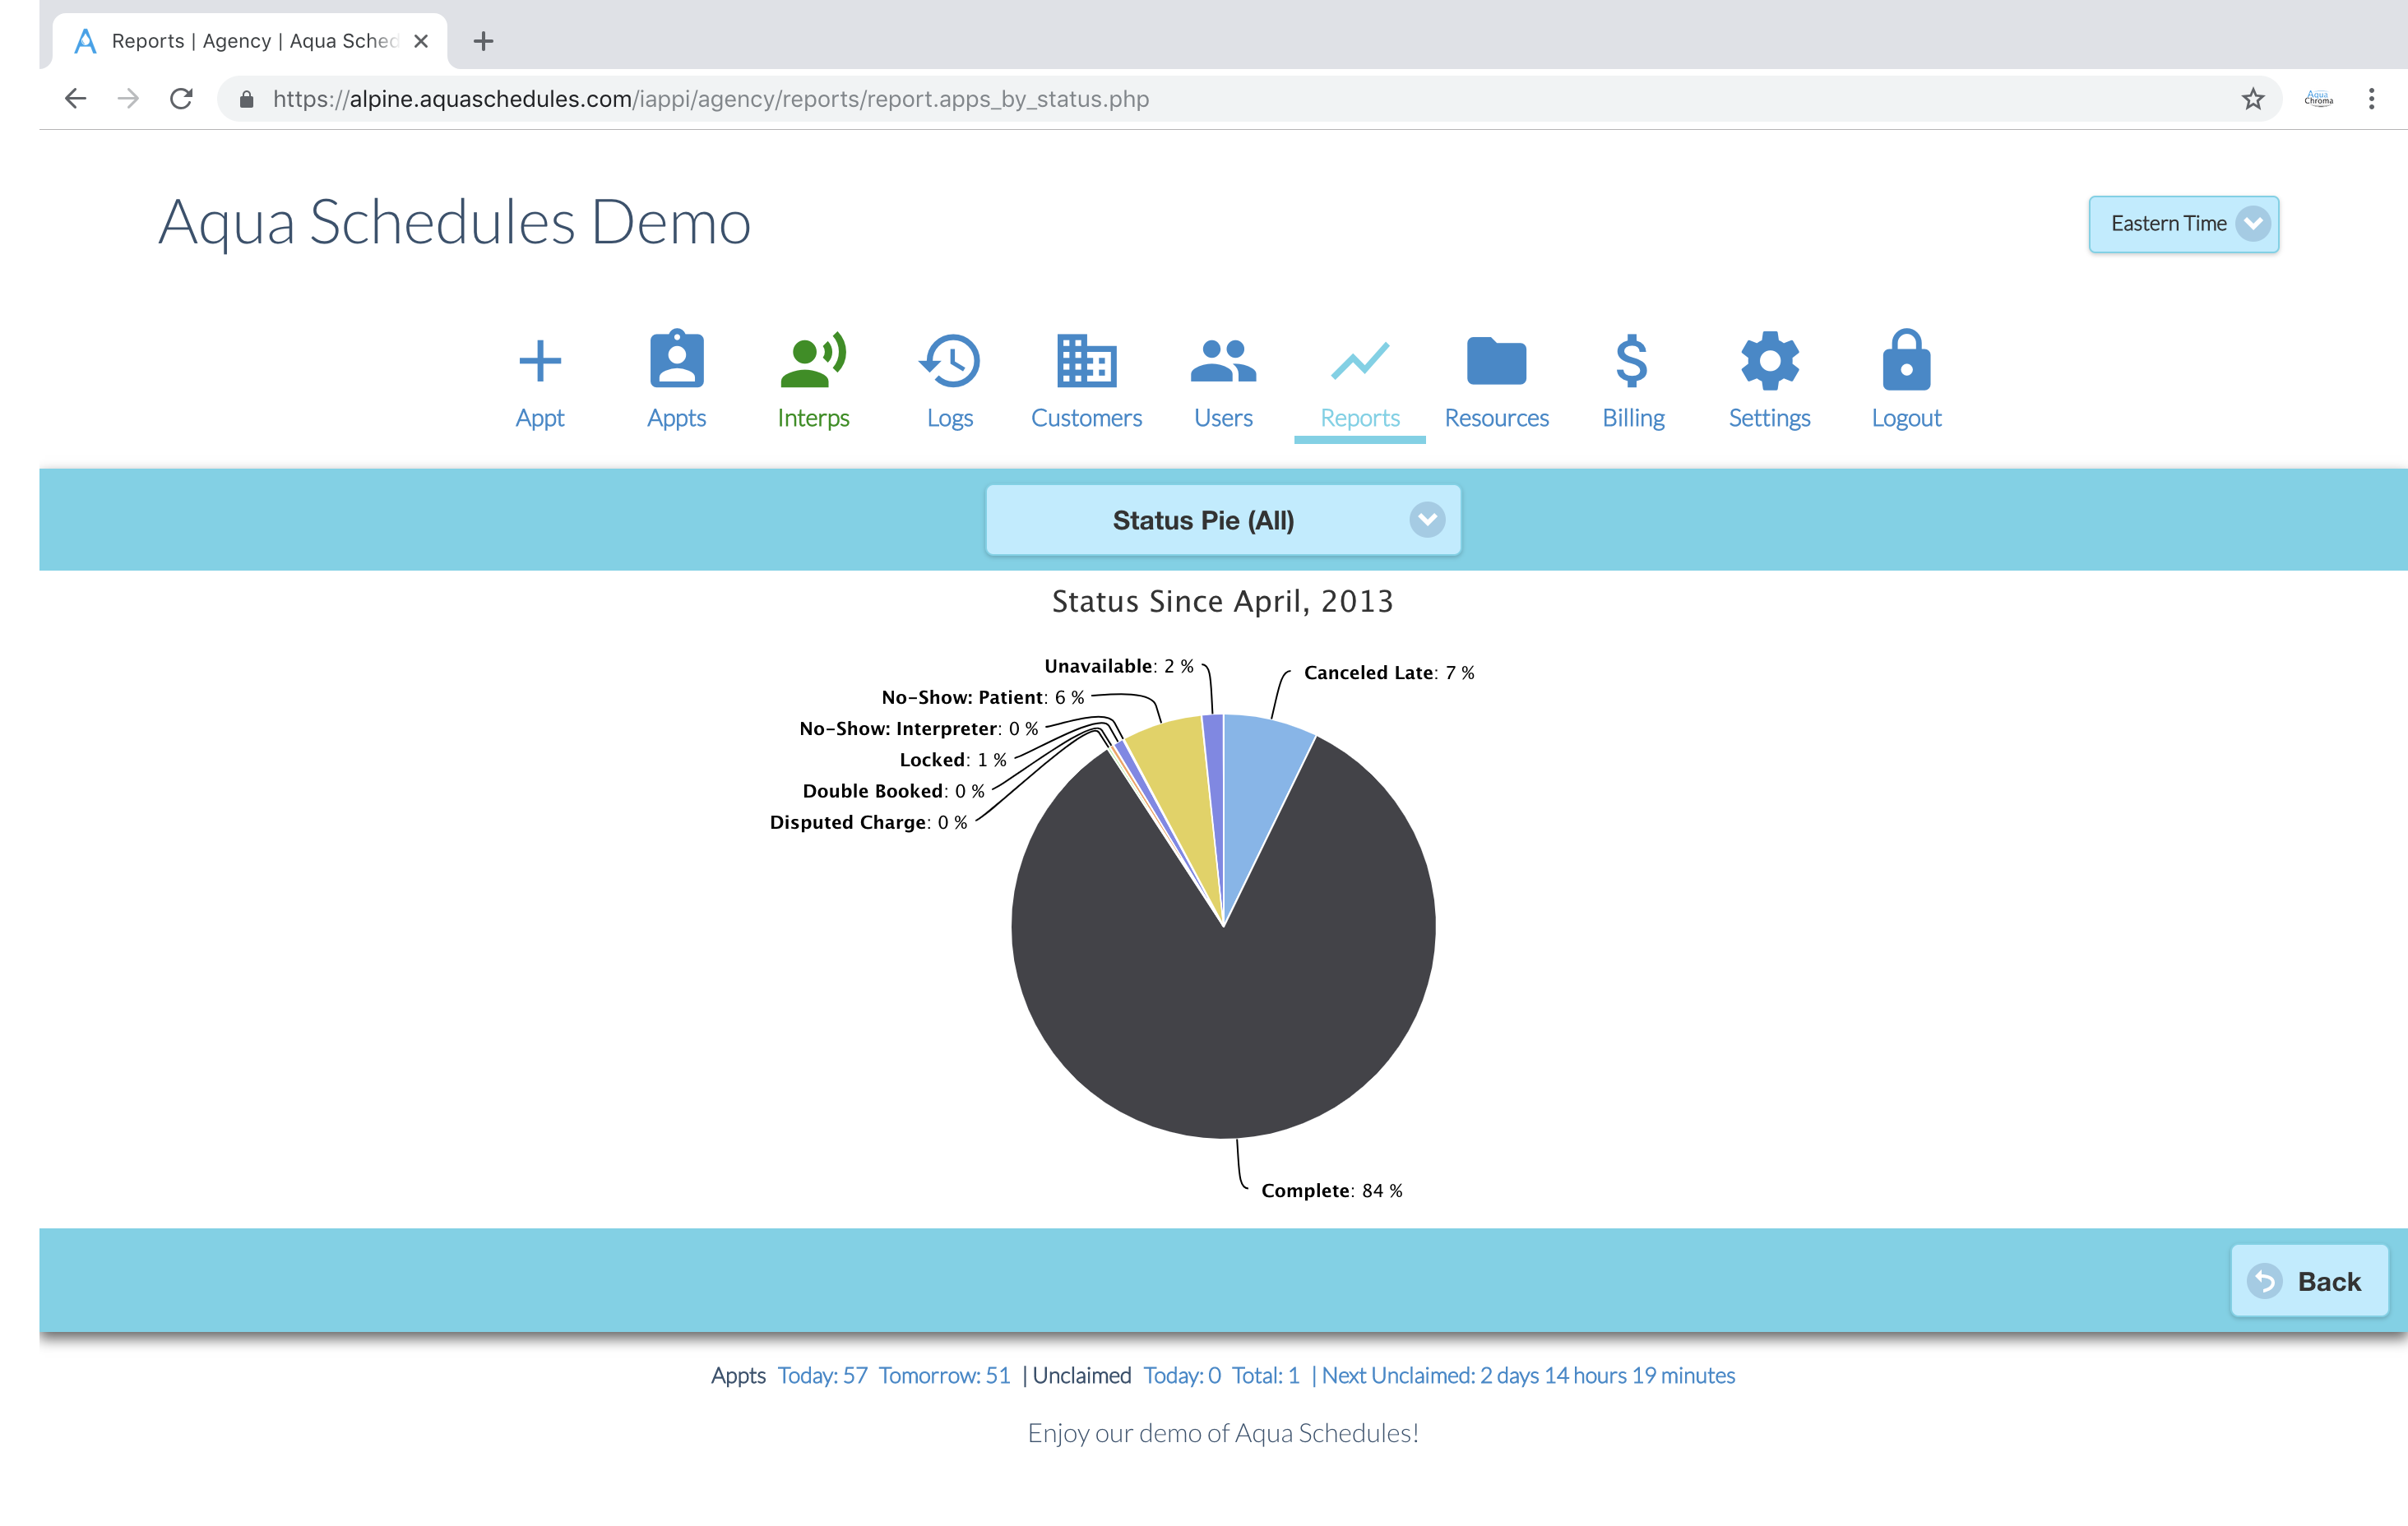
Just like interpreters list, you have an earnings and appointments graph that show how much your agency has earned from this customer and how many appointments you have with them. You also have a pie chart showing the status of all the appointments for that particular customer.
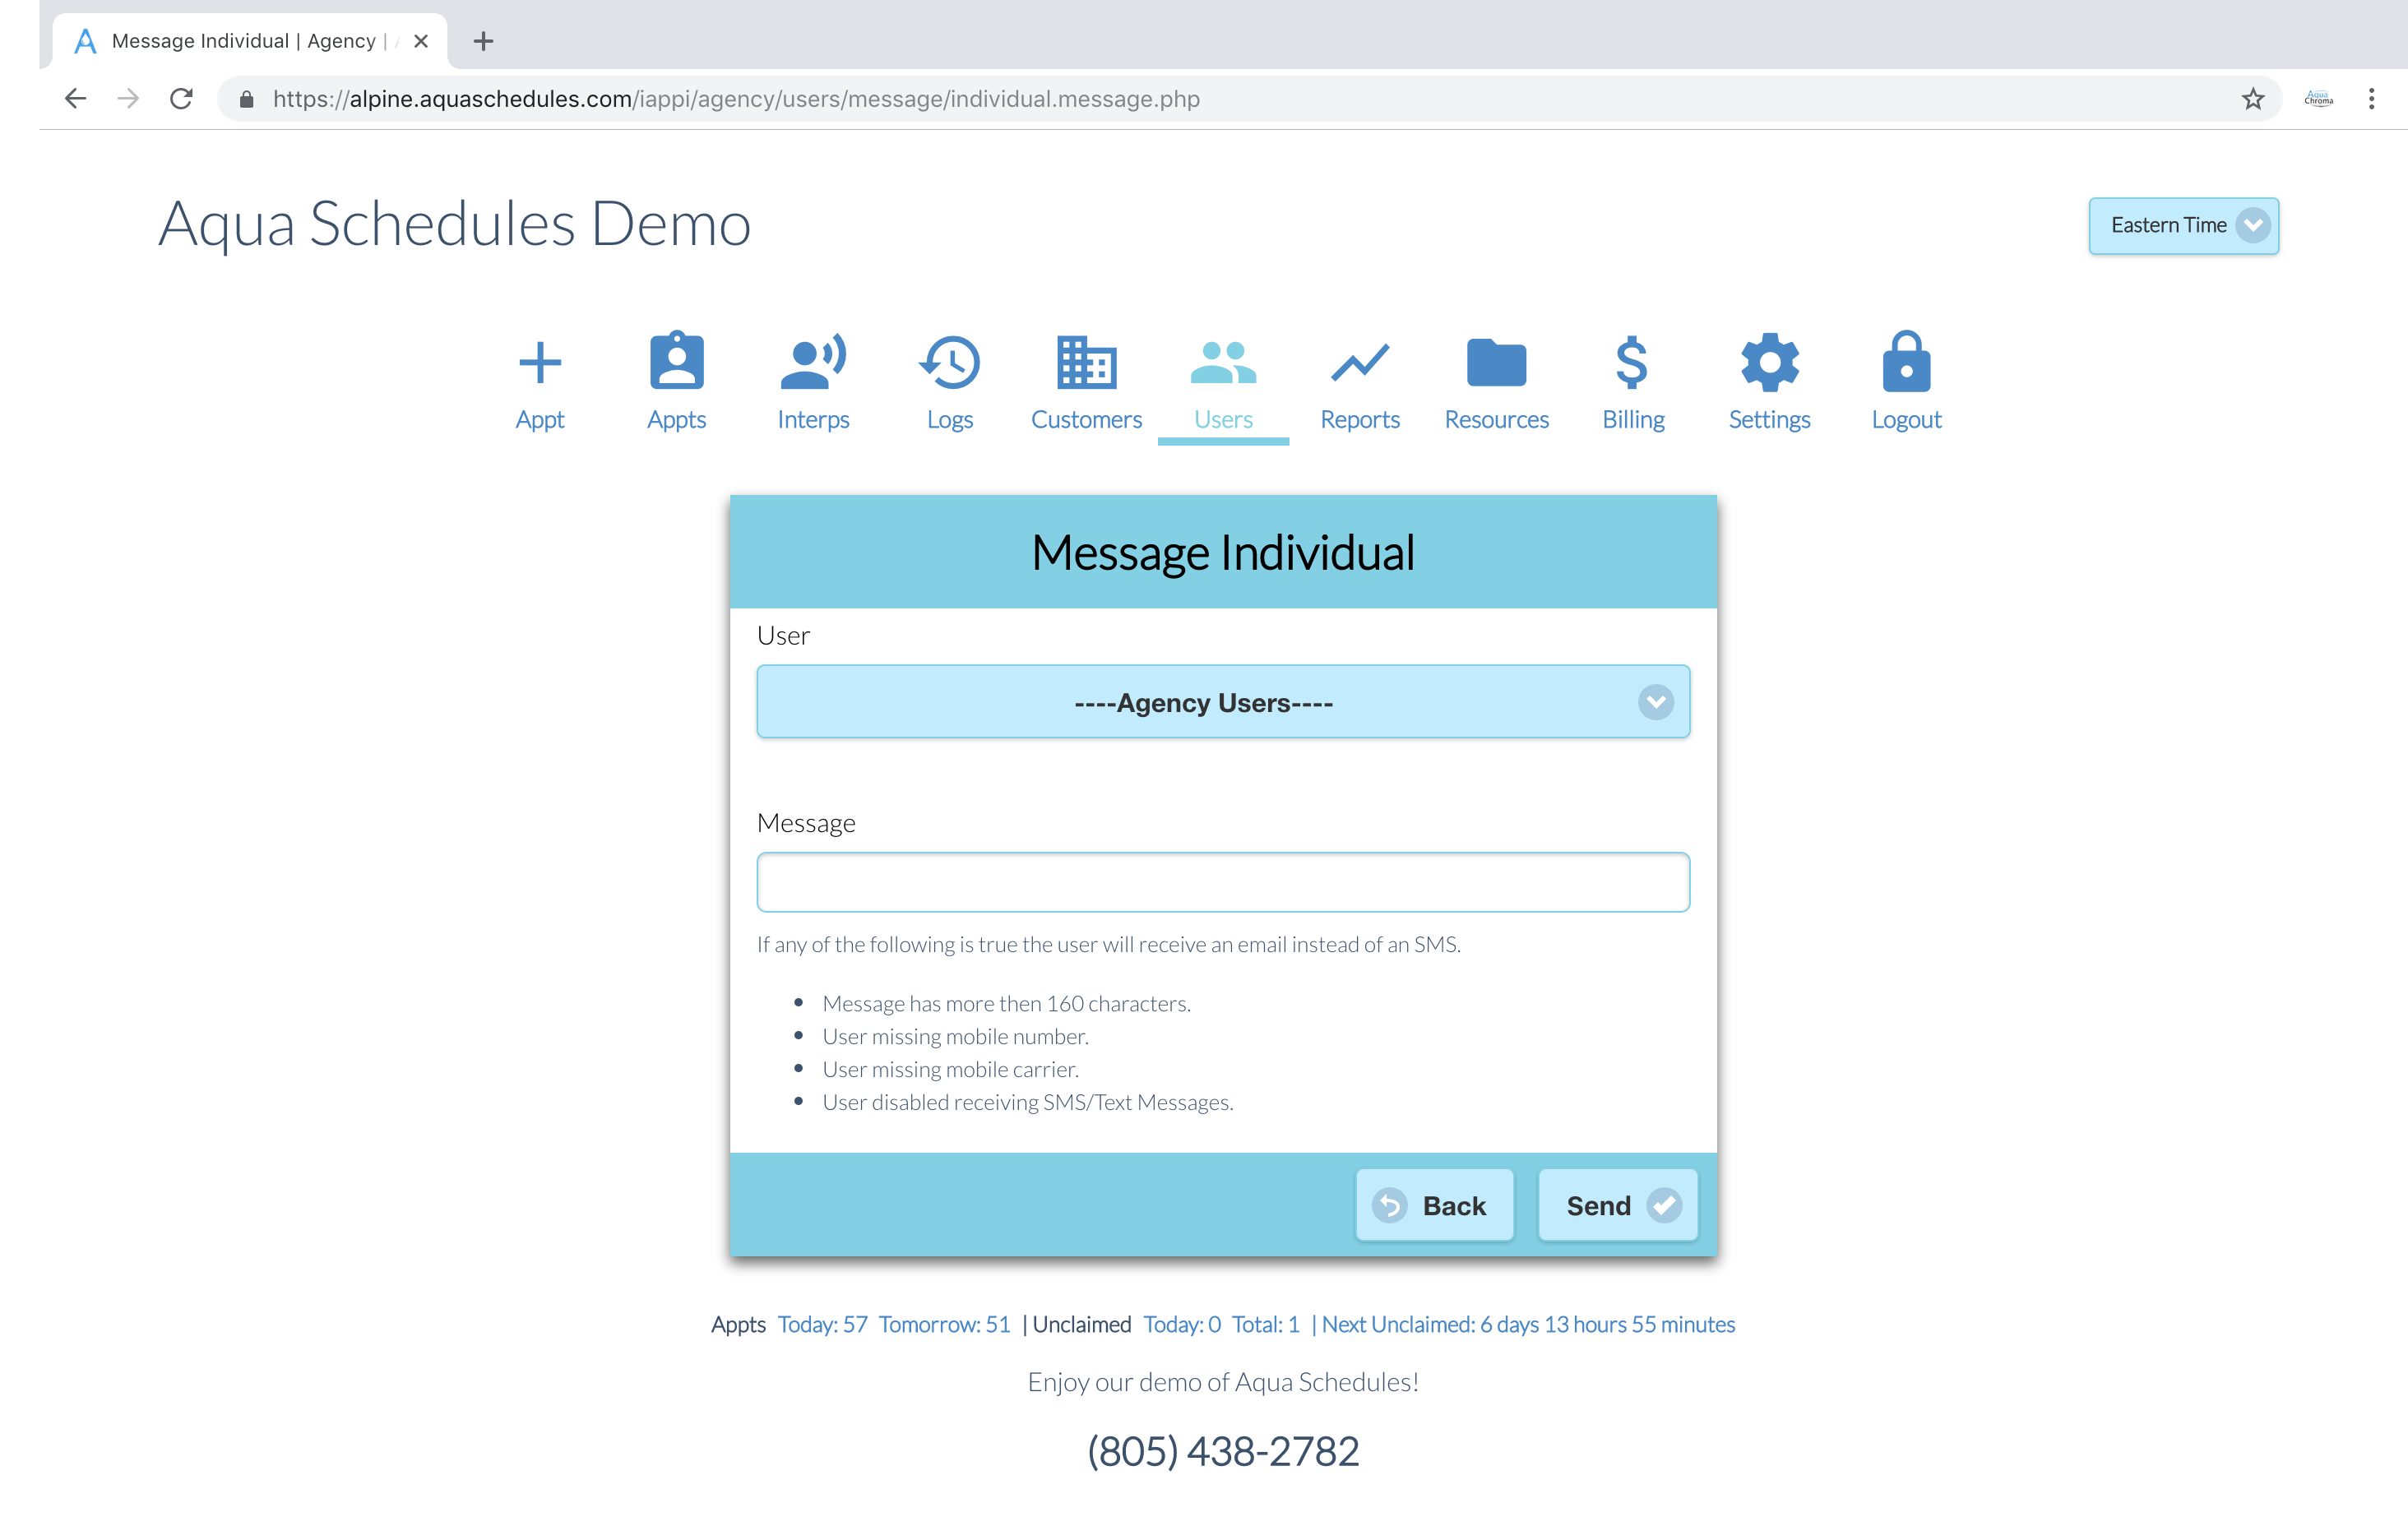
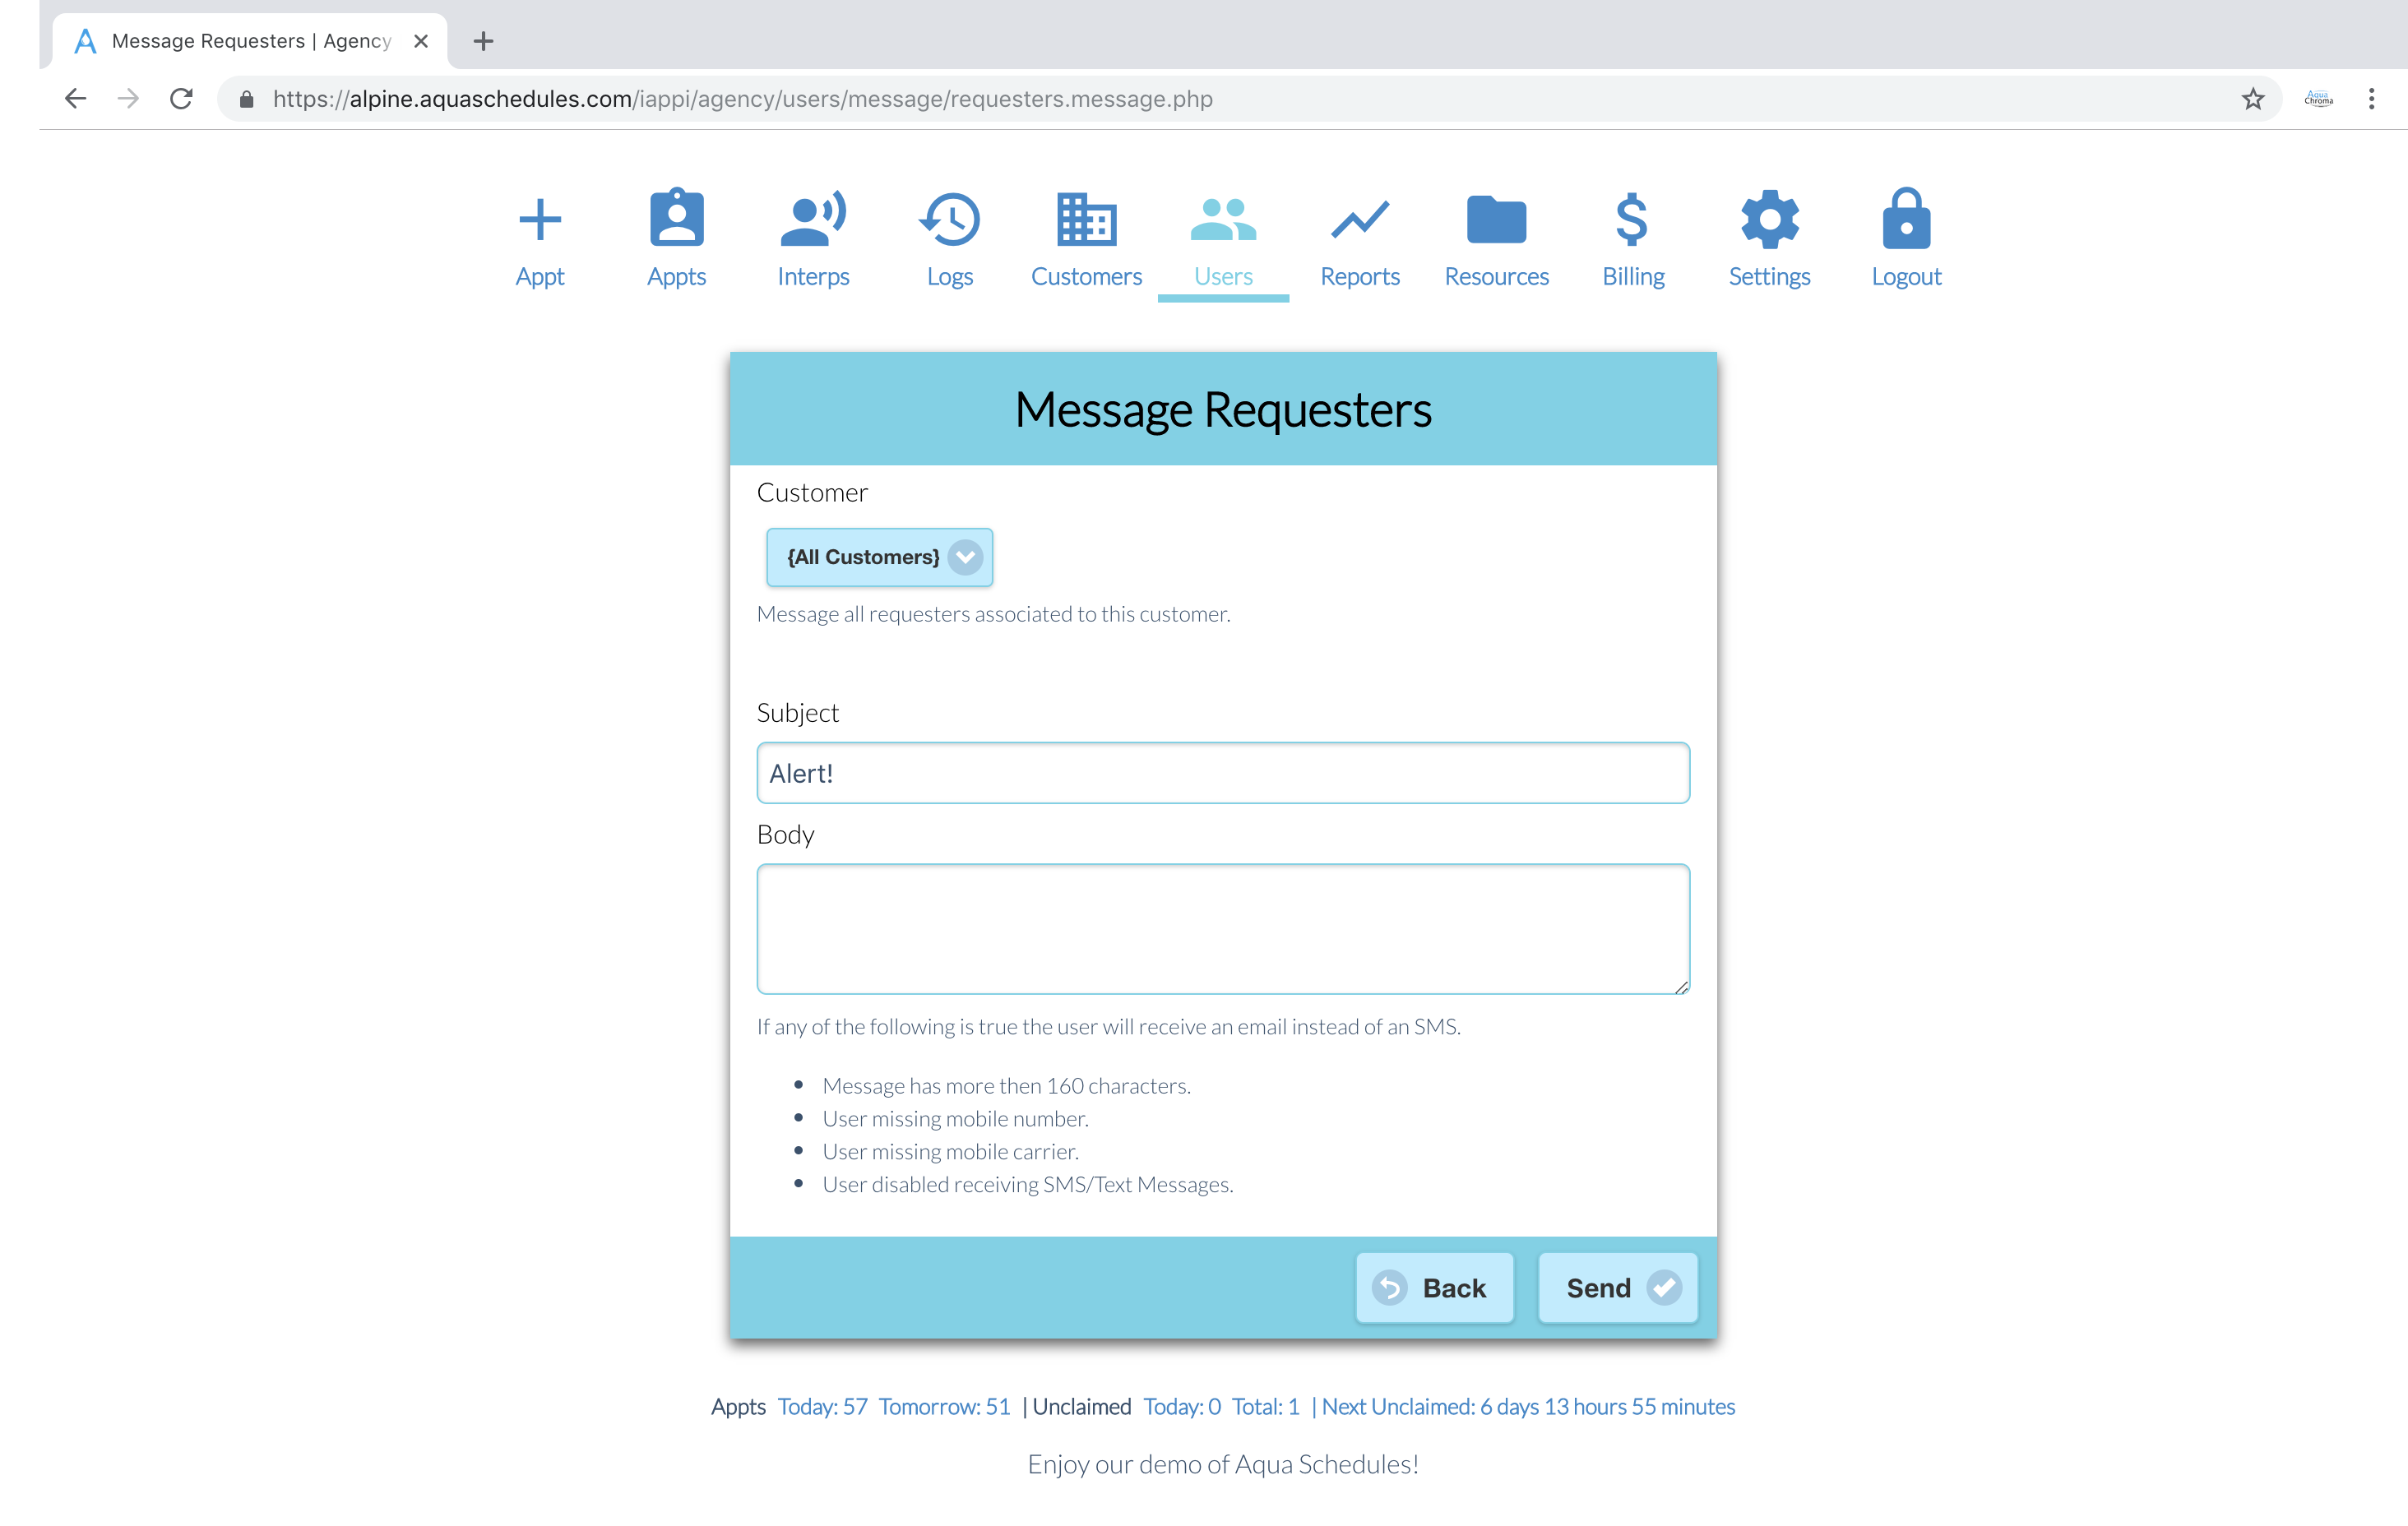
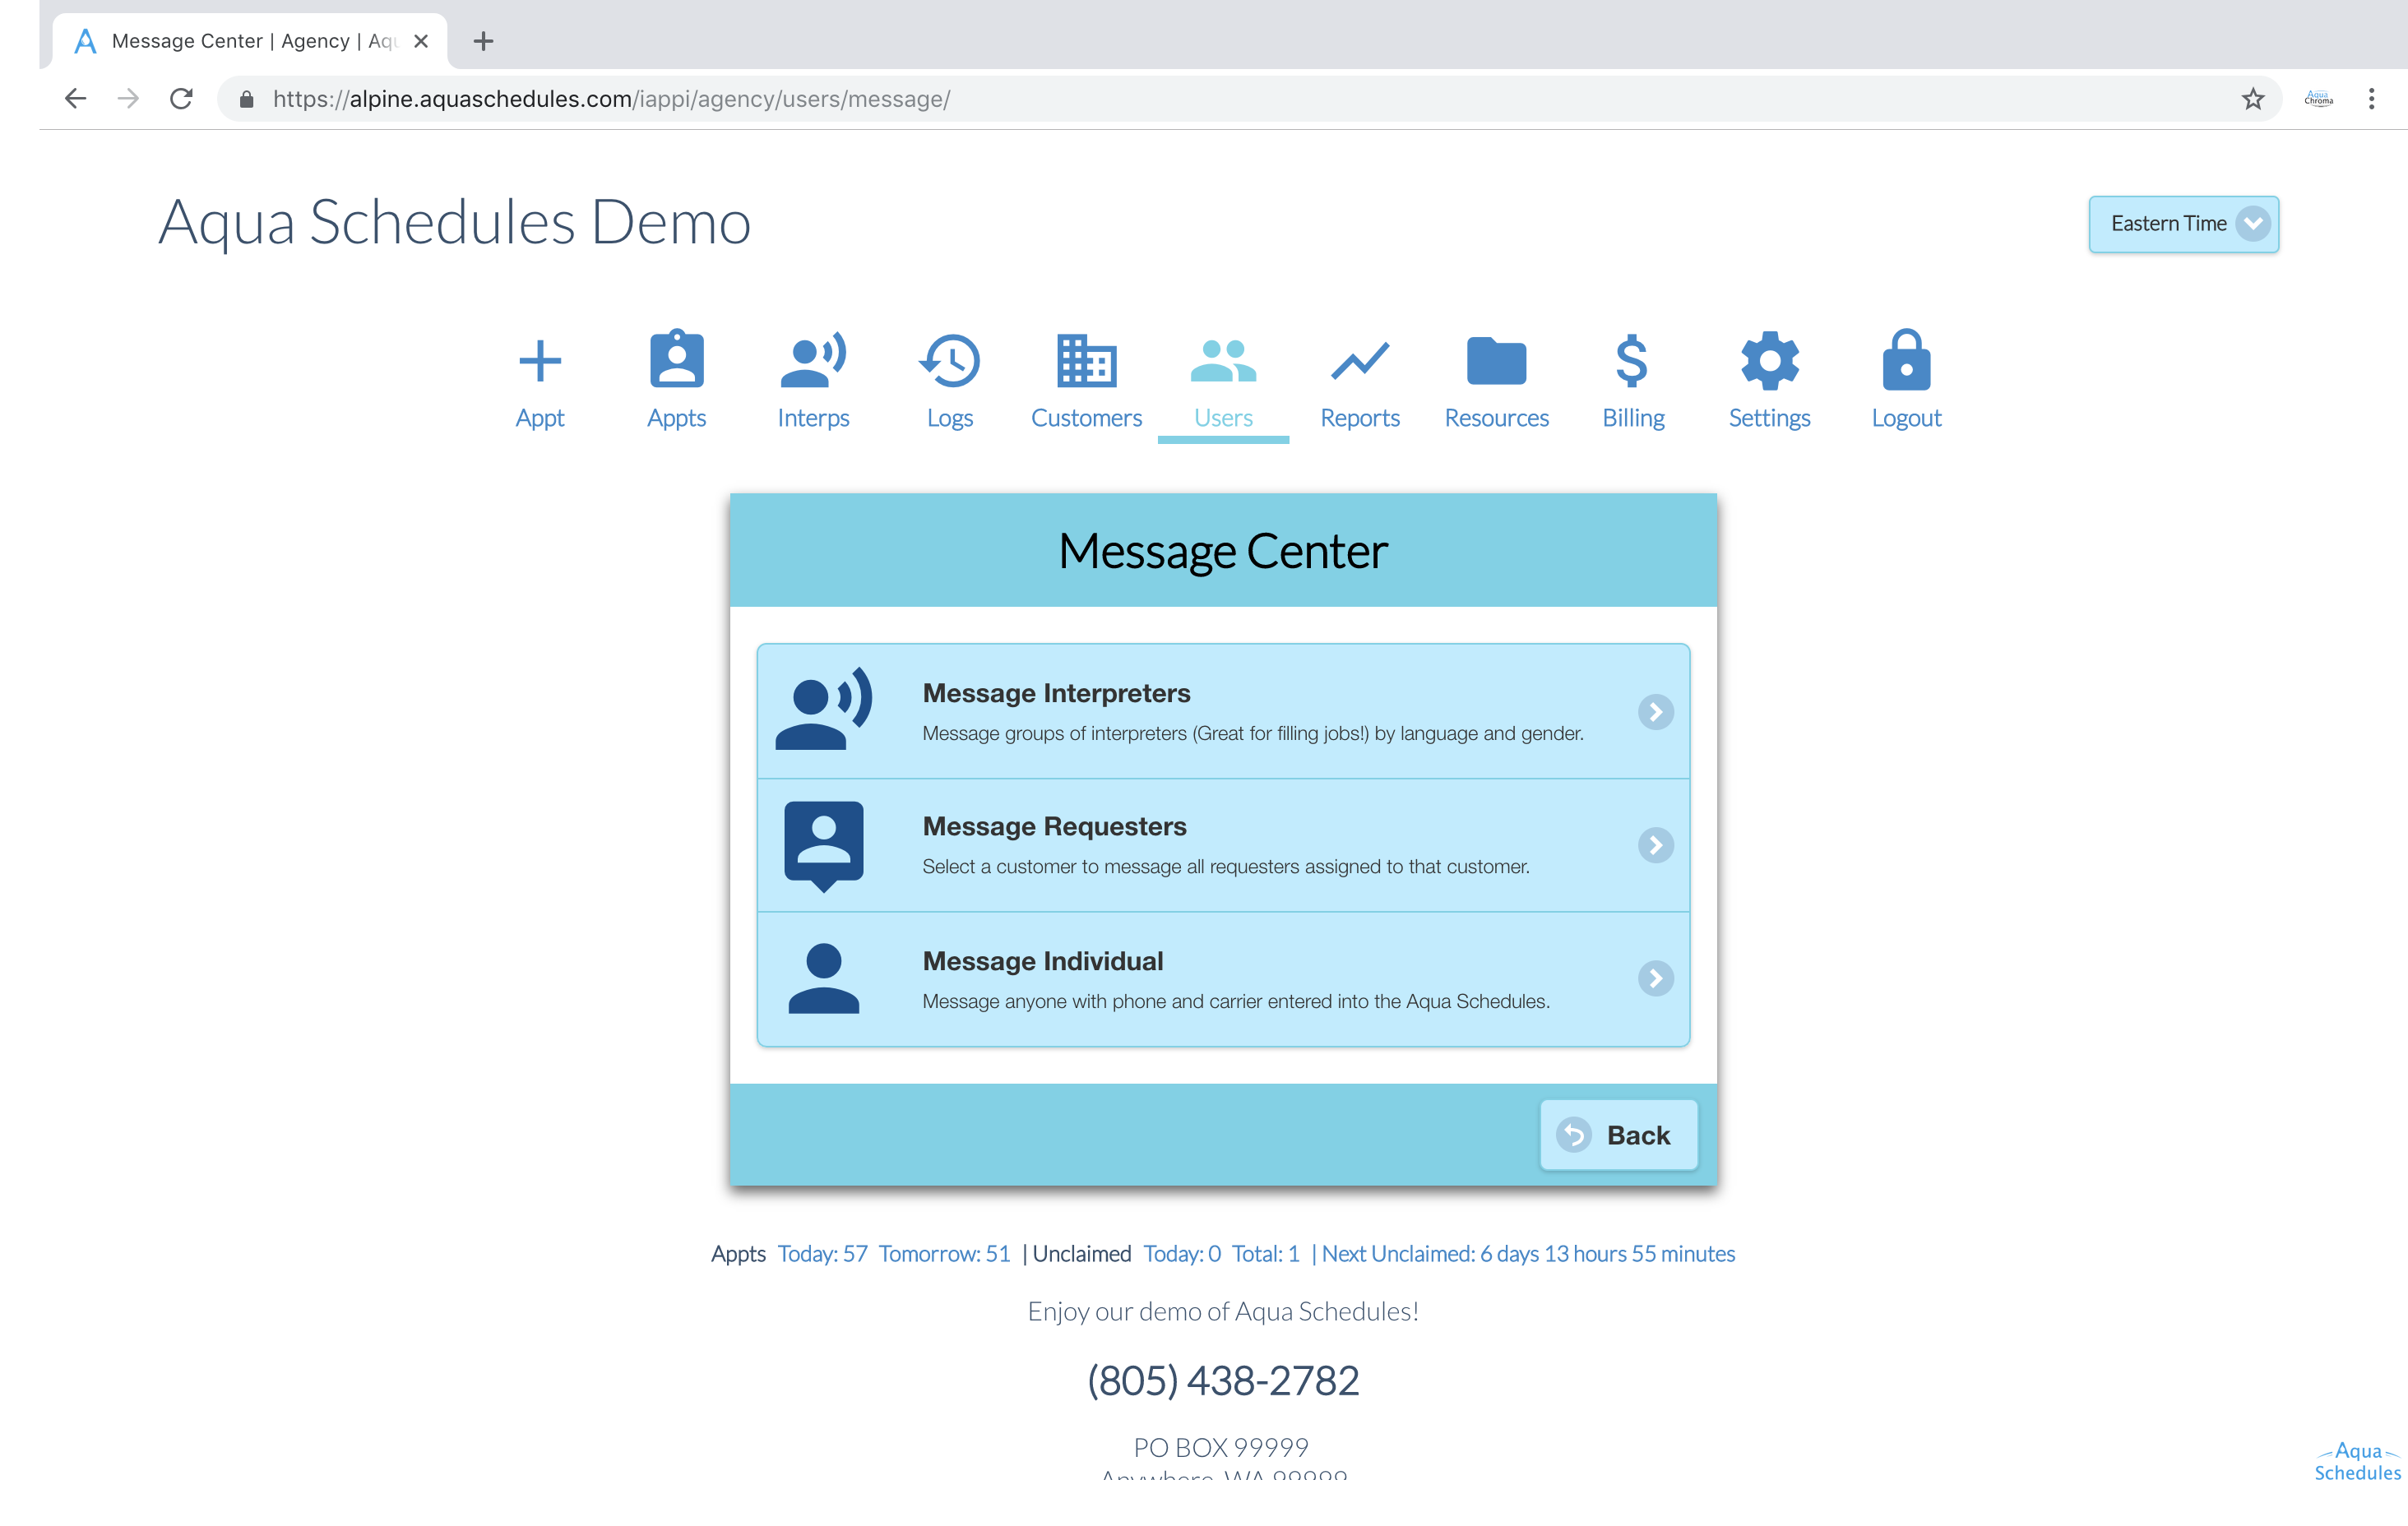
Under Users menu you have where your agency can send out messages or alerts to a group of interpreters or to an individual interpreter. Suppose you want to send a message to interpreters to inform them of a last minute appointment. You can set your gender preference the requested language, and it will send a message to only those interpreters. The alert system sends messages as a text message, so it is best to send shorter messages.
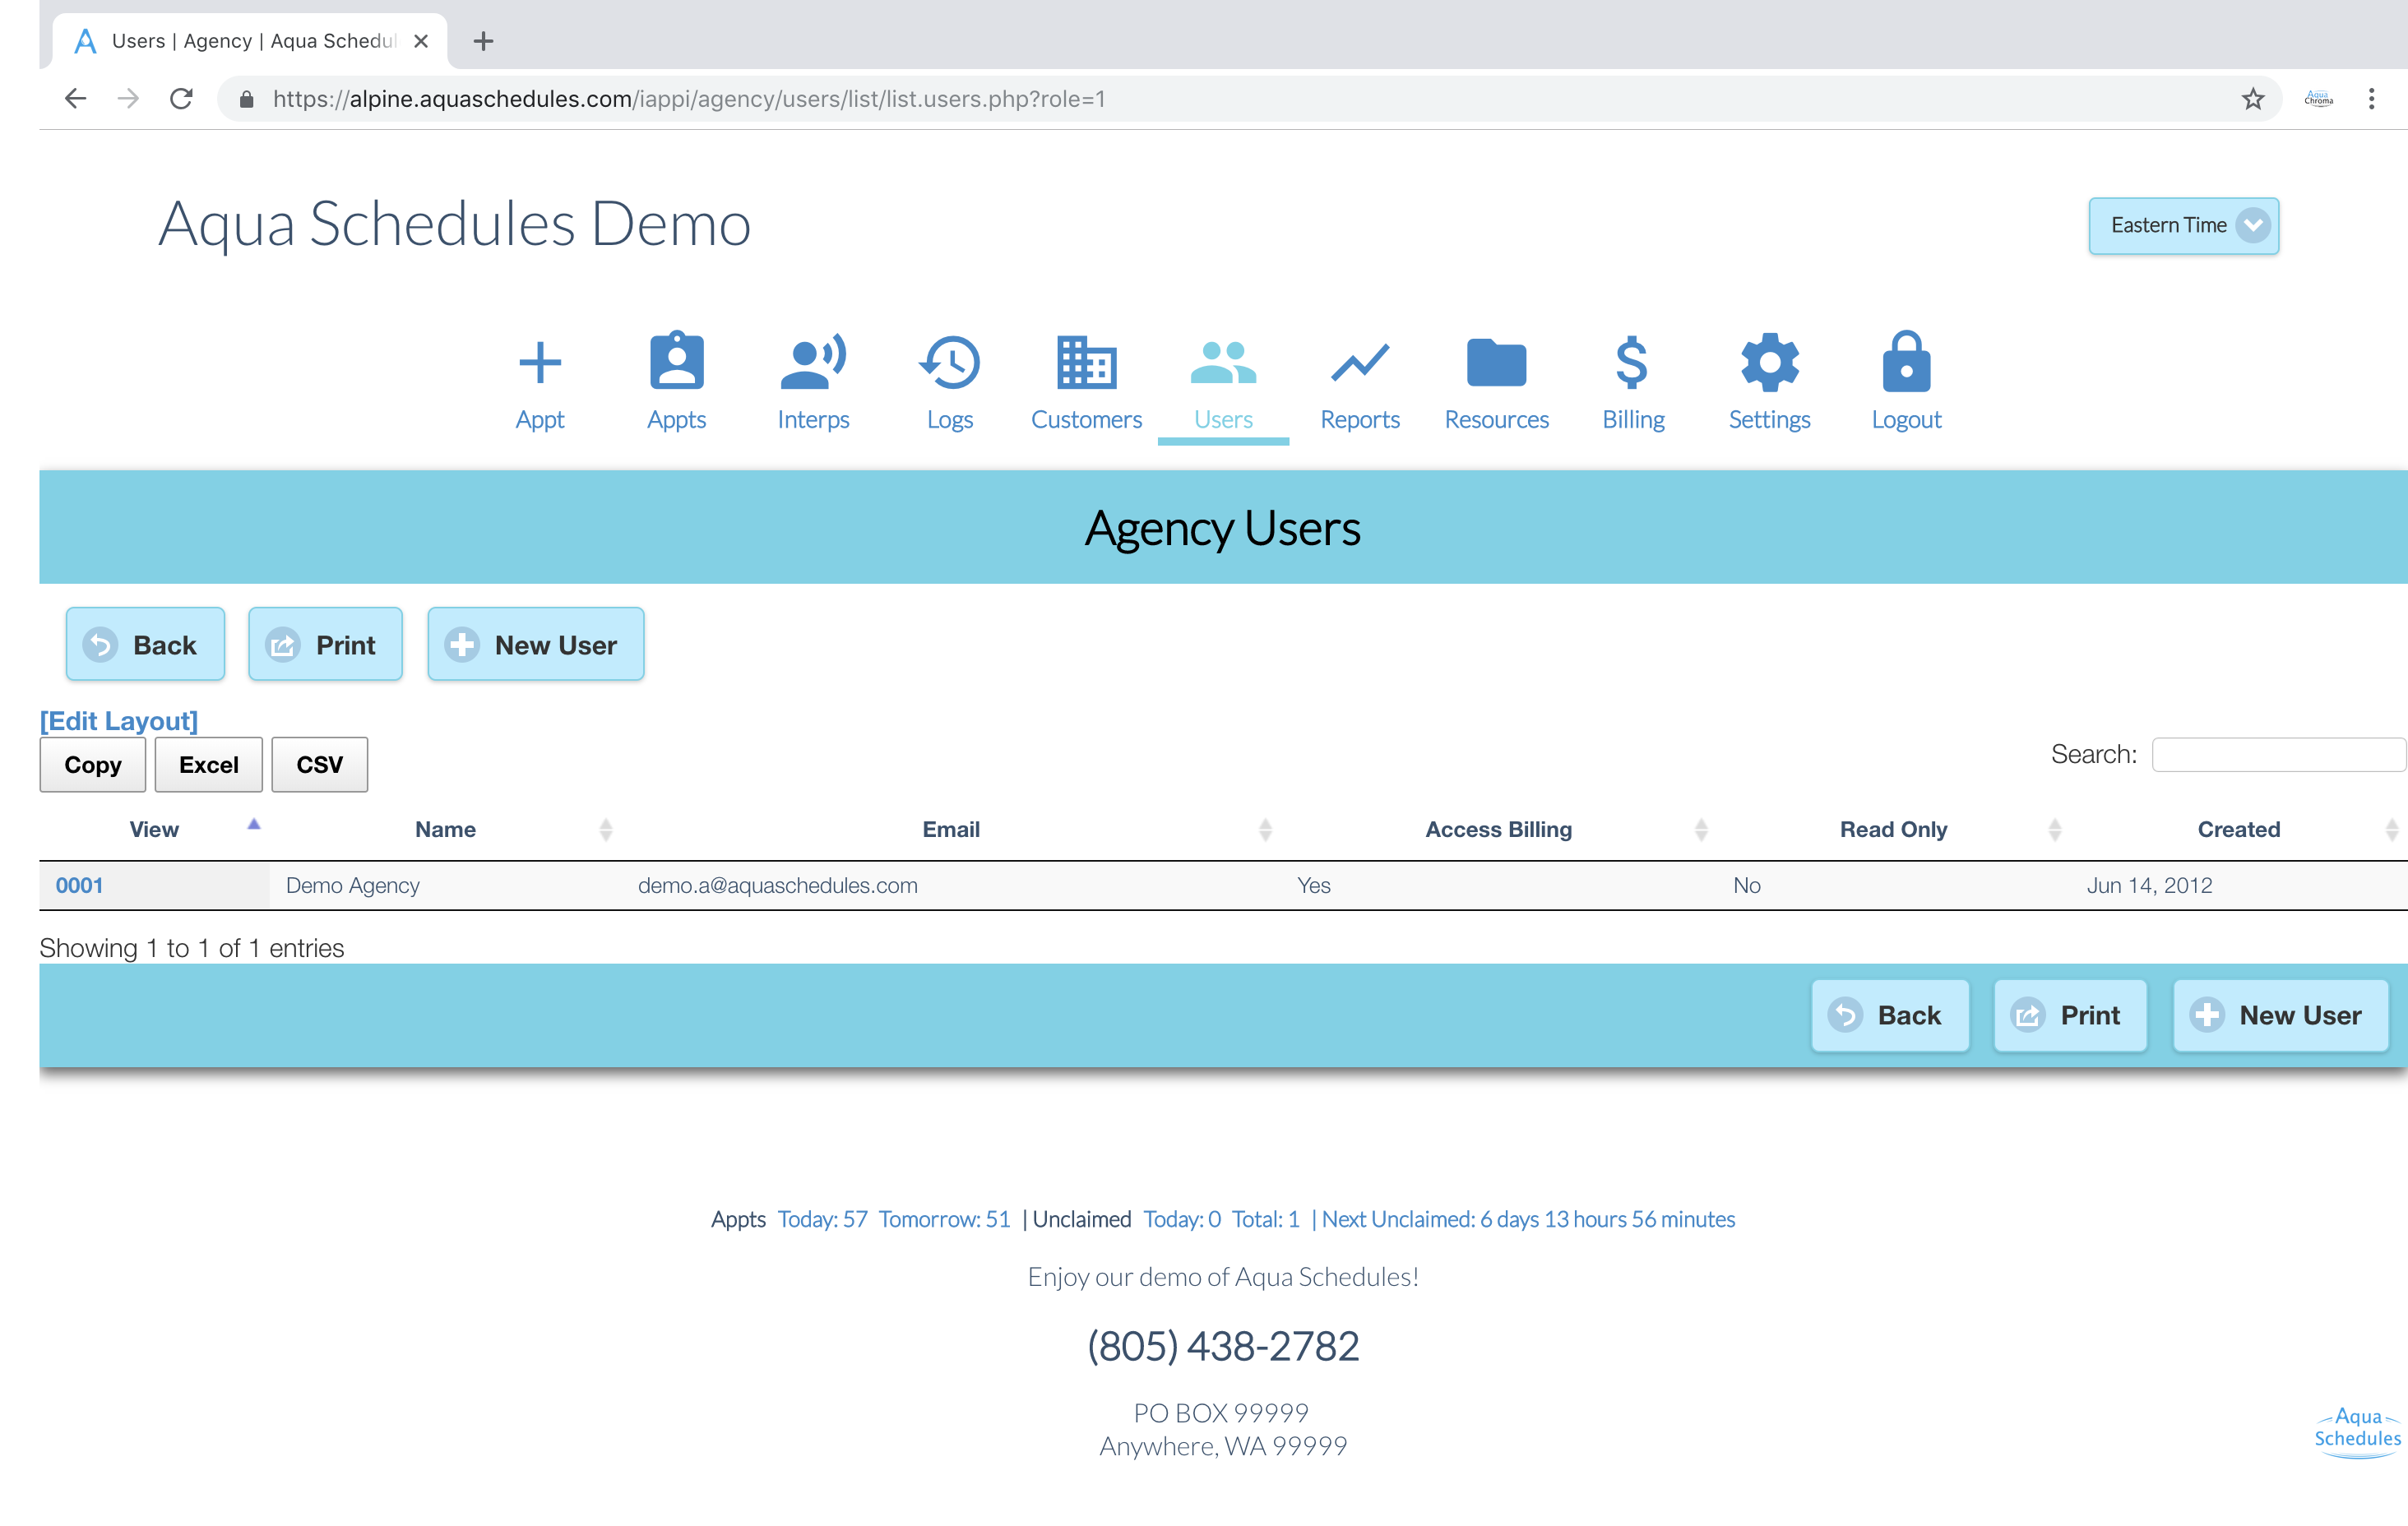
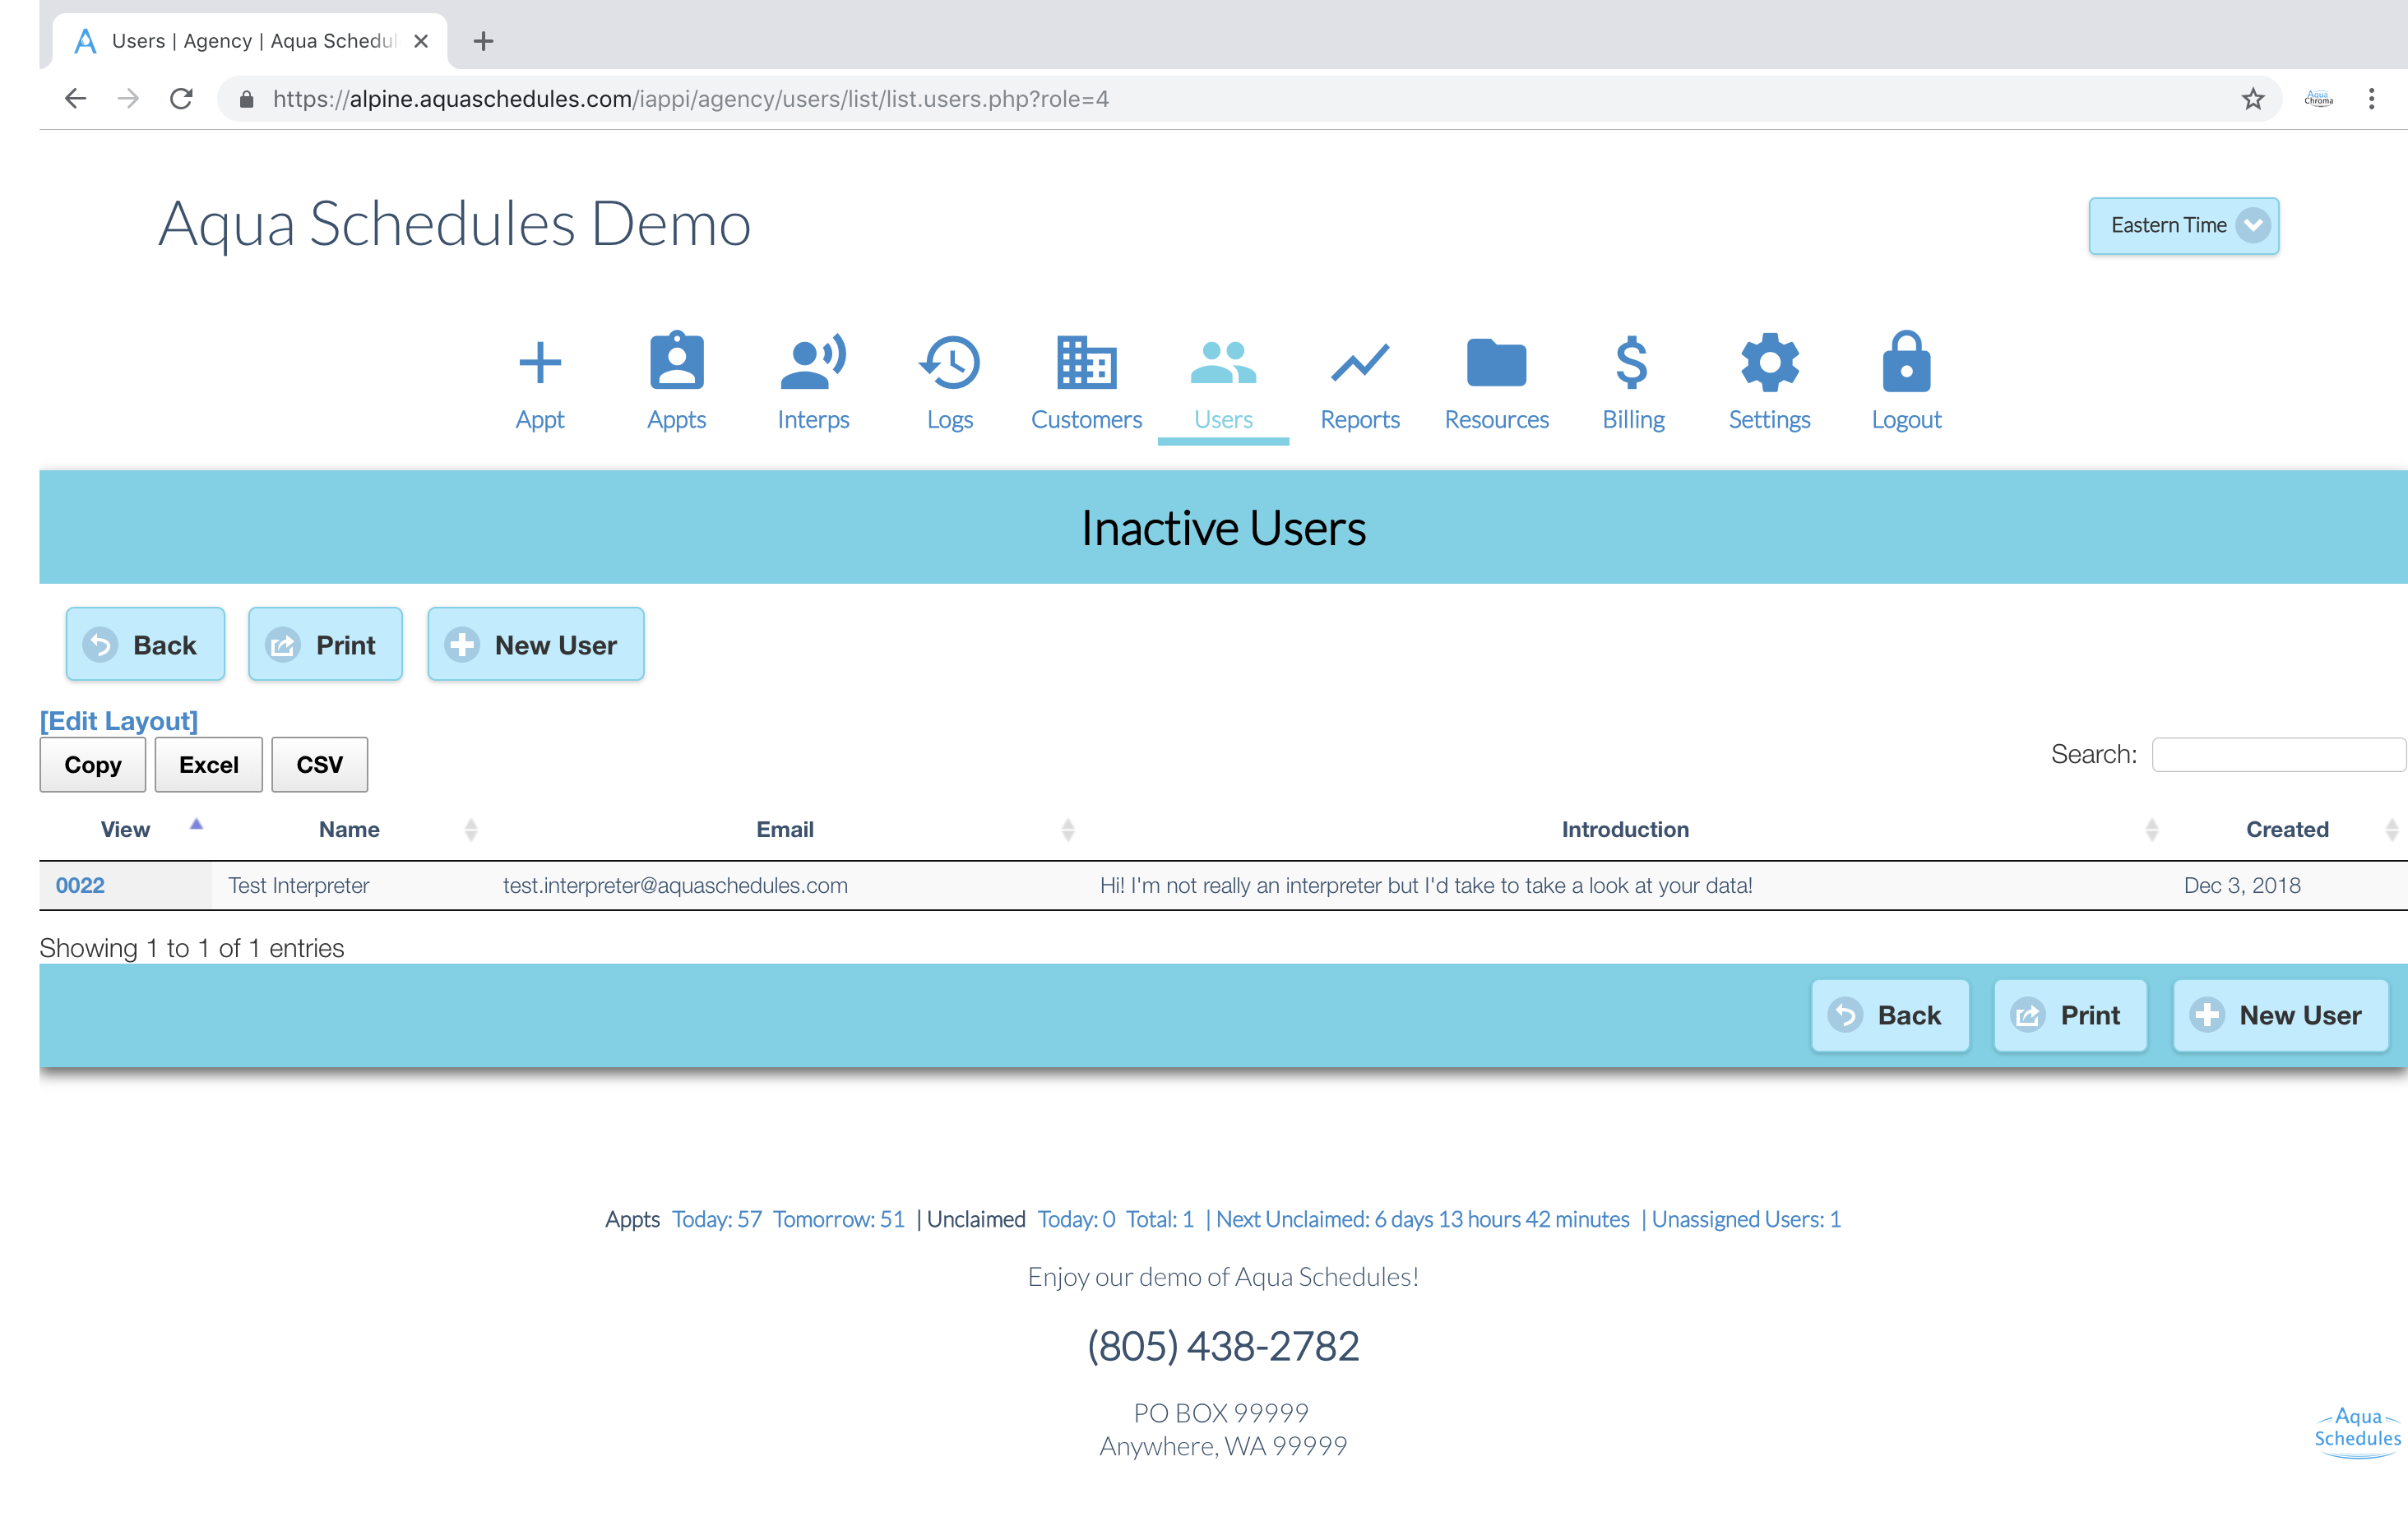
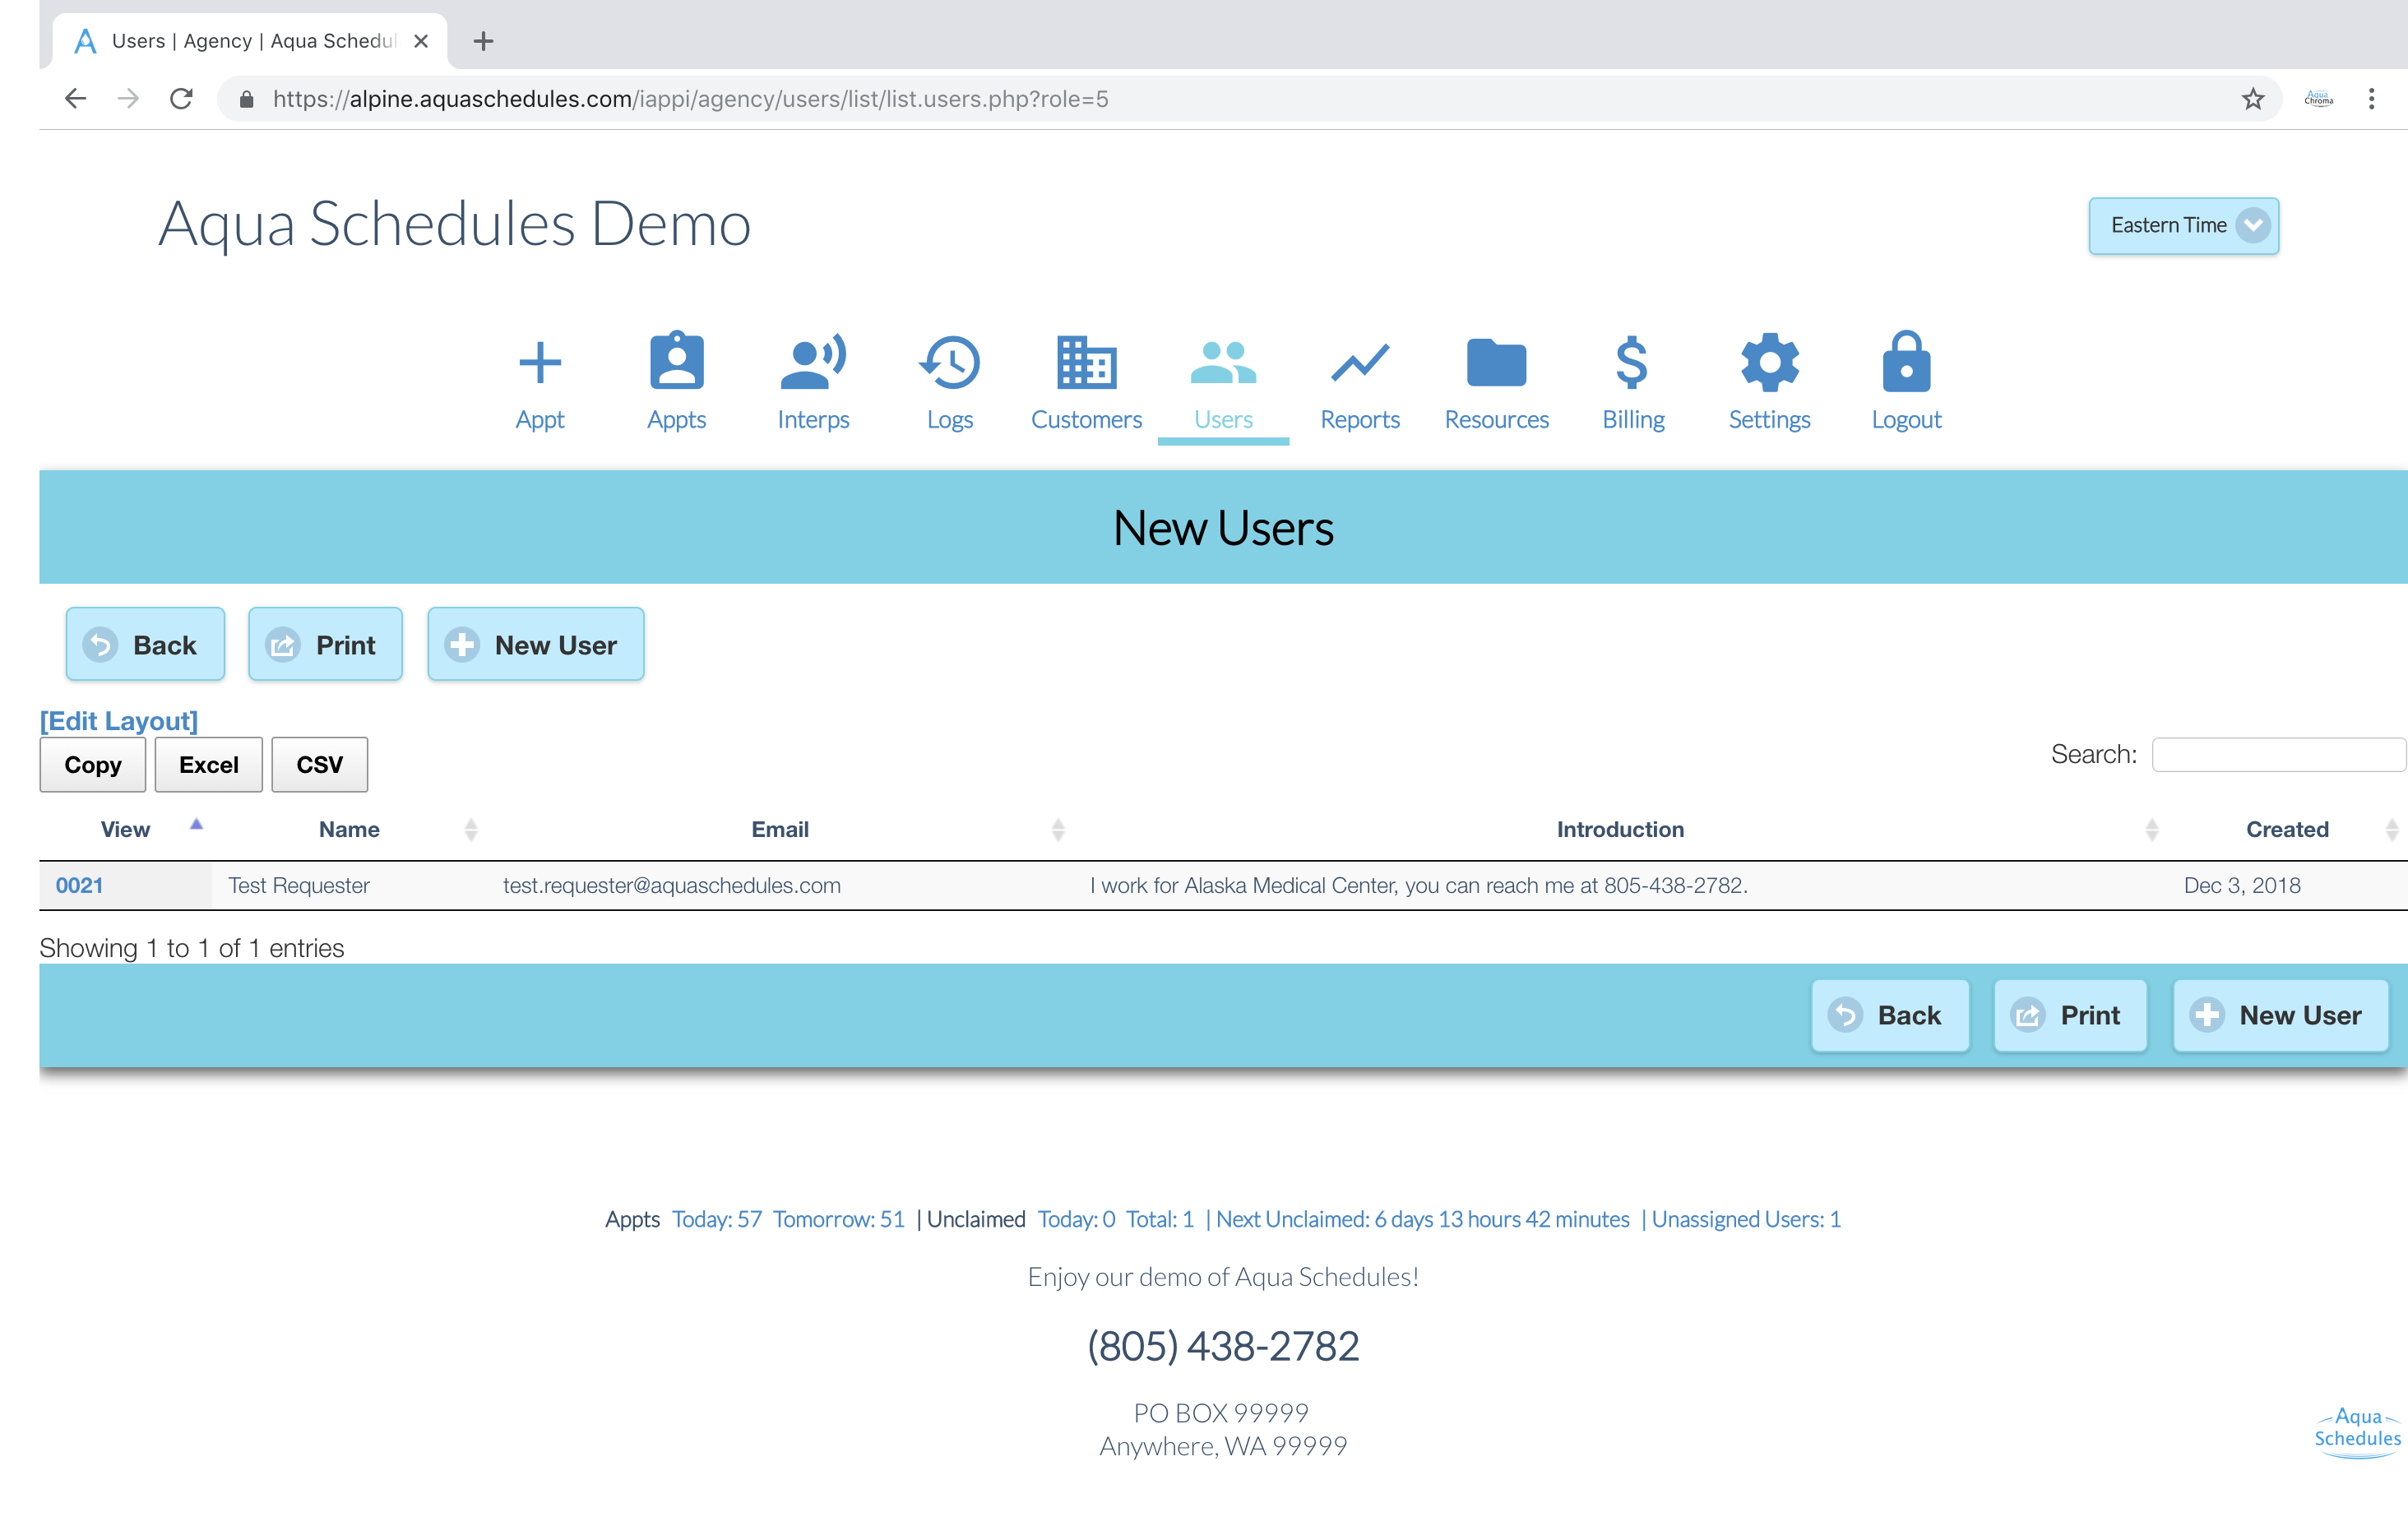
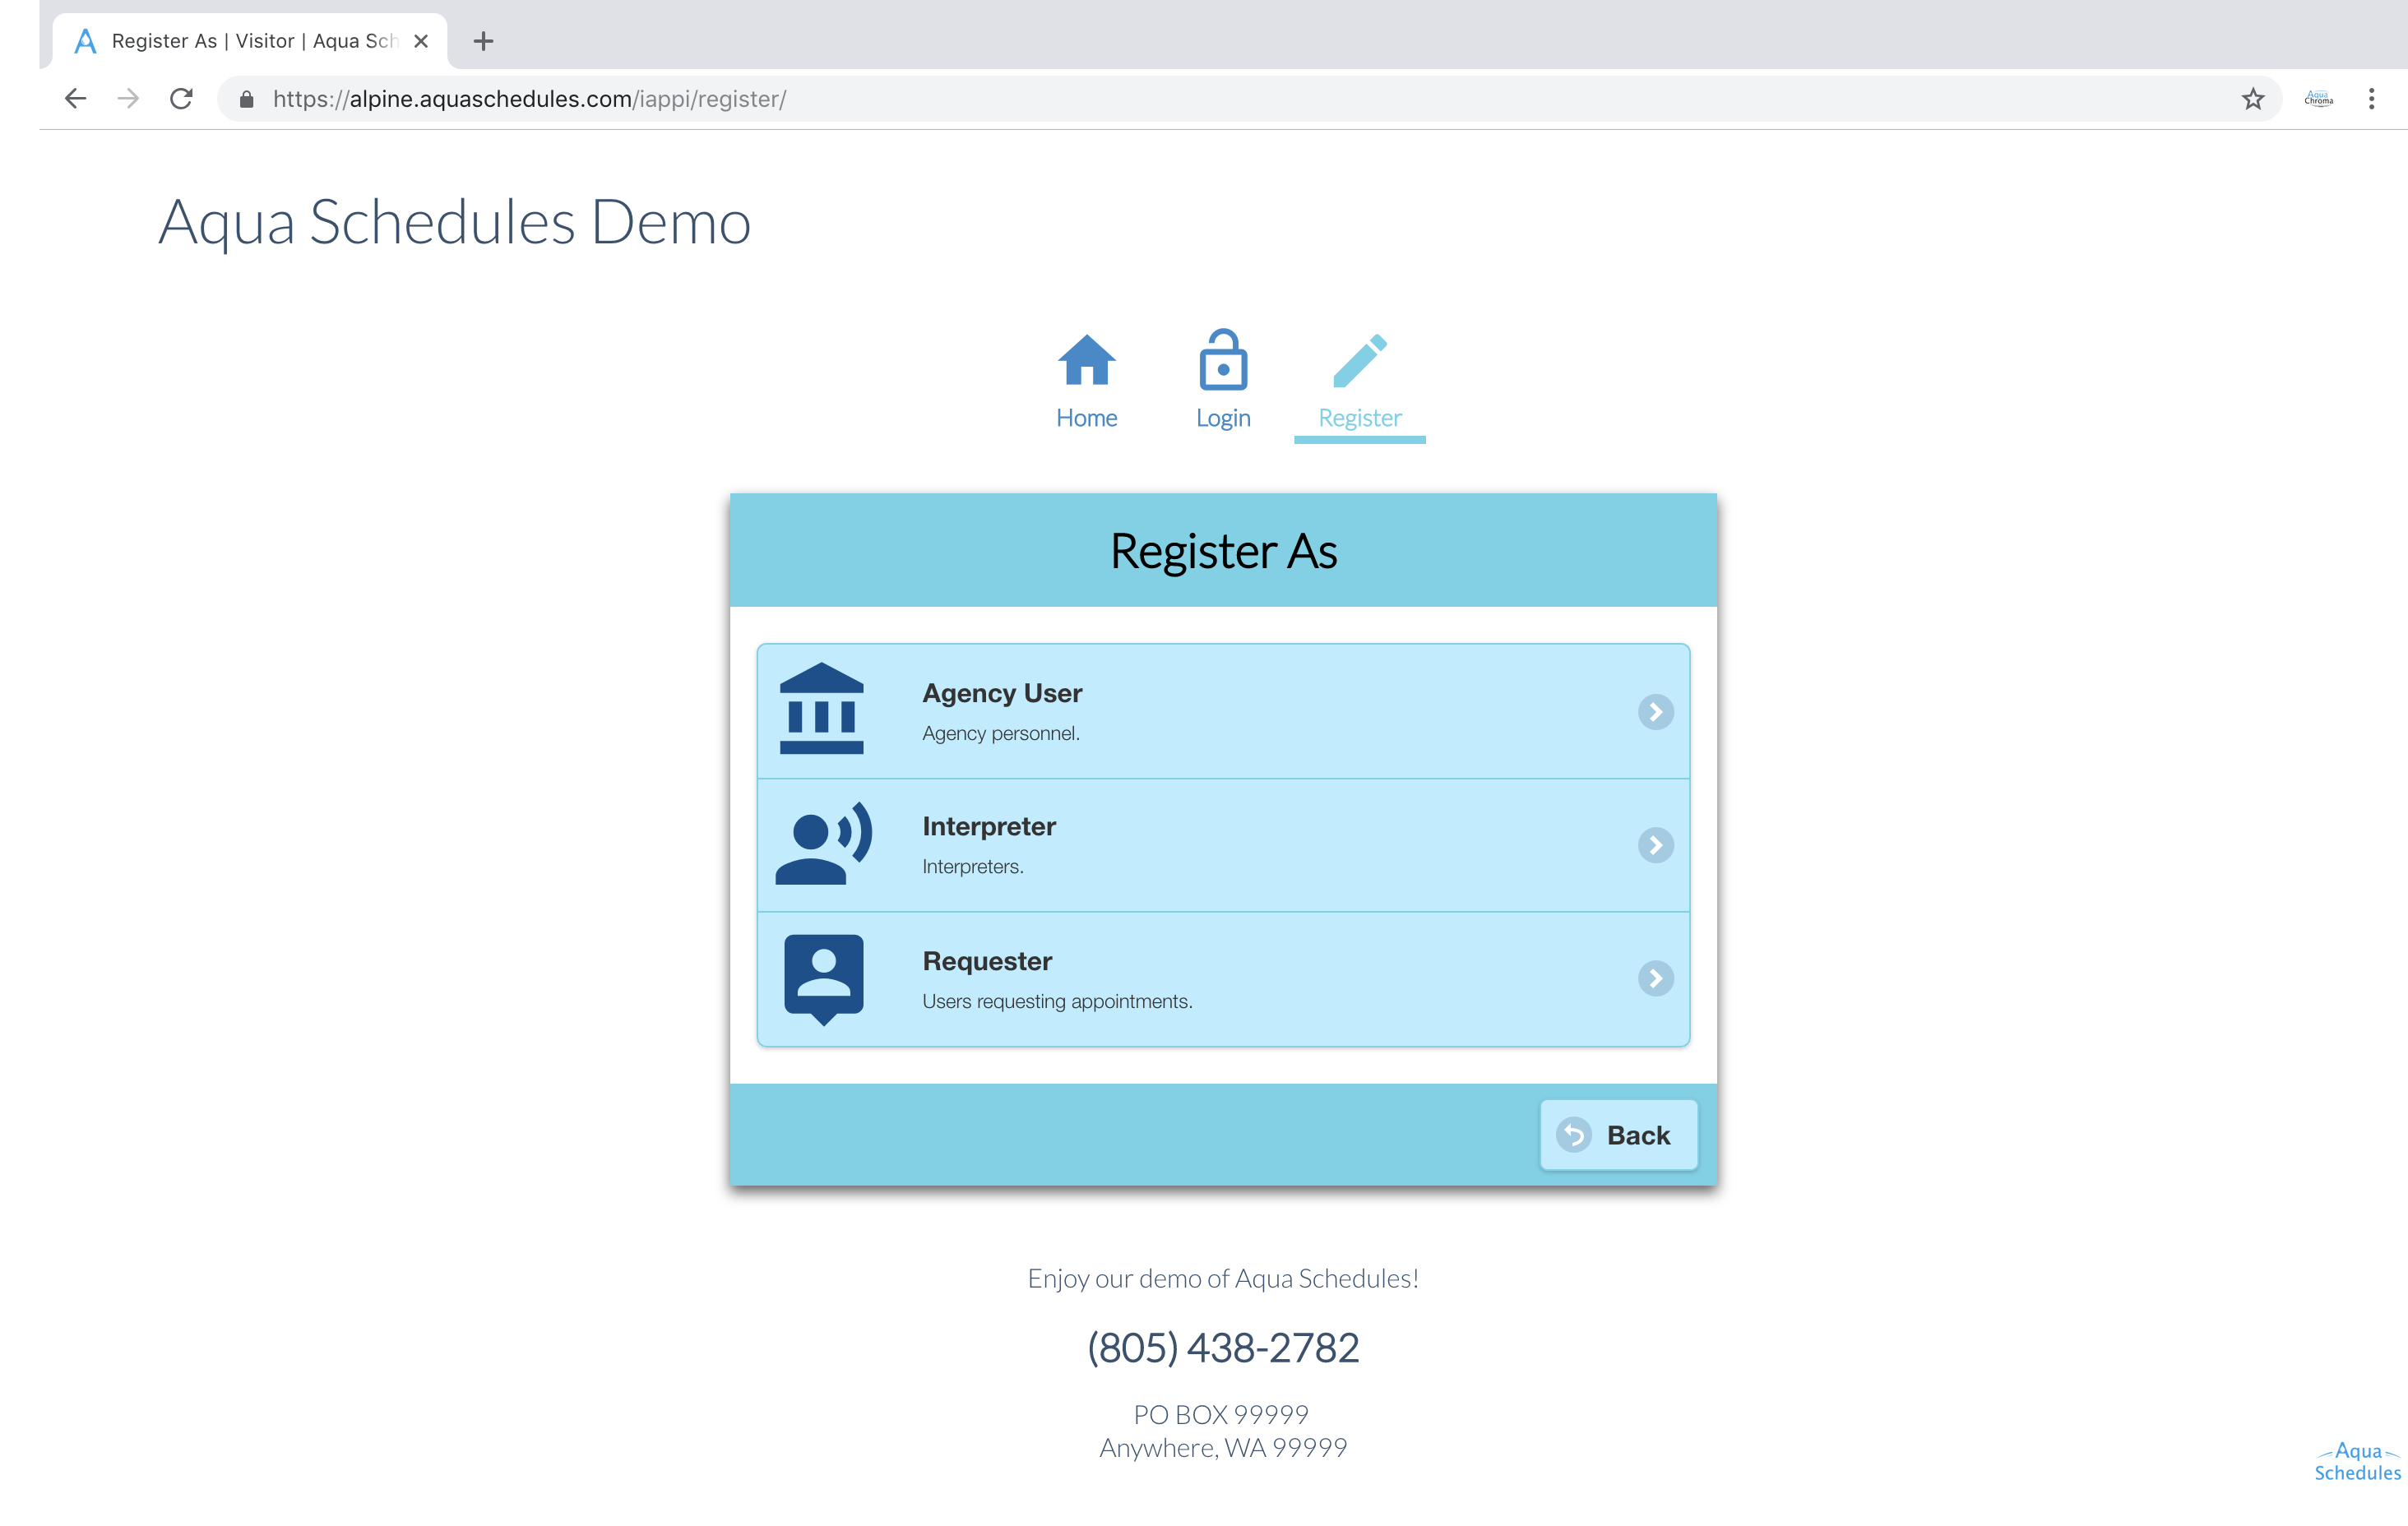
List users groups each type of user together and let's you manage their accounts. Here we have new users. These are people who just registered to the system and have not yet been granted a role. Agency users lists those who work for your agency. It also shows you who has access to billing information which you can set in the settings menu. Here we also have the interpreters and requesters list. The agency is able to inactivate or deny access to any user which will be listed under inactive users.
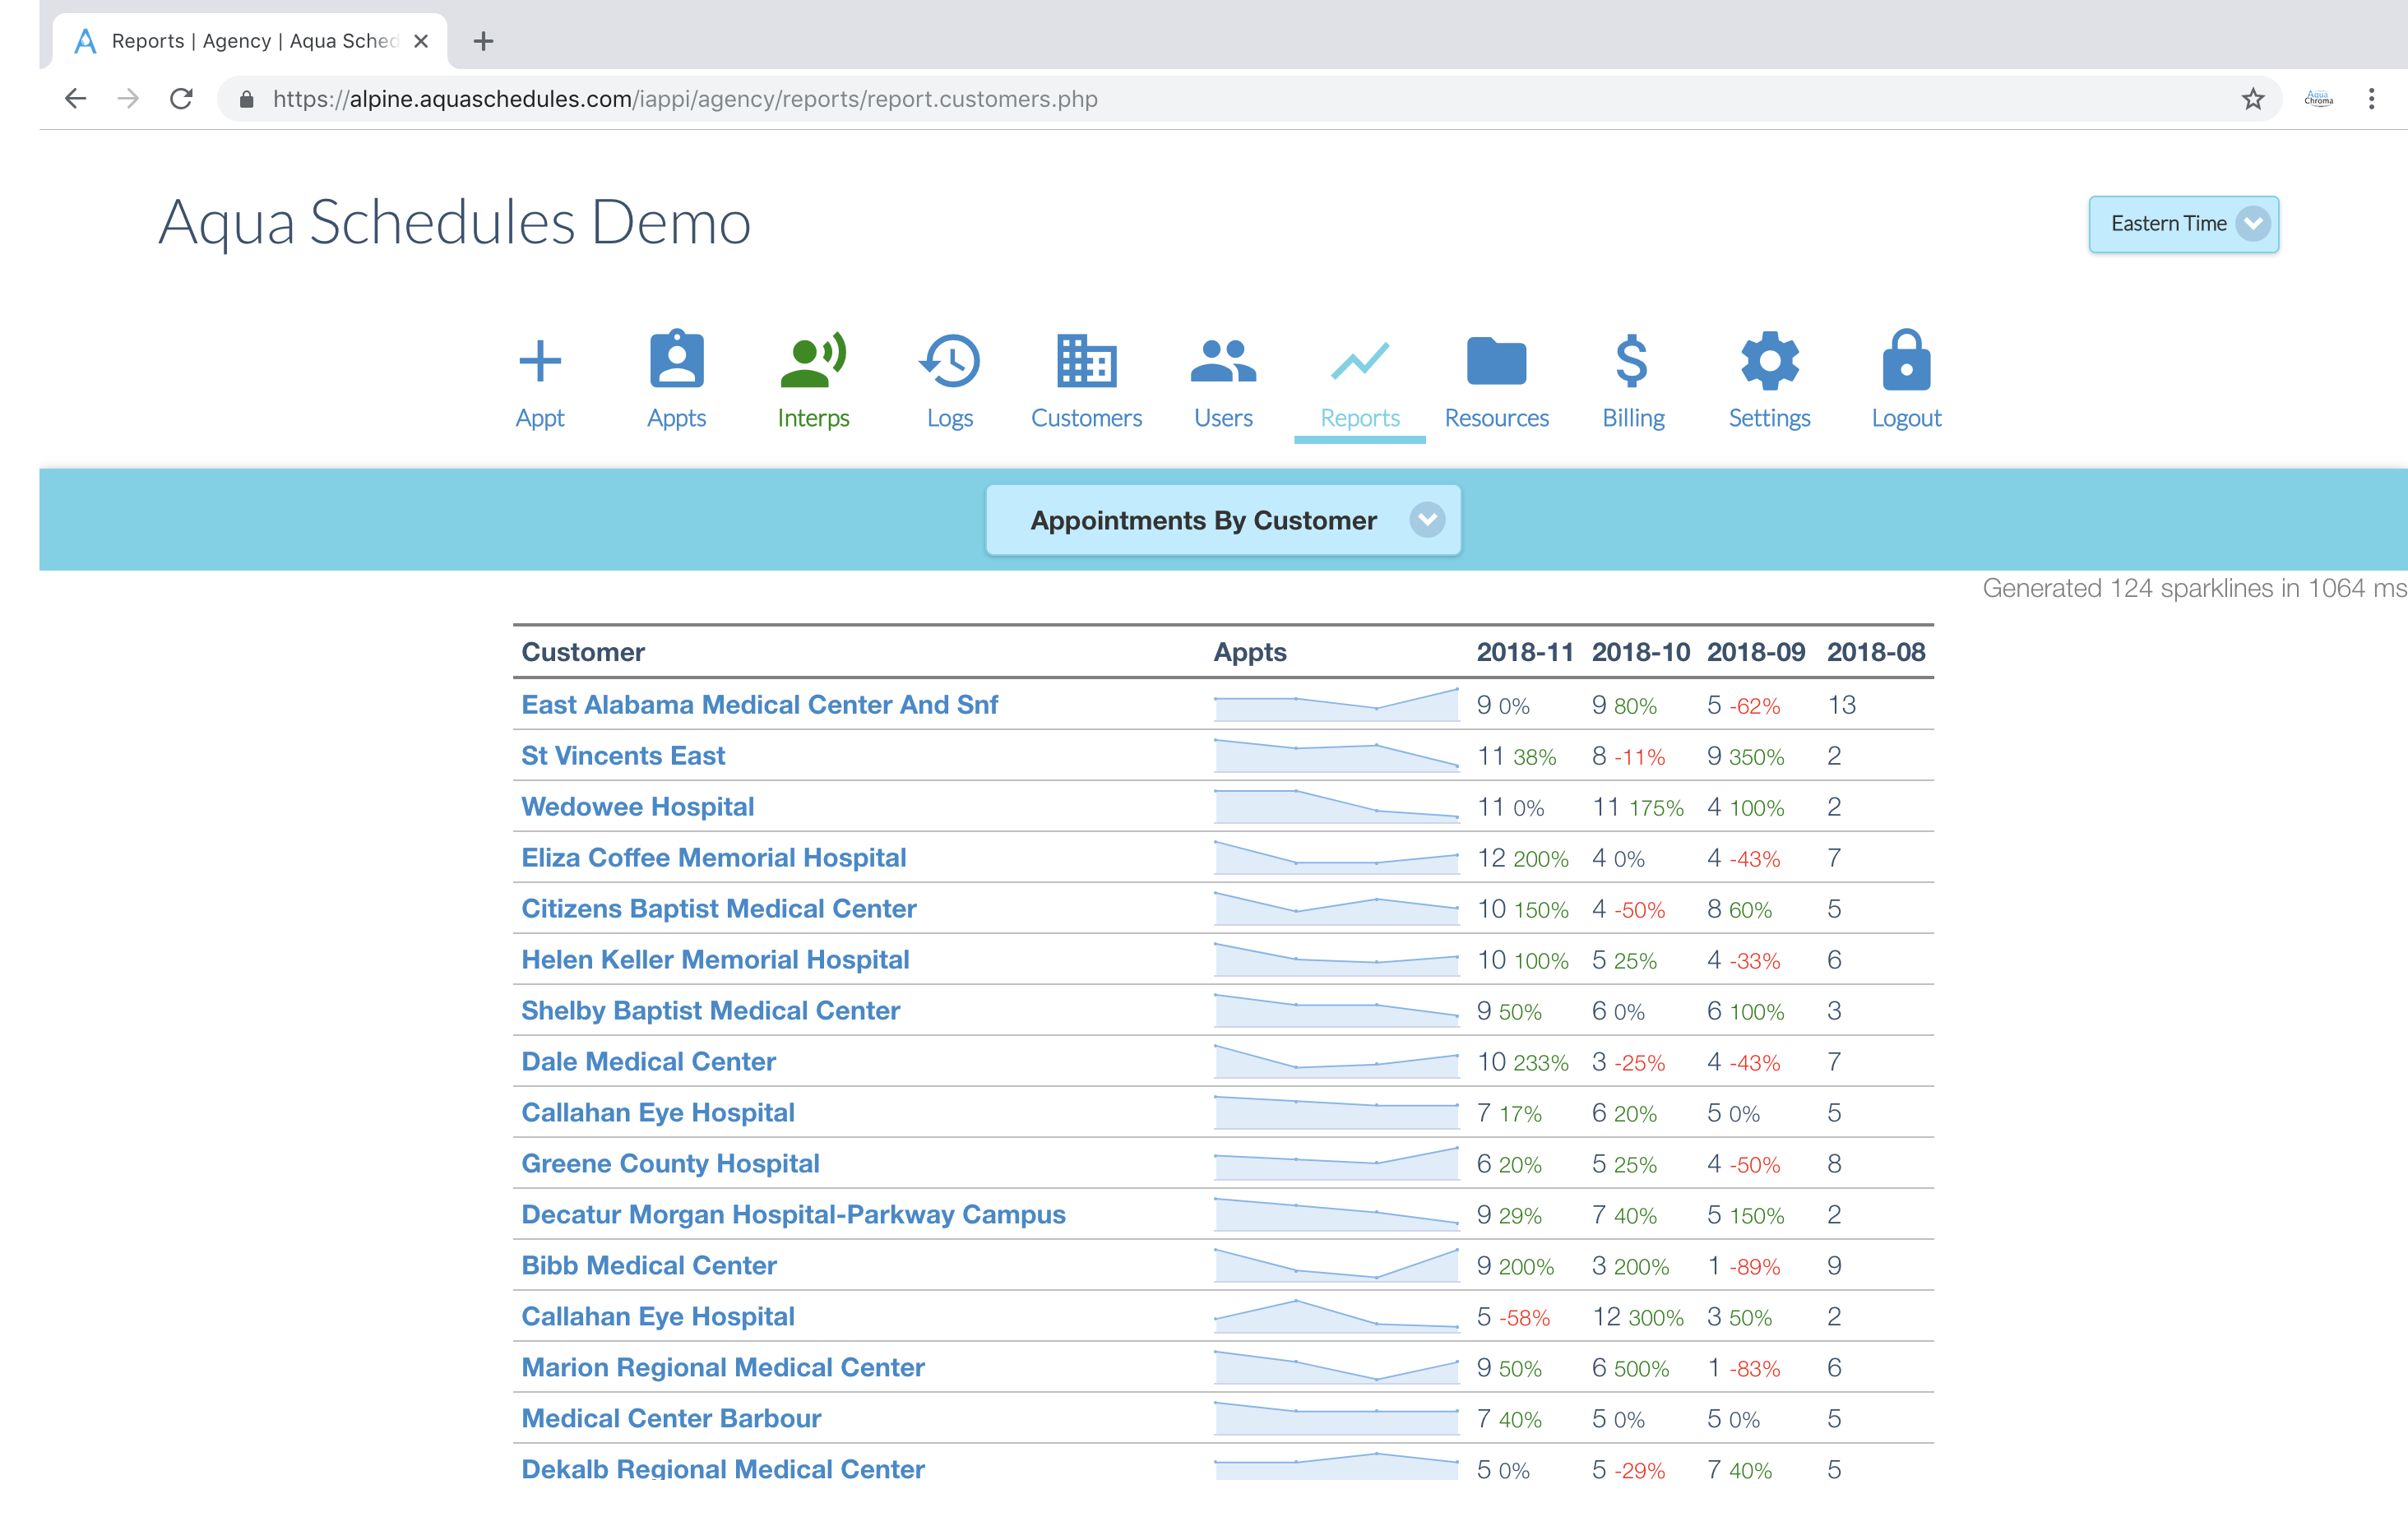
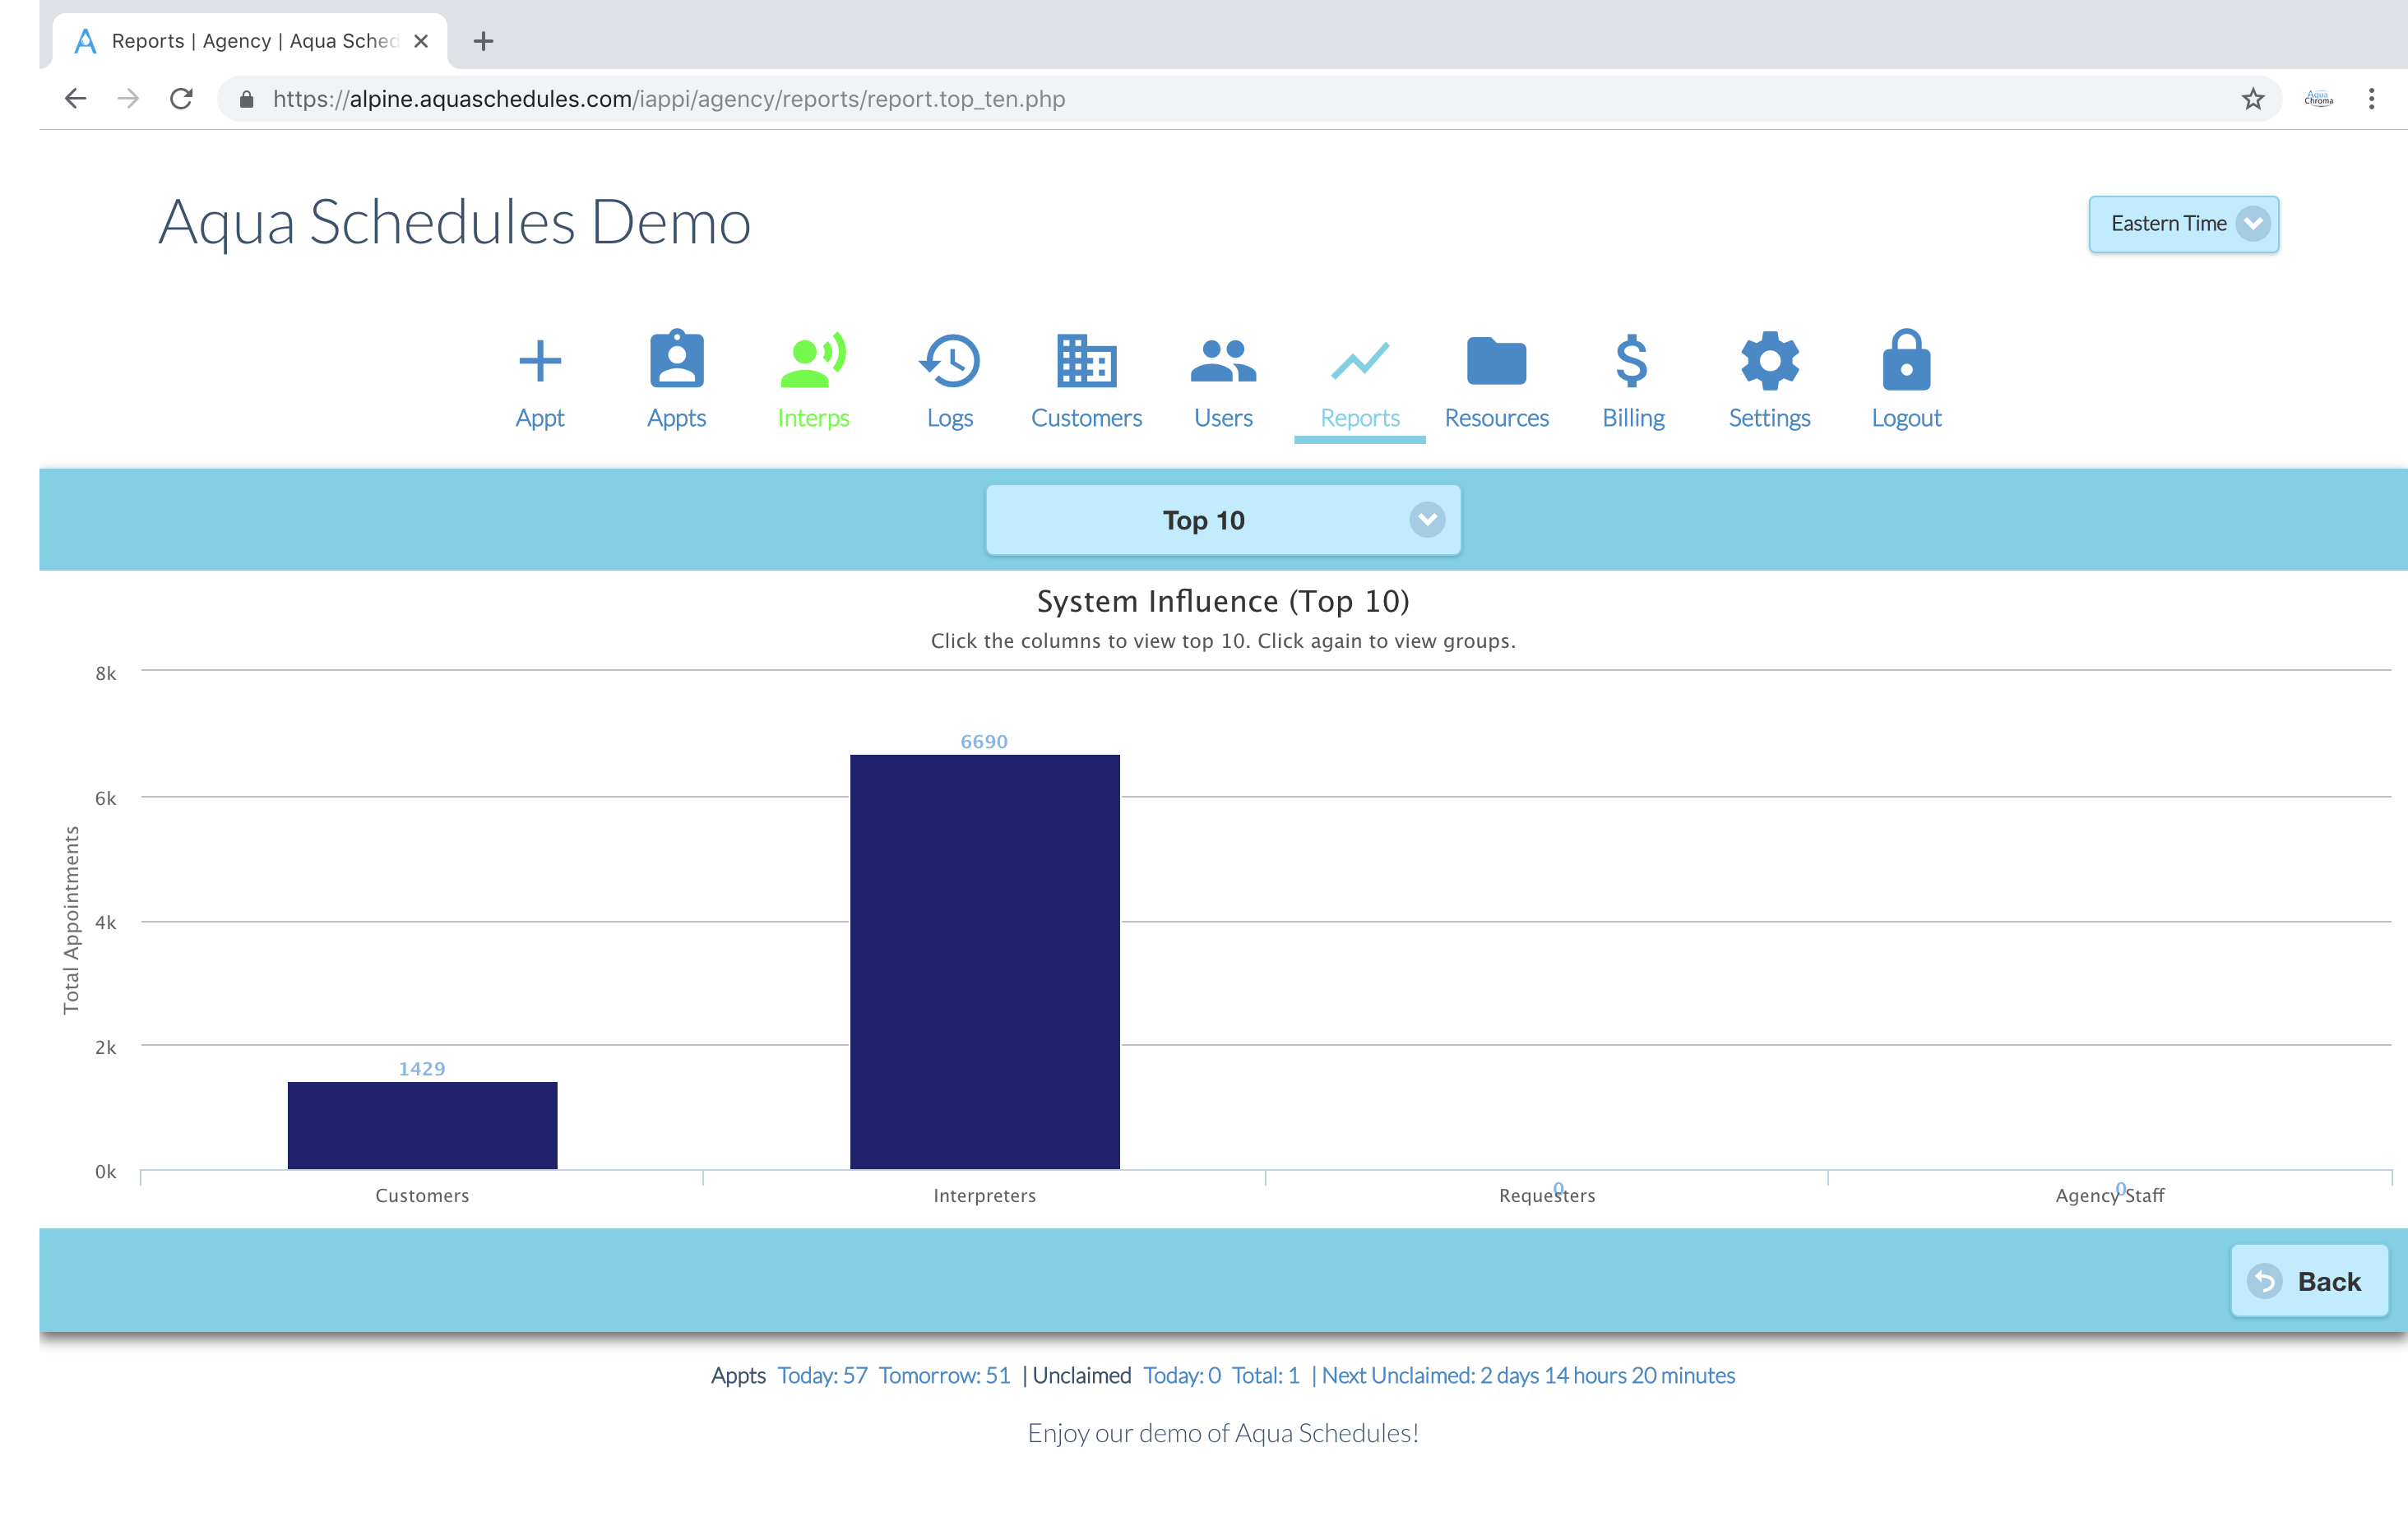
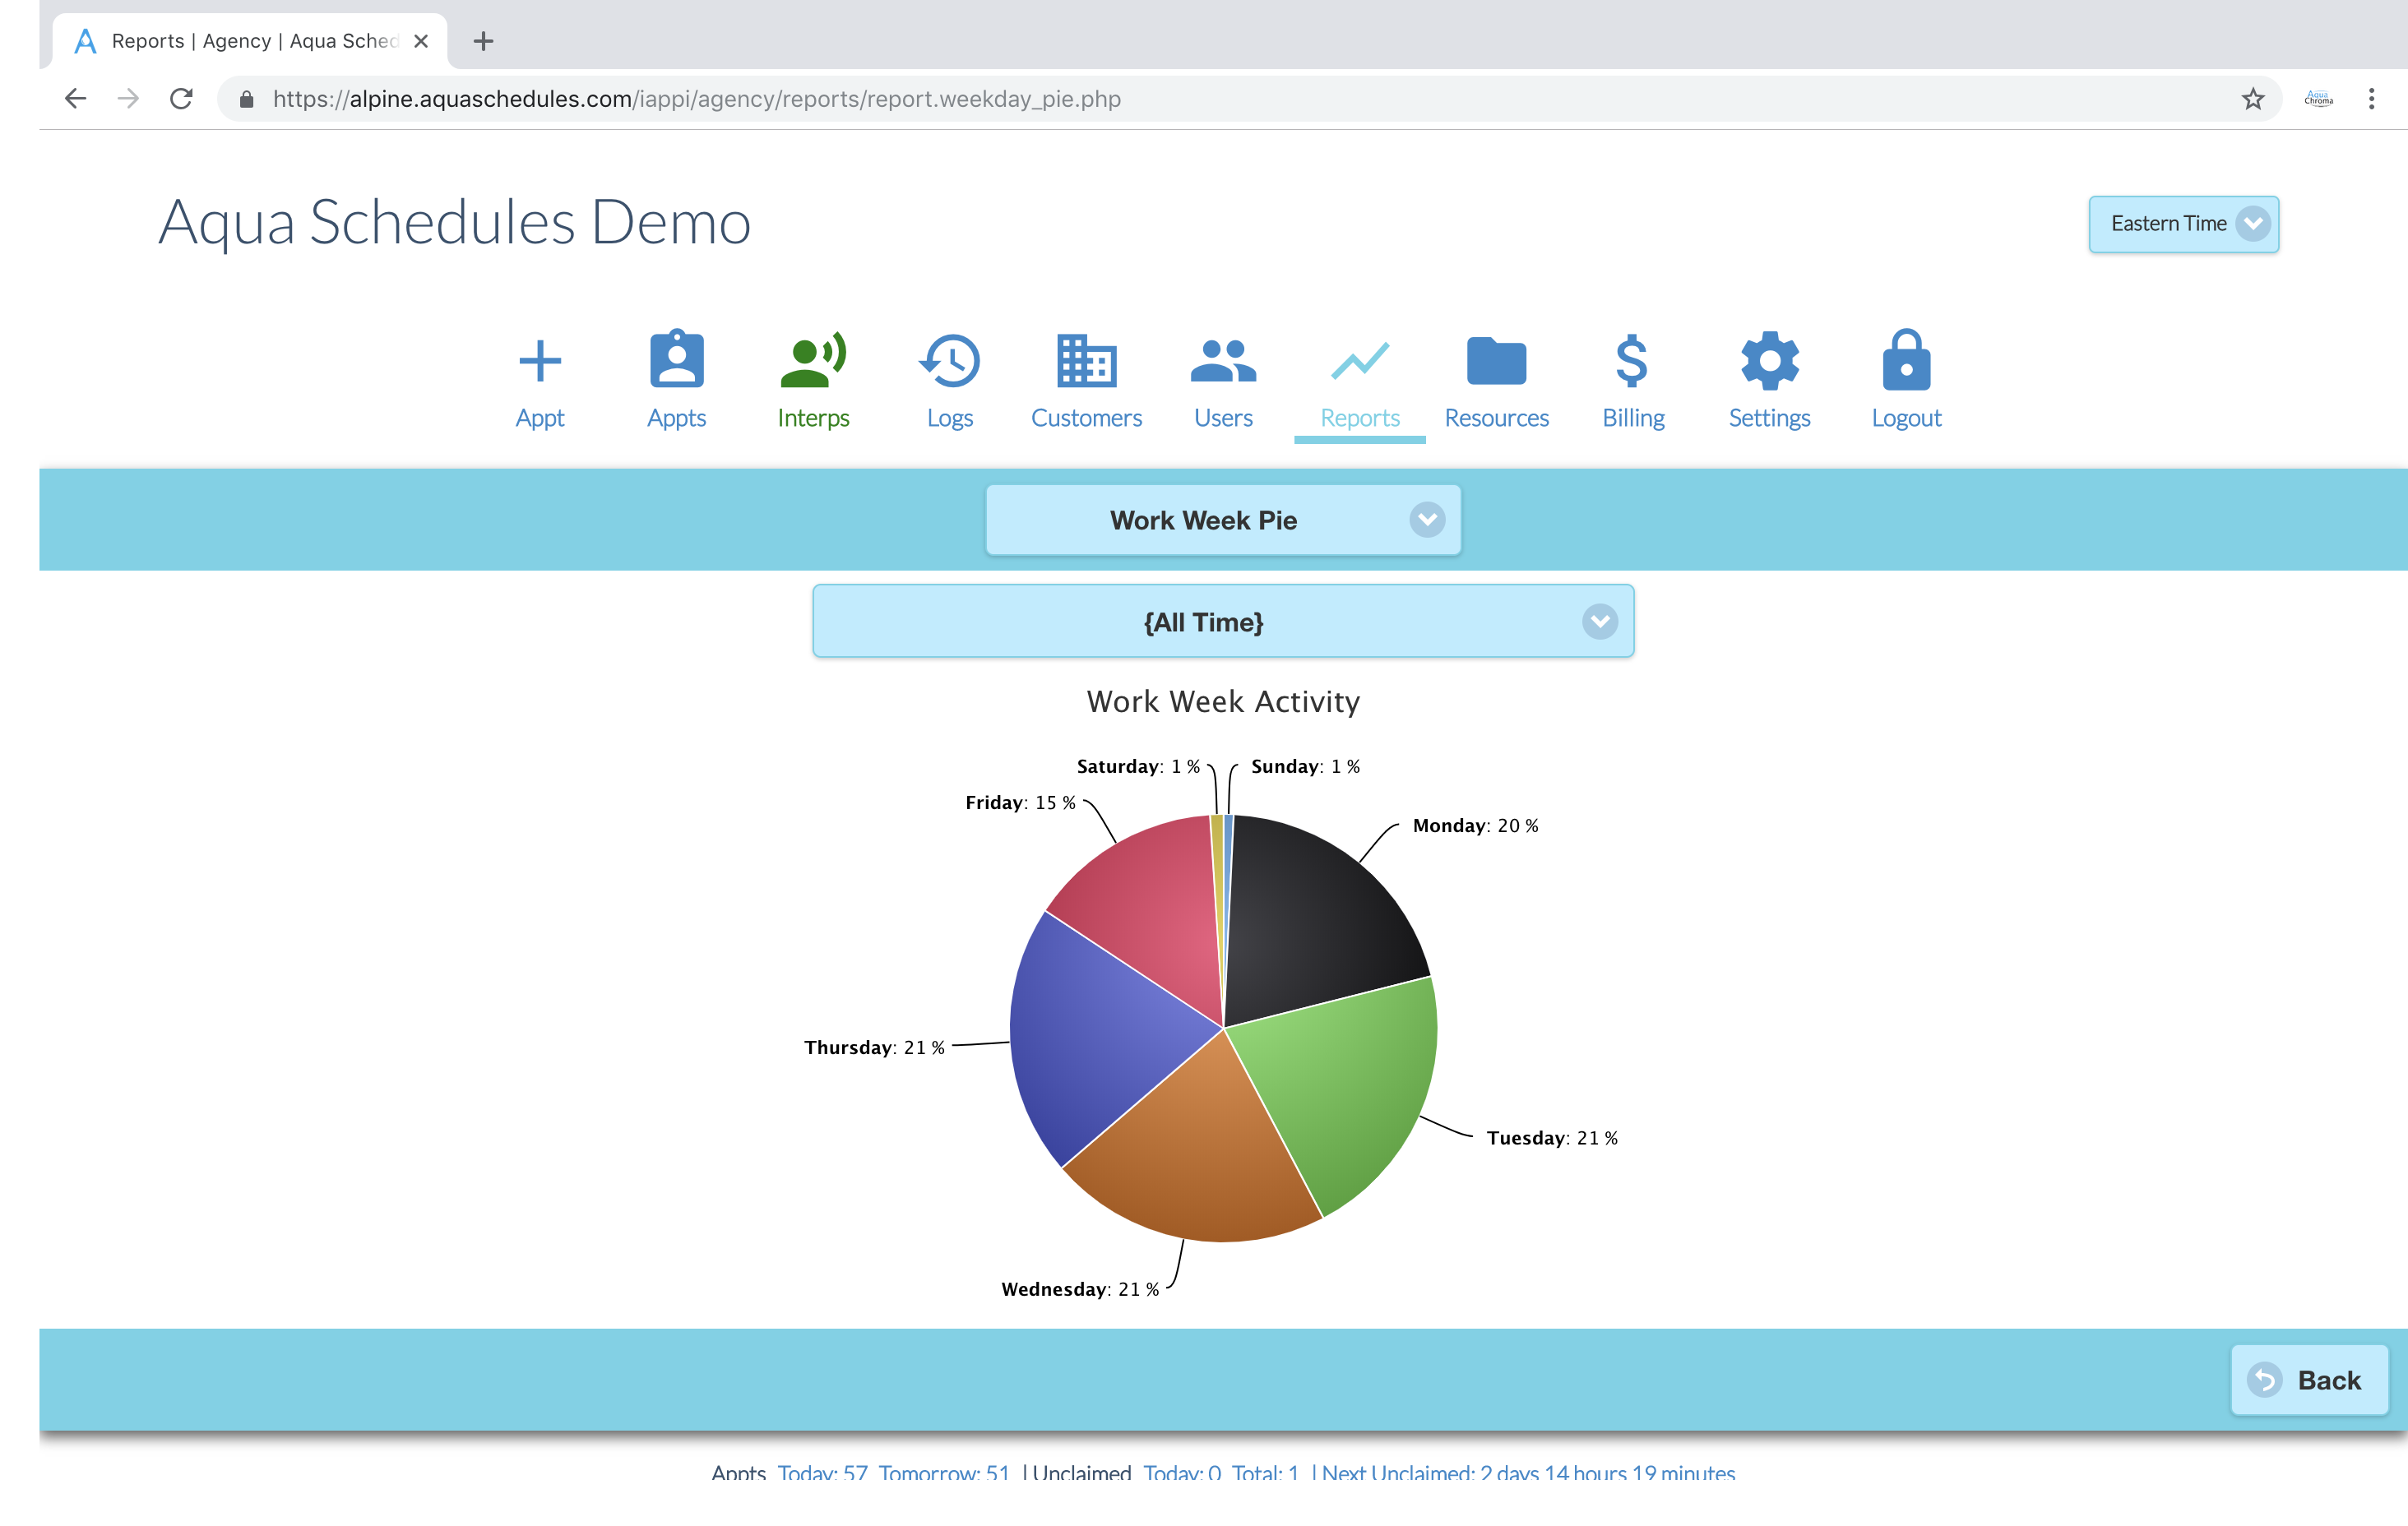
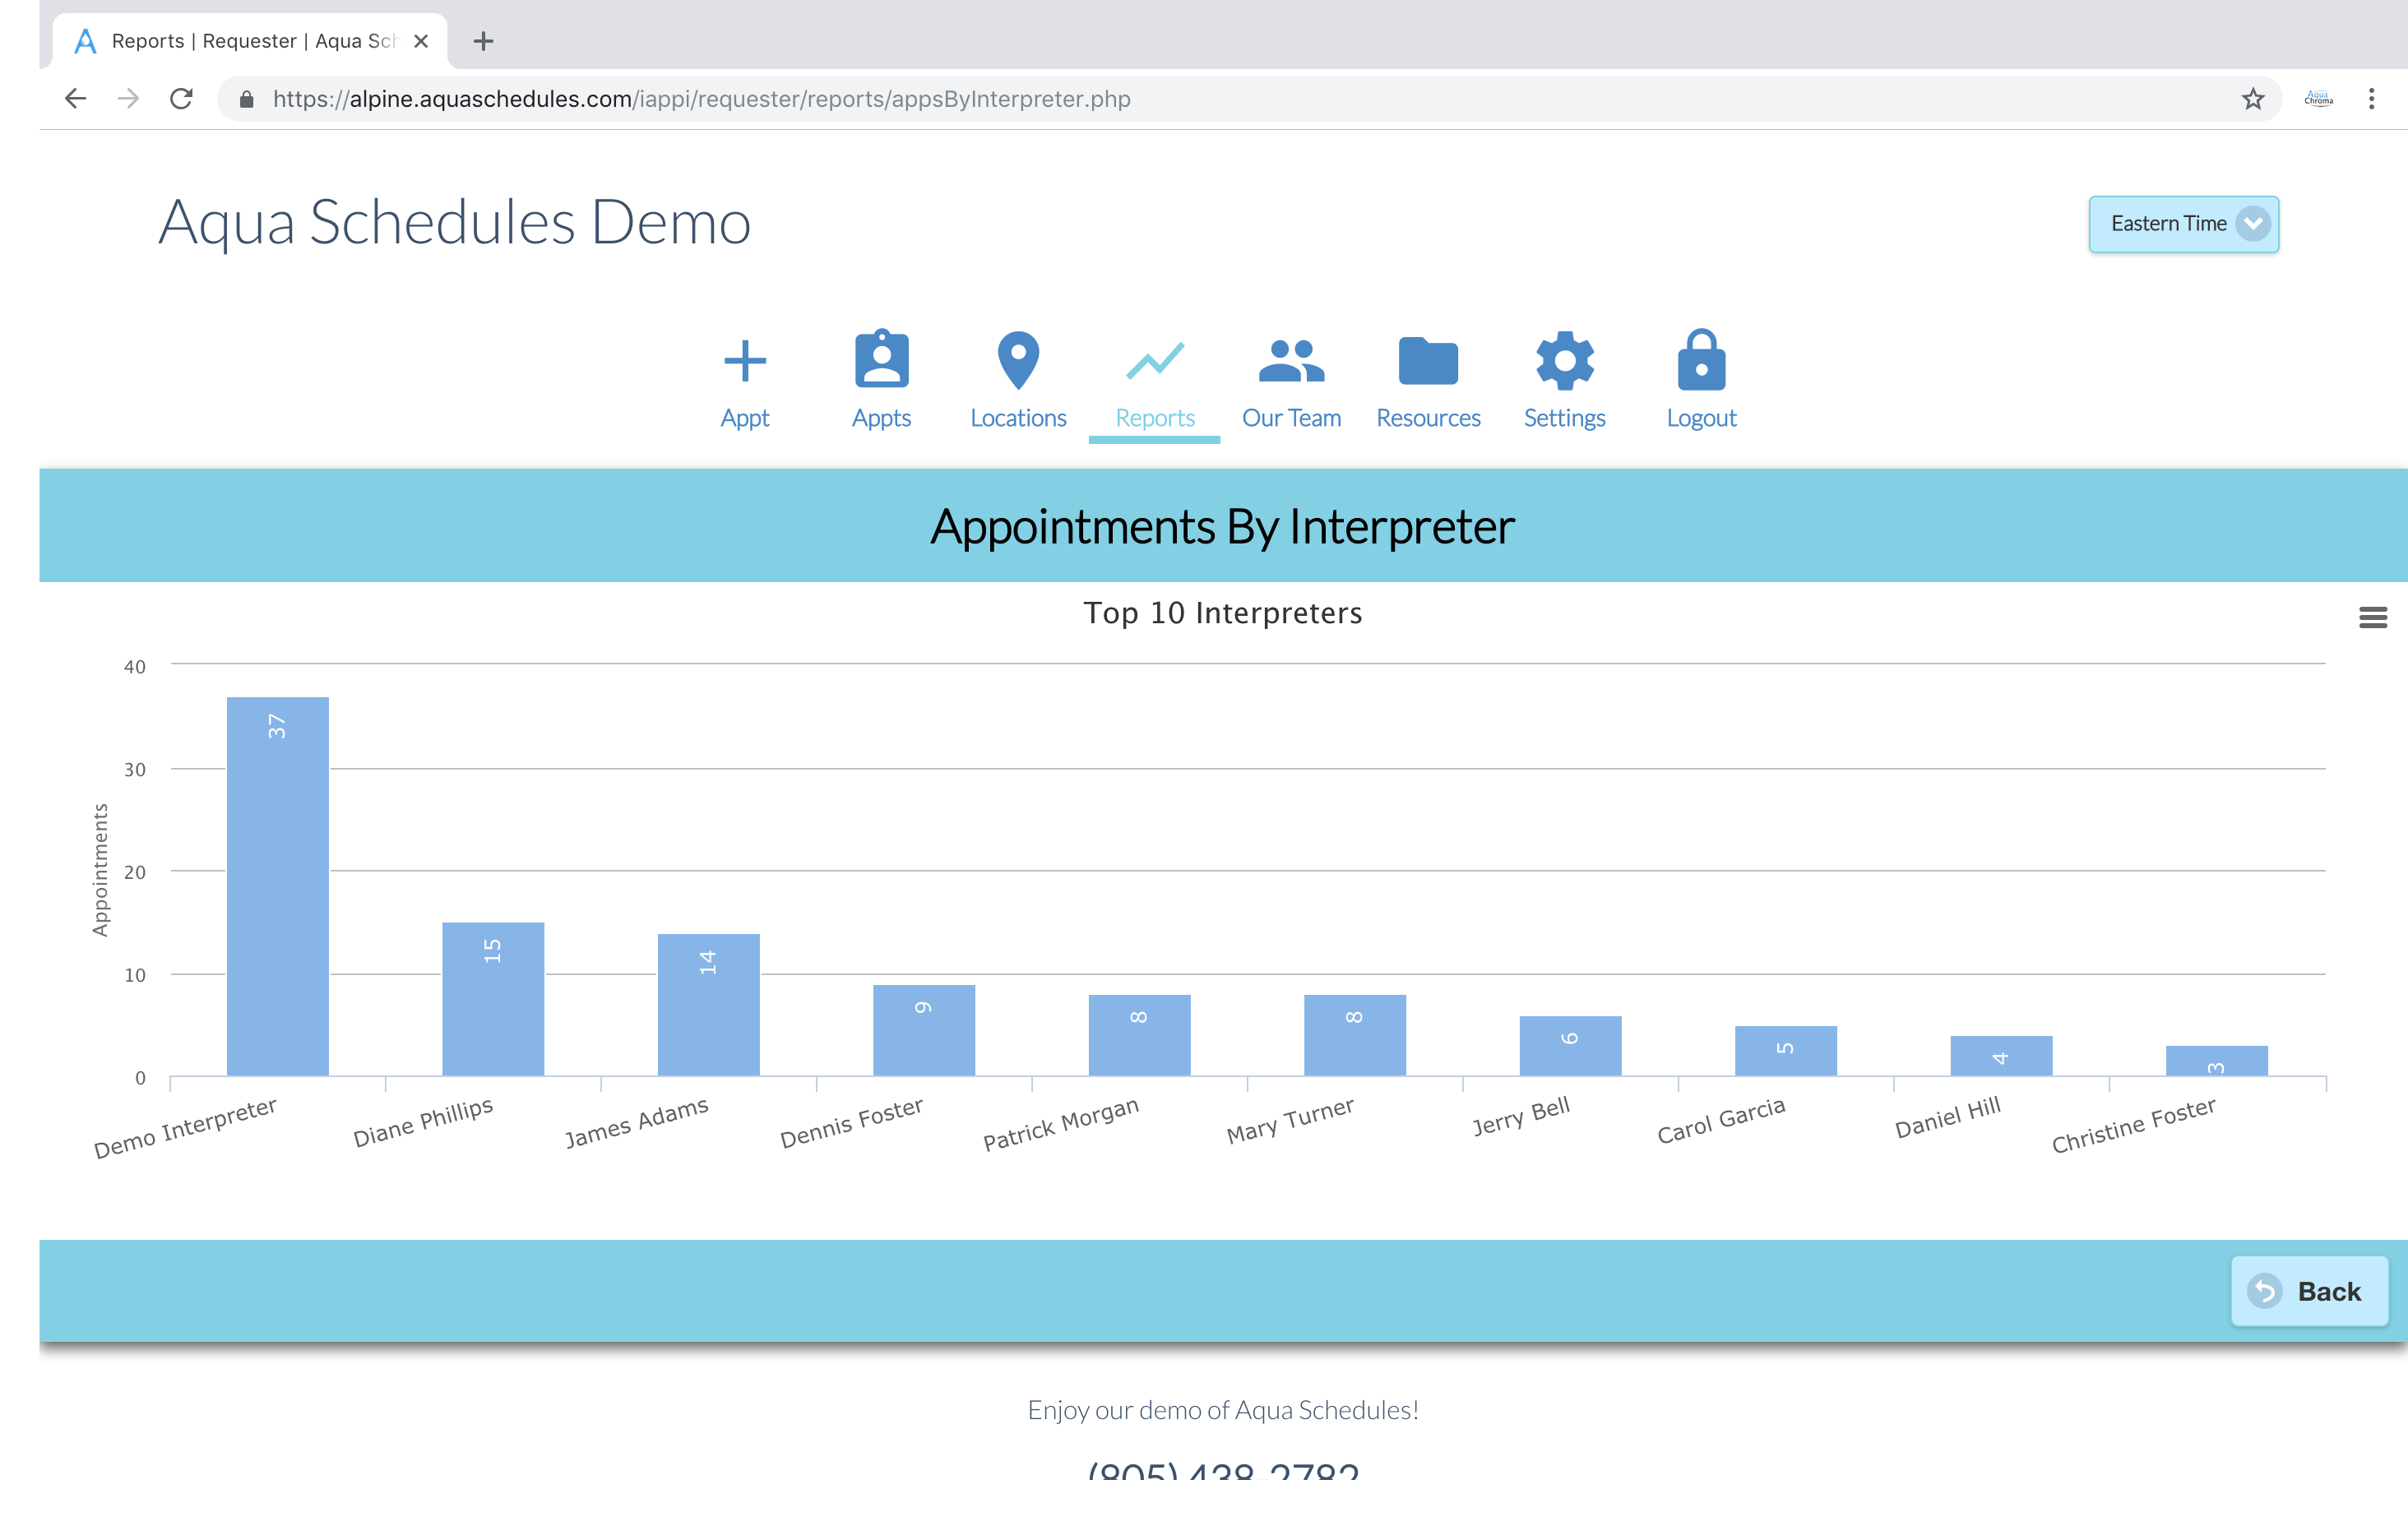
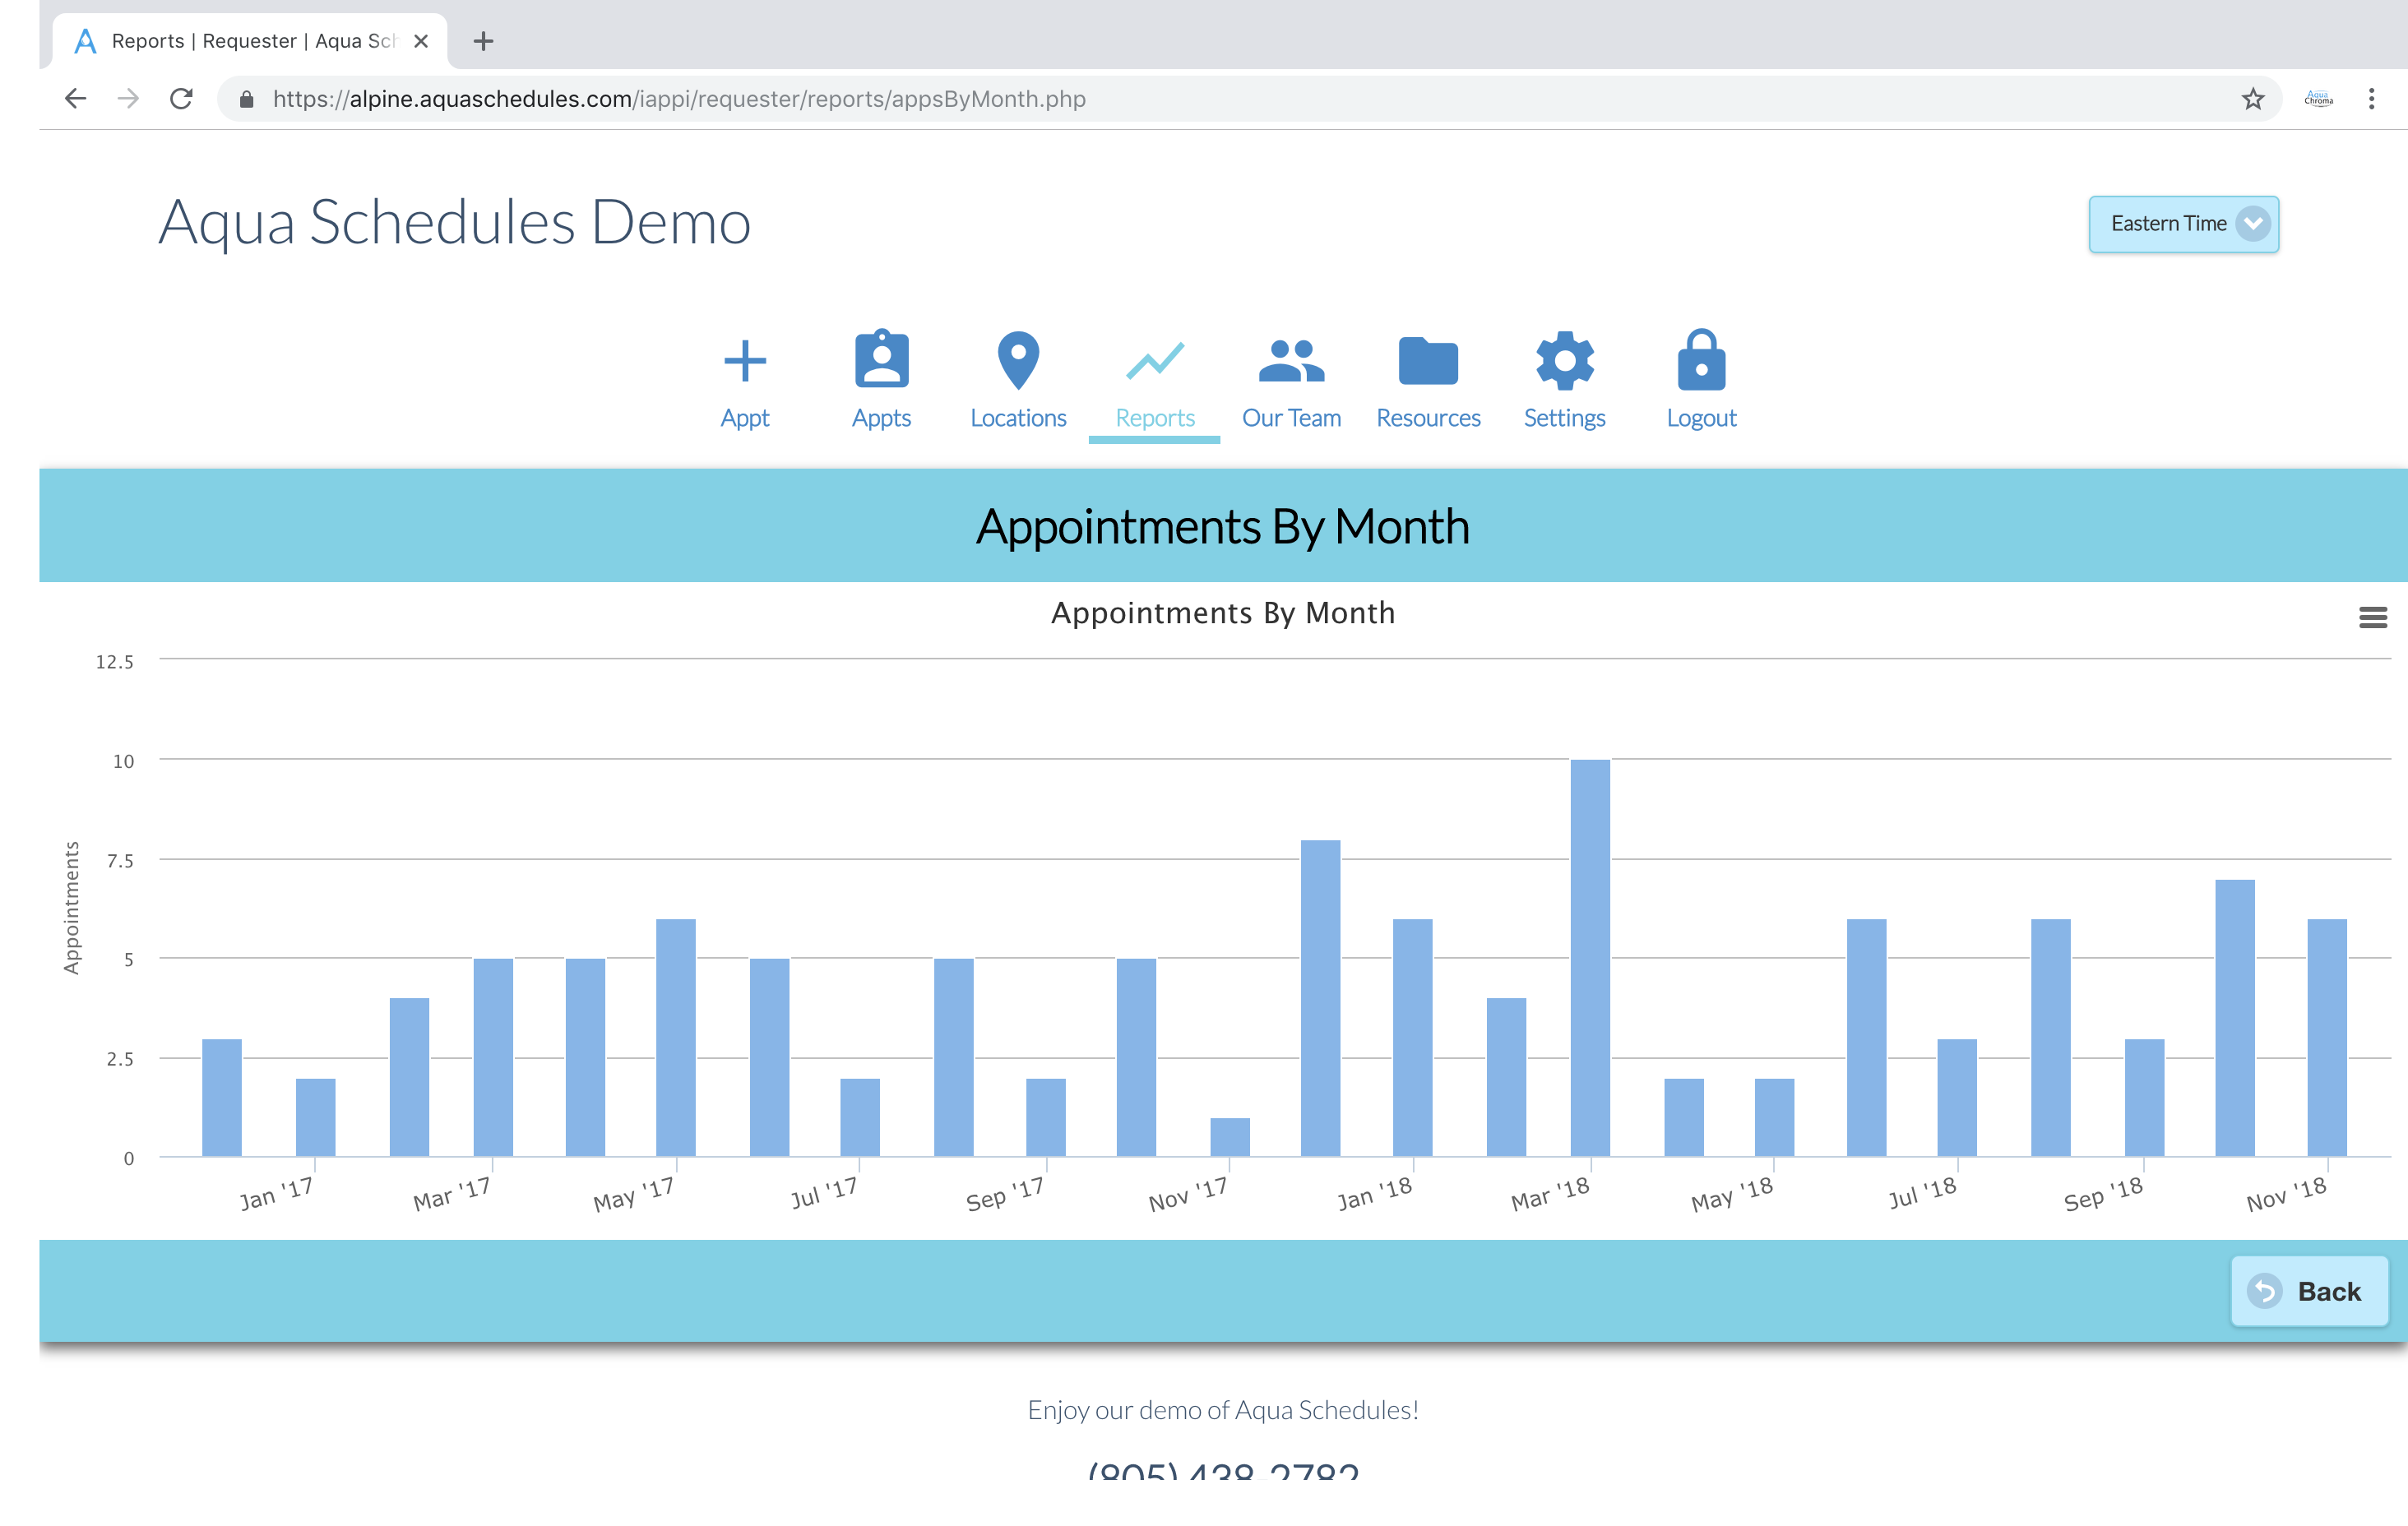
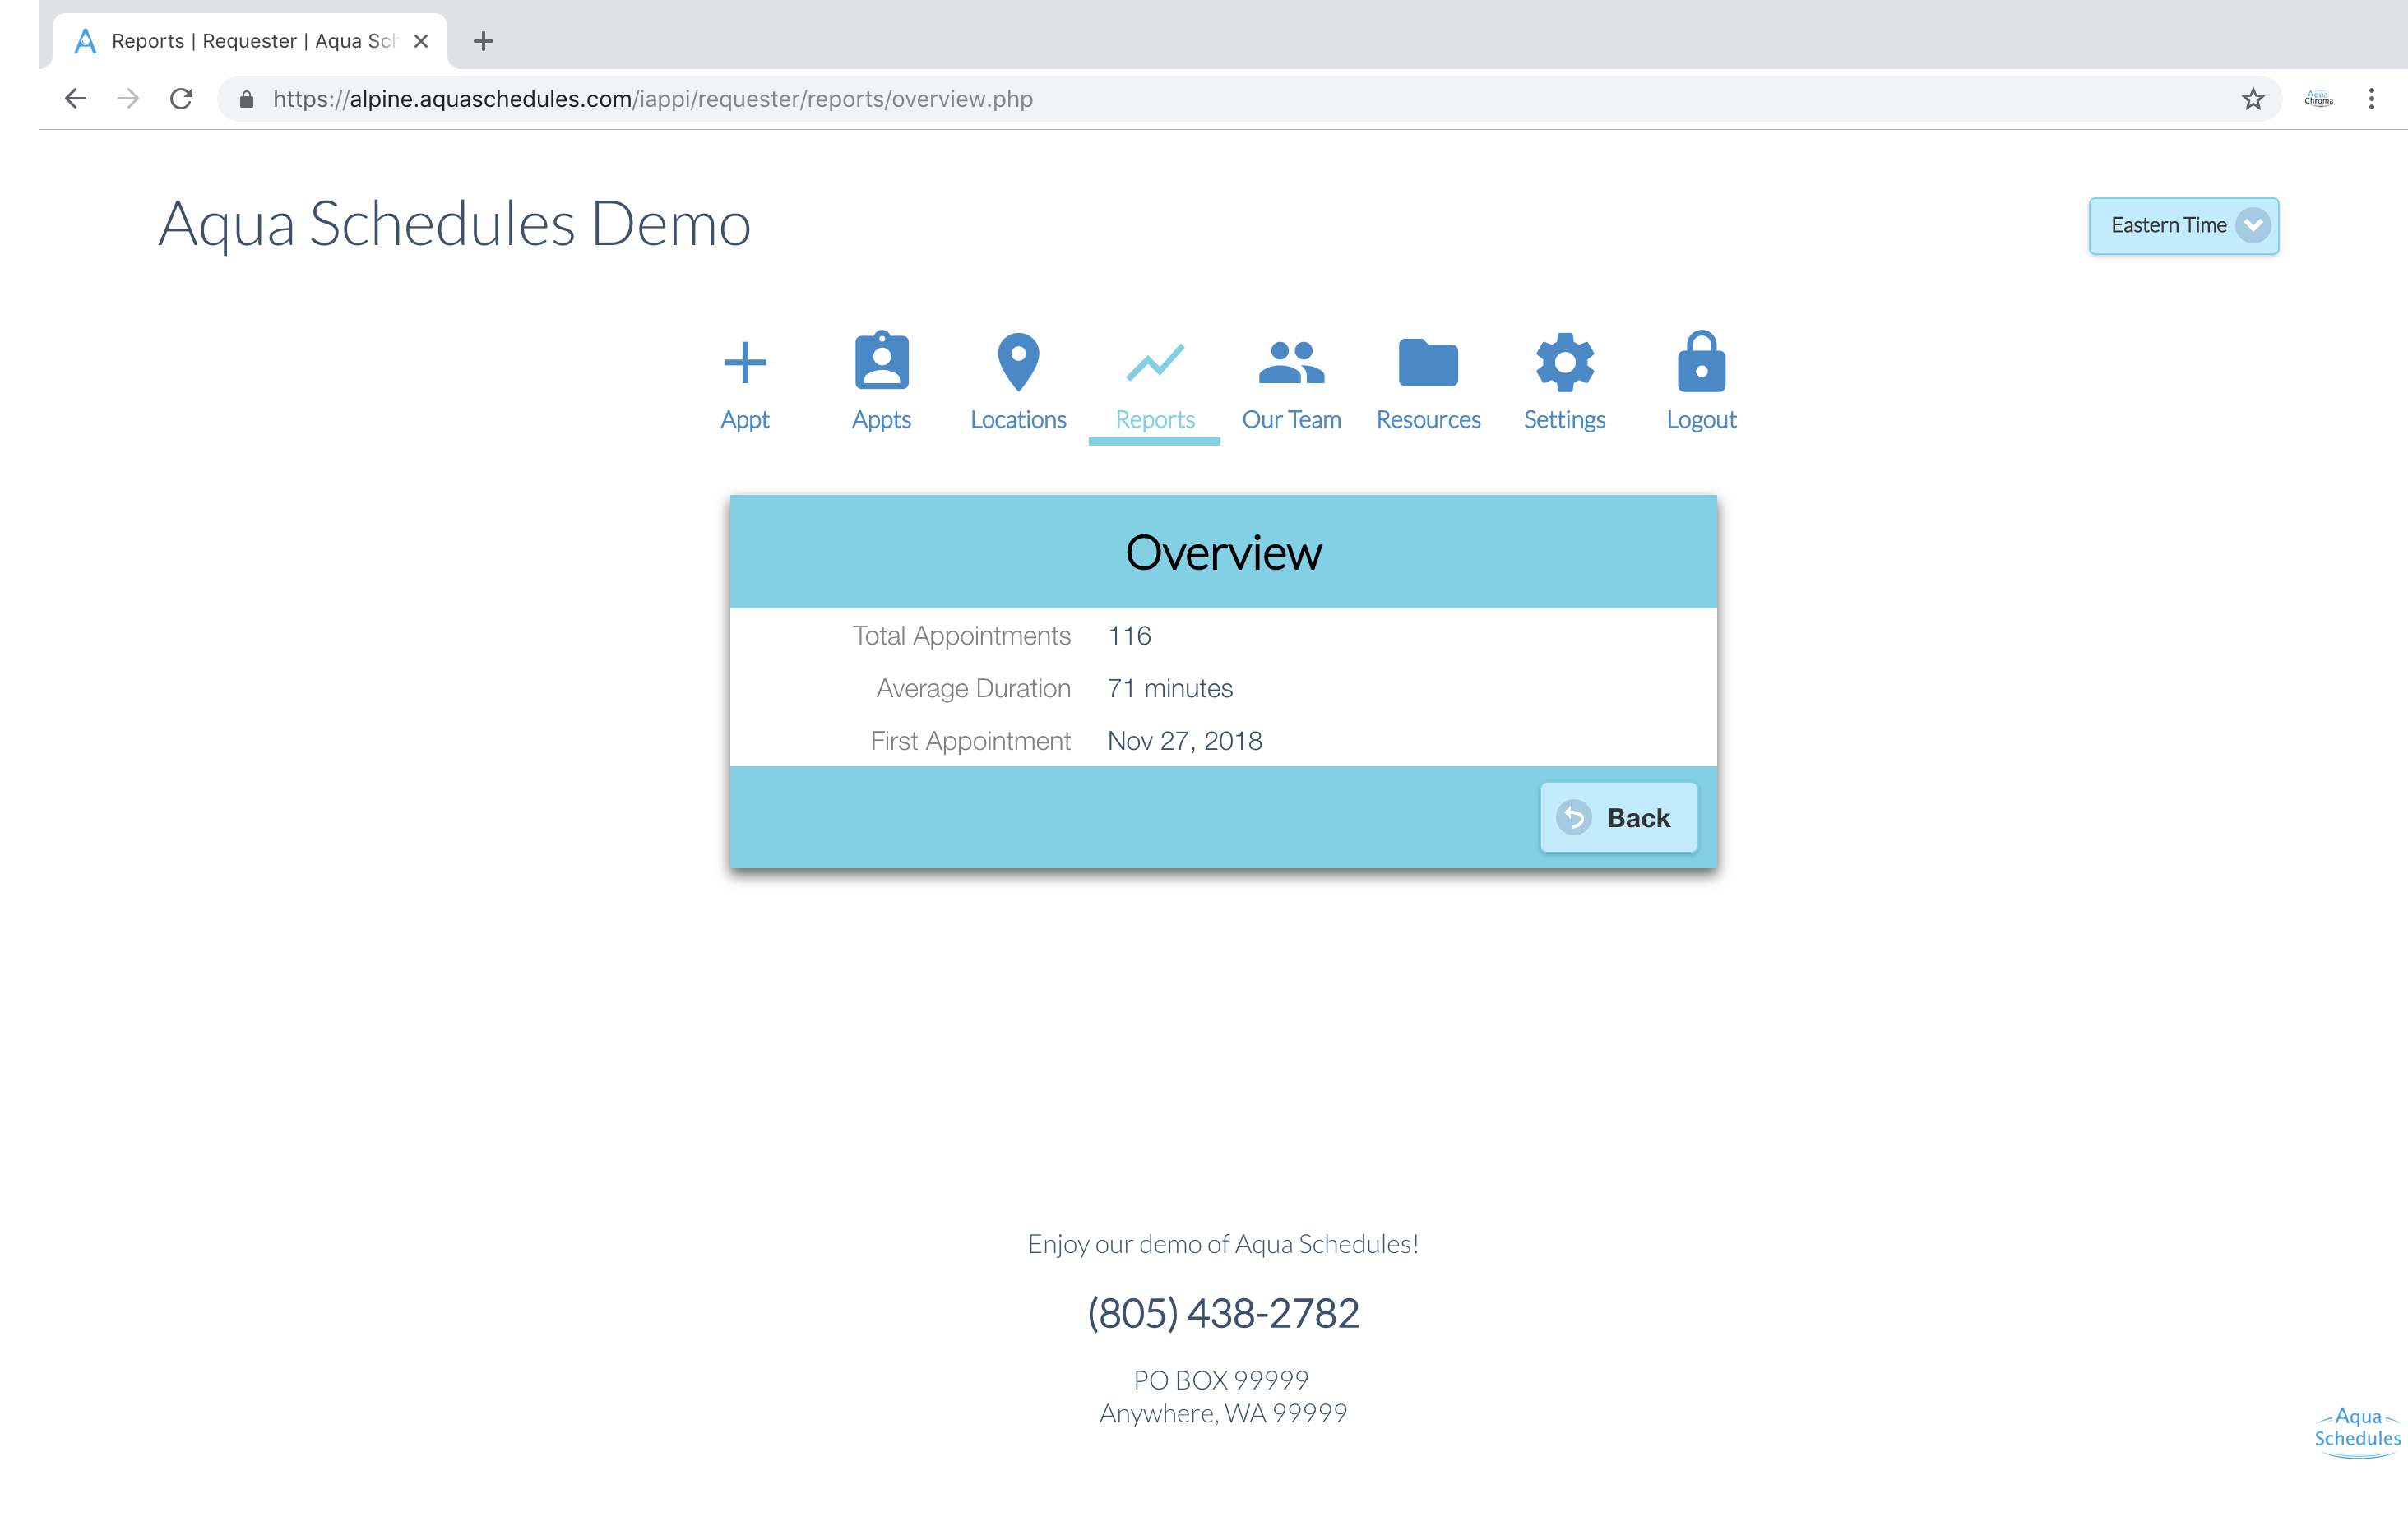
The reports menu provides the agency with statistical graphs and charts to visually summarize important agency information. This comes in handy for the agency to monitor their progress. It provides your agency with overviews and percentages of your agencies week, month, and all time appointment averages
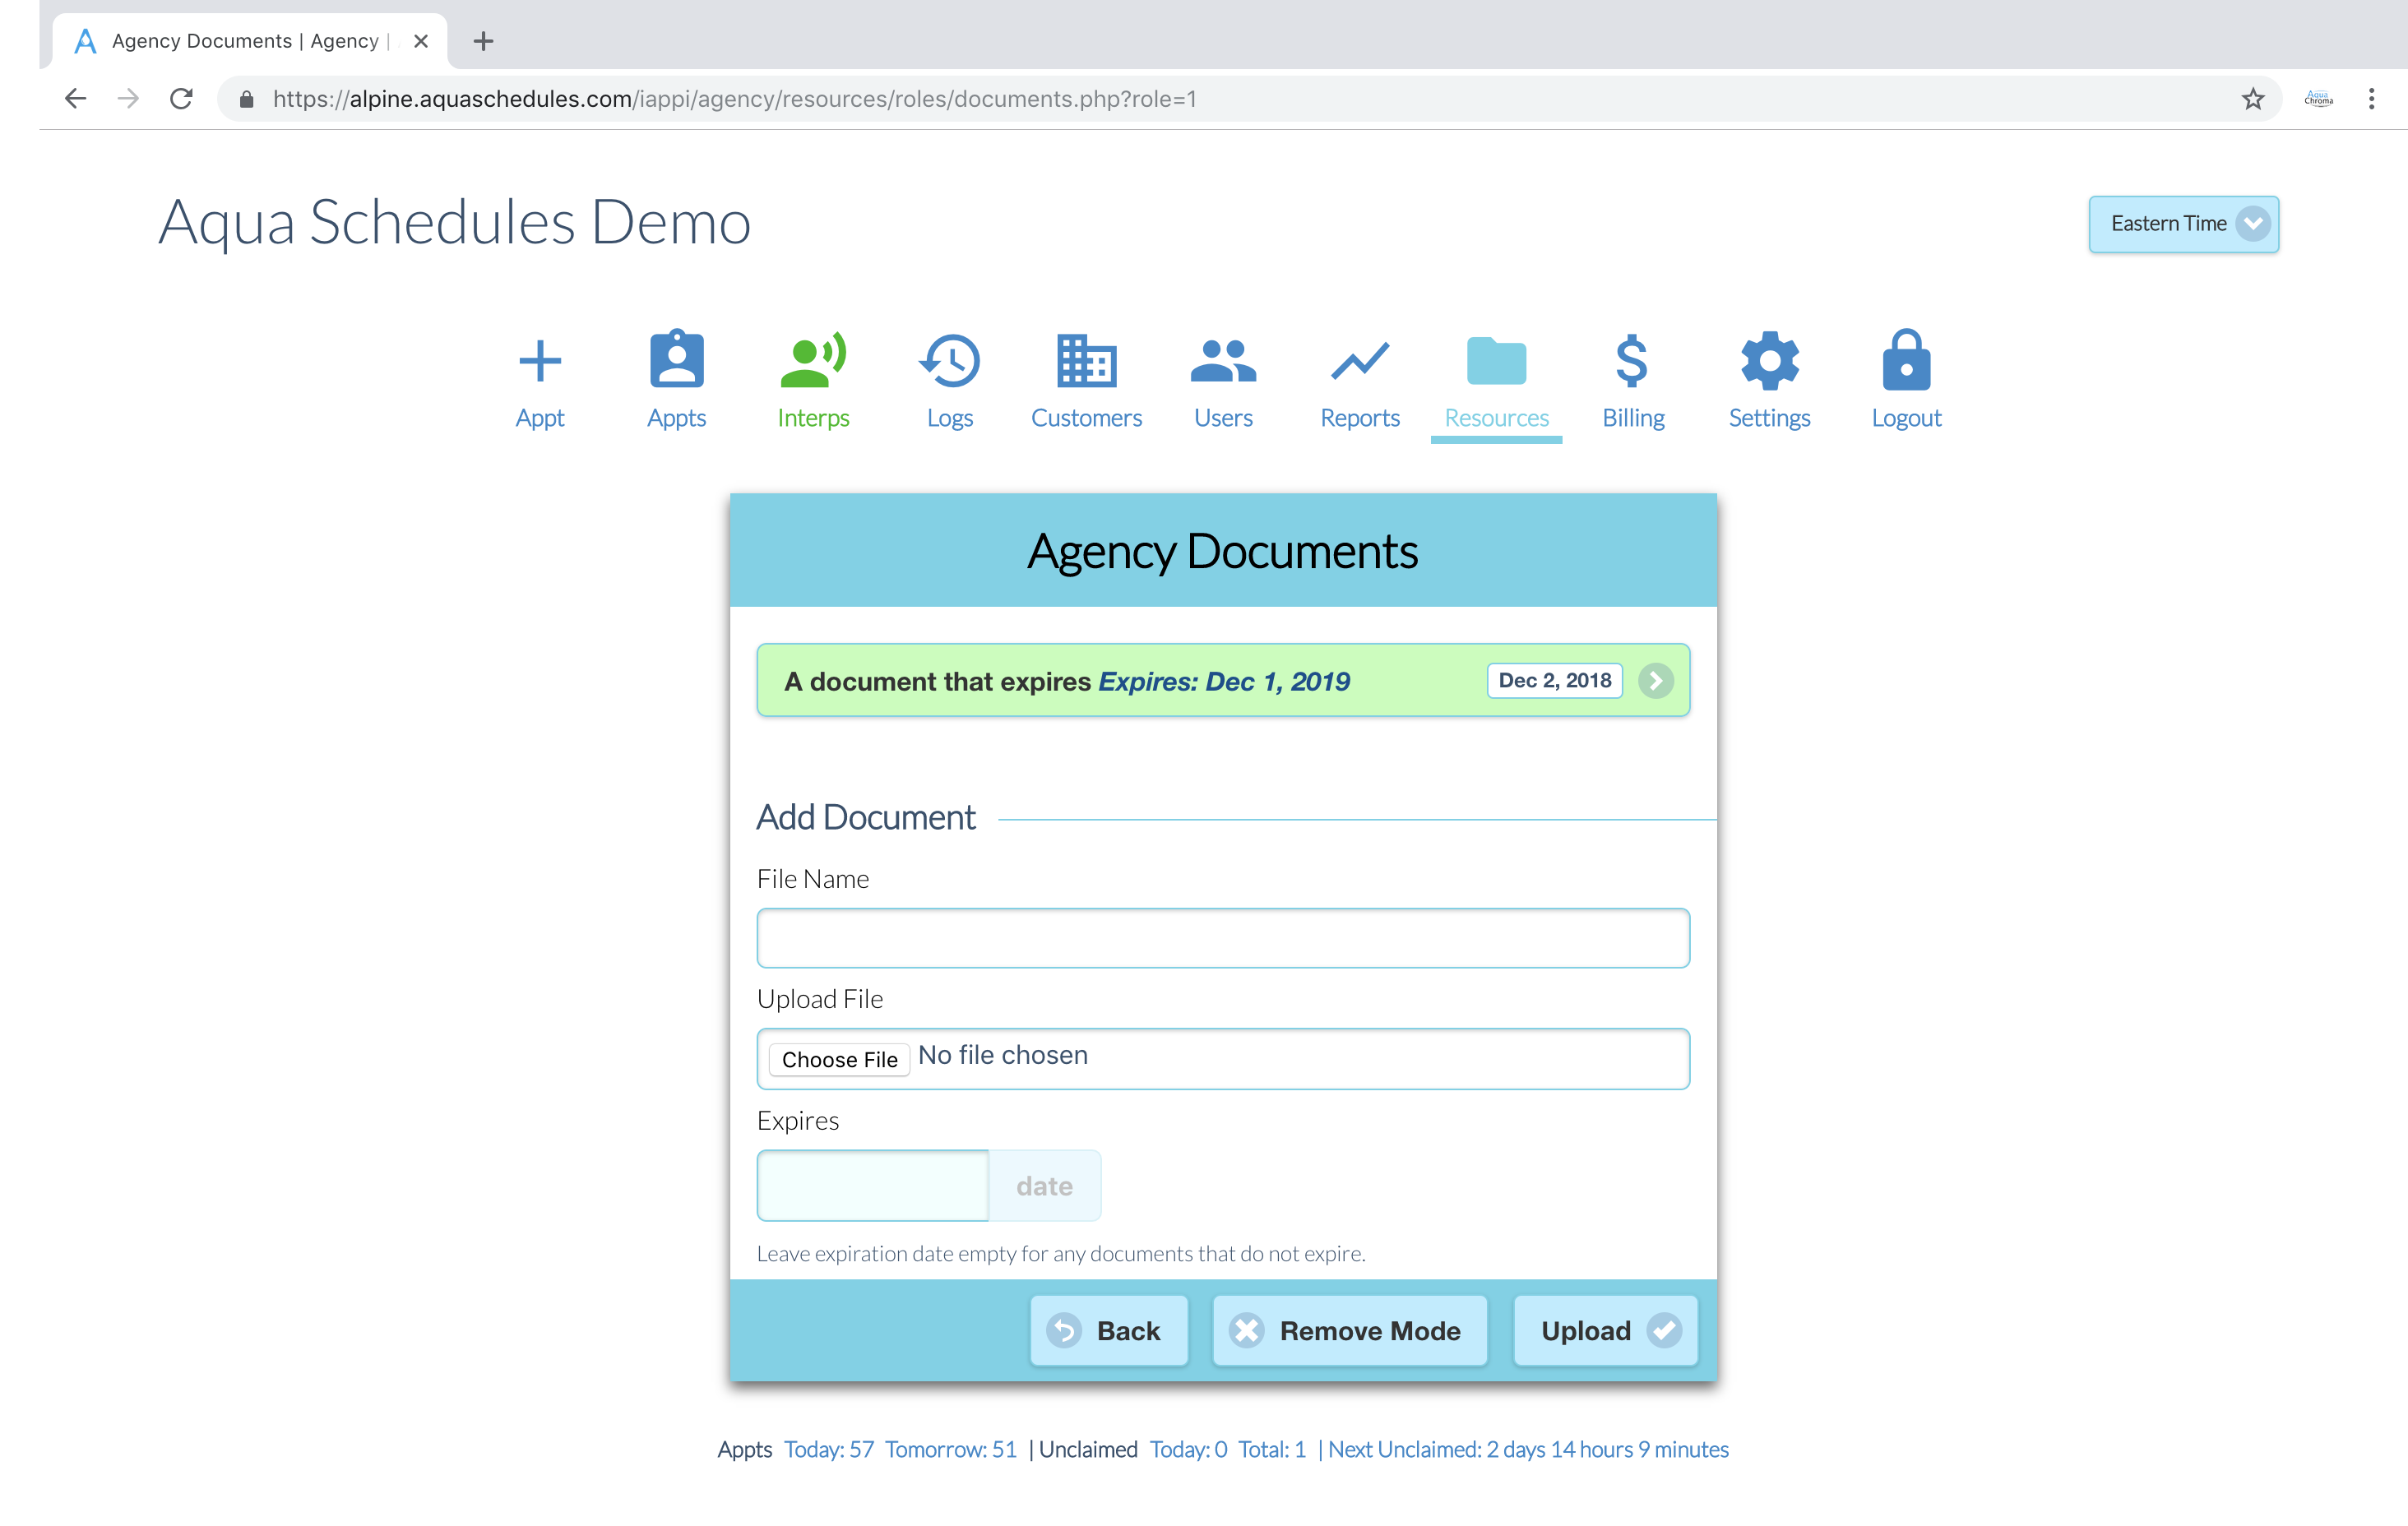
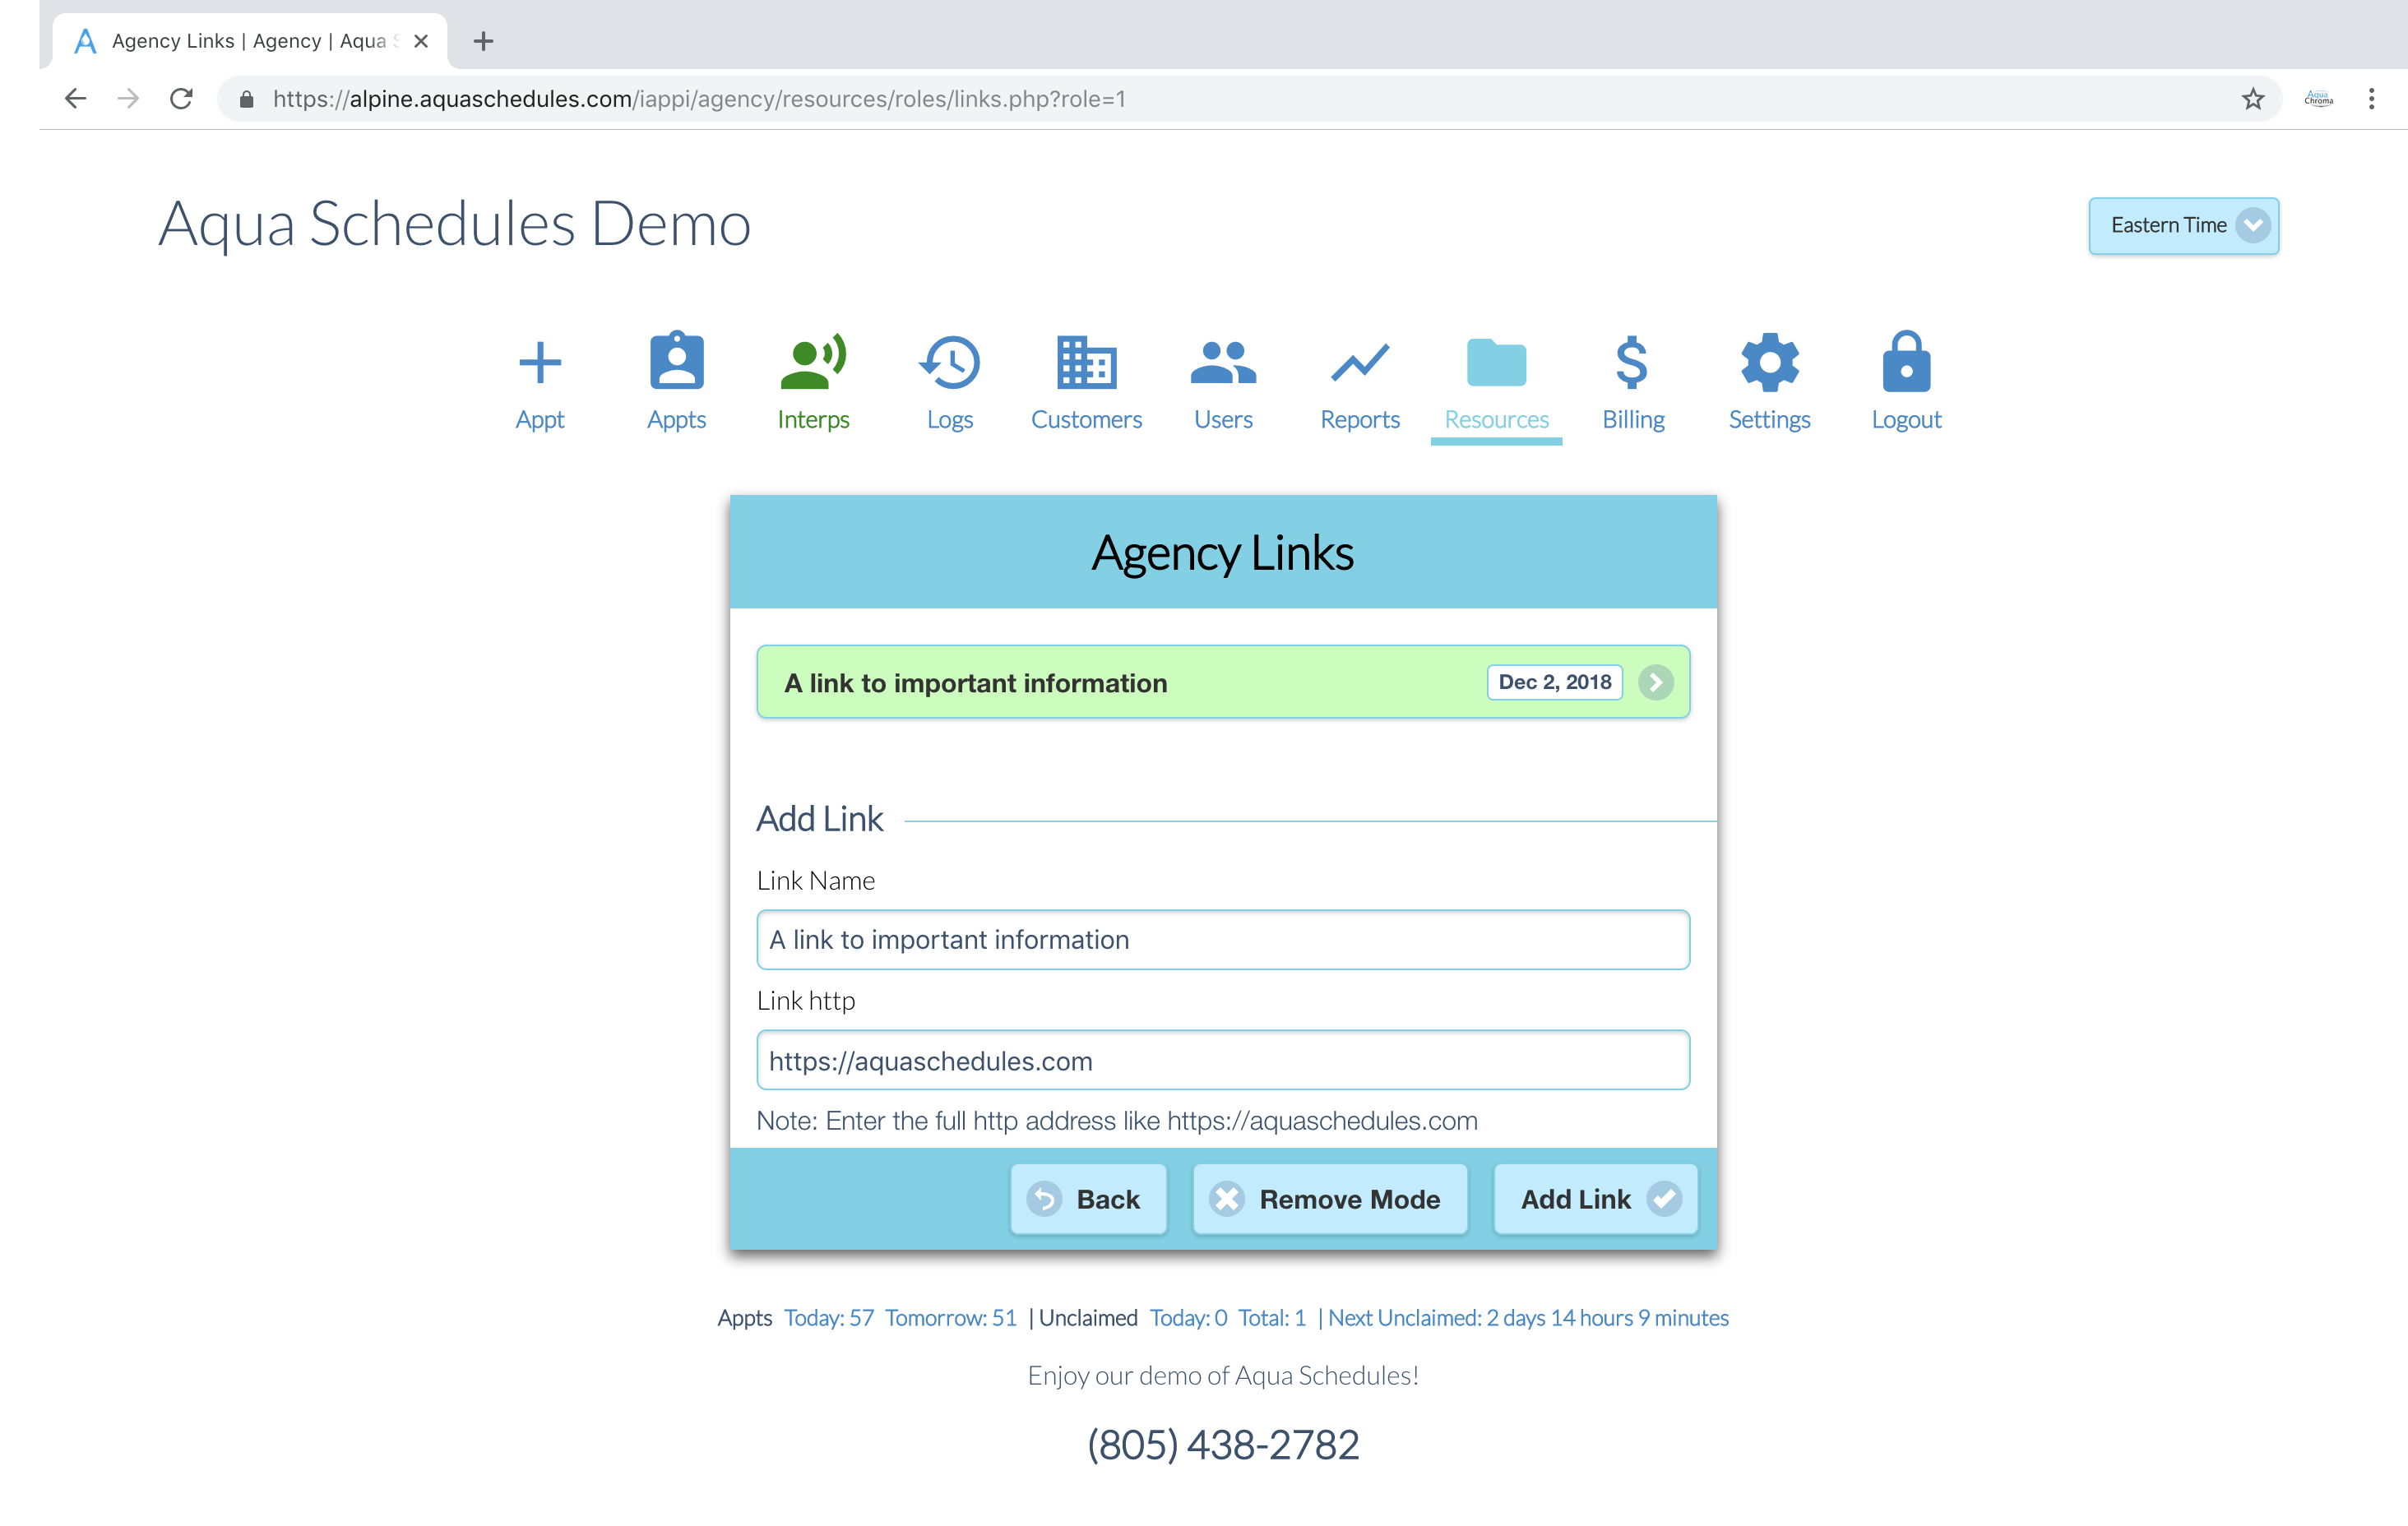
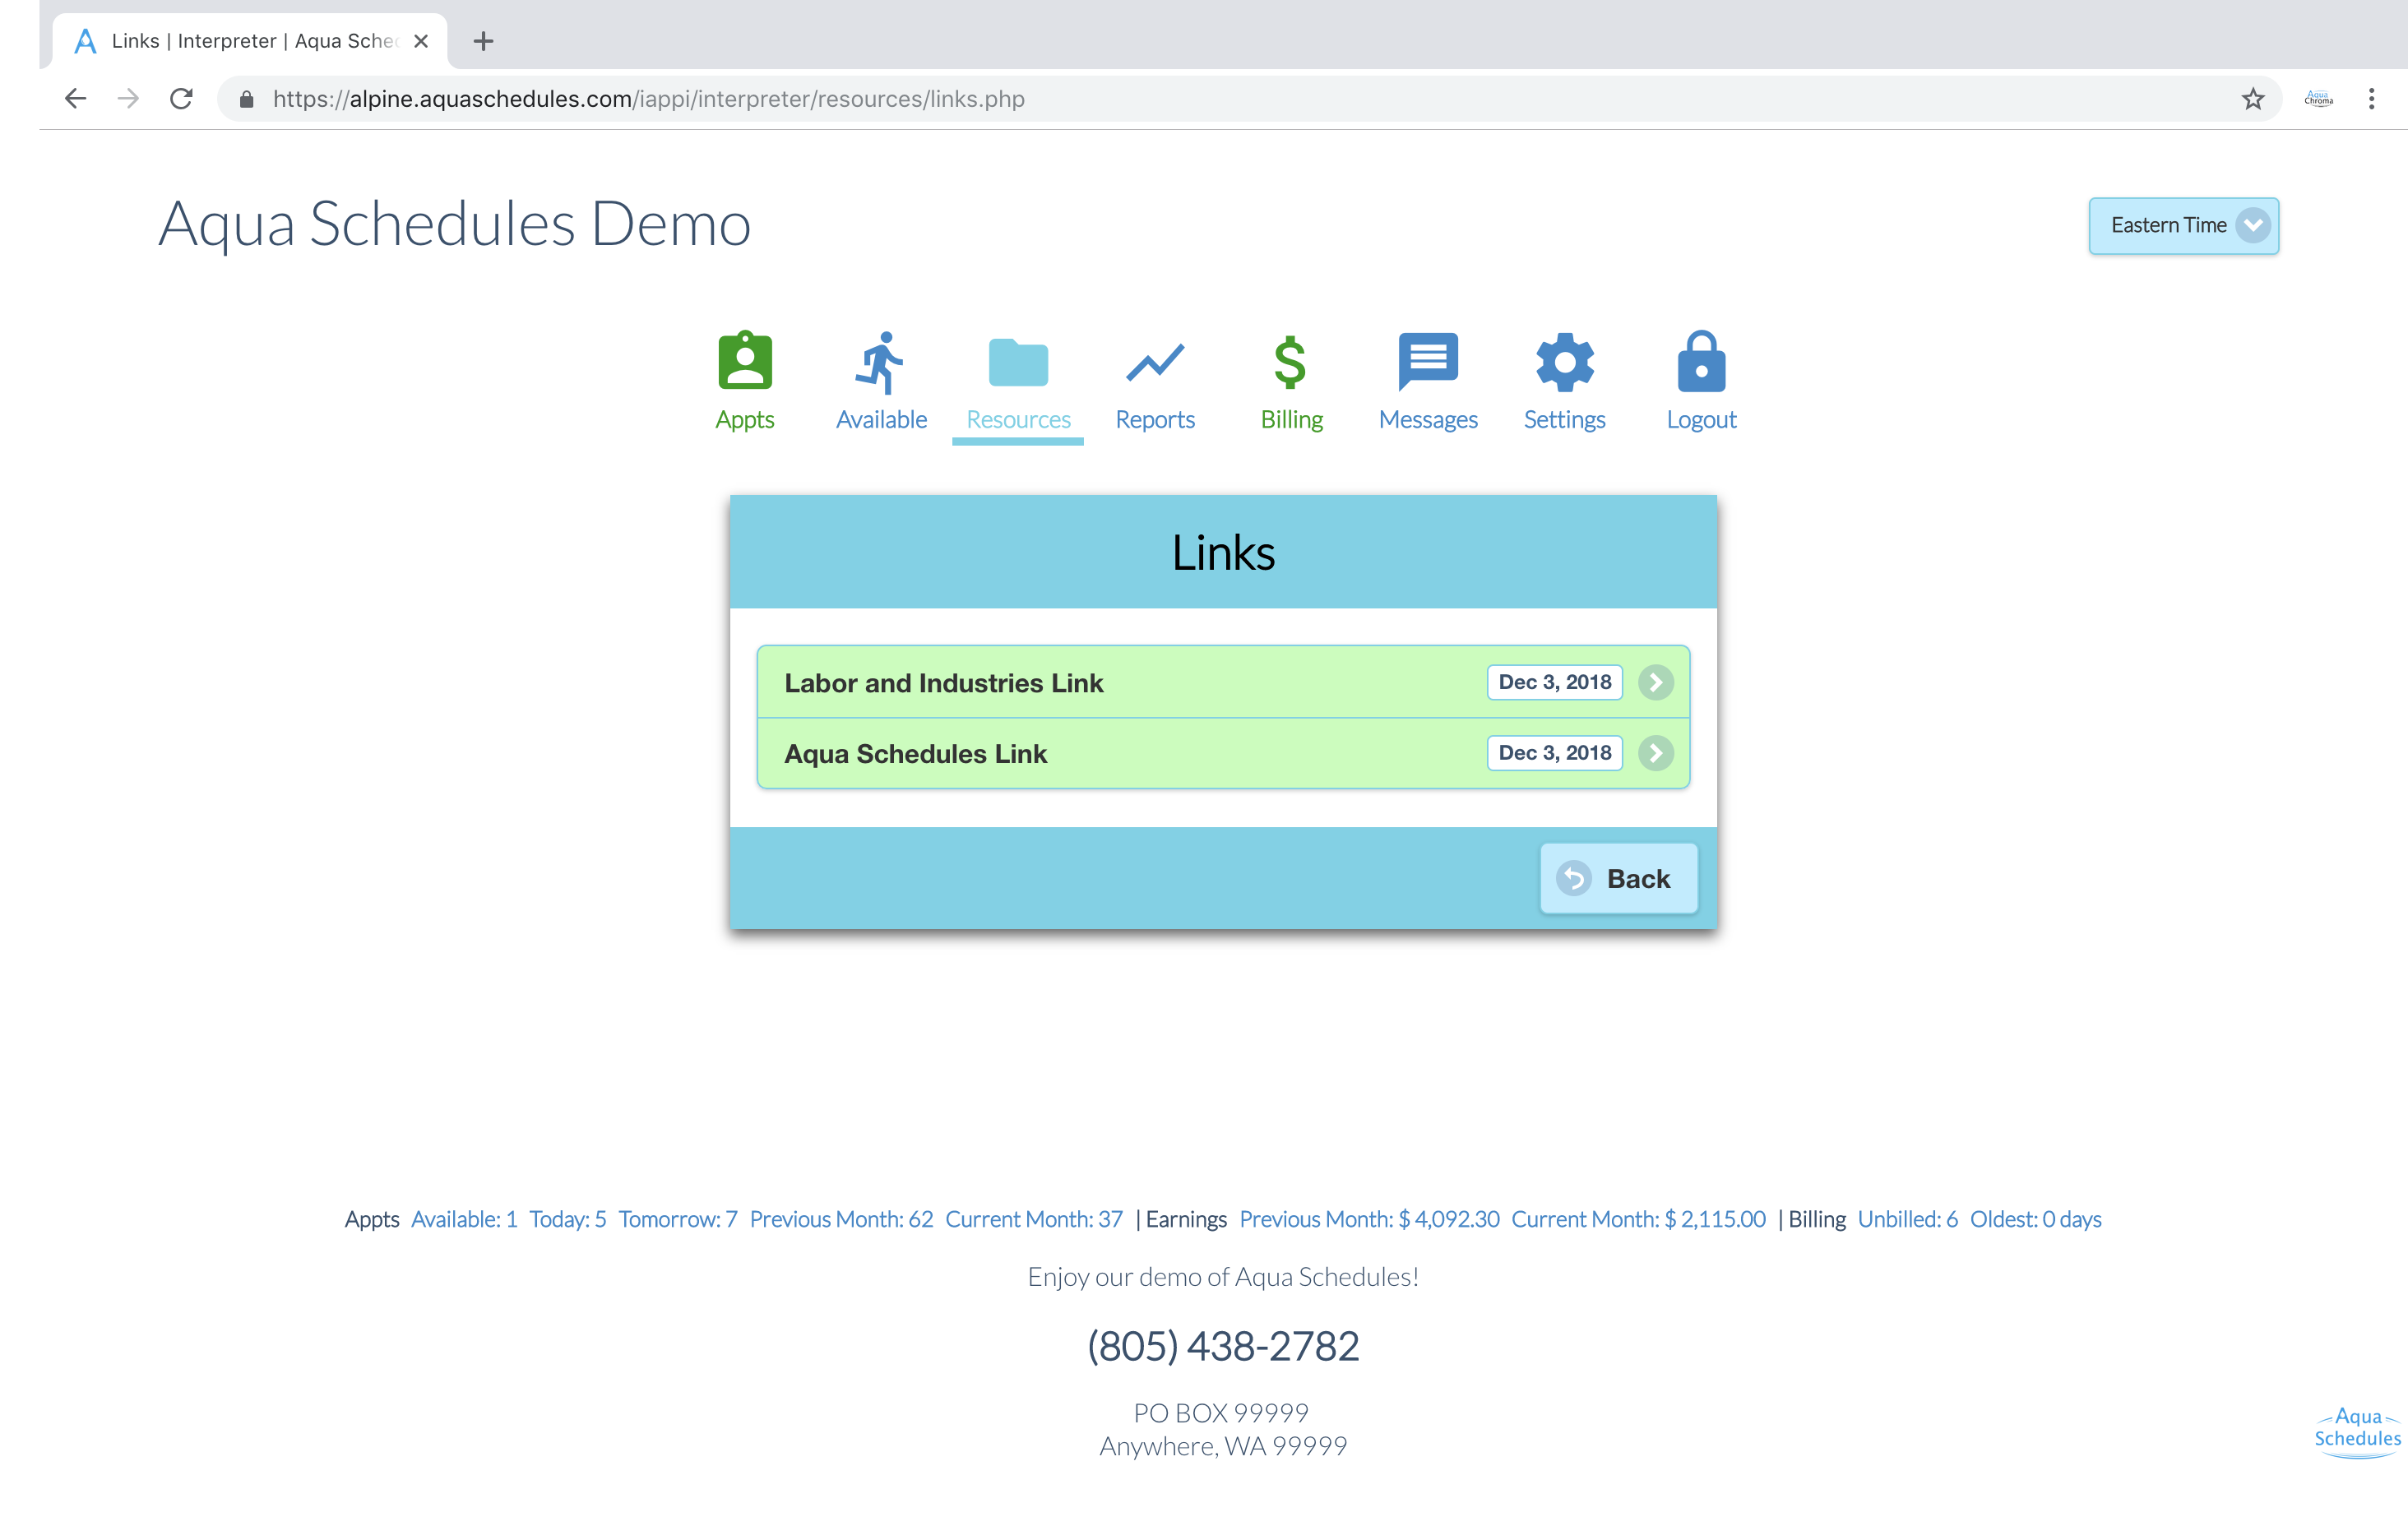
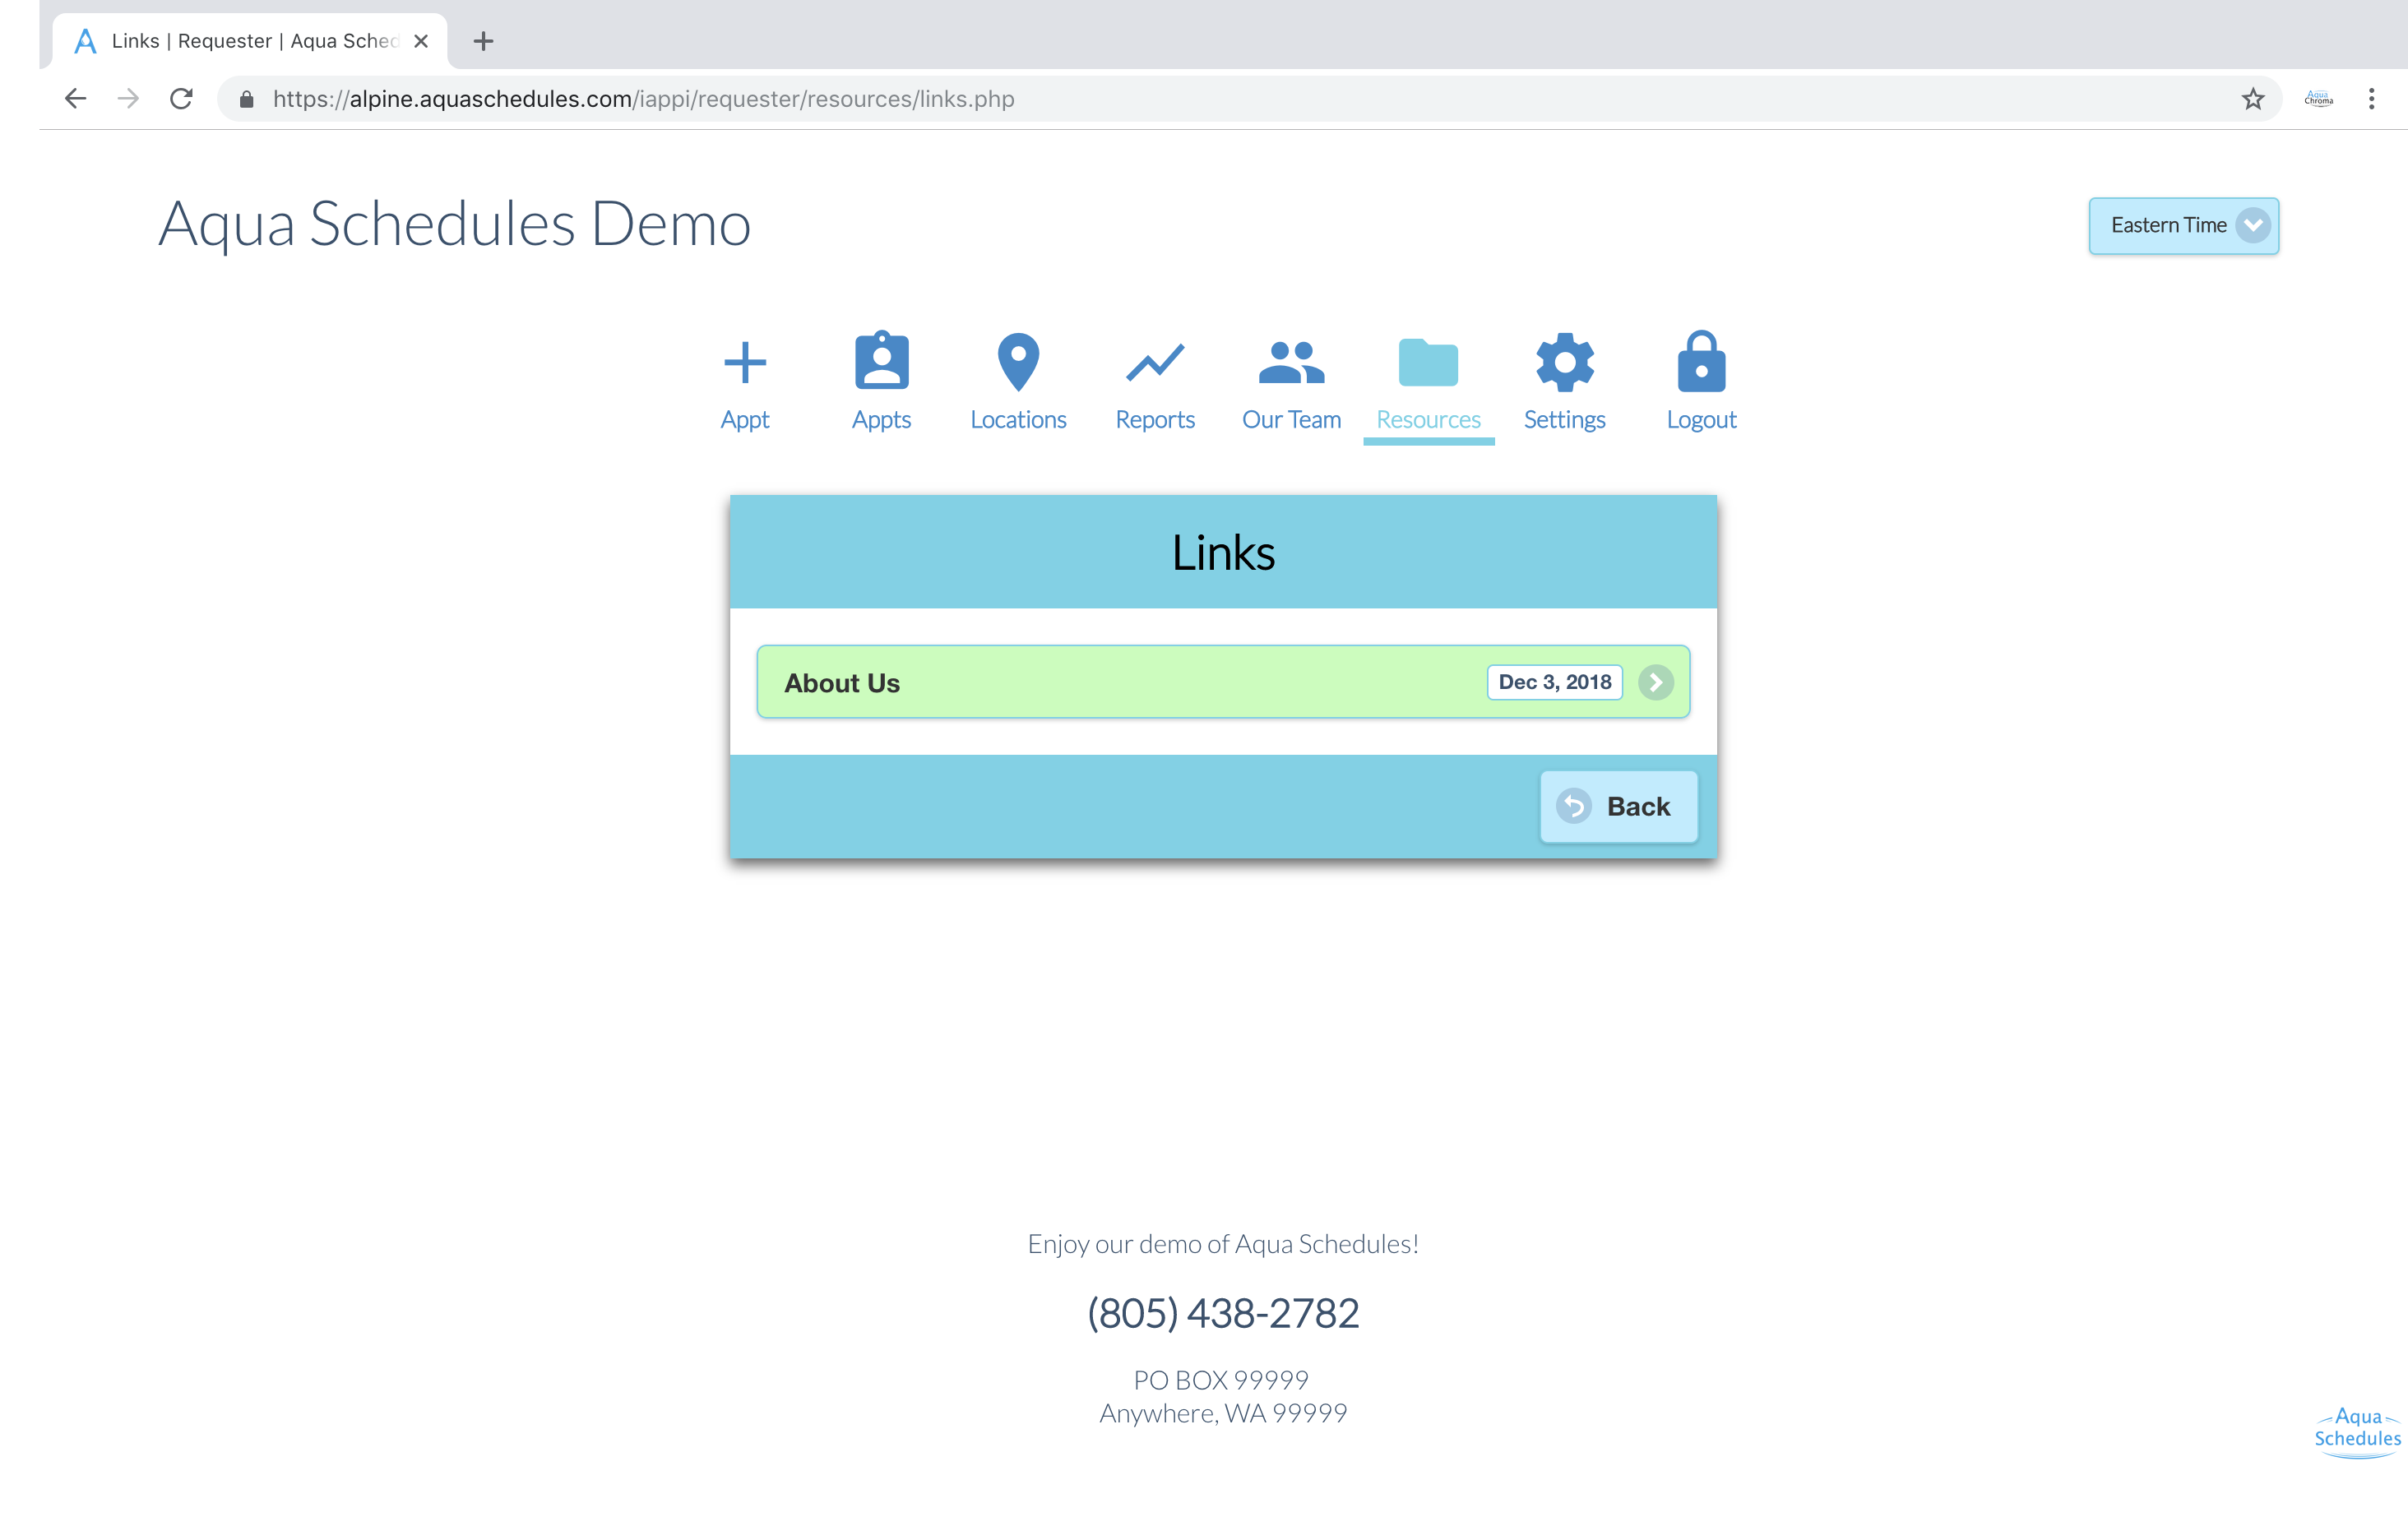
The resources menu is where the agency can upload and share documents and links with either all of their agency staff, all of their interpreters or all of their requesters.
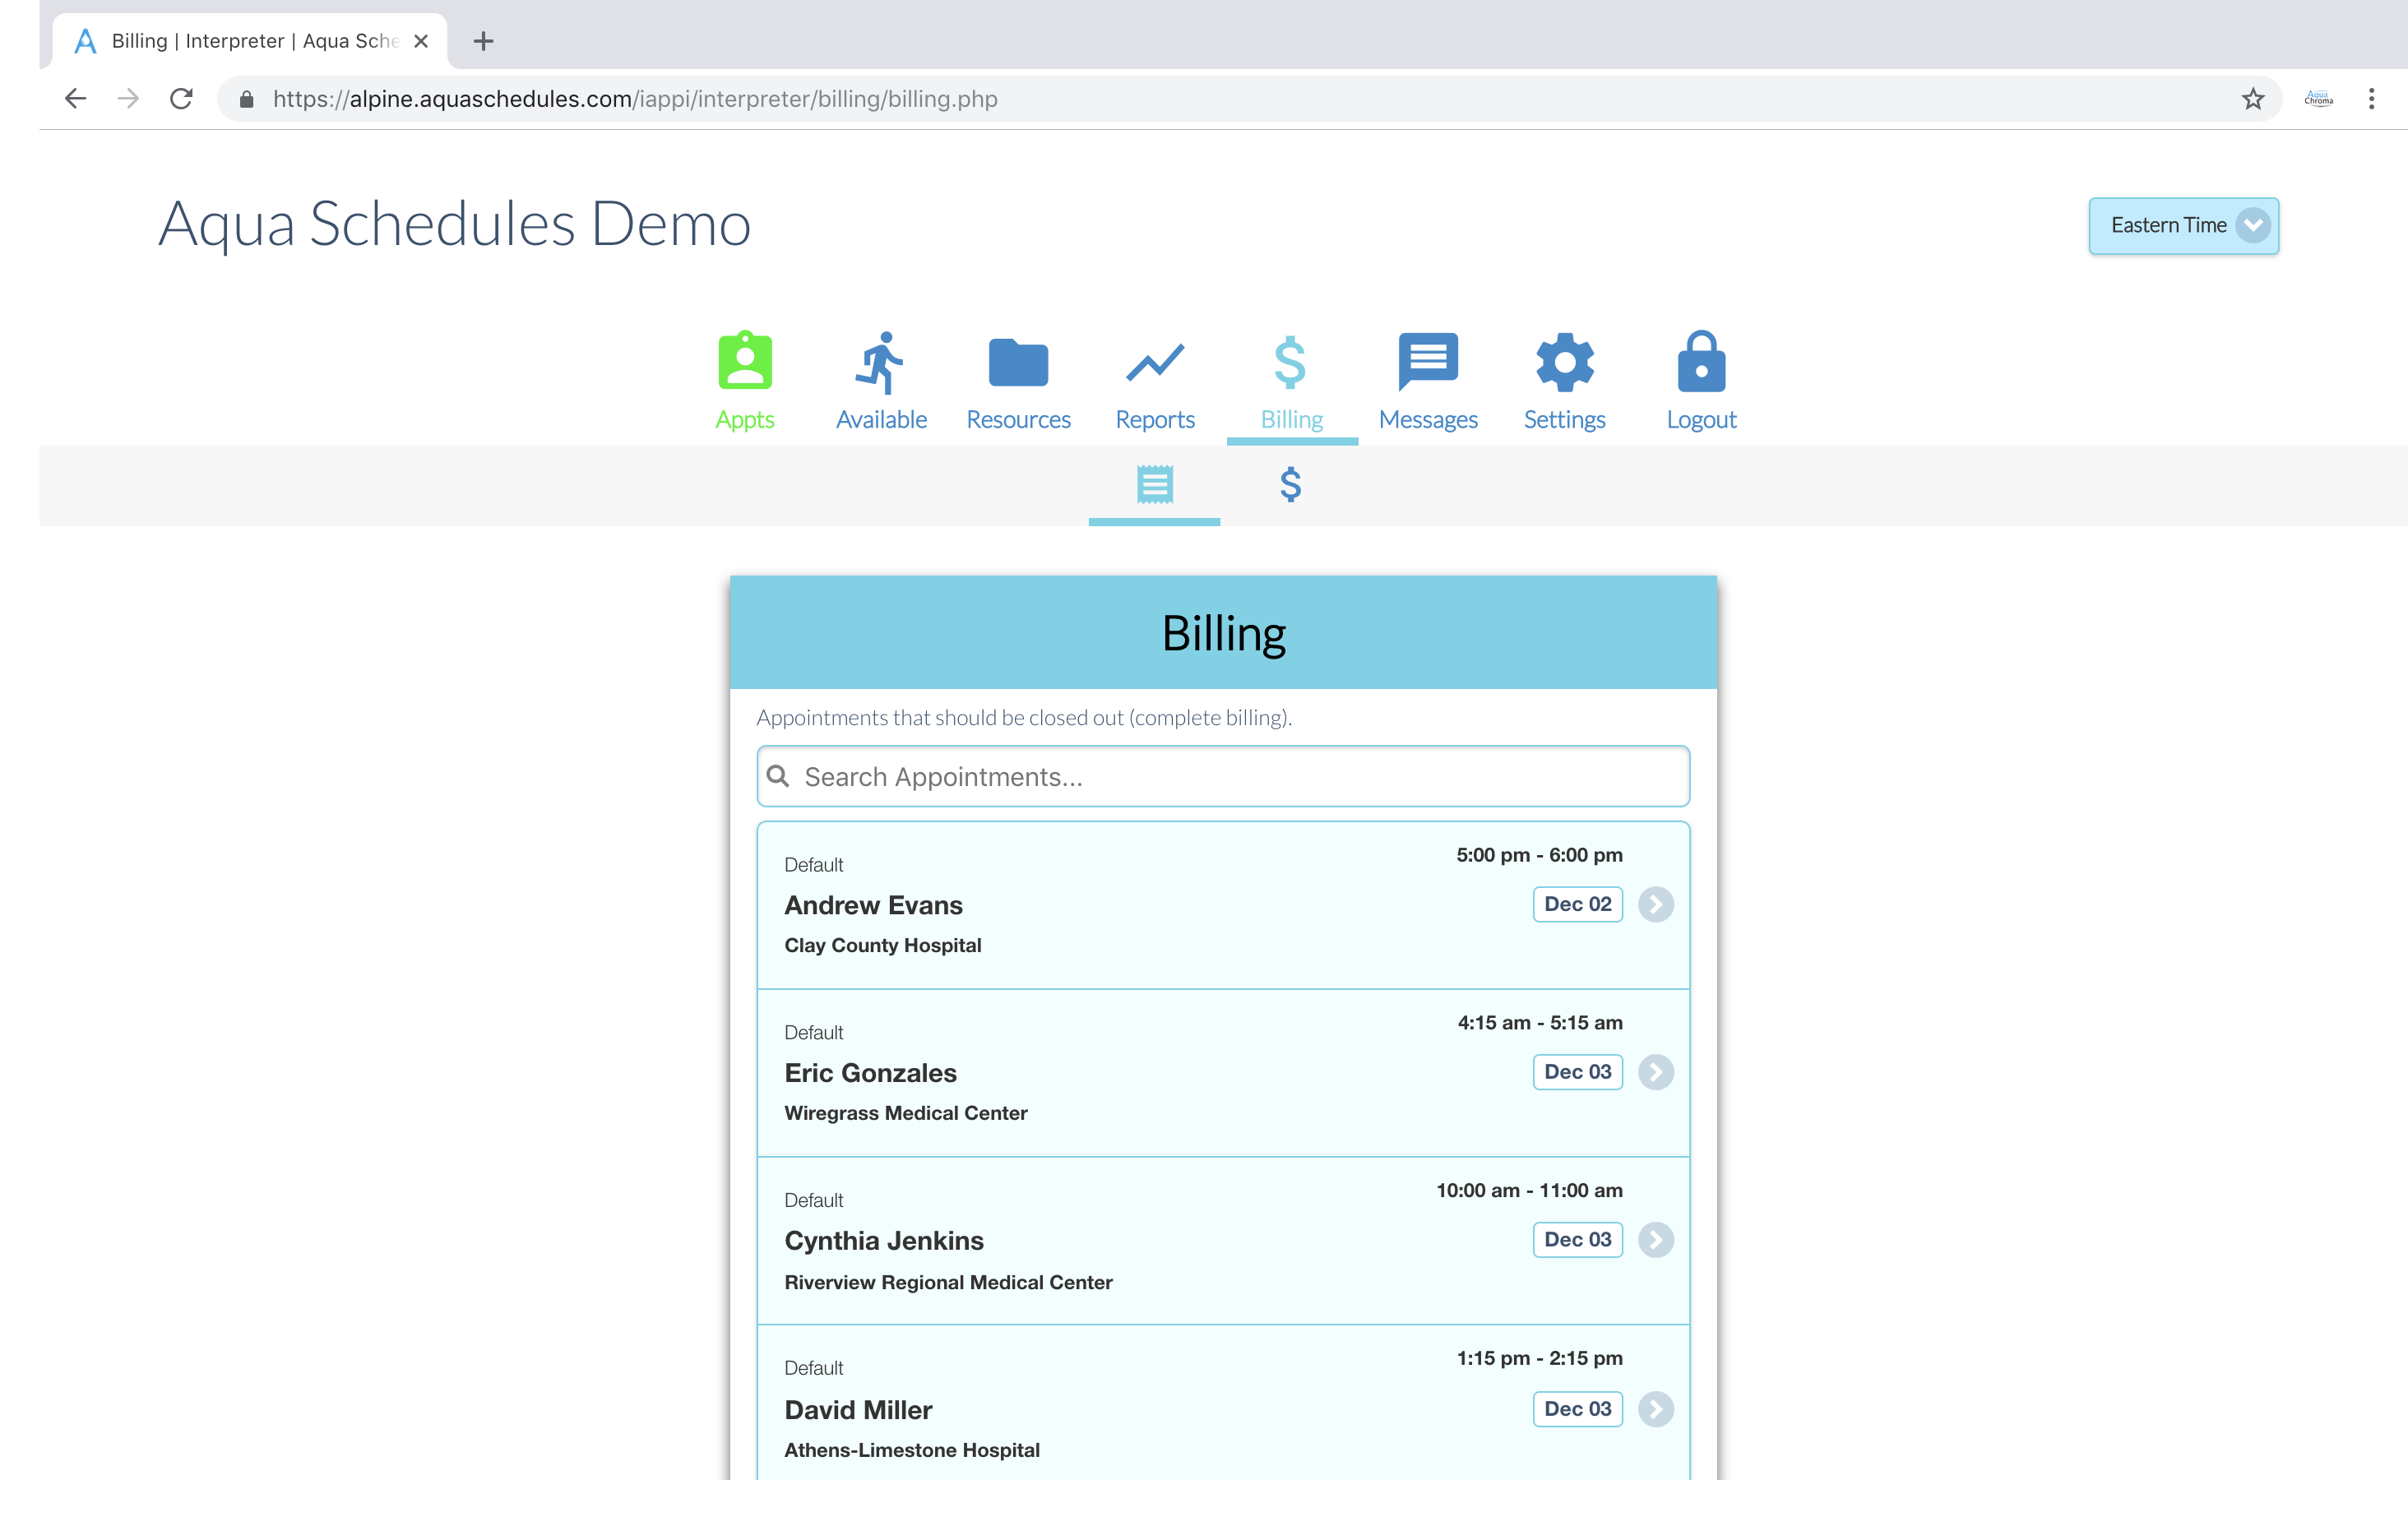
The billing menu is designed for the completion of appointments. Each interpreter should be entering billing information after each of their appointments. If an interpreter does not enter billing information within 5 days the system will not let them claim unappointed appointments.
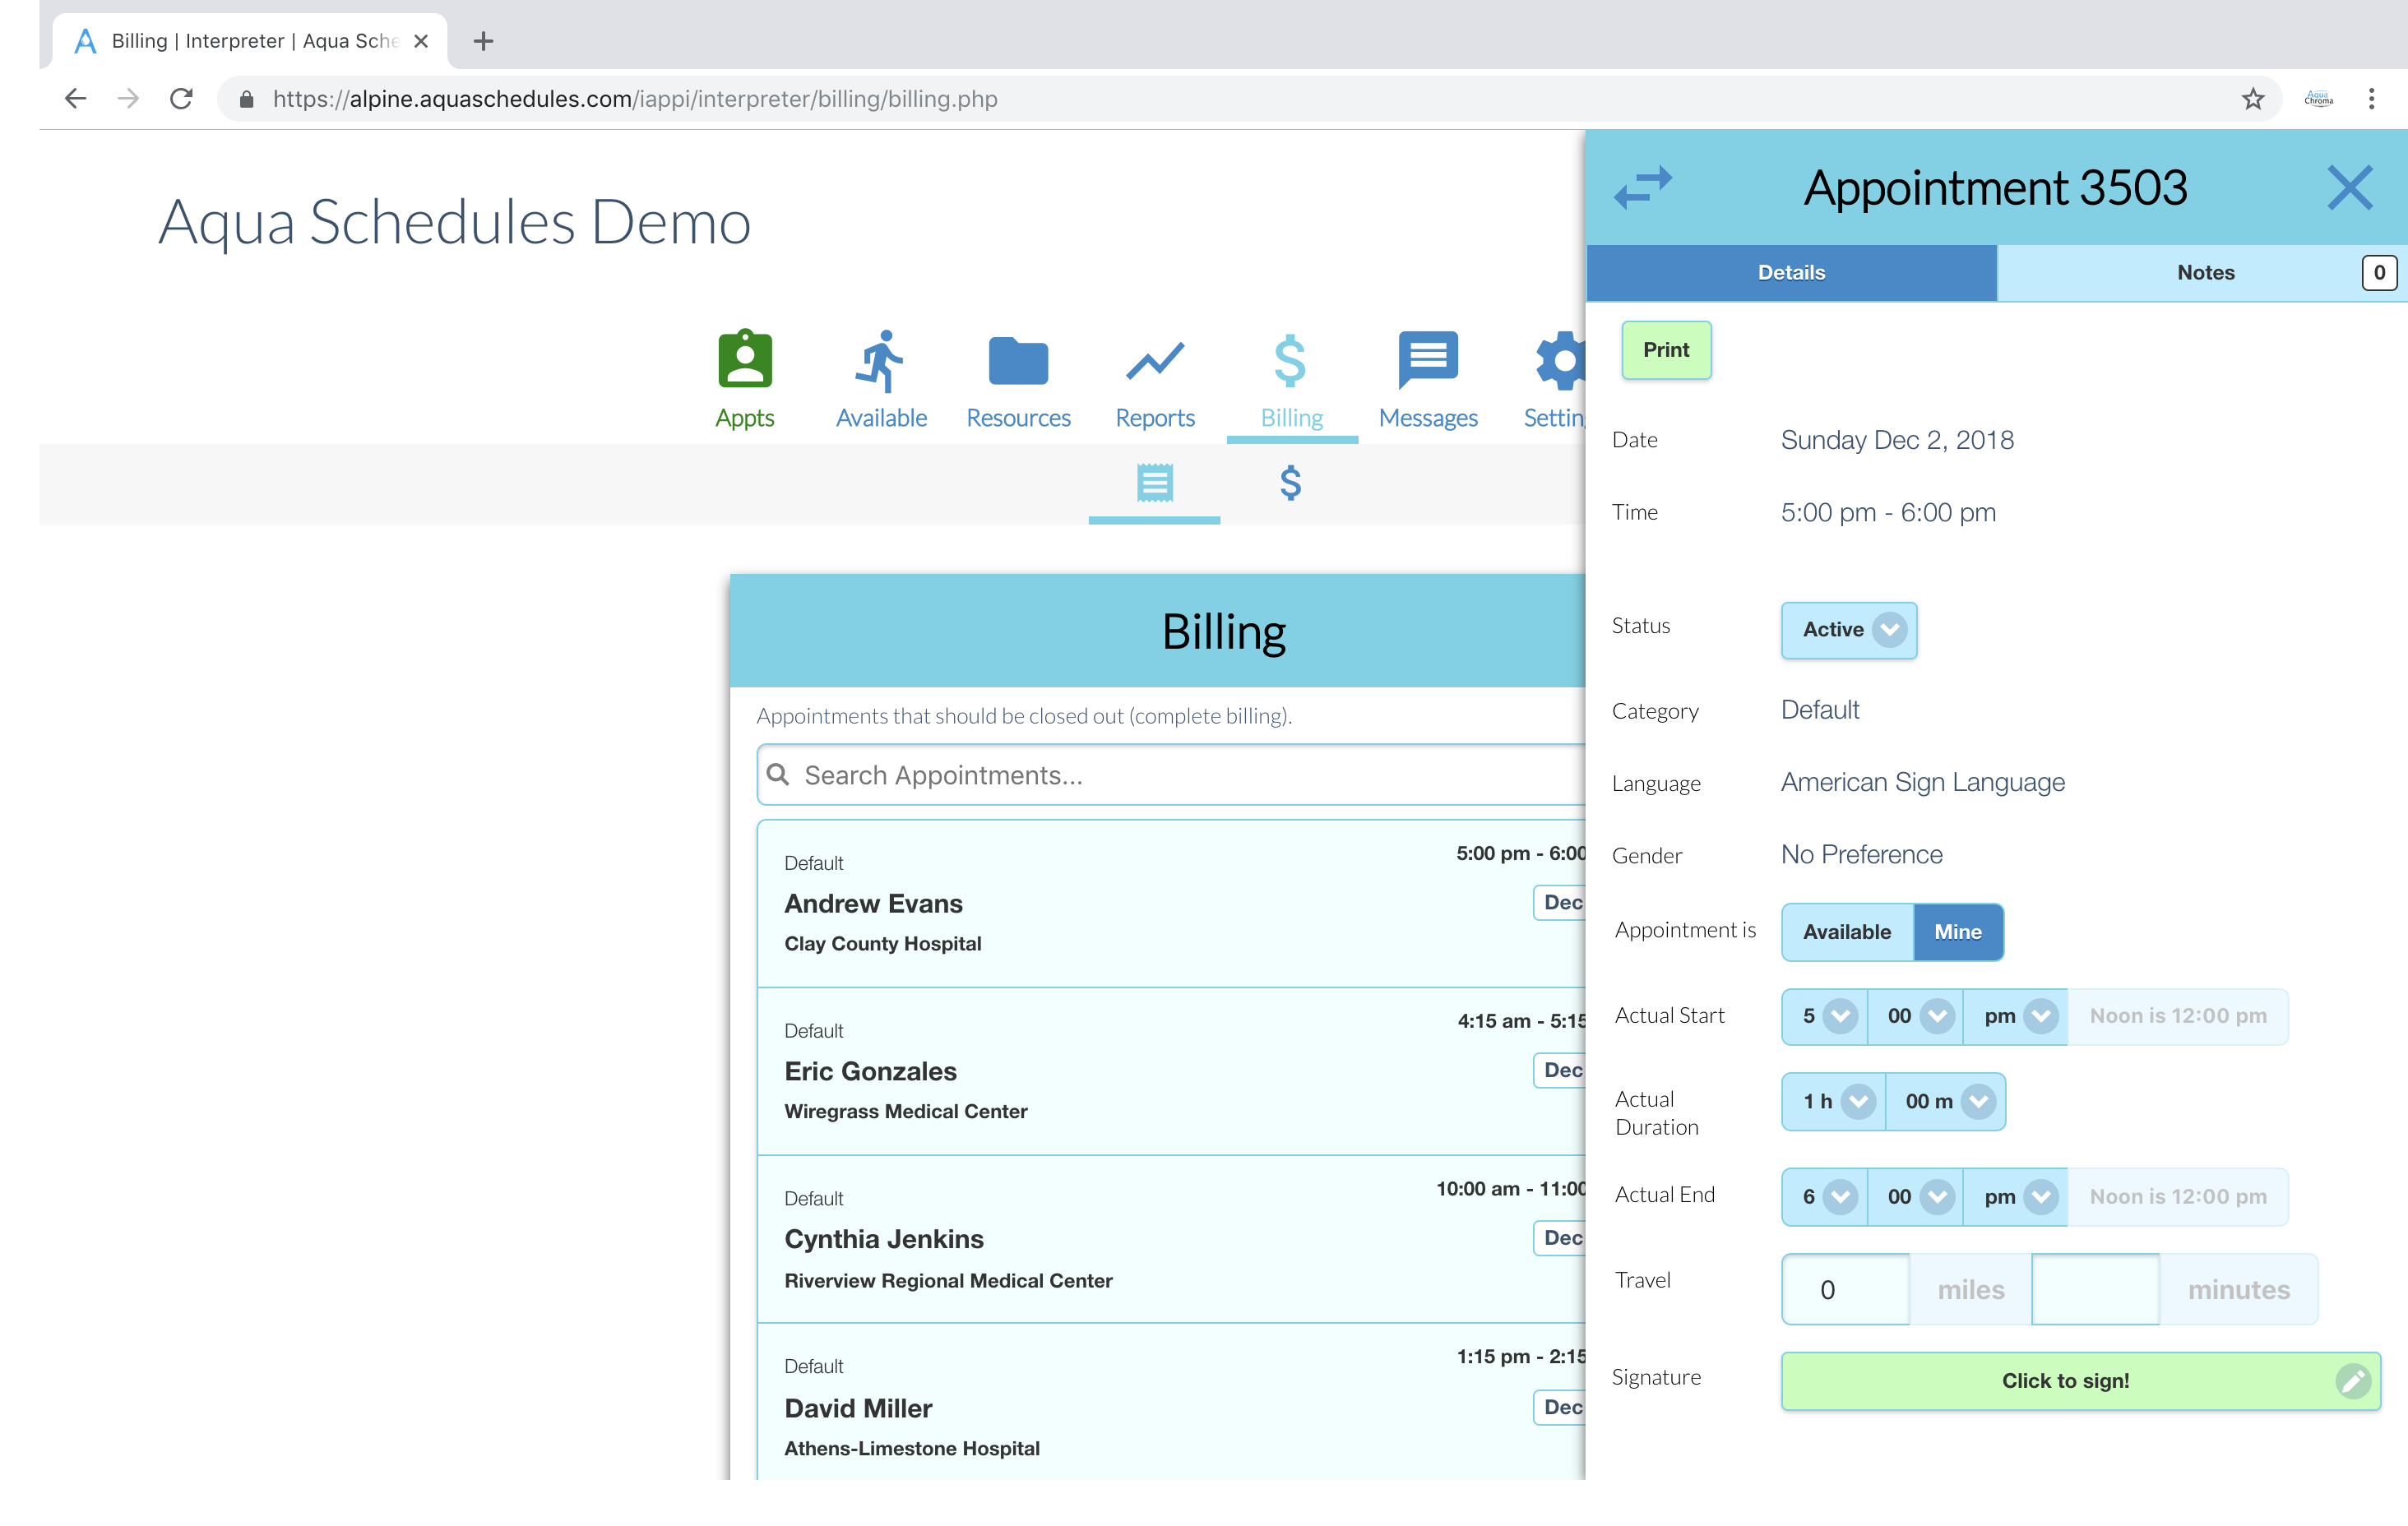
When an interpreter enters the billing information (status, duration, travel time and miles) the system then has enough information to use the billing bundles to calculate agency and interpreter fees. The agency fee is how much the agency will charge their customer for the appointment, the interpreter fee is the amount the agency will pay the interpreter.
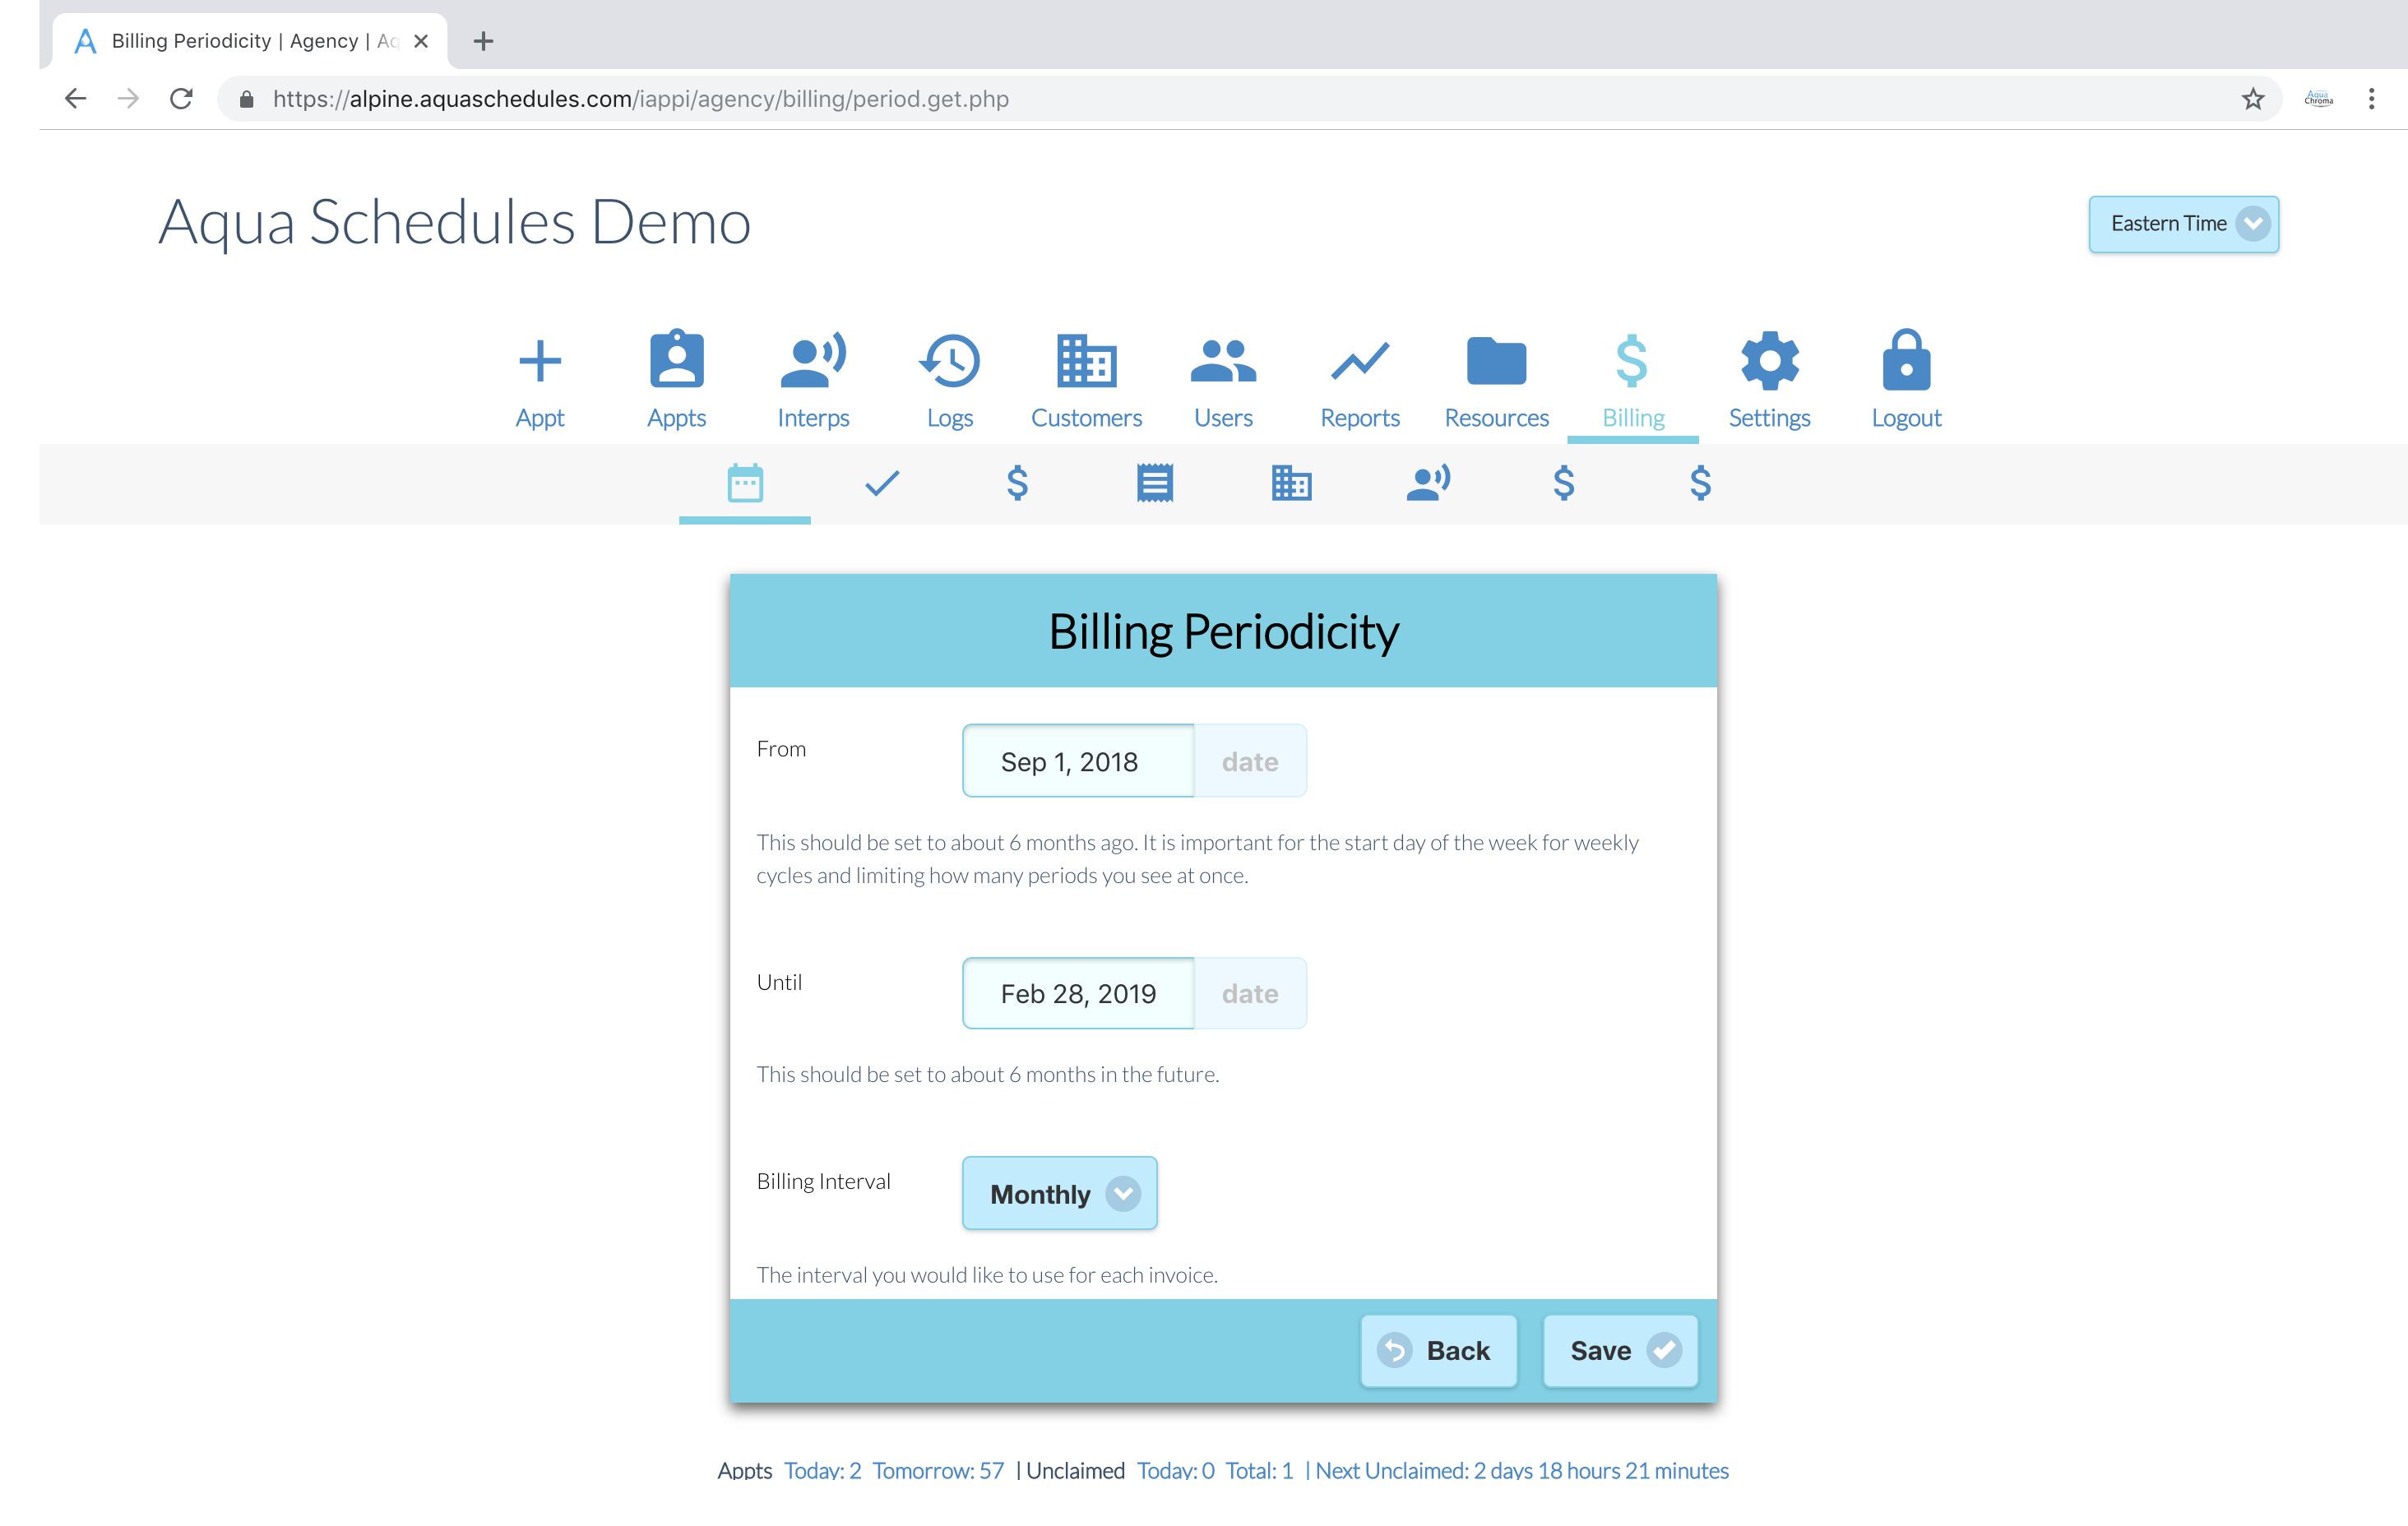
Billing period lets you set your billing interval and date range of invoices. Suppose you want to see invoices not just from 2015 to 2016 but you also want to see invoices from 2014. You would enter your desired dates here.
Next you can choose your billing interval. Perhaps your agency sends invoices every two weeks instead of monthly. Here you are able to set your interval as either 1 day, 1 week, 2 weeks 1 month, or 1 year. Once your billing interval is in the system it uses that interval for all customers.
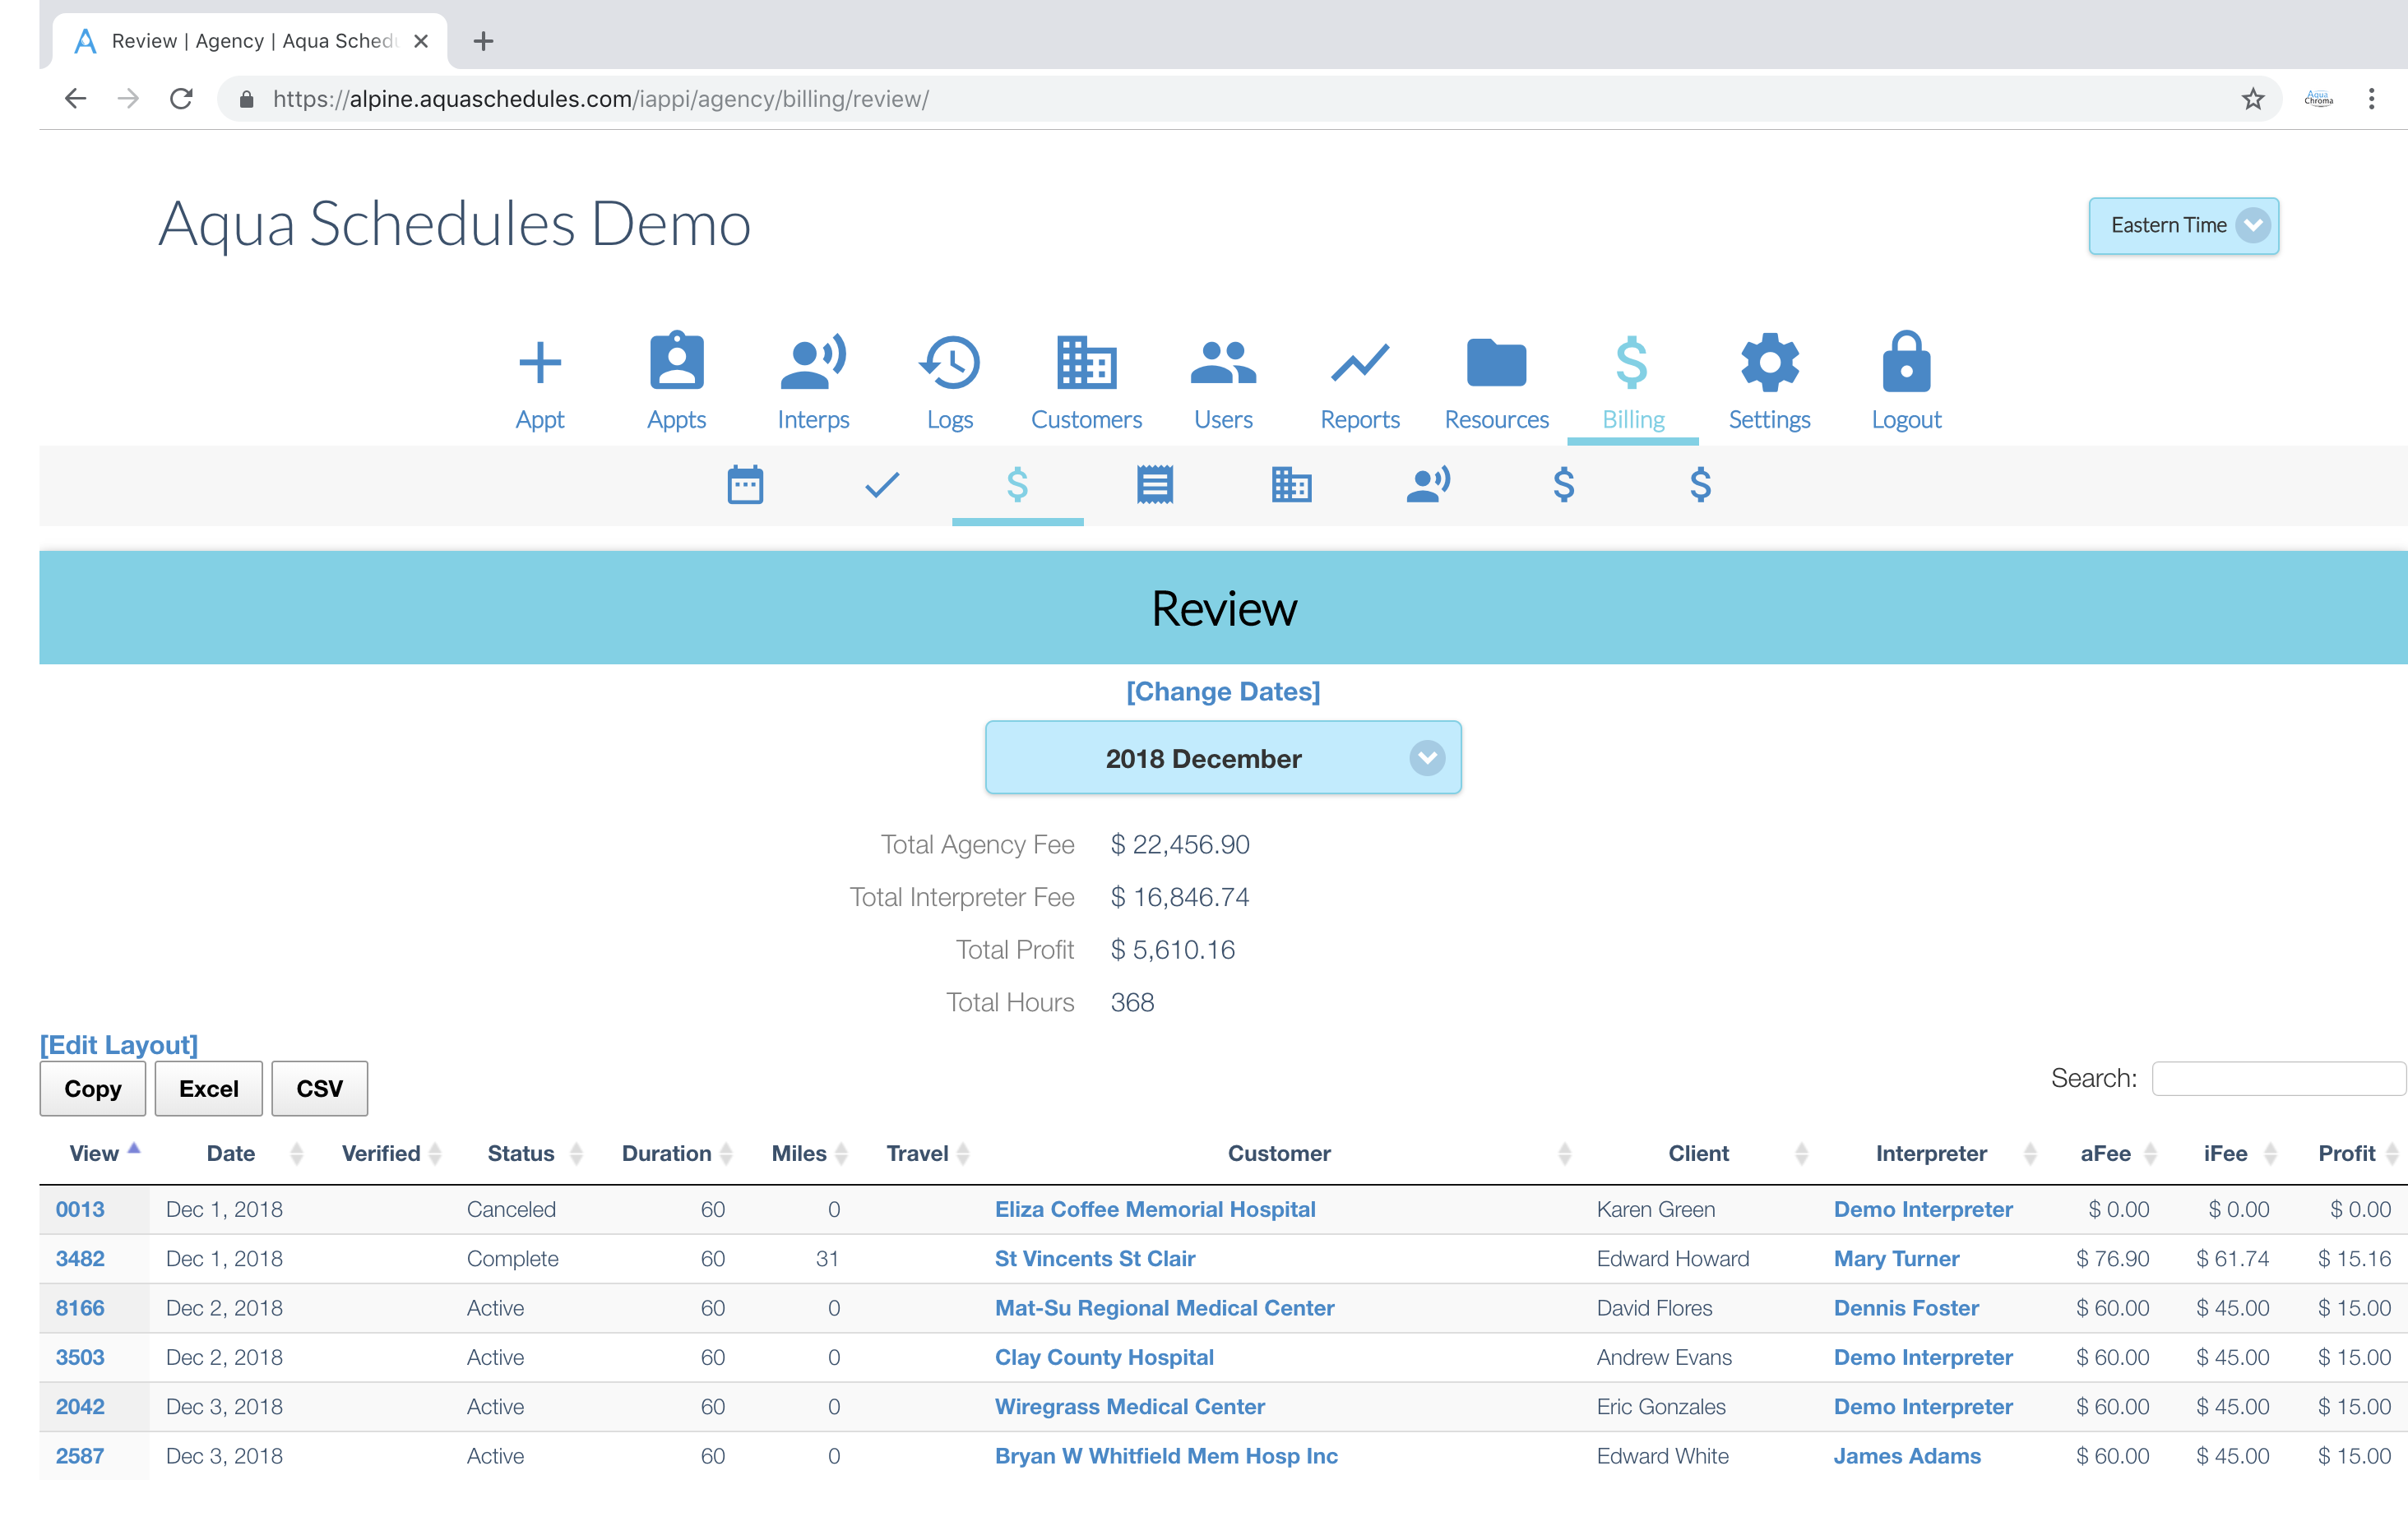
Review shows all appointment invoice information based on how you set your period billing. In the Dropbox we see it loaded all invoices from May 2014 to May 2016 in the 2 week intervals. Let's choose the first billing interval. First we see some quick stats of details outlining the entire period. It shows total agency fee, interpreter fee, total profit and total hours. You can organize your view by column such as interpreter and customer. This review can also help you find anything that was done in error.
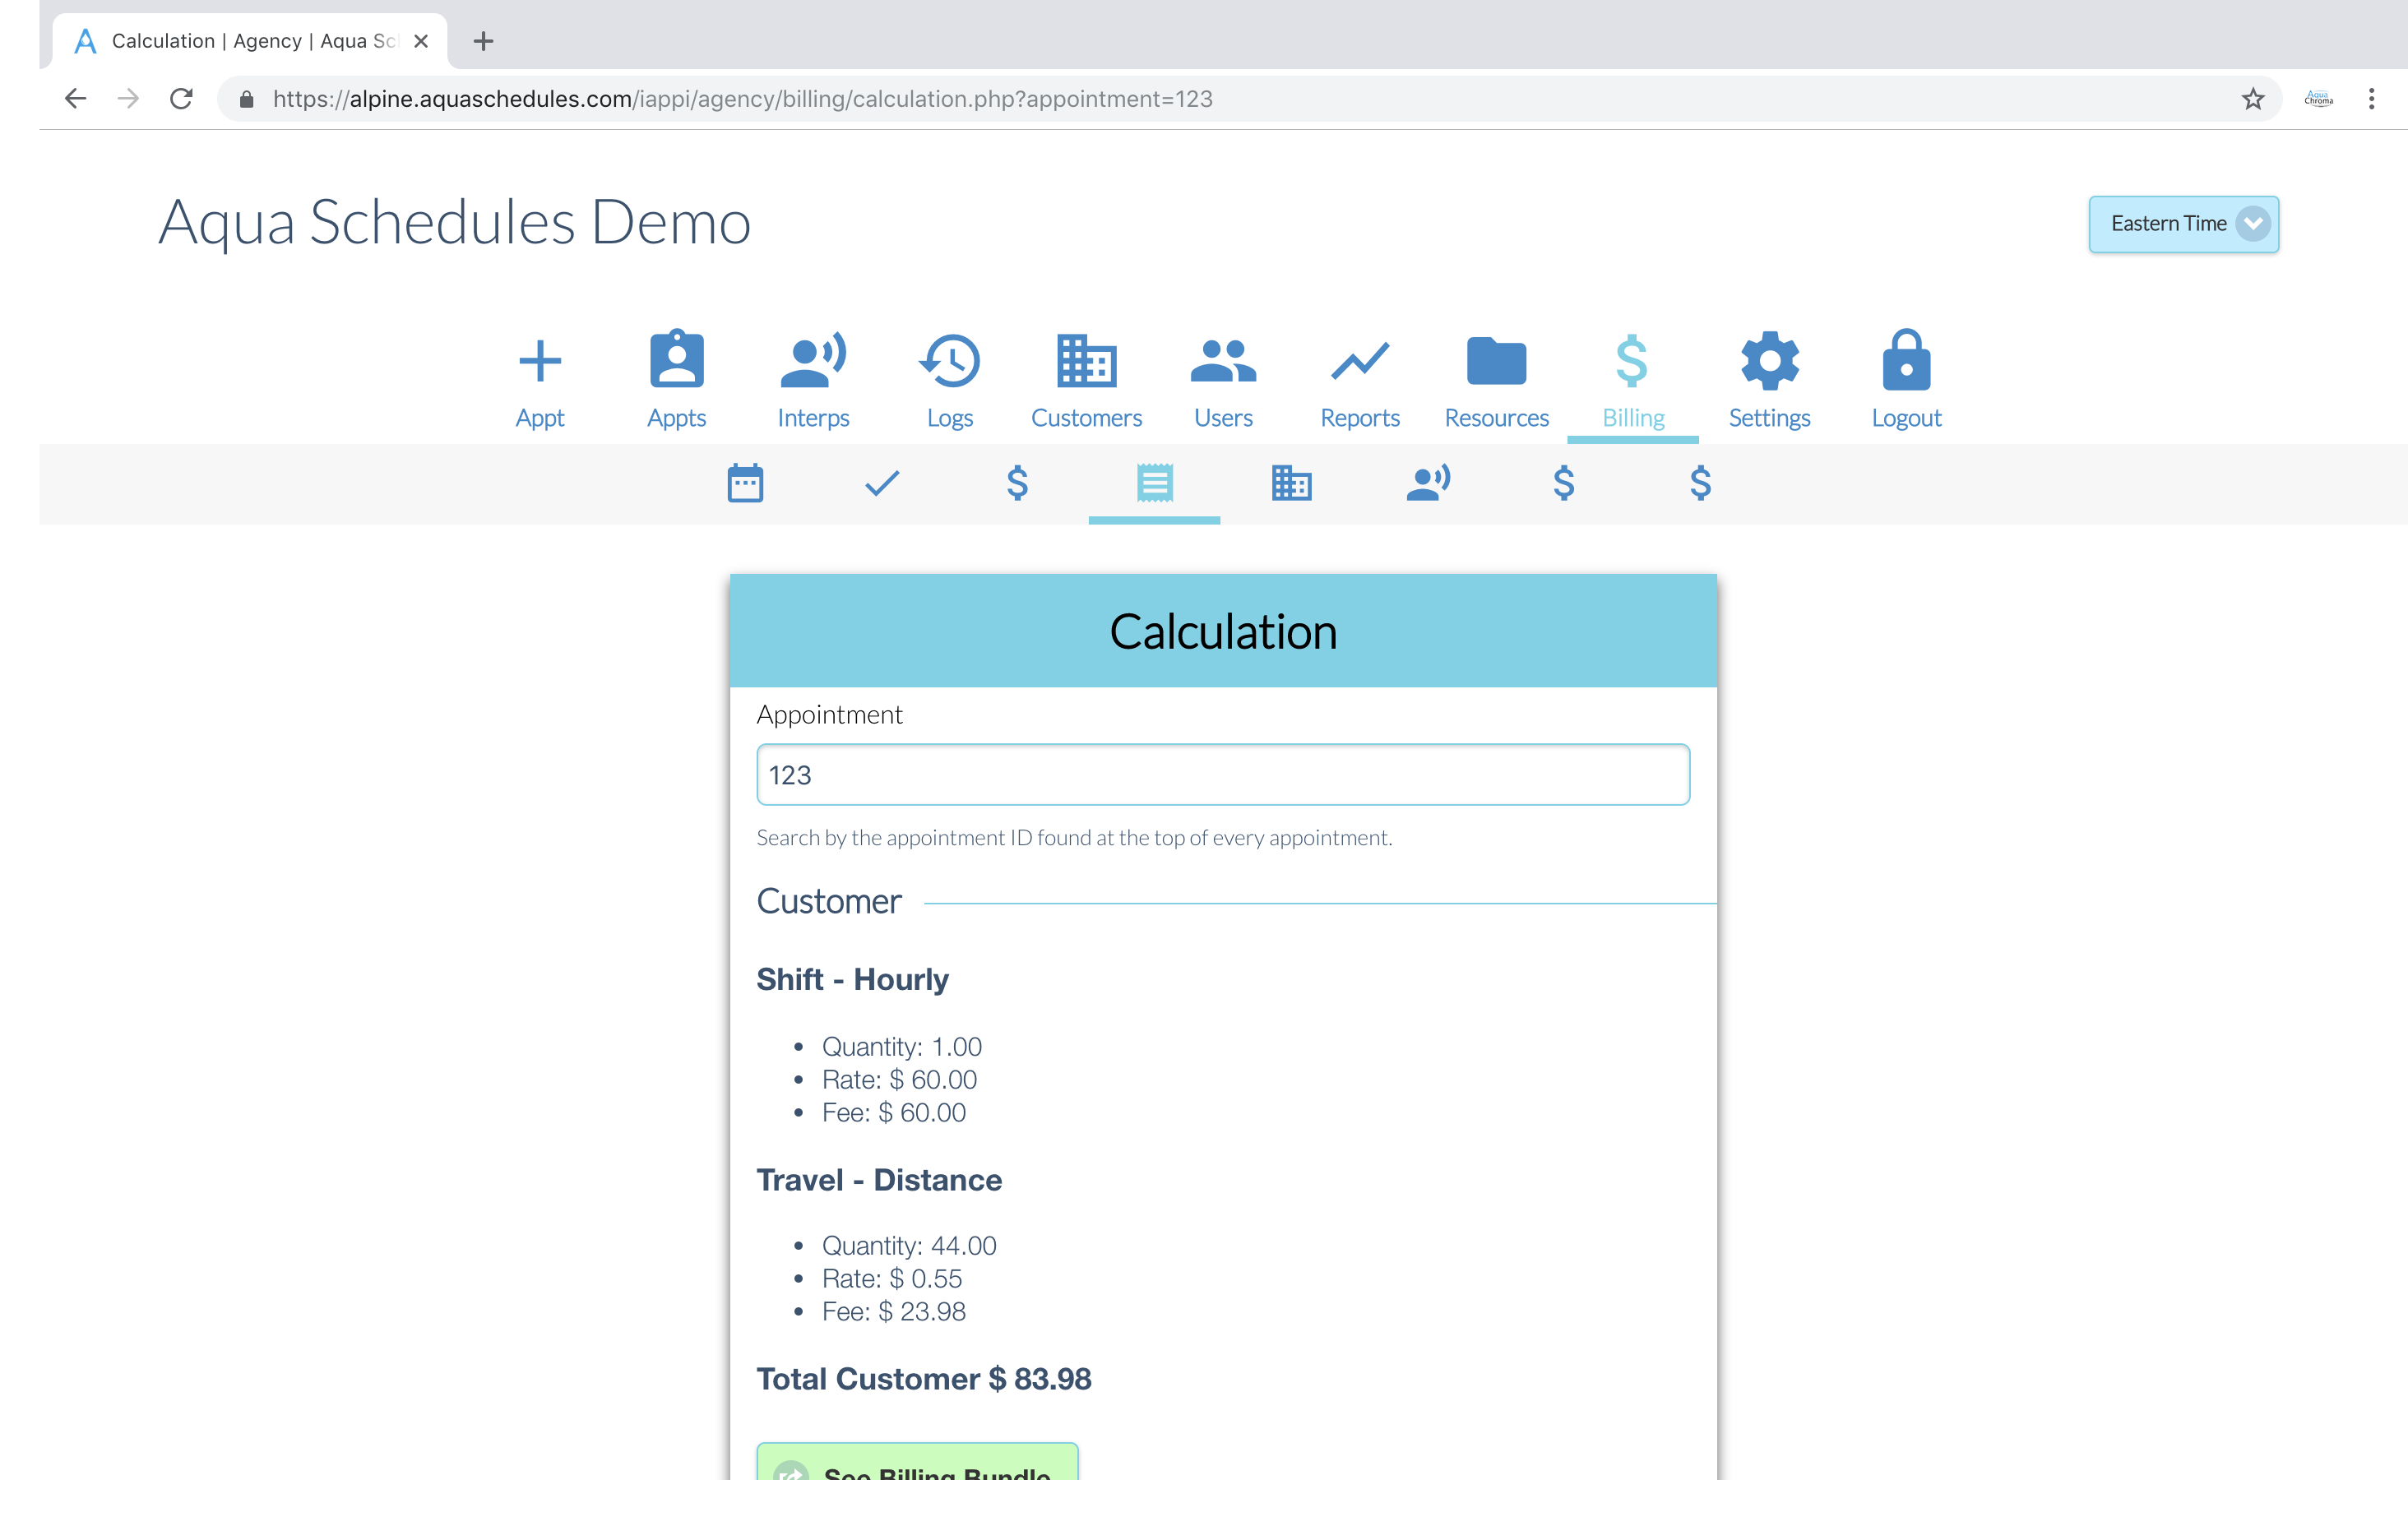
You can see how any appointment was calculated by going into this billing calculation area. Enter an appointment ID (100001) Hitting the calculate button you can now see the details of how the appointment will be billed.
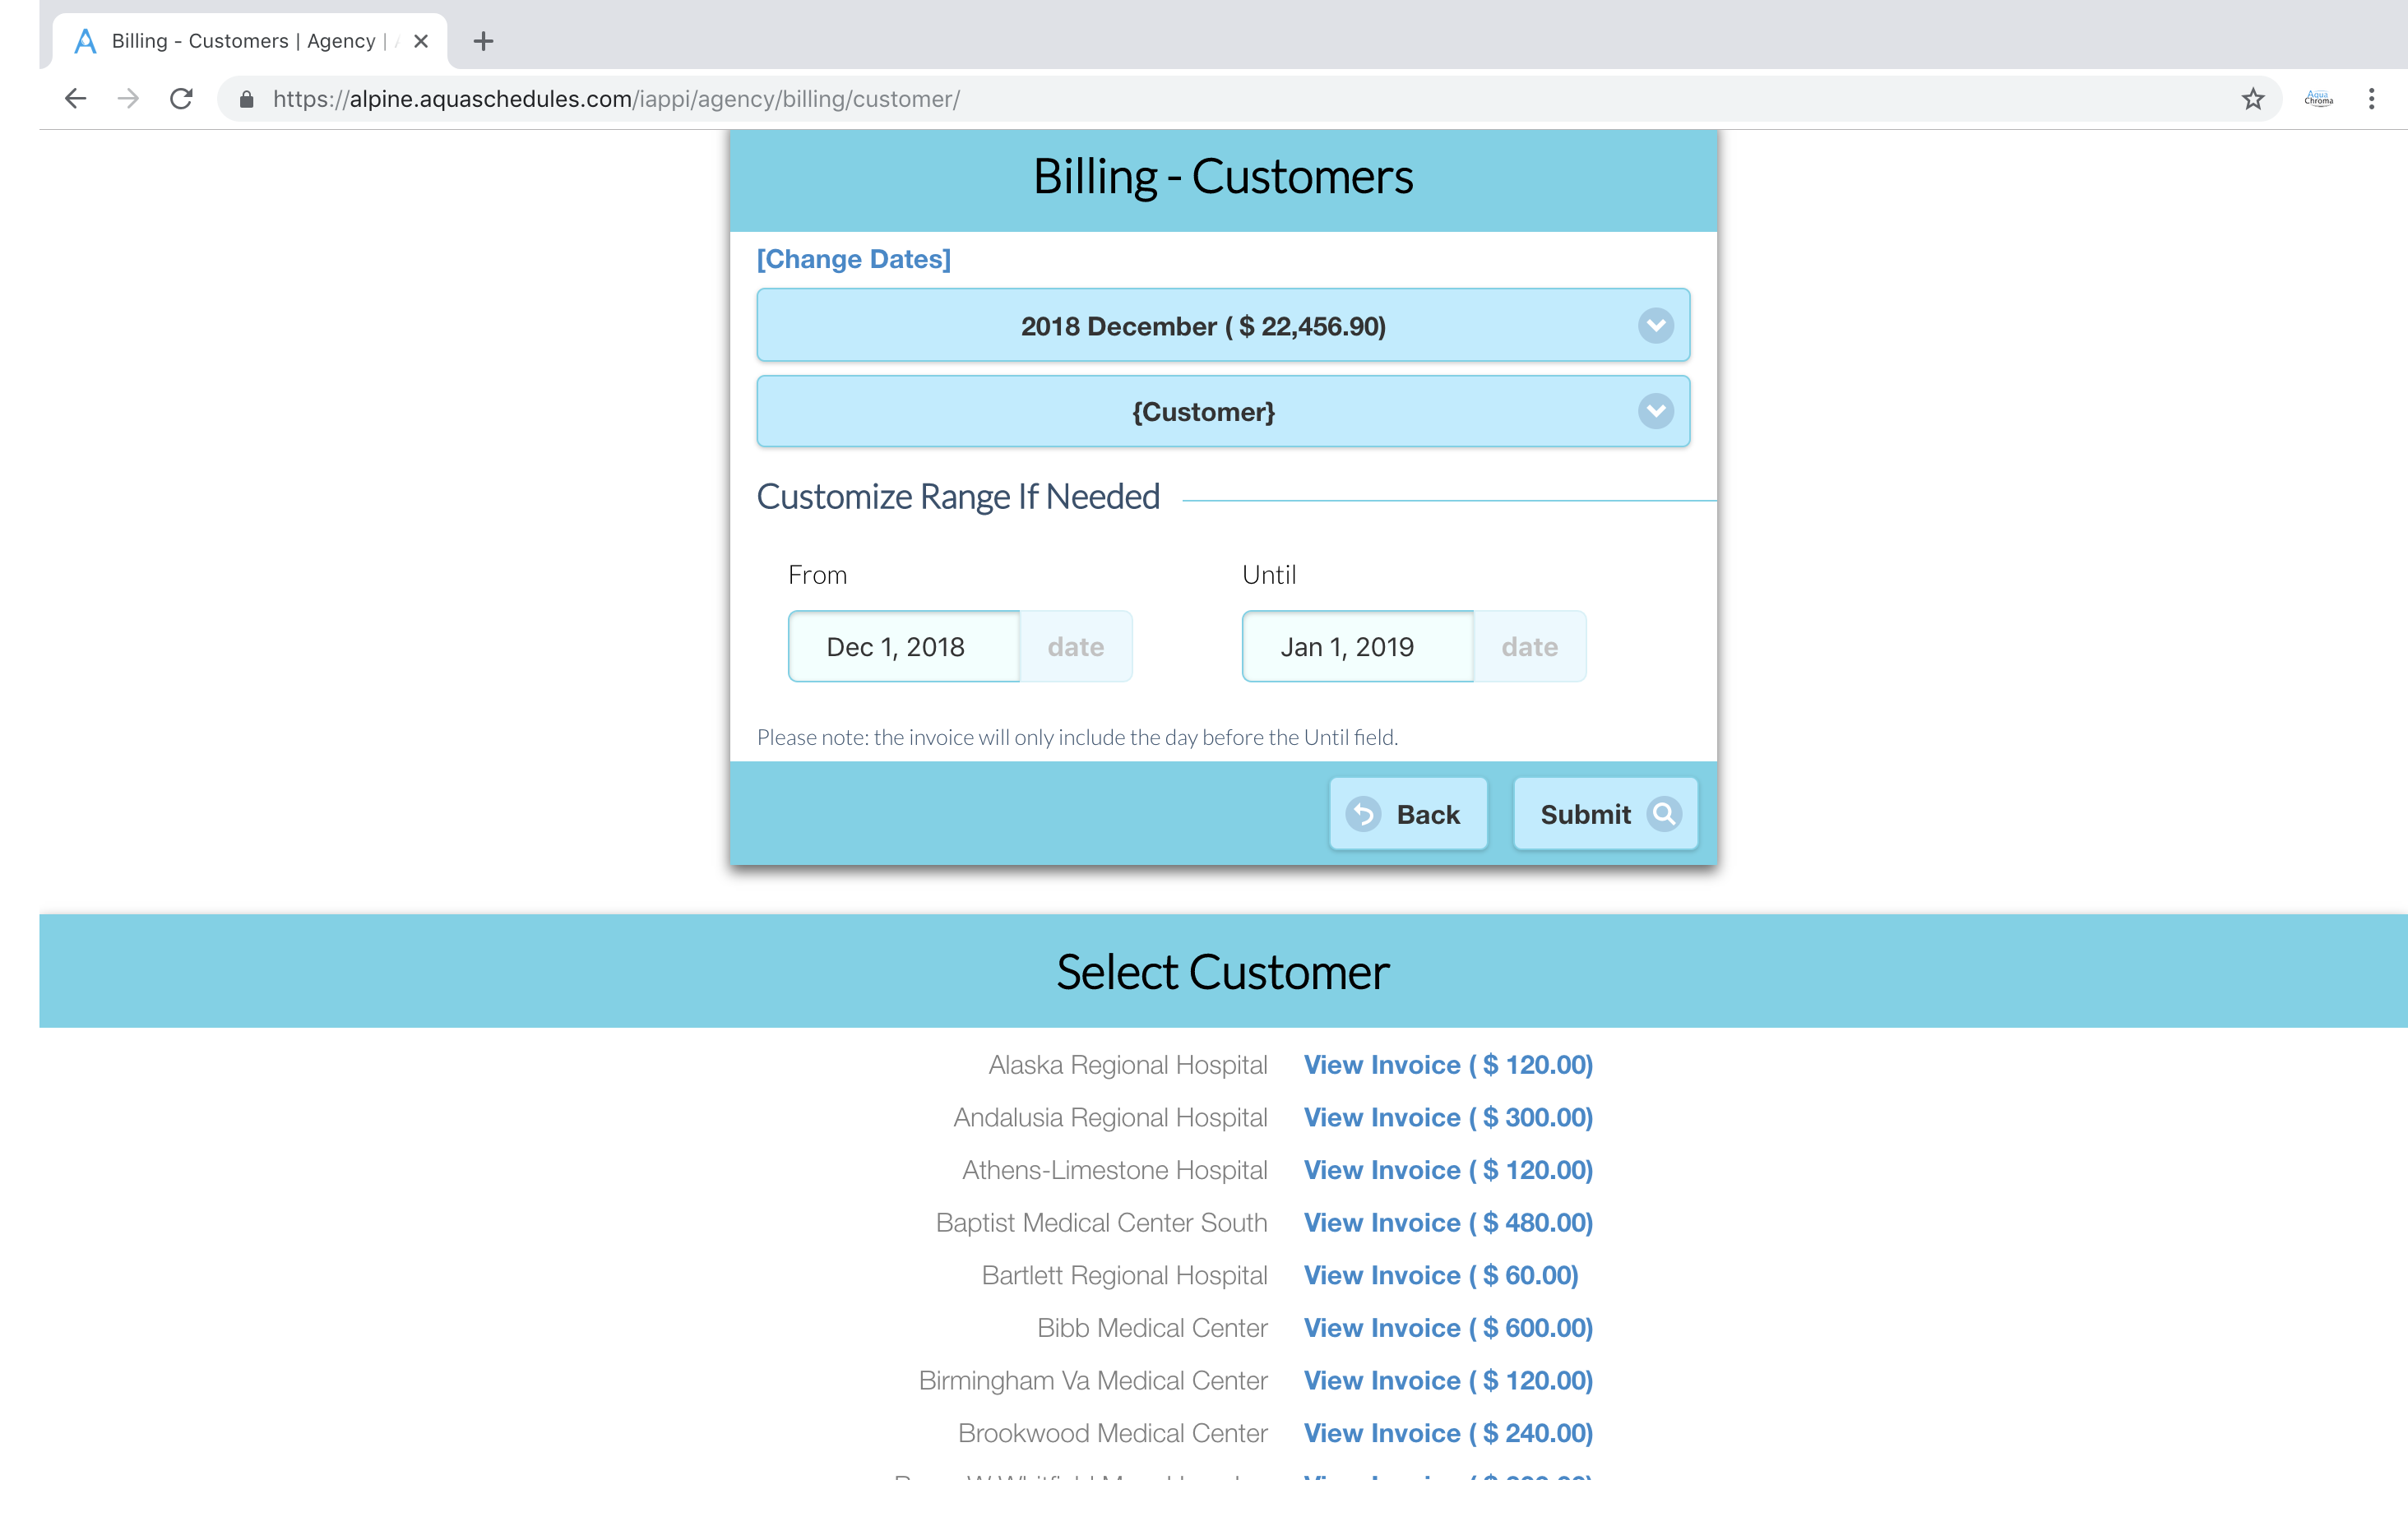
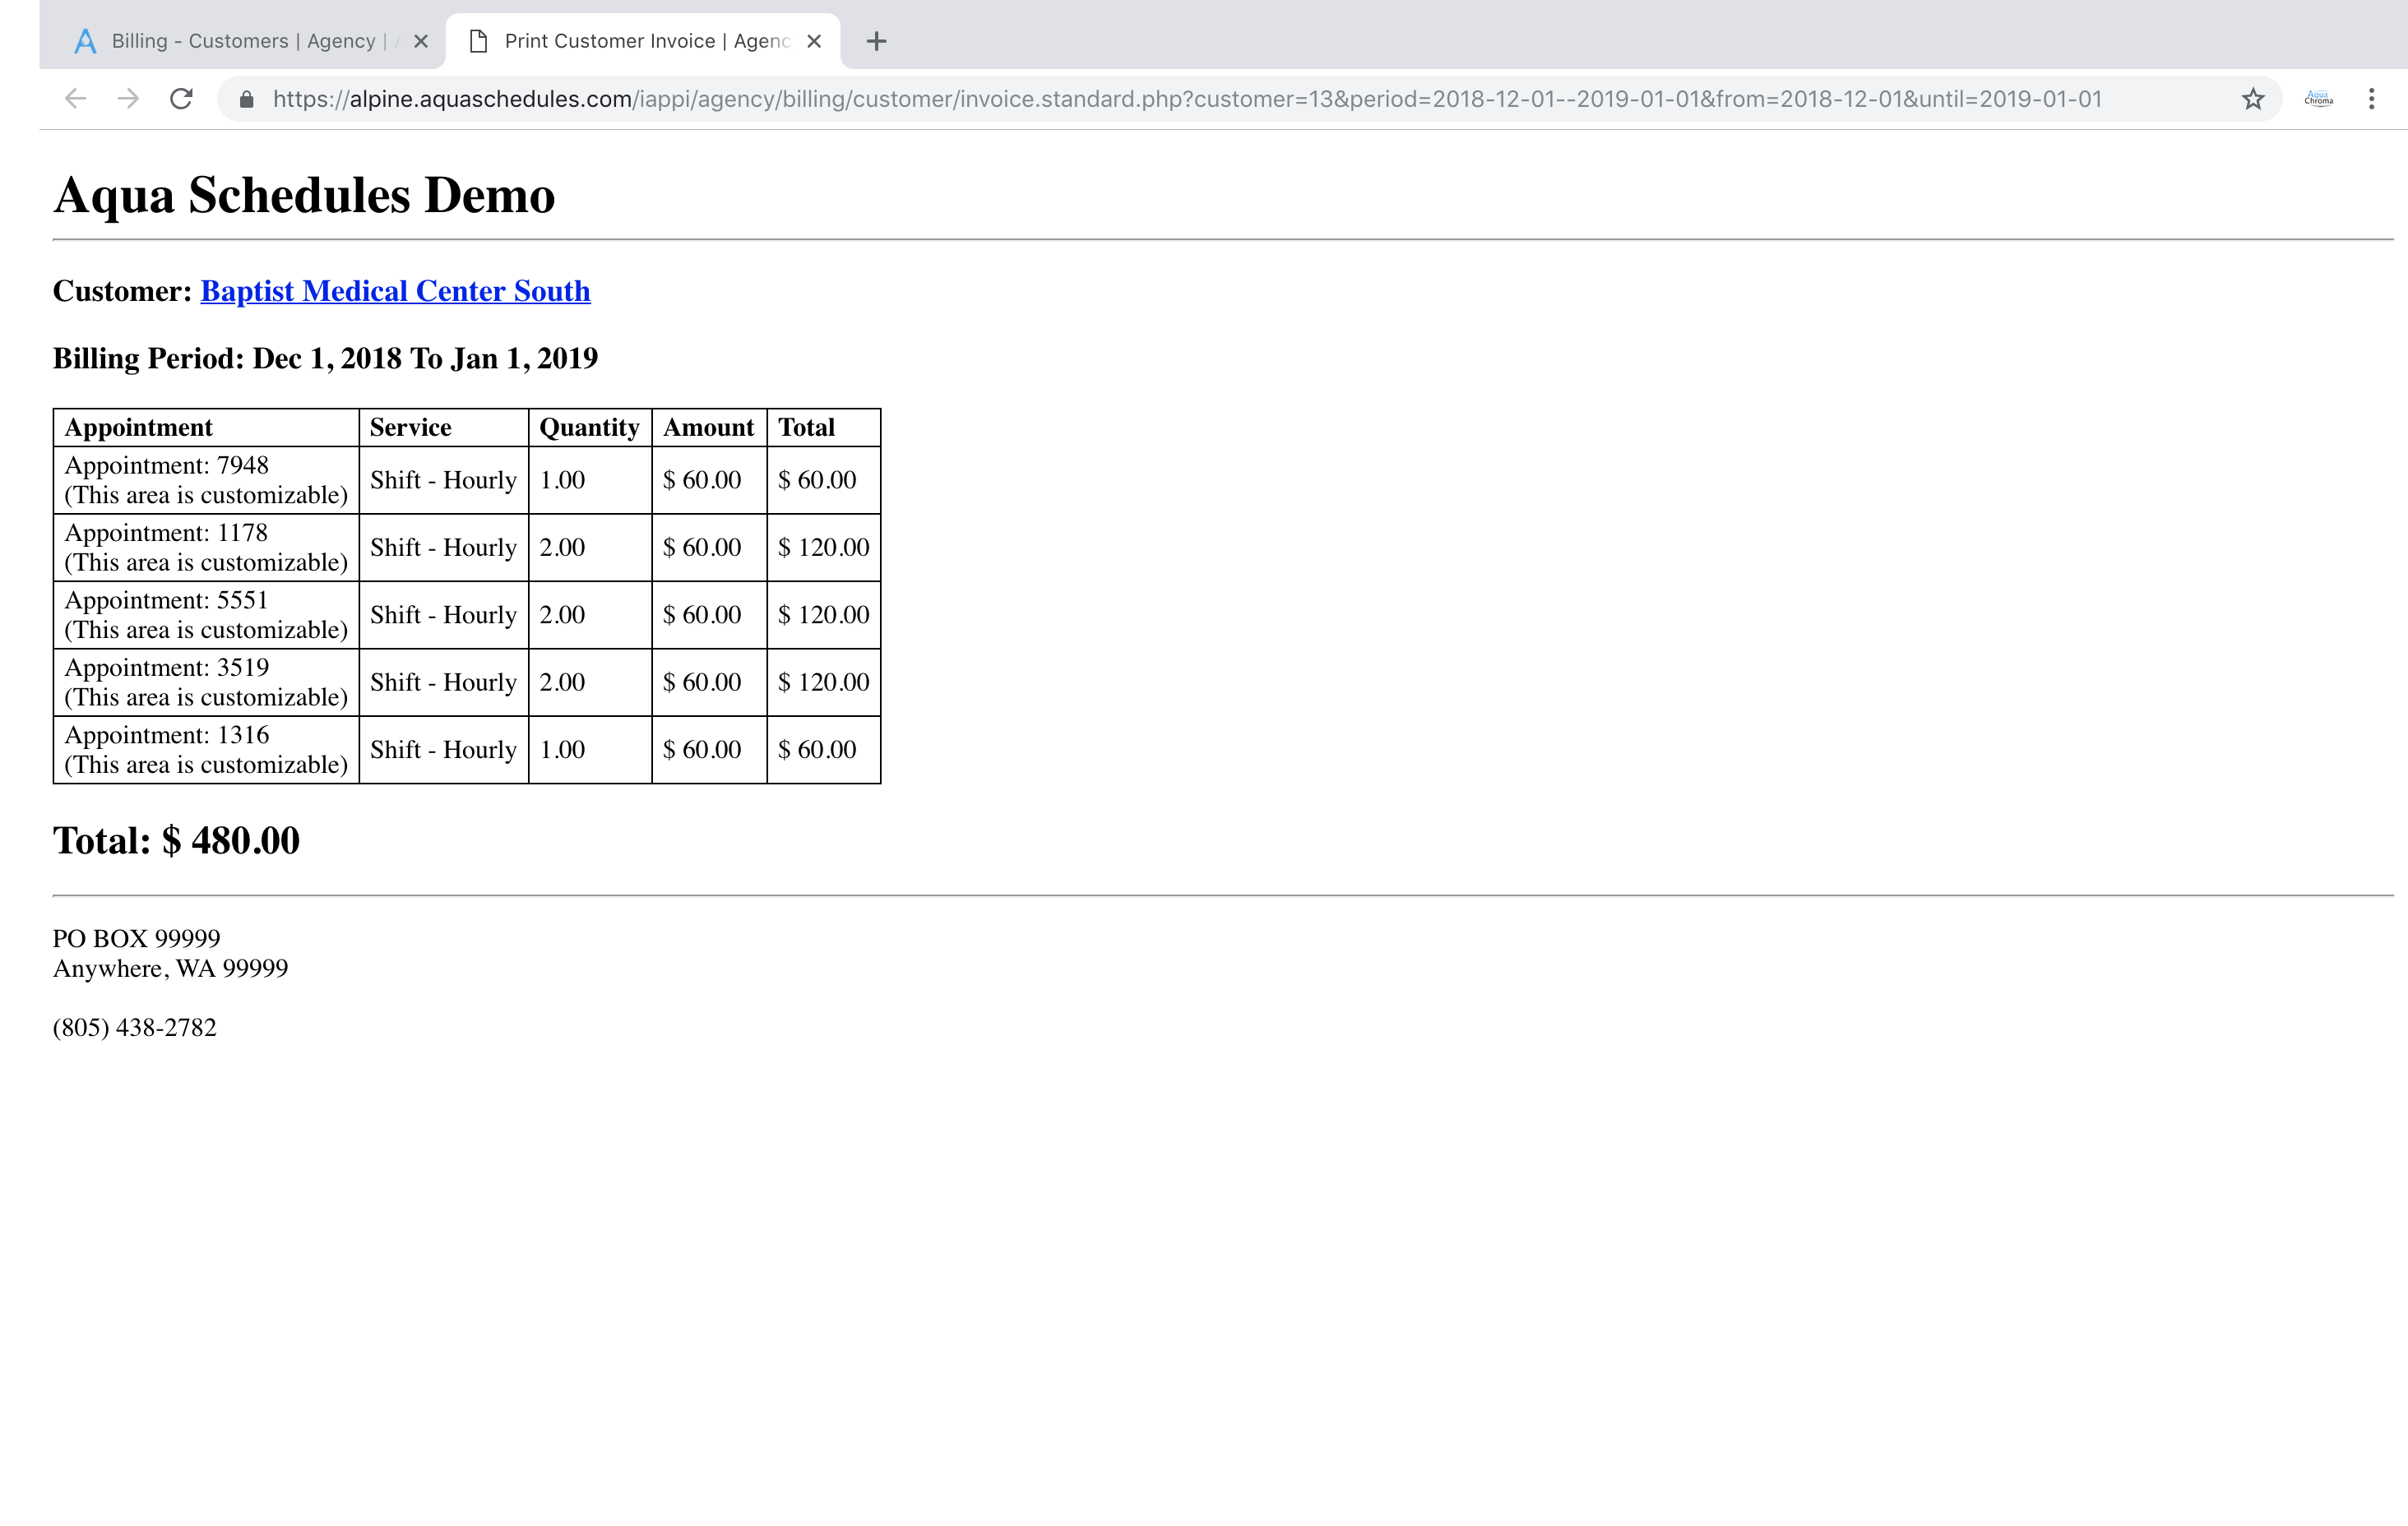
Customer billing is your interface for invoices with your customers. You can synchronize invoices with QuickBooks Online, print invoices directly or copy and paste the information into your own template for invoicing. Choose which invoice interval you want to look at and then the customer. (Decatur). Here we have all appointment information and the total fee that would be charged to the customer. We can go into print mode by choosing 1 of the 3 print overview options. If you are linked to QuickBooks Online you will see a green button that says synchronize.
Category billing is great when you bill third party entities not your customers. A third party entity could be a government workers compensation program such as labor and industries which is a Washington state government program. A workers compensation patient may have an appointment at a hospital that your agency works with but you would not be billing the hospital for this appointment. By having these appointments categorized it creates a separate invoice apart from the invoice that you would be sending to the hospital.
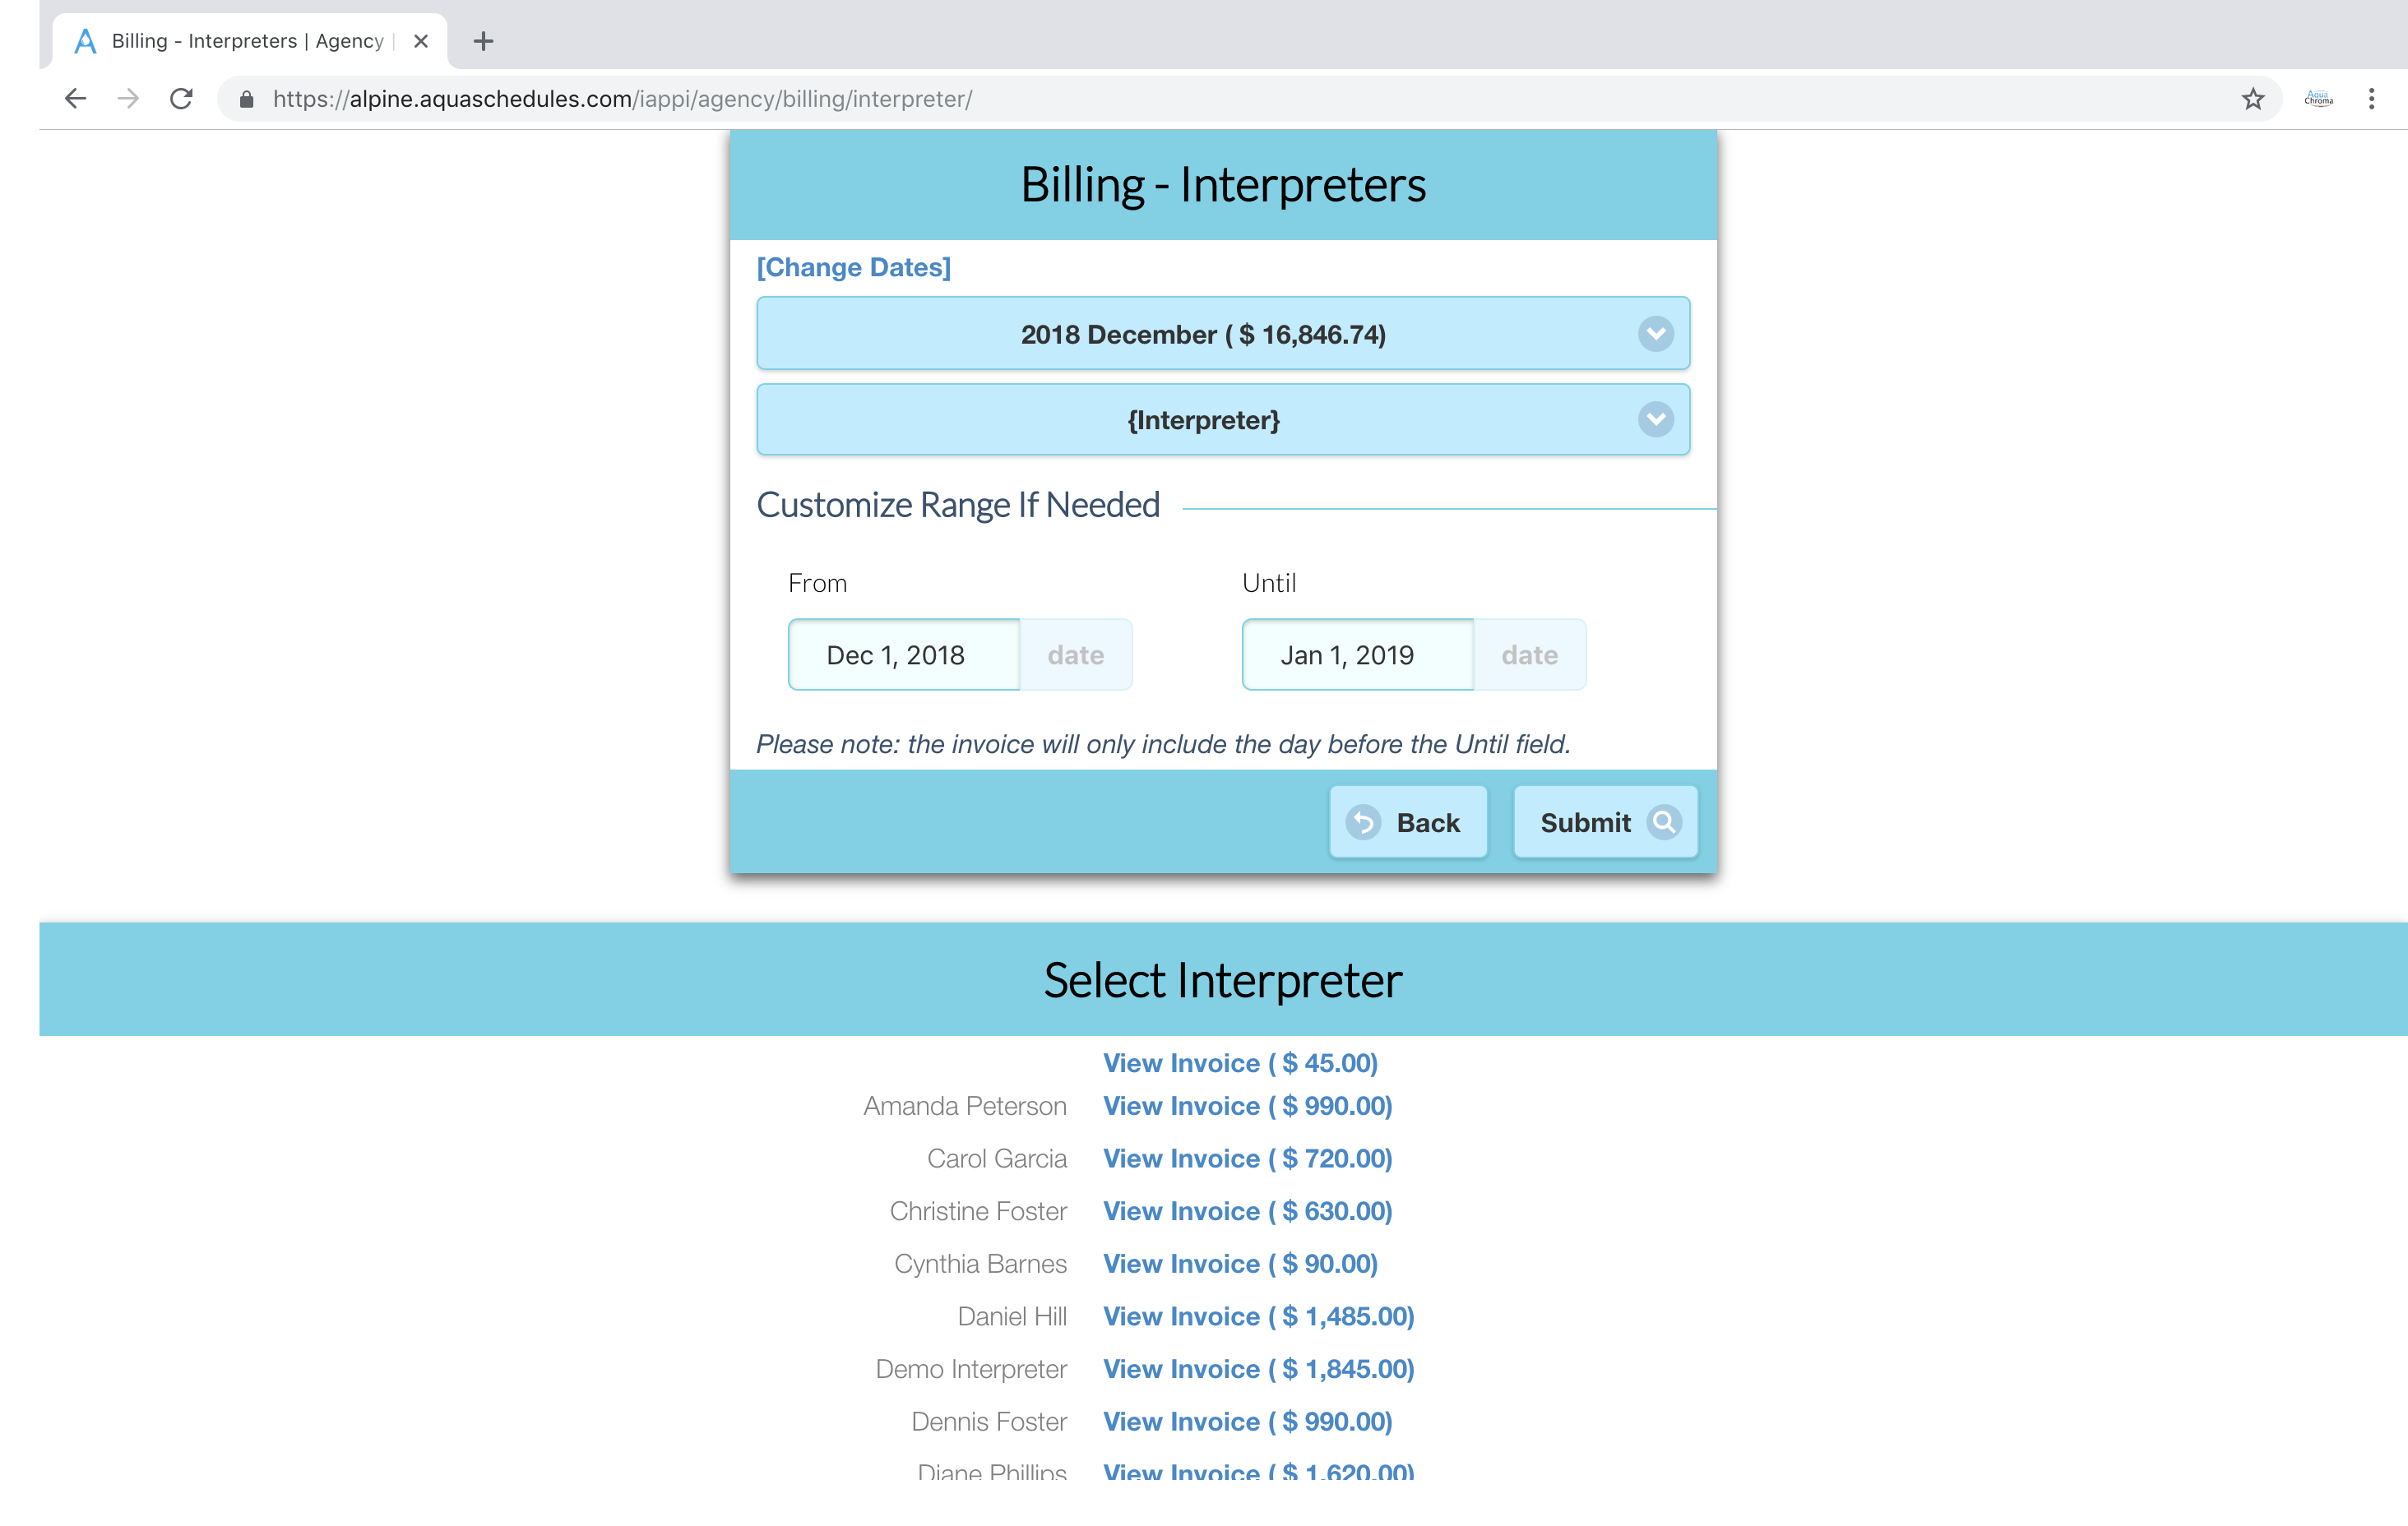
The interpreter billing area is similar to the customer billing area except it shows what your agency owes your interpreters for a certain billing period. Choose a billing period and then select a certain interpreter to see how much the interpreter is to be paid.
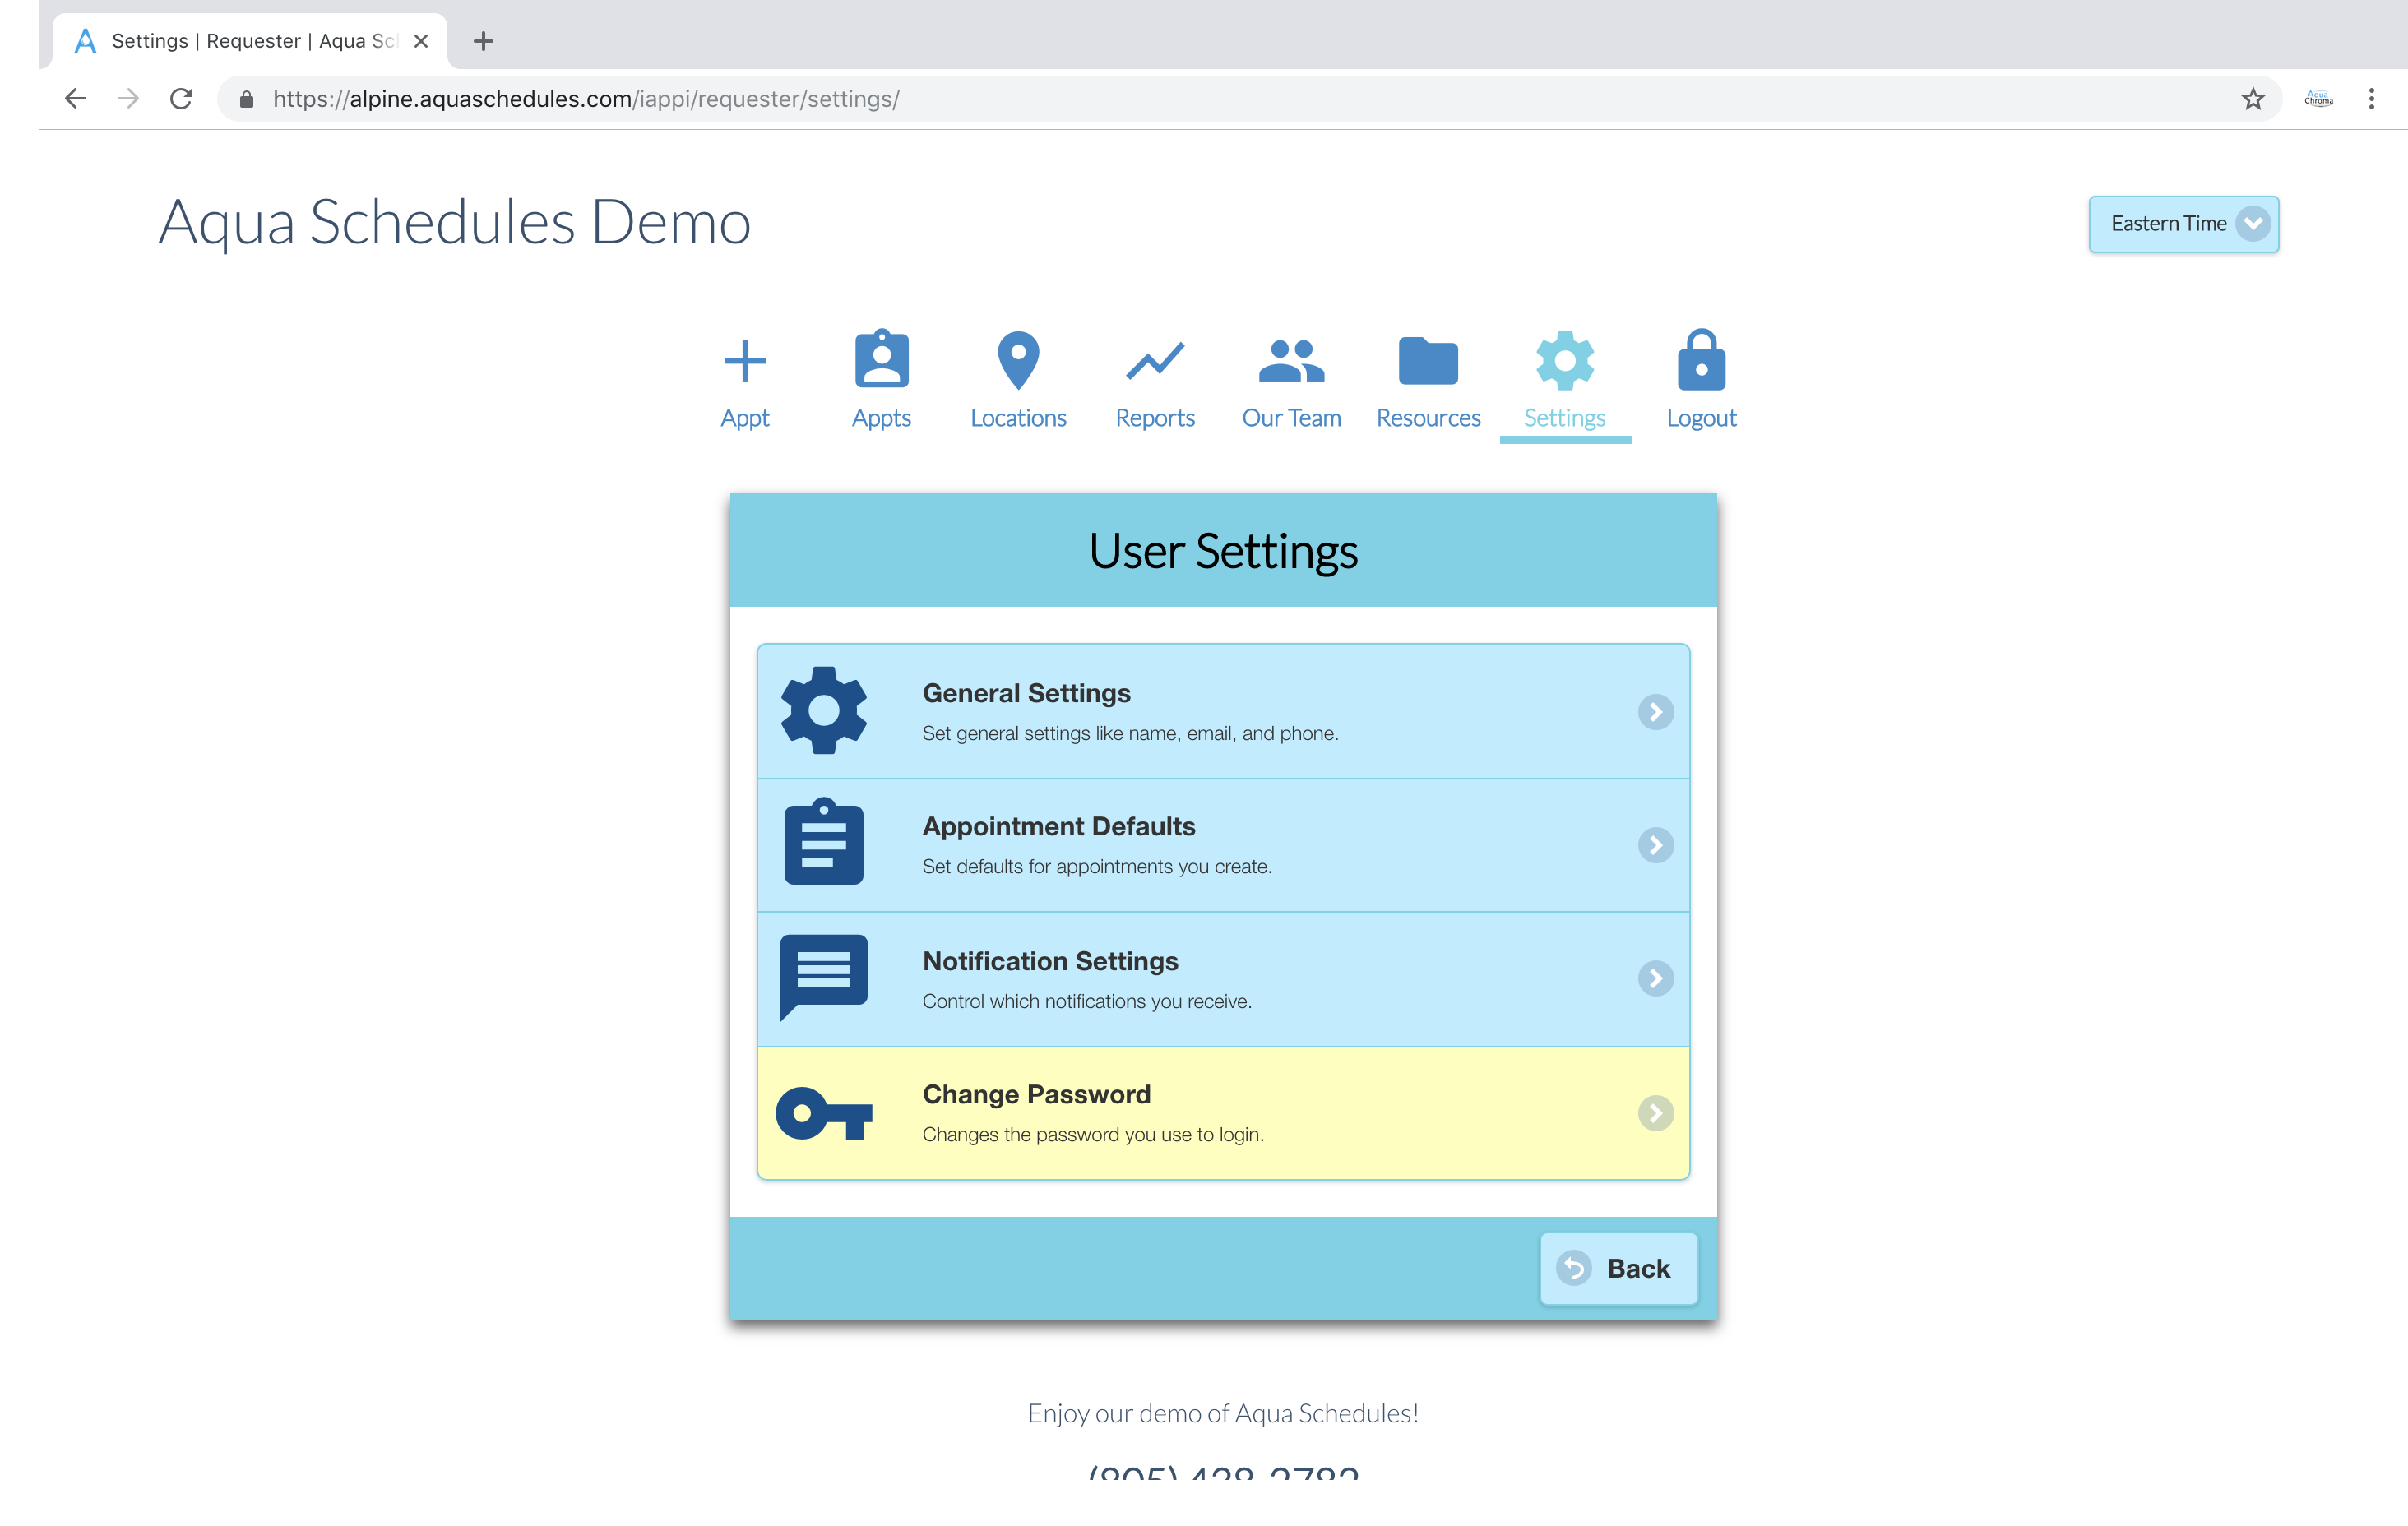
The Settings menu is a rather large menu. This menu allows your agency to heavily customize the system to best fit your needs. You have many ways of personalizing the way the system looks and operates for your agency, your interpreters and your requesters. Because this menu has so many different features we will break each feature down into its own video and explain in detail what each setting will do for your agency.
We will now conclude the agency interface tour! Thank you for watching and we hope you enjoy using Aqua Schedules for your interpreting scheduling needs!